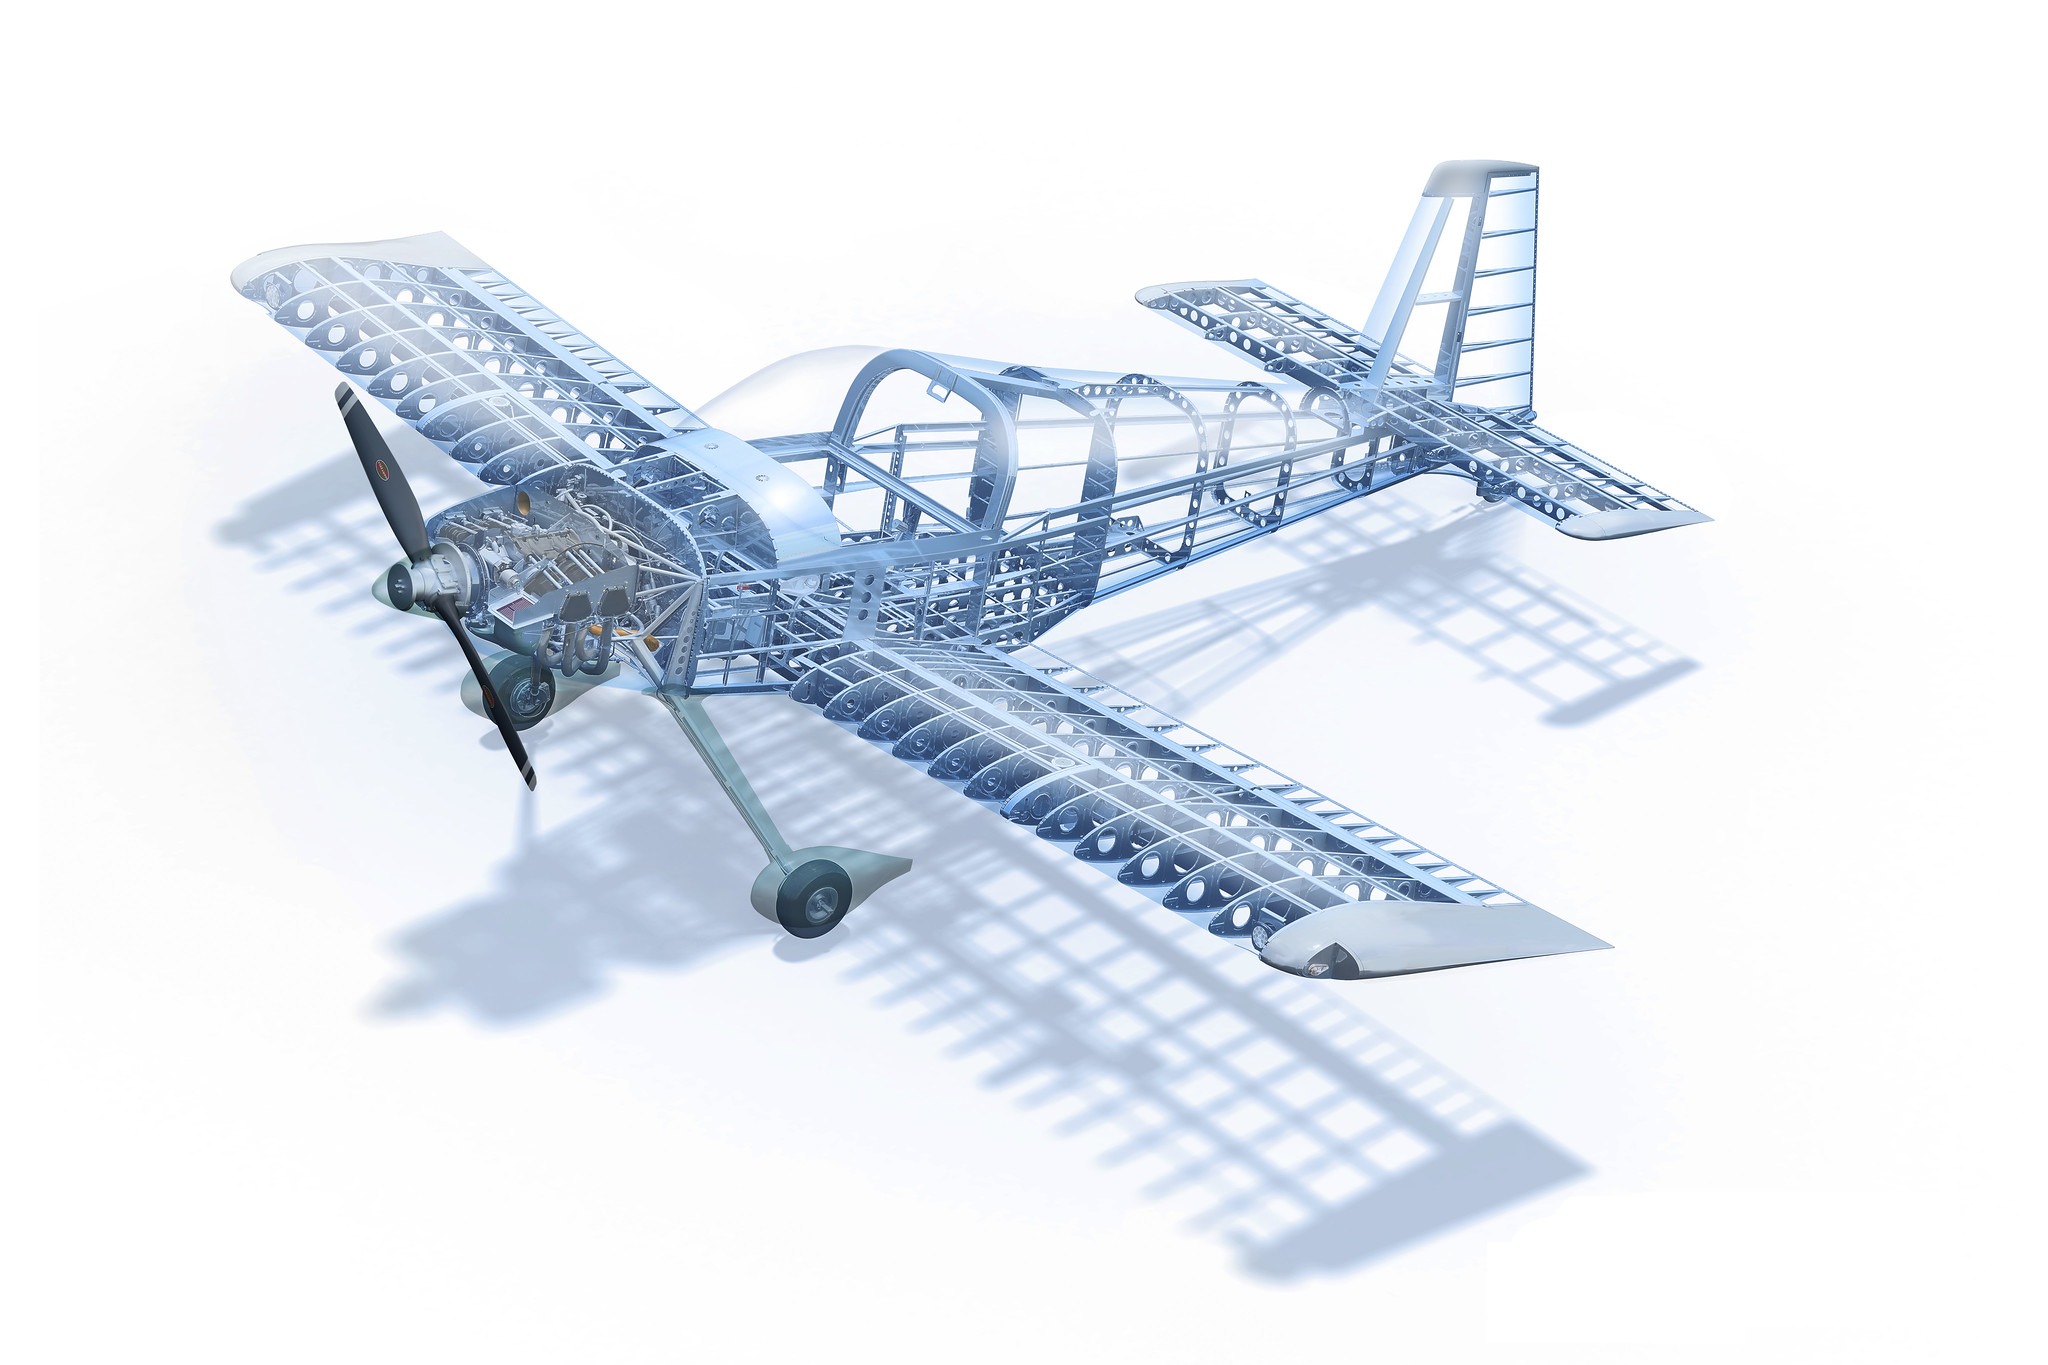
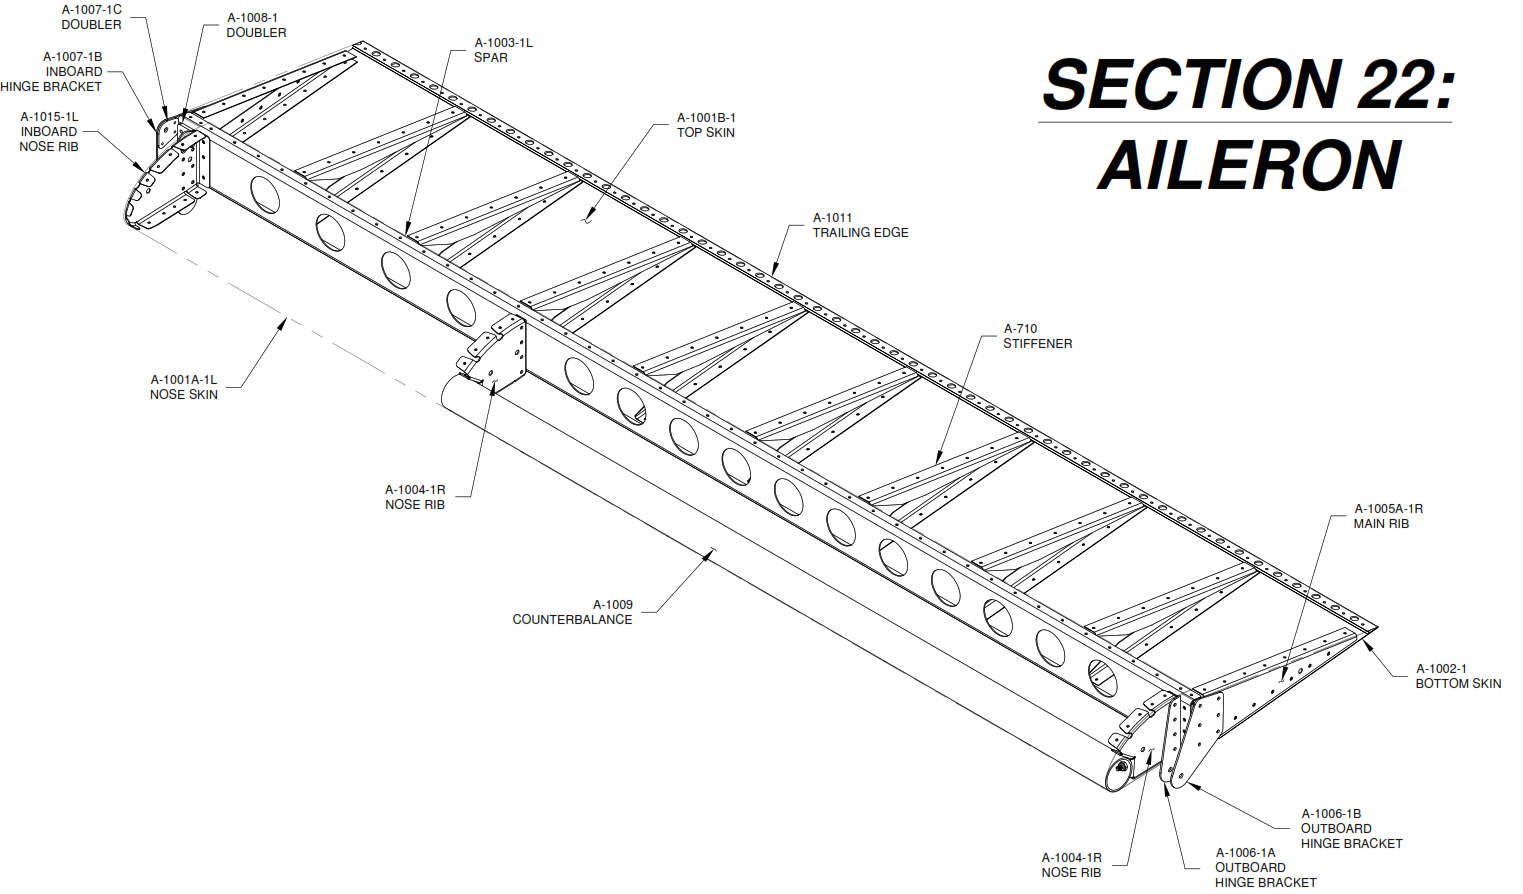
Ailerons
debur and straighten nose ribs
seperate the hinge brackets and debur
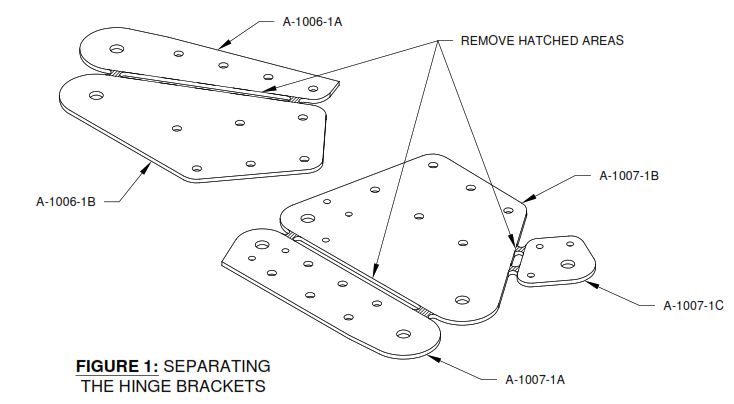 manual ref
final drill, countersink inboard and outboard hinge brackets
countersink inboard and outboard, seperate and debur main ribs
dimple main ribs, nose ribs
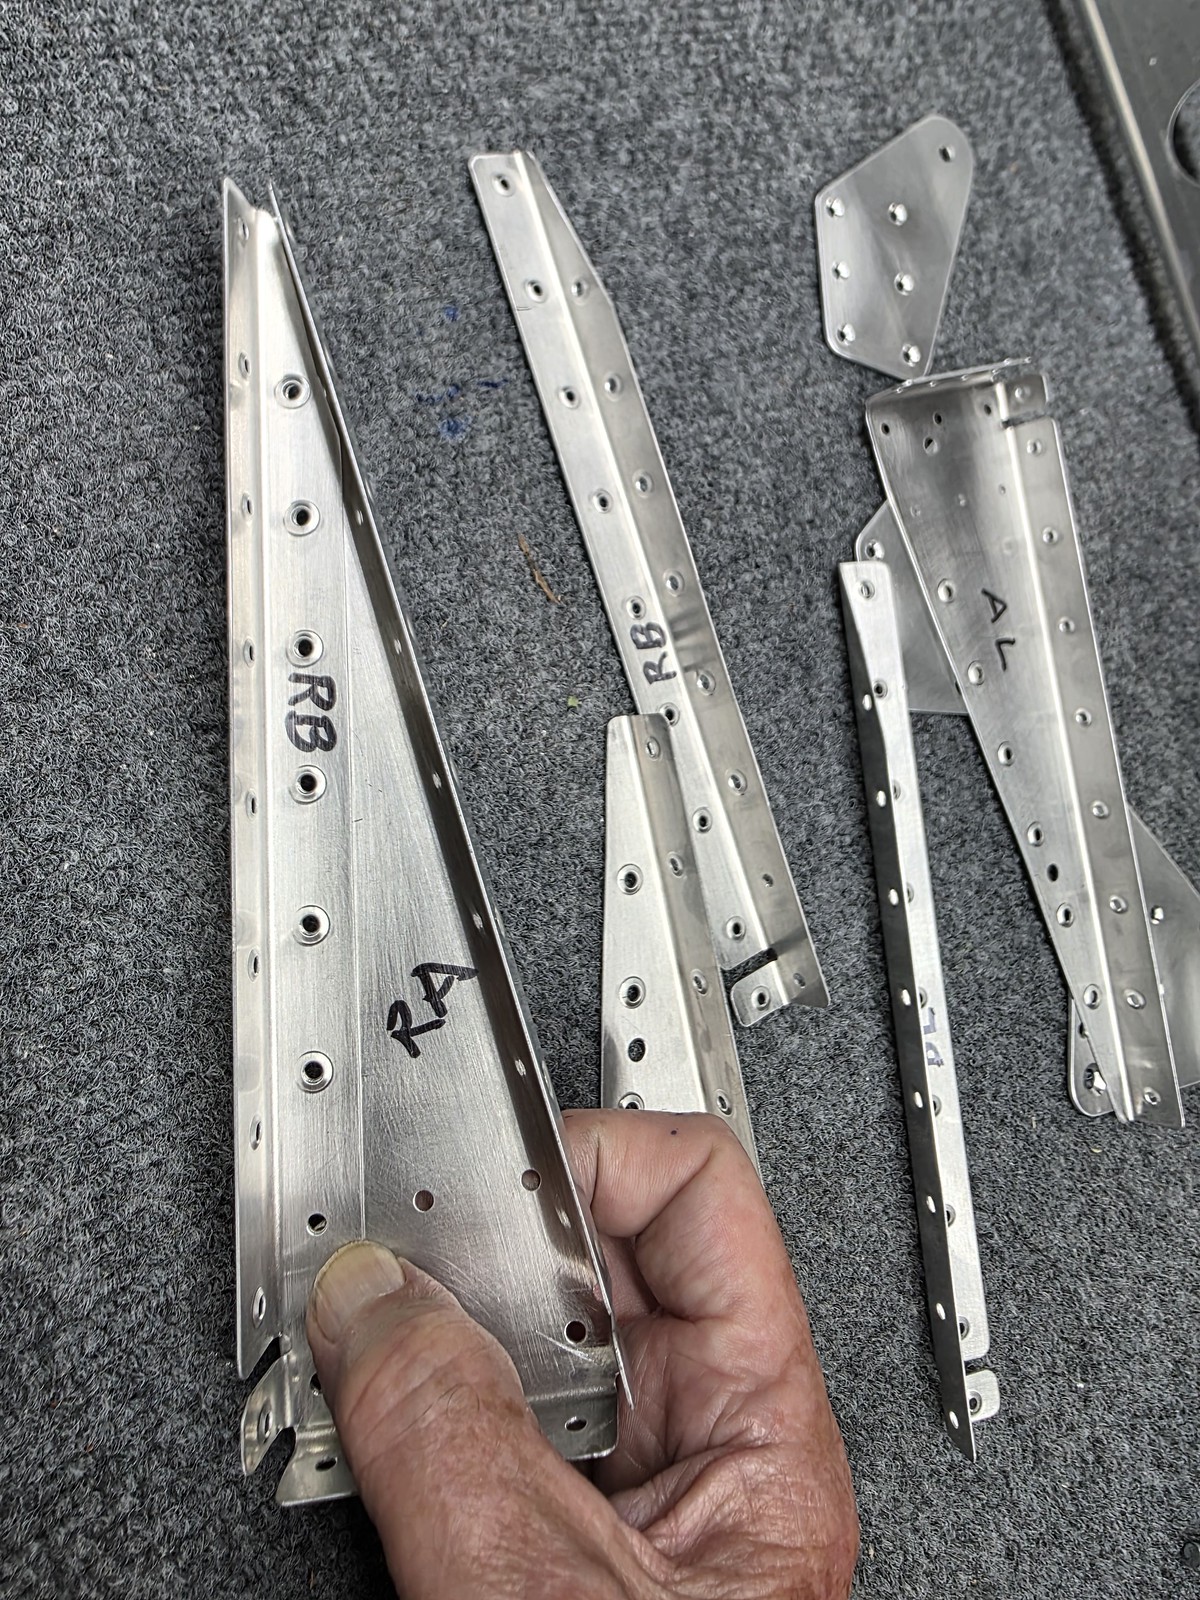
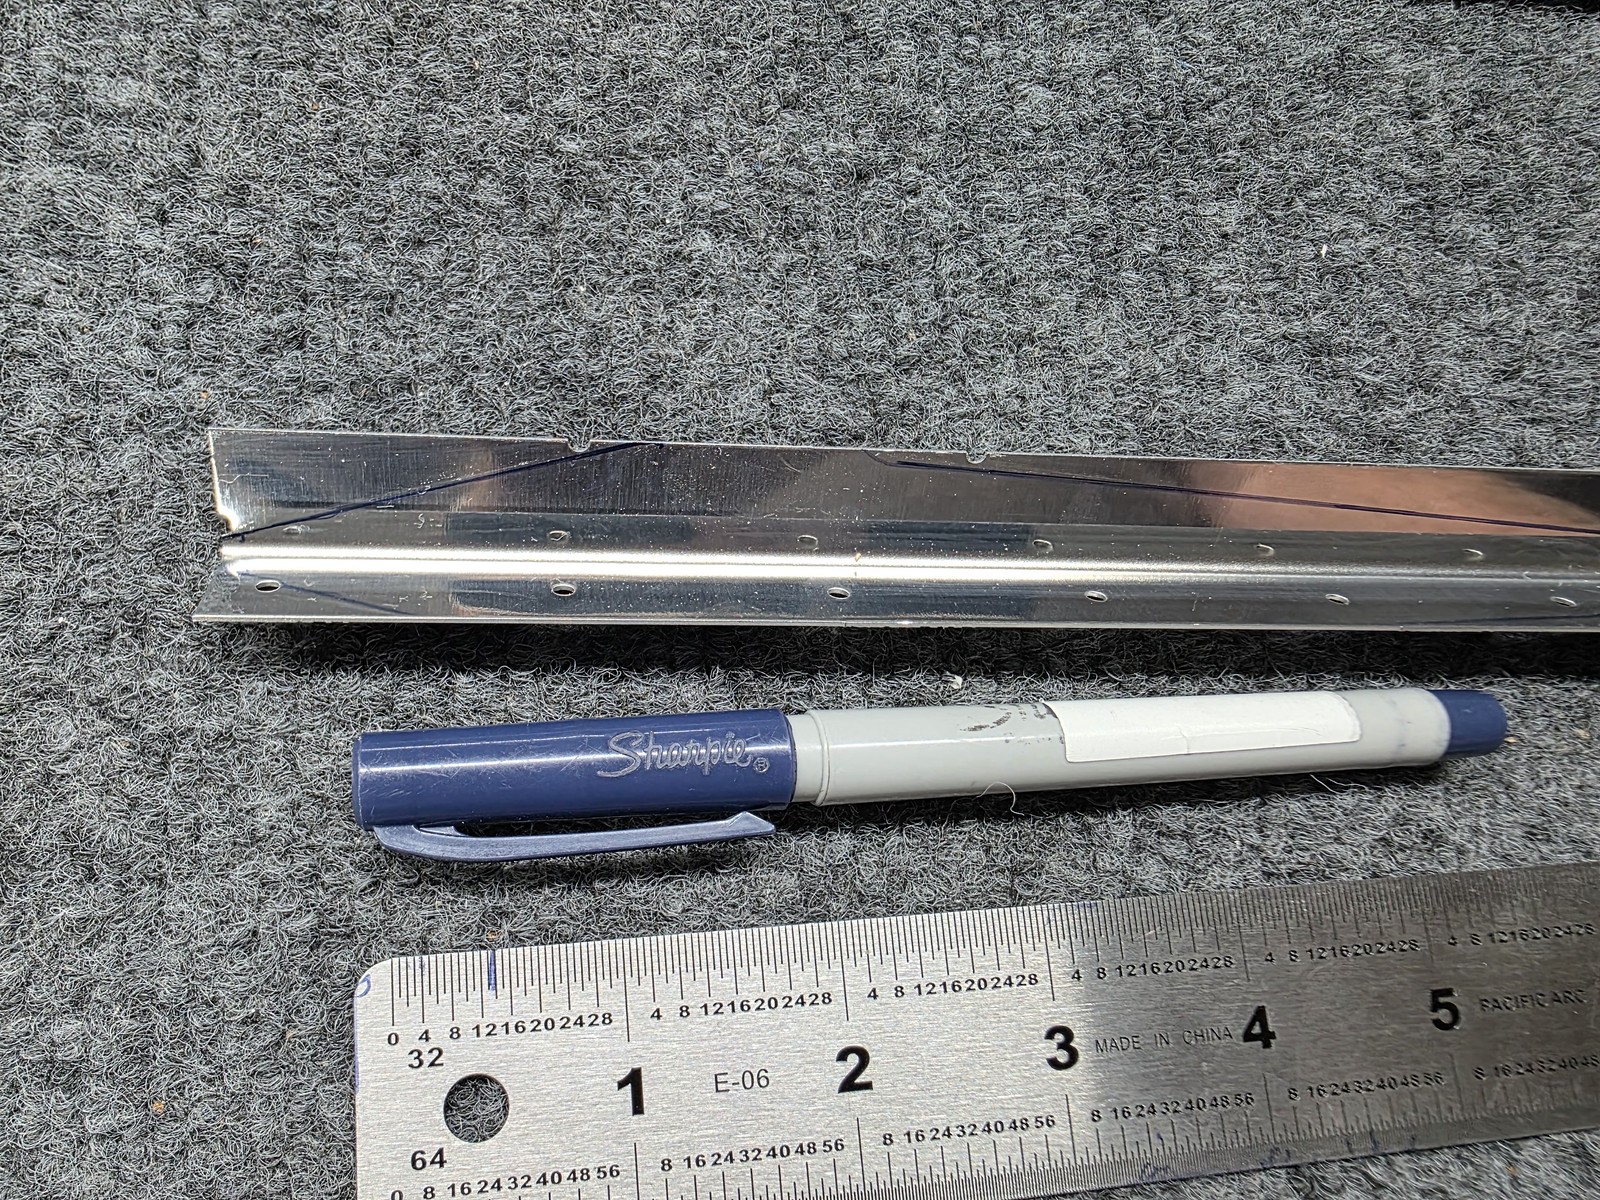
cut stiffenrers, cleco nose skins to spar, test fit counterbalance
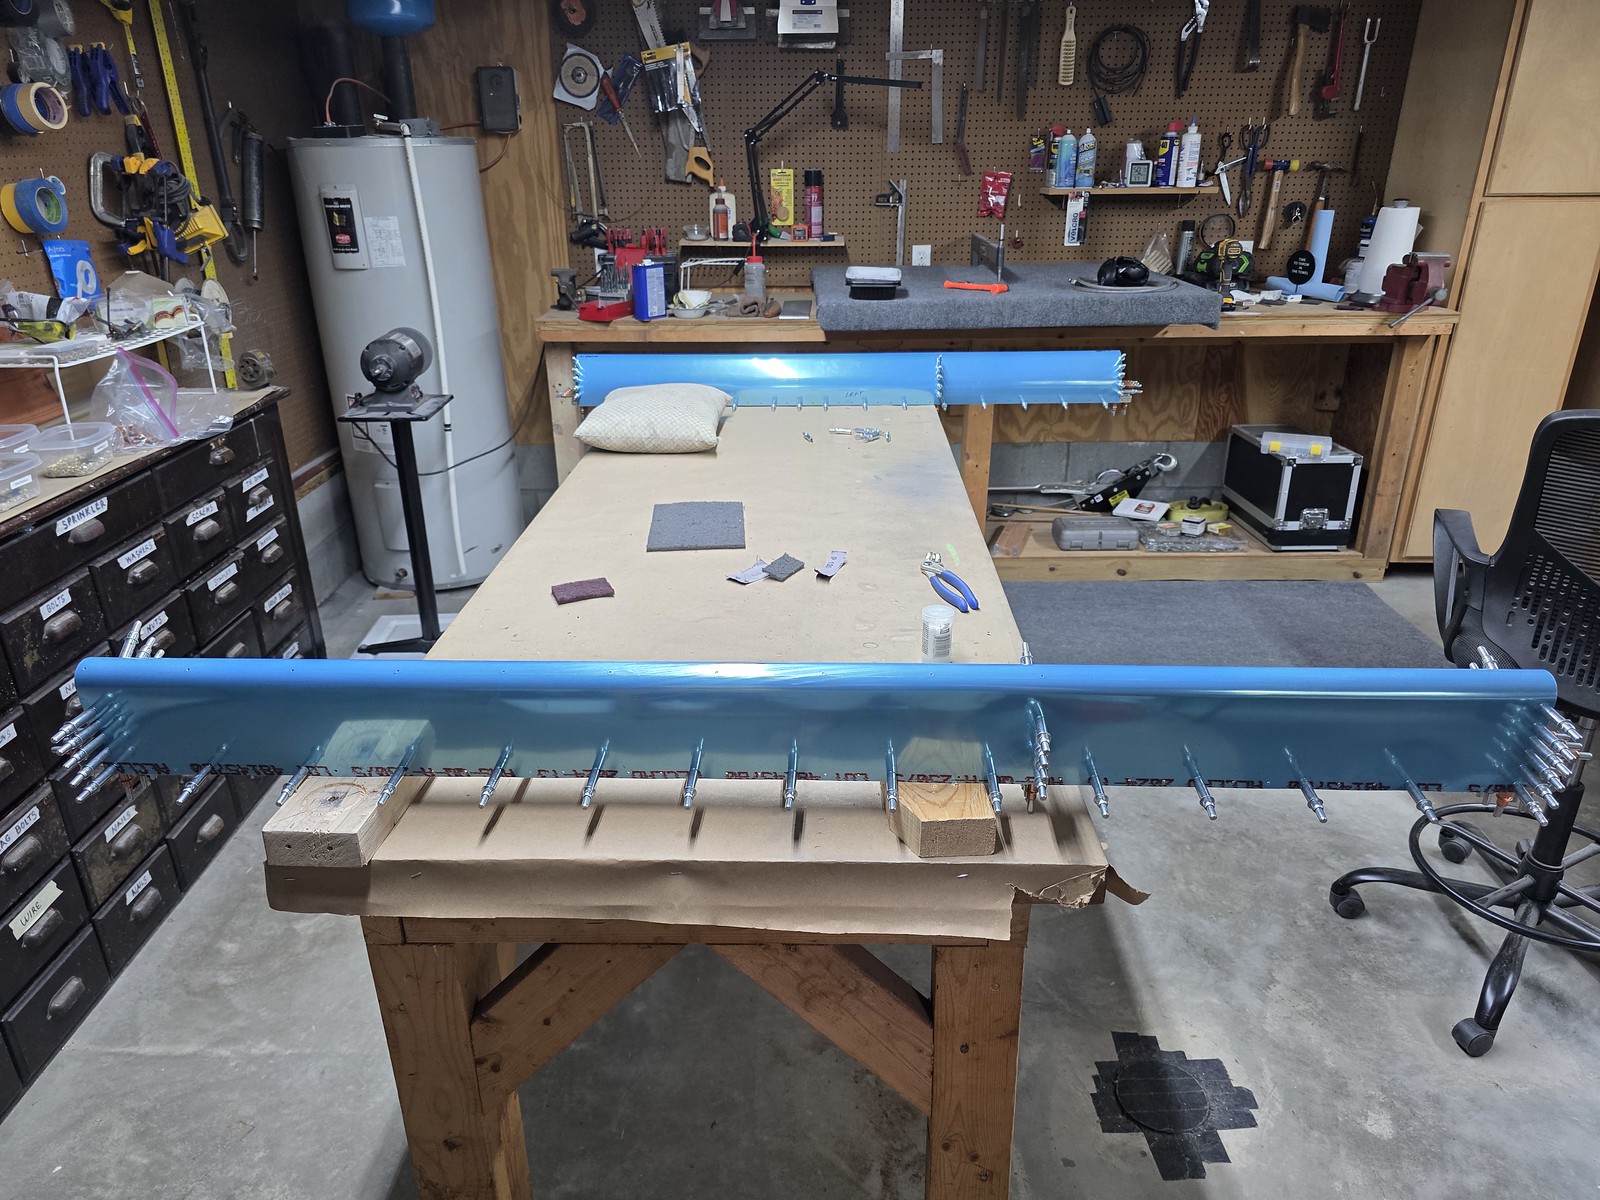
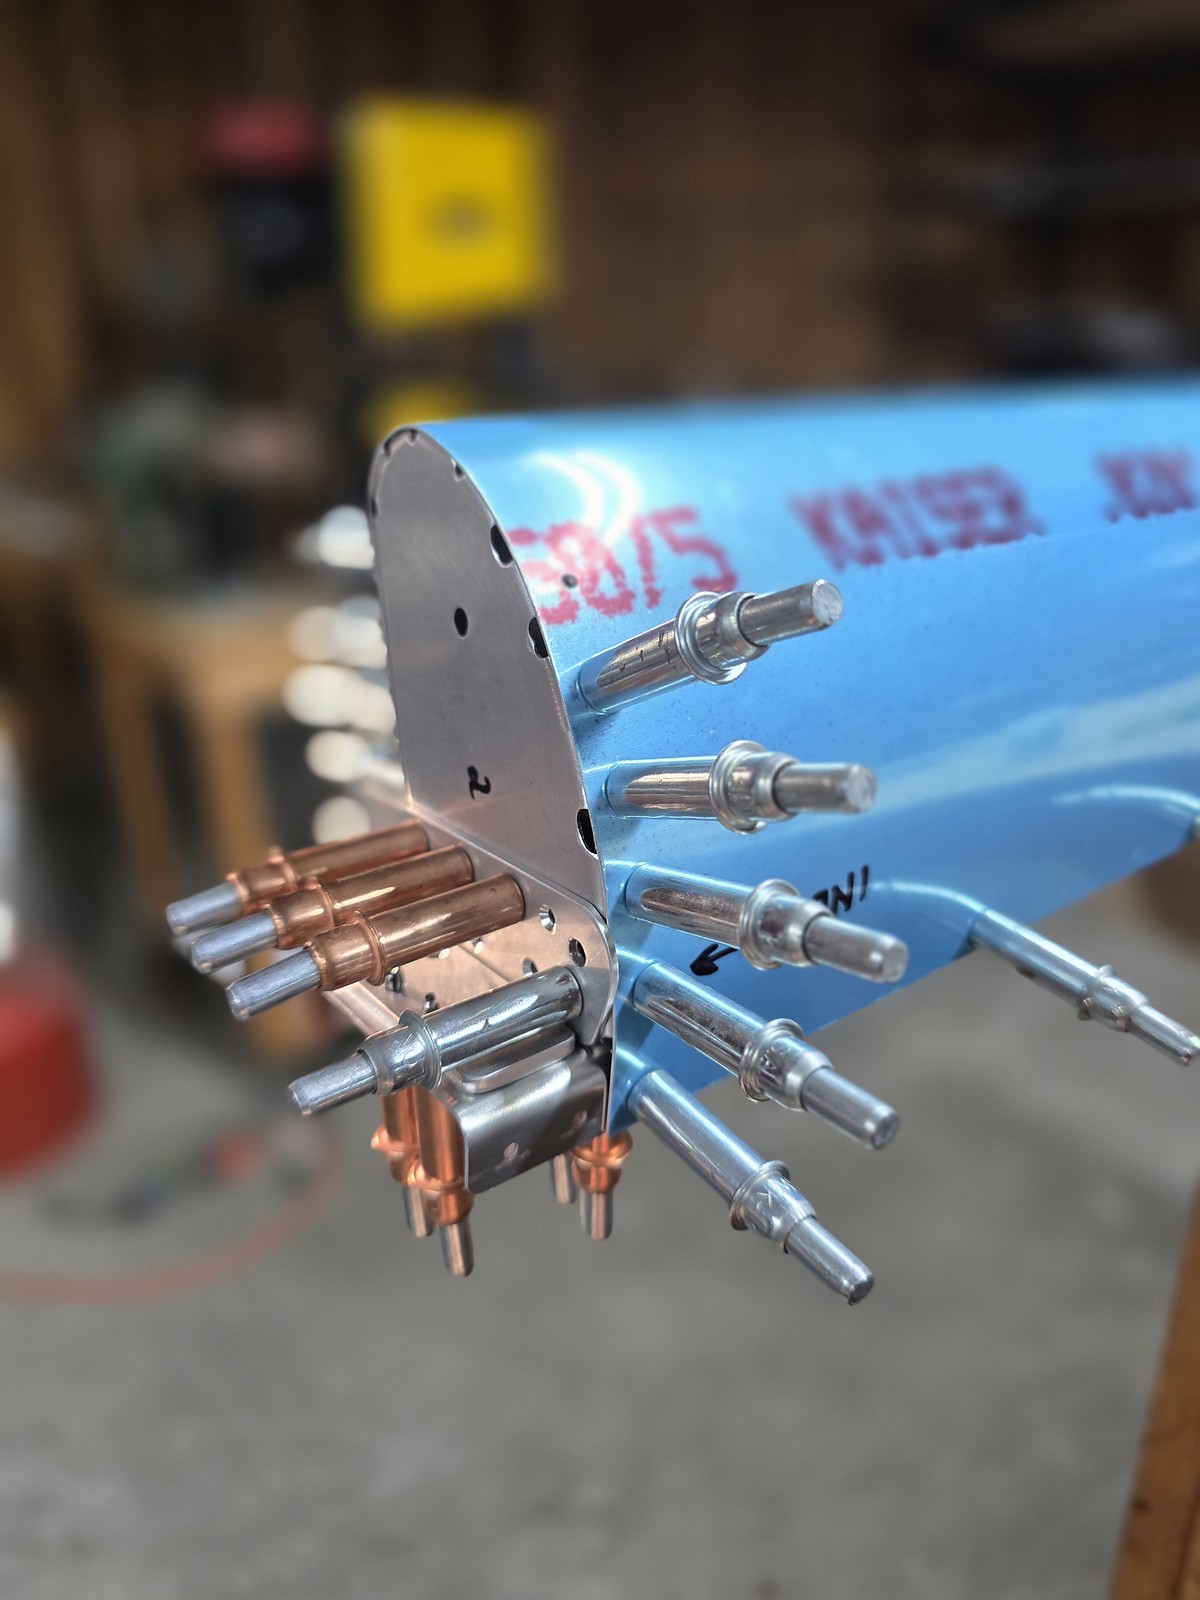
mark and drill counterbalance
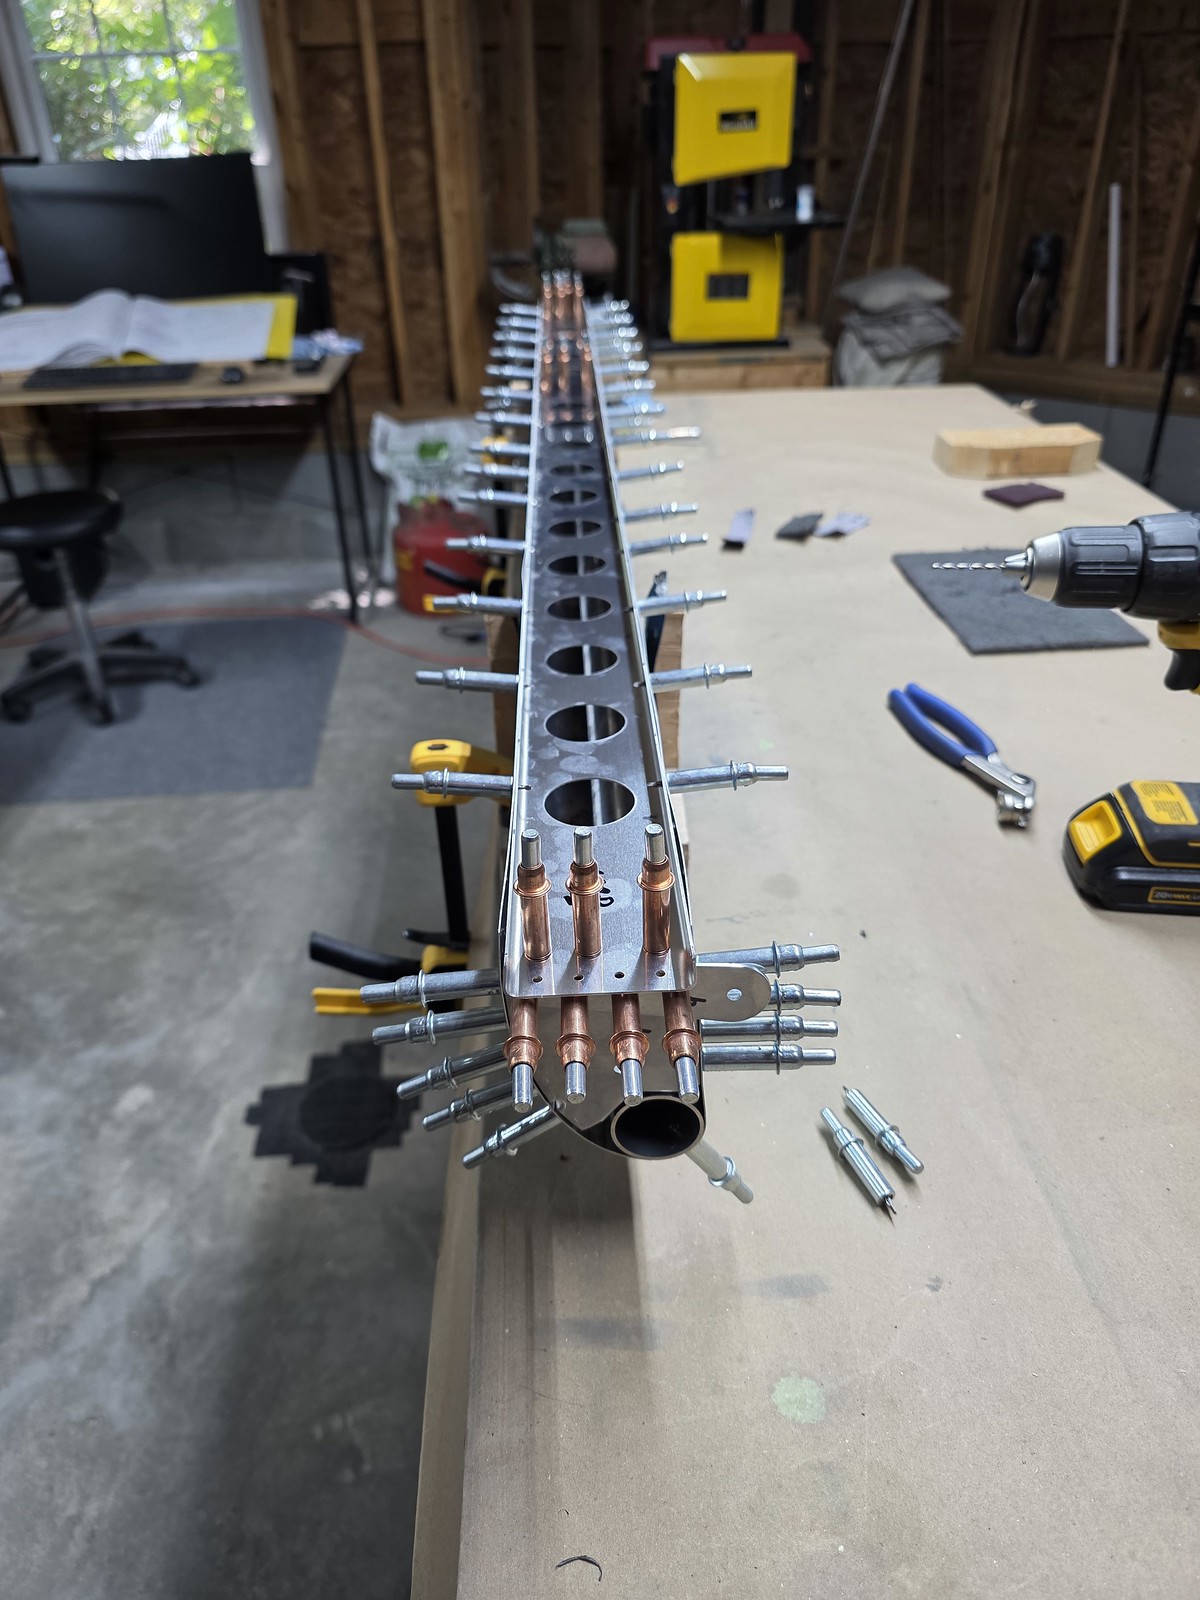
debur and skuff for priming, mark stifeners
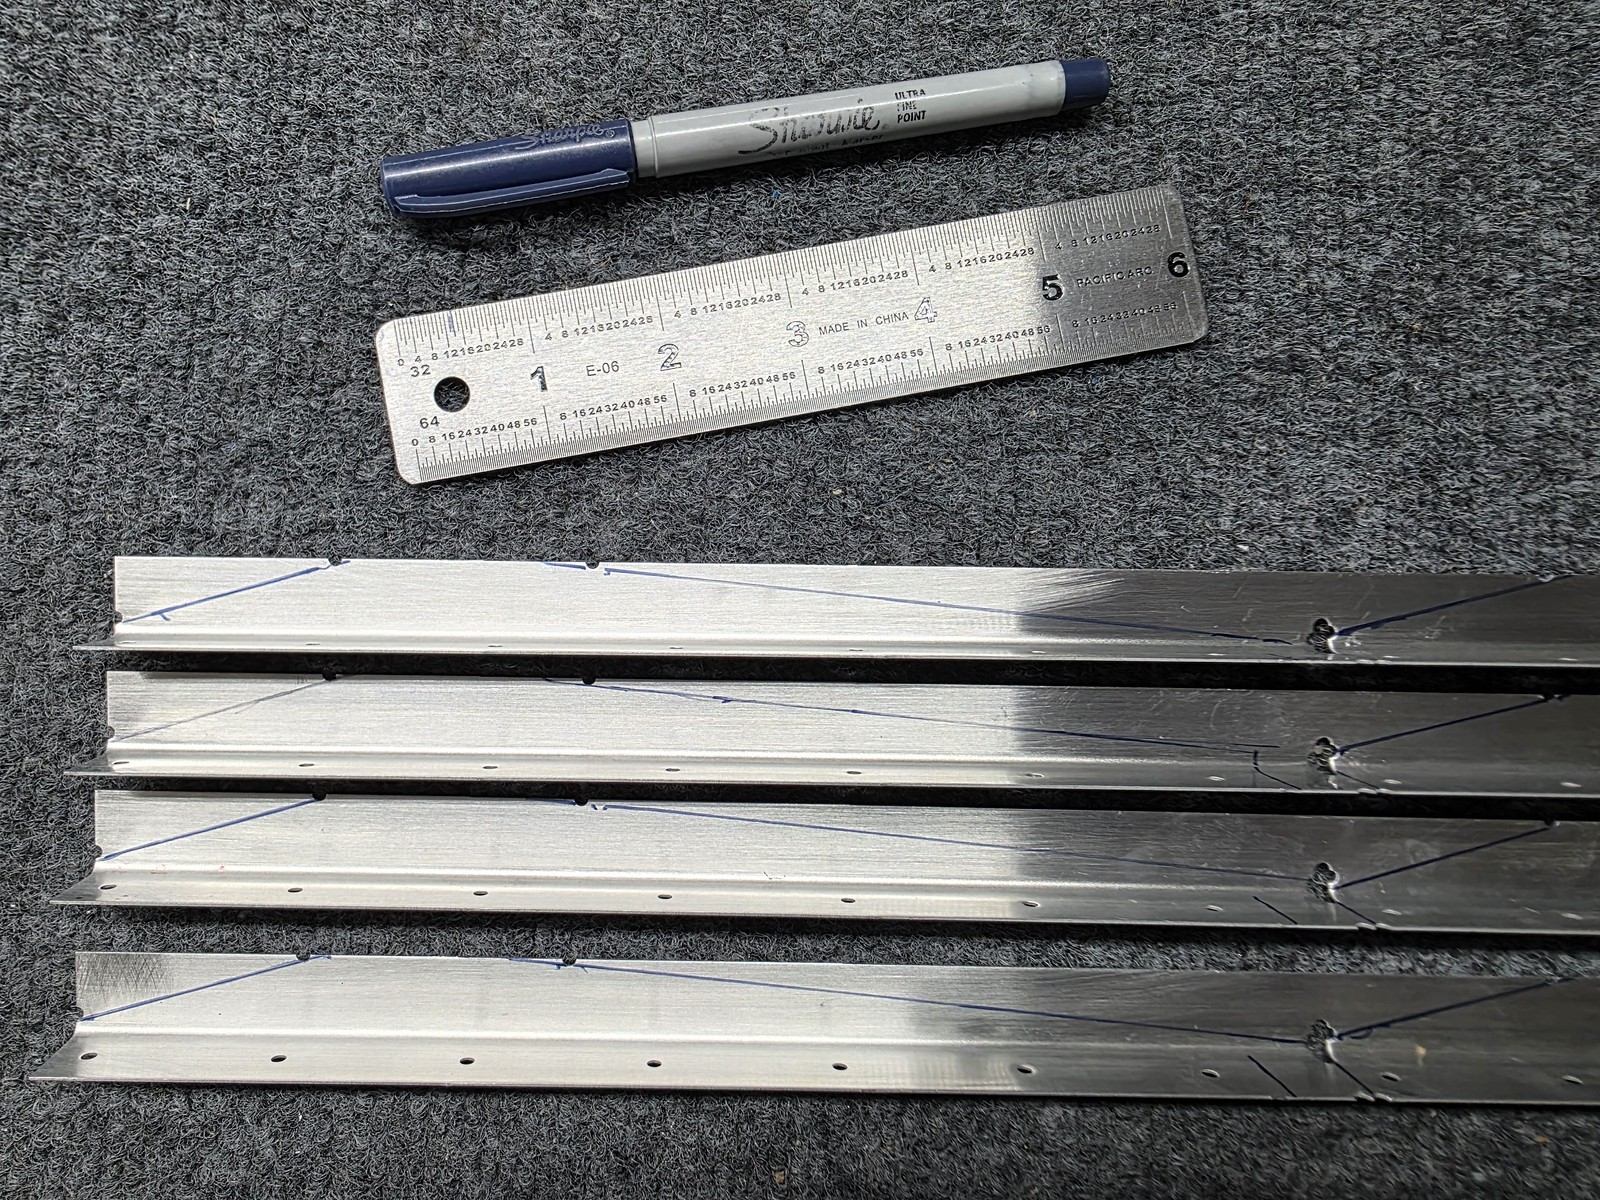
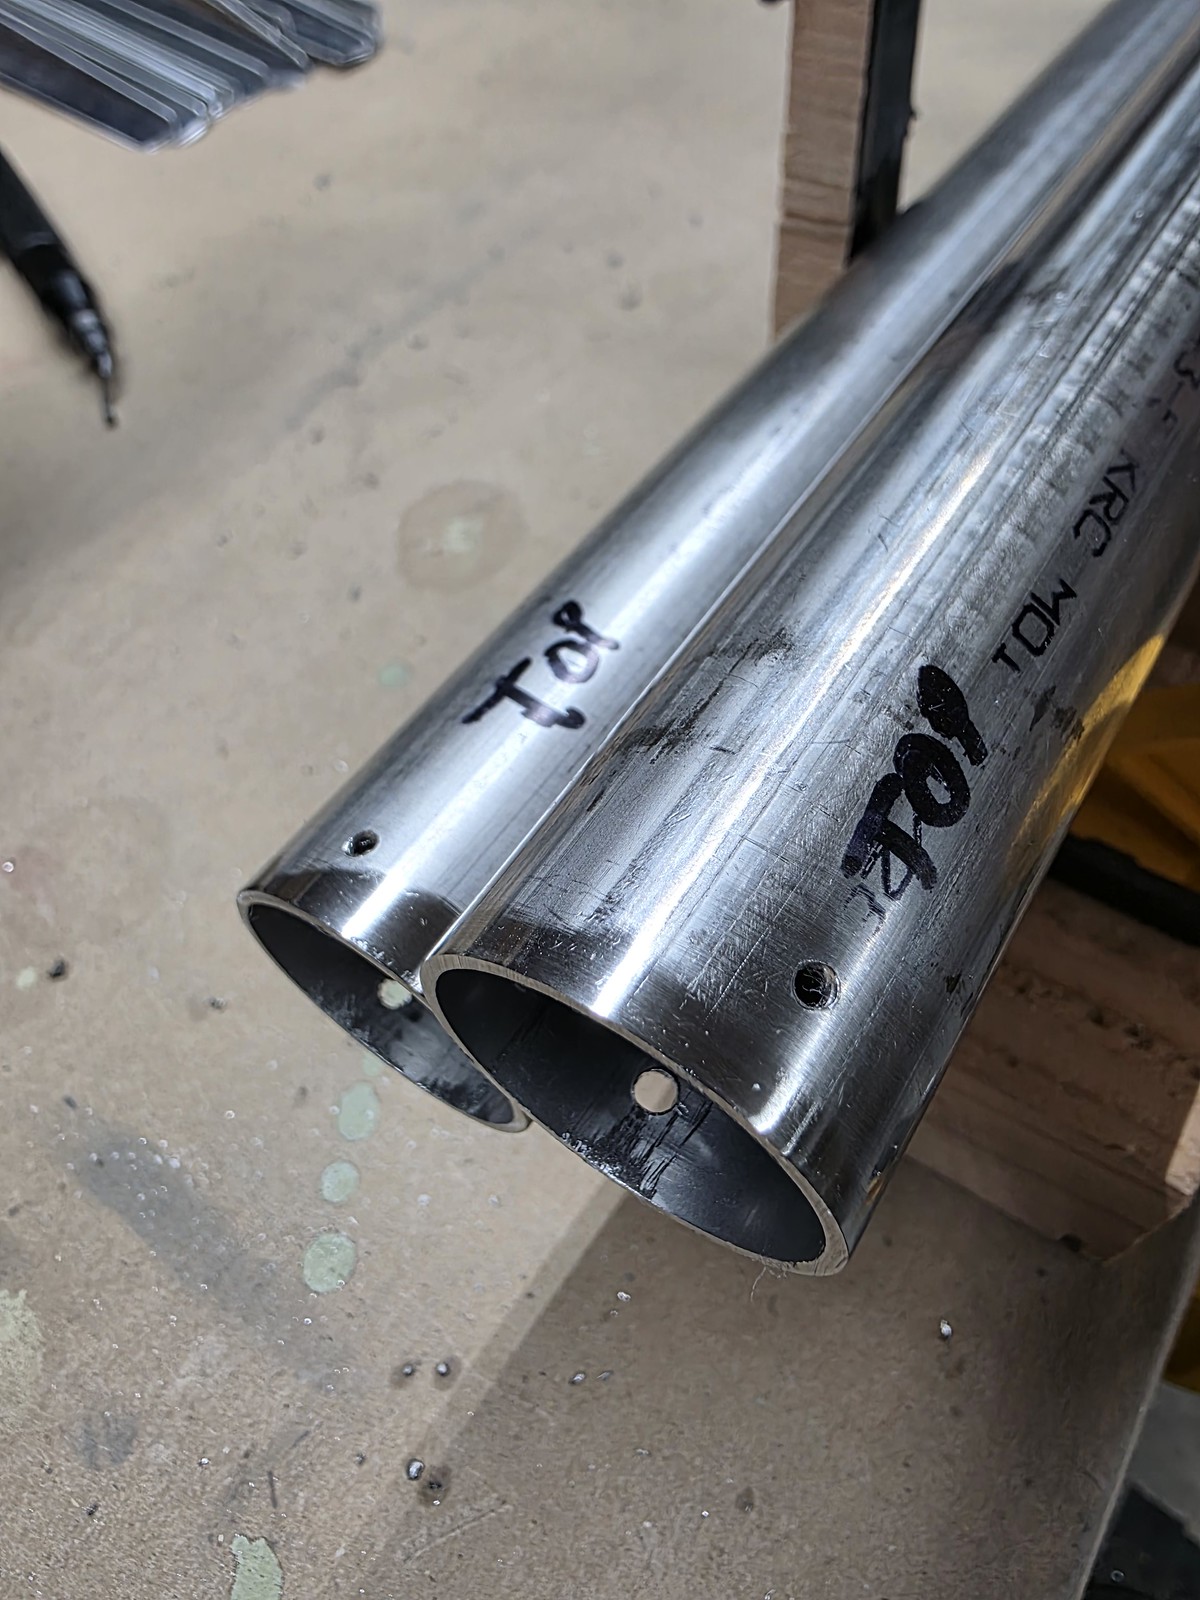
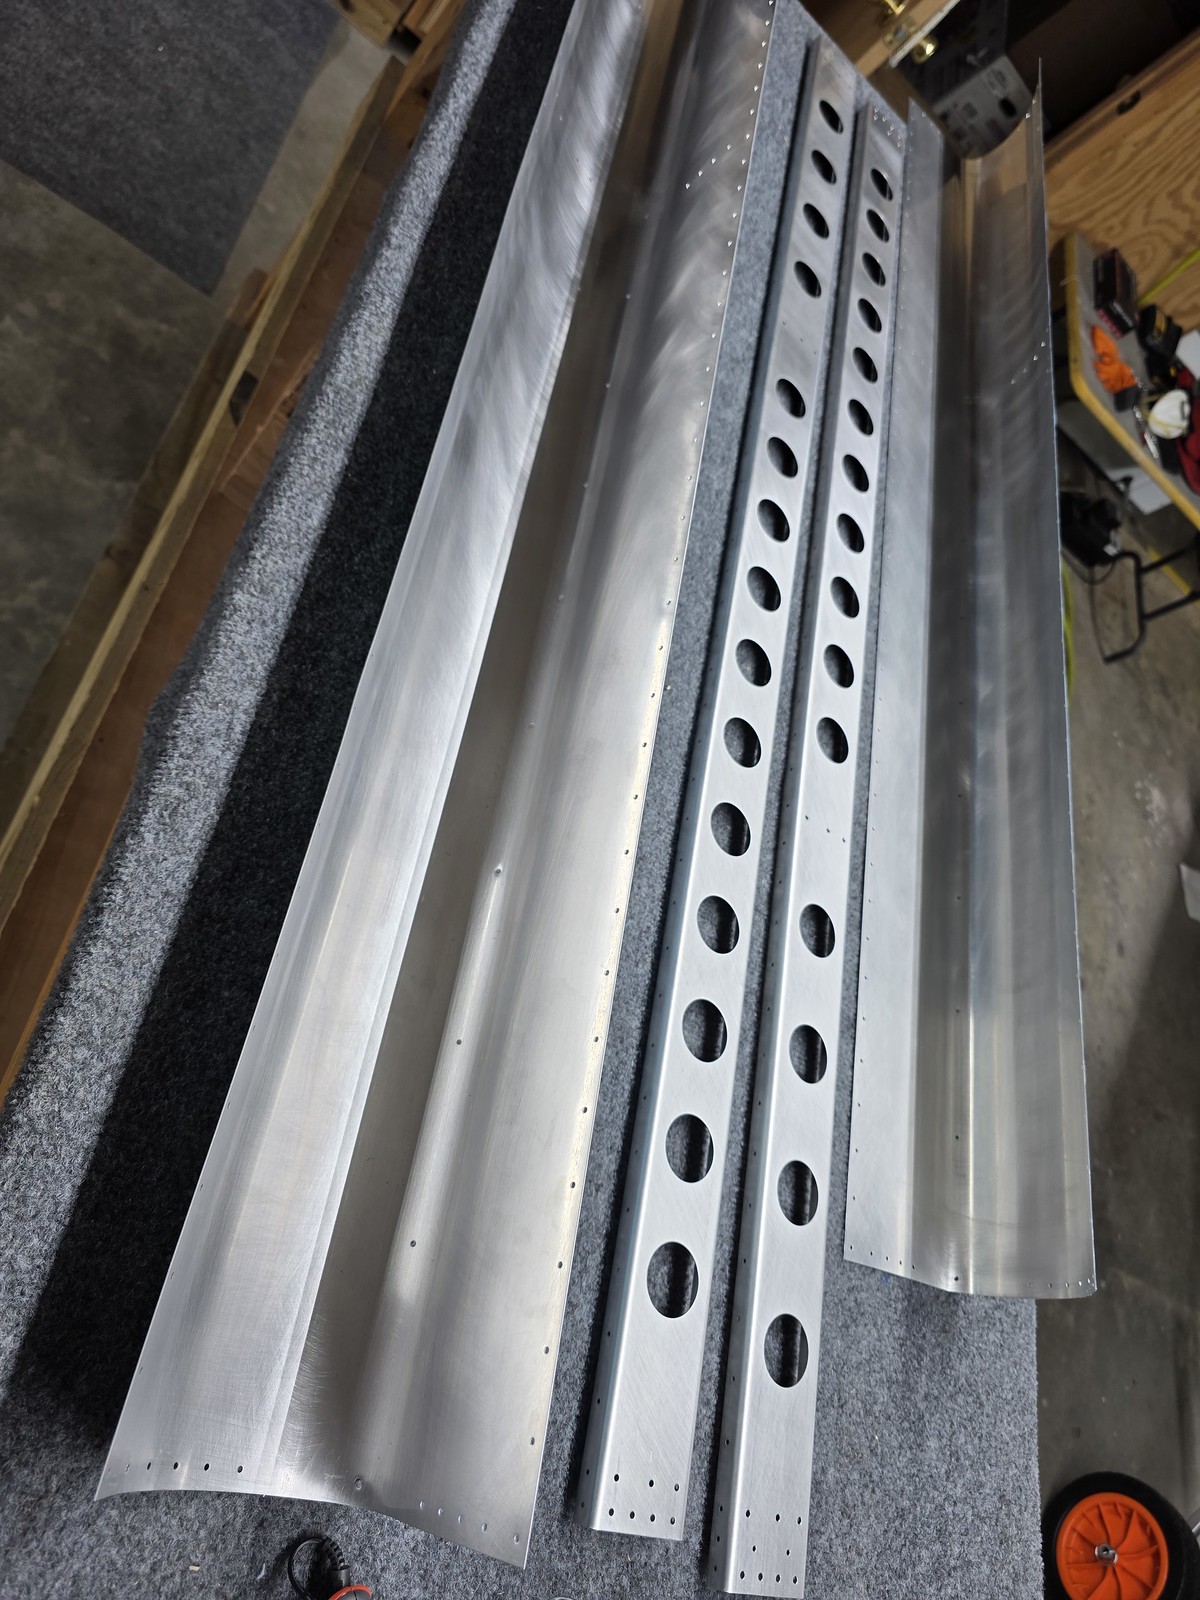
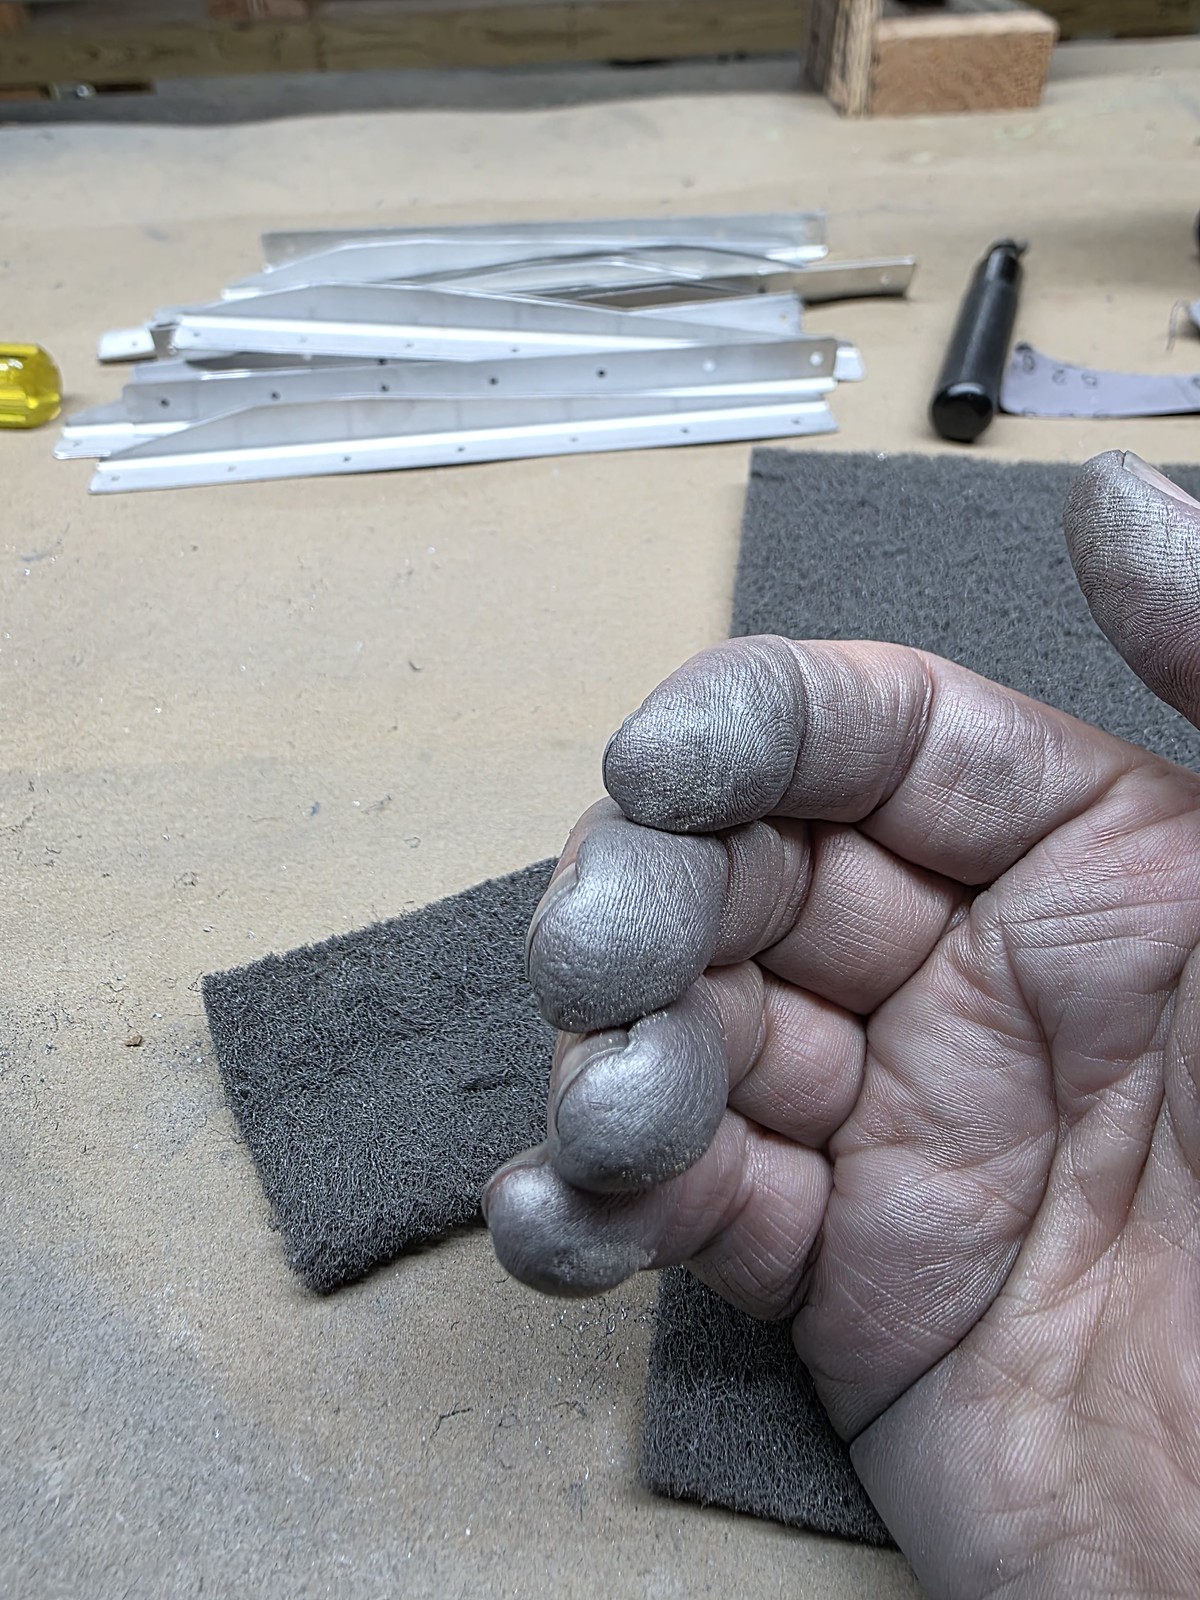
PSA - aluminum dust explosive / flammable when airborne; creates hydrogen gas when mixed with water
cut stiffener angles, dimple stiffeners, nose skins, spars, skuff skins
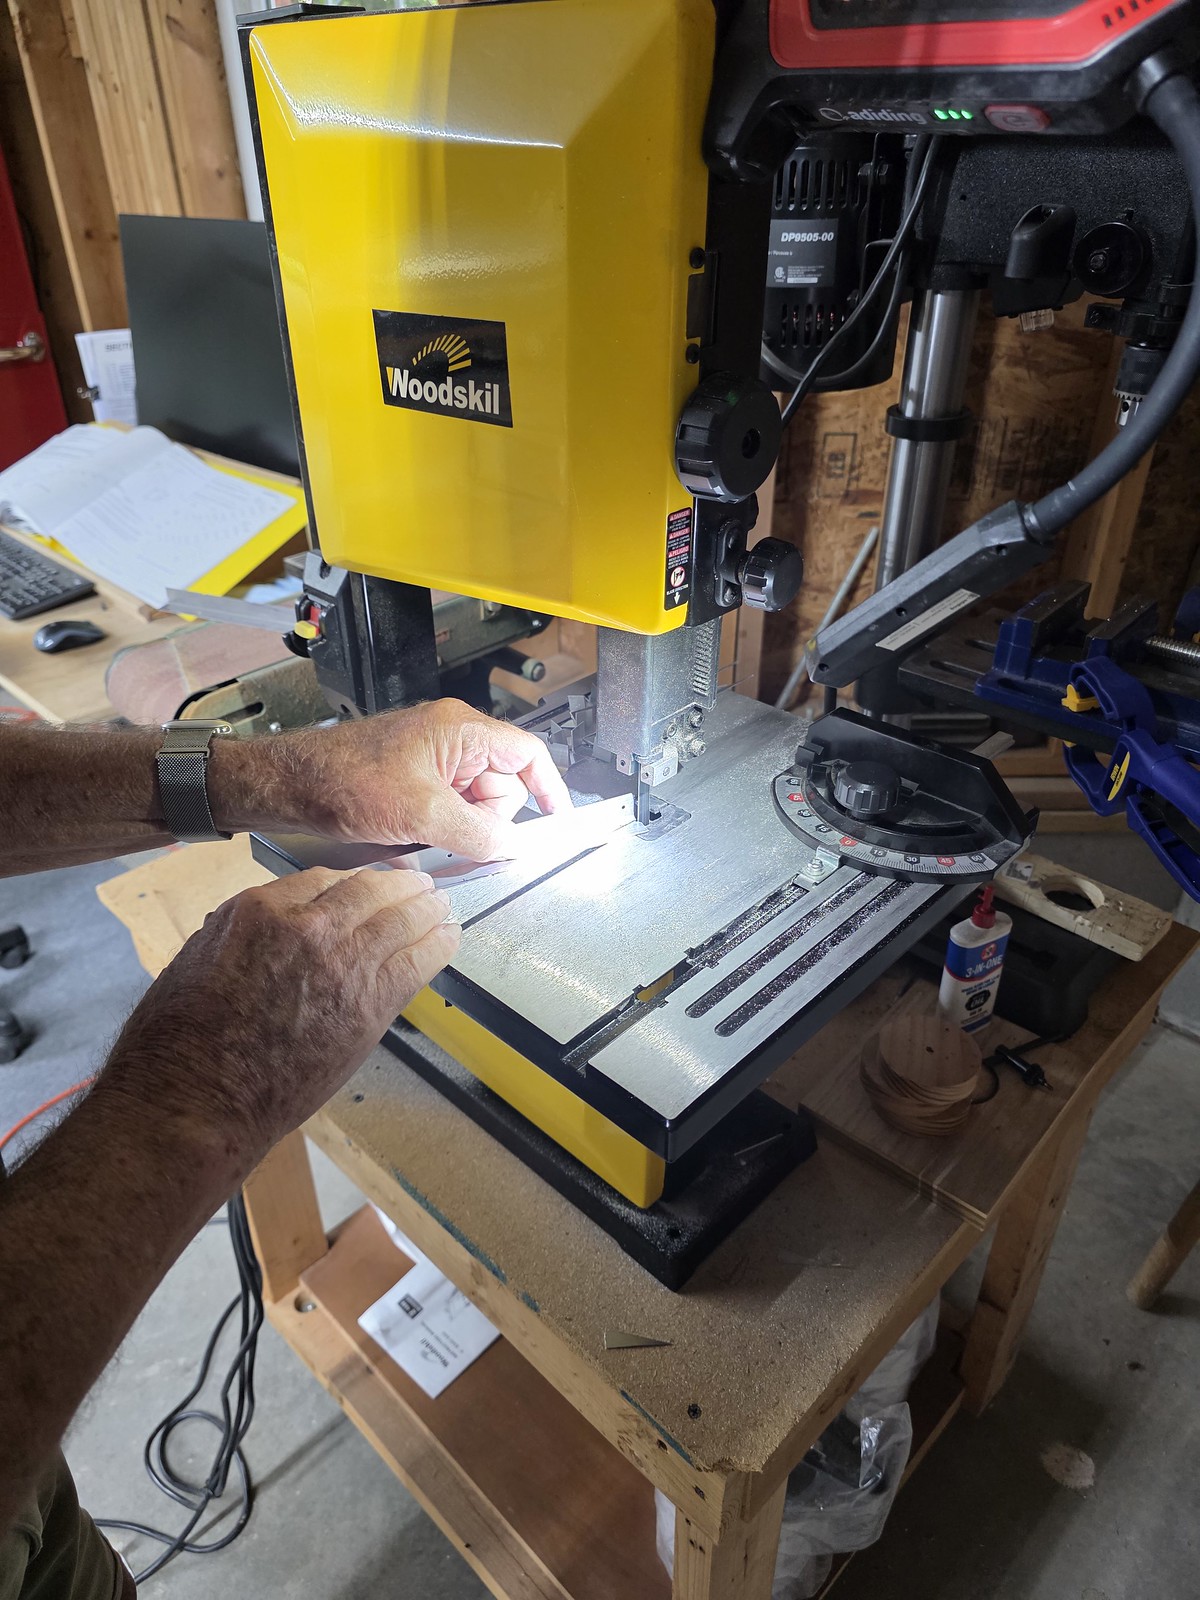
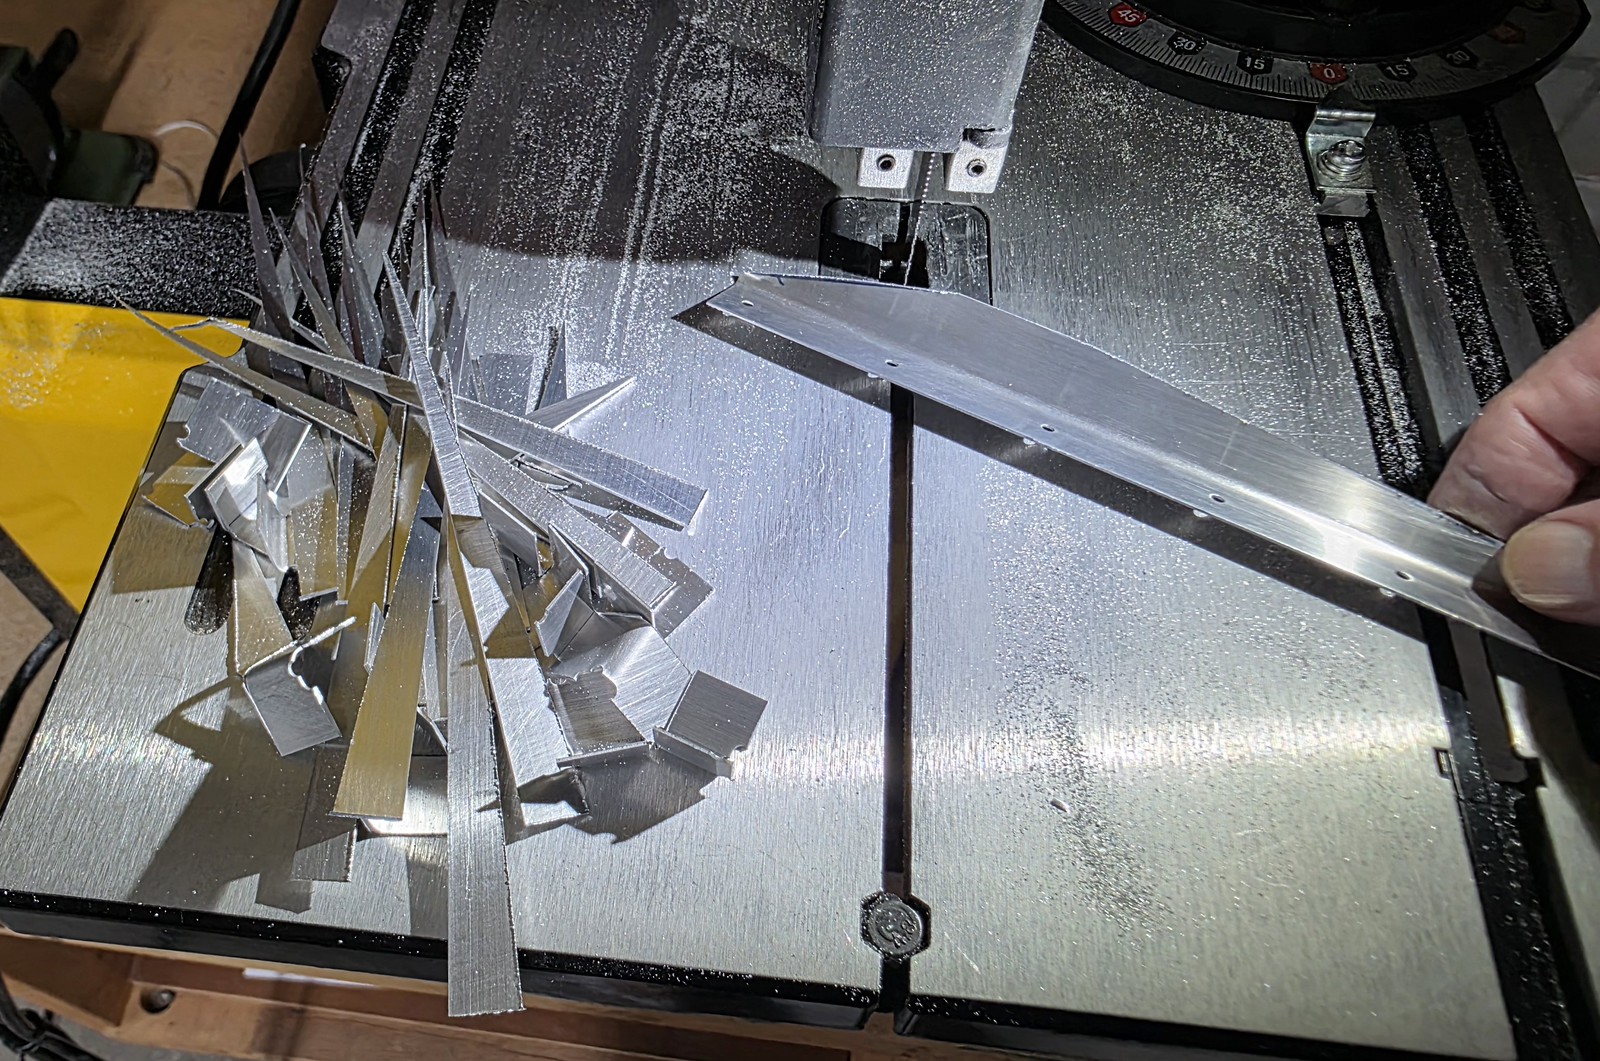
 manual ref
dimple and mask skins for primer
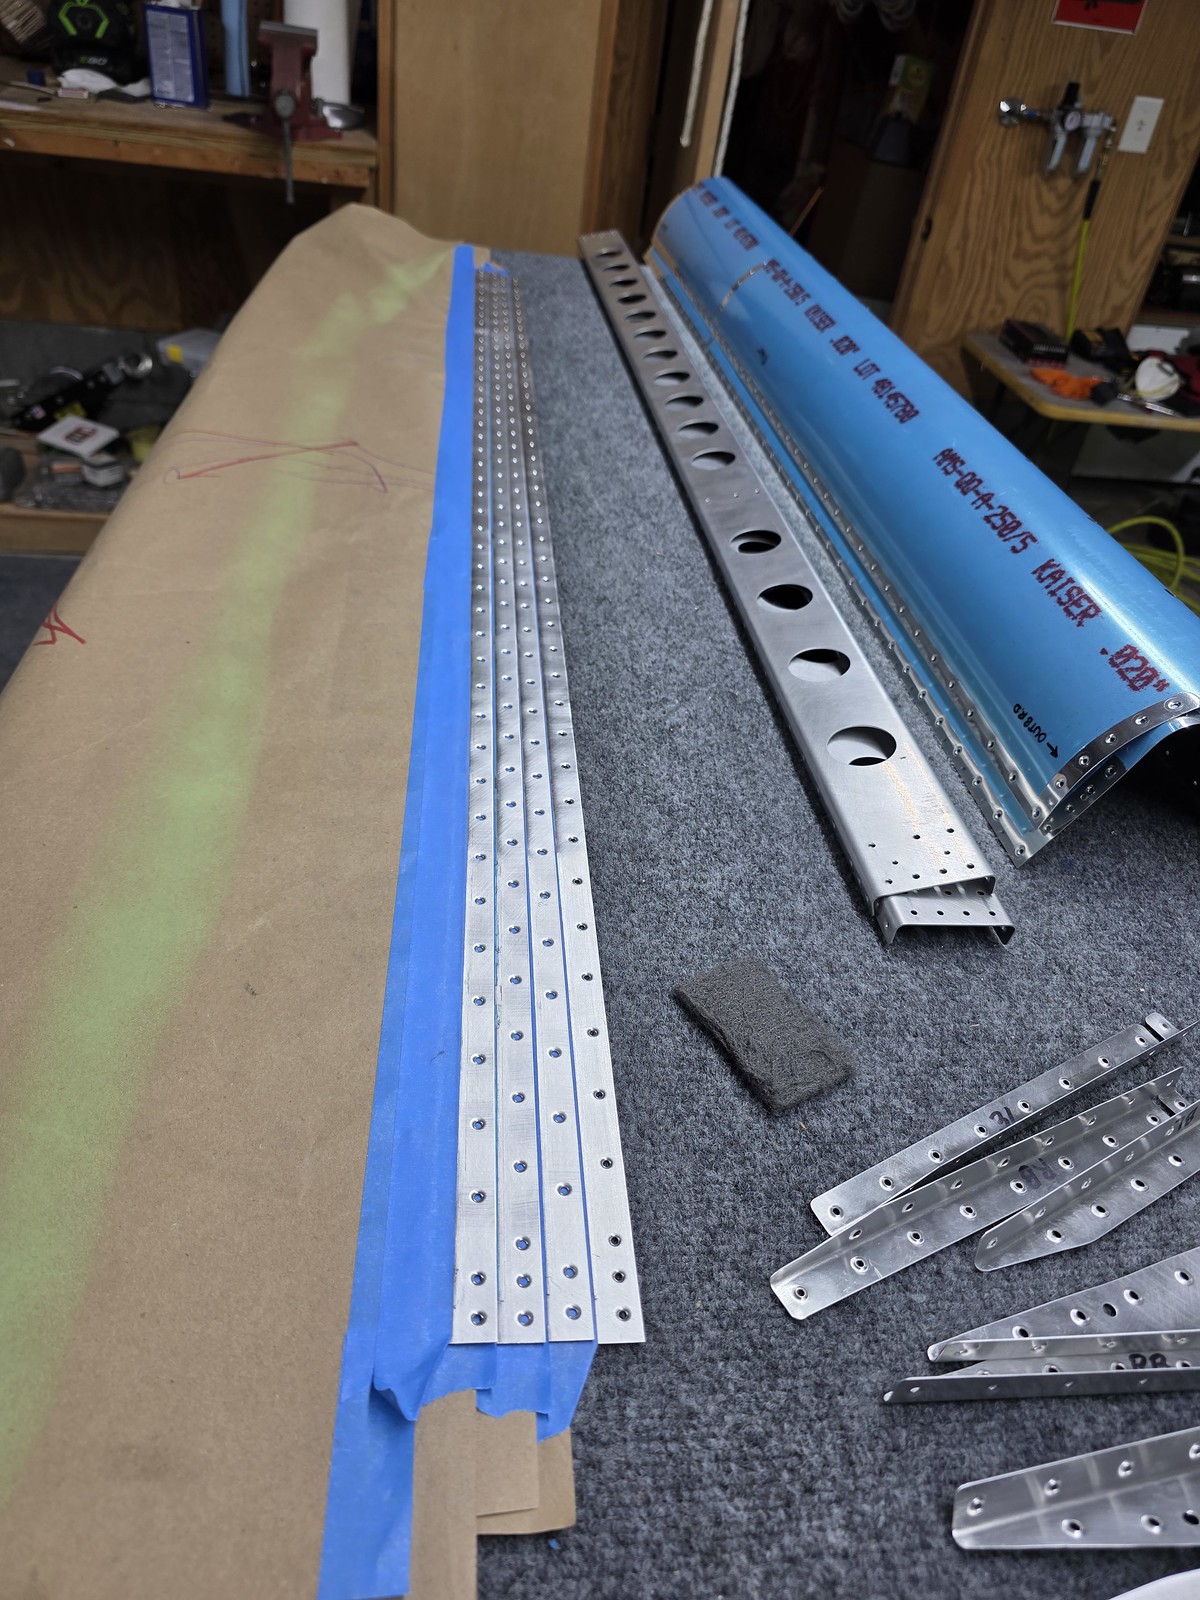
prime painting
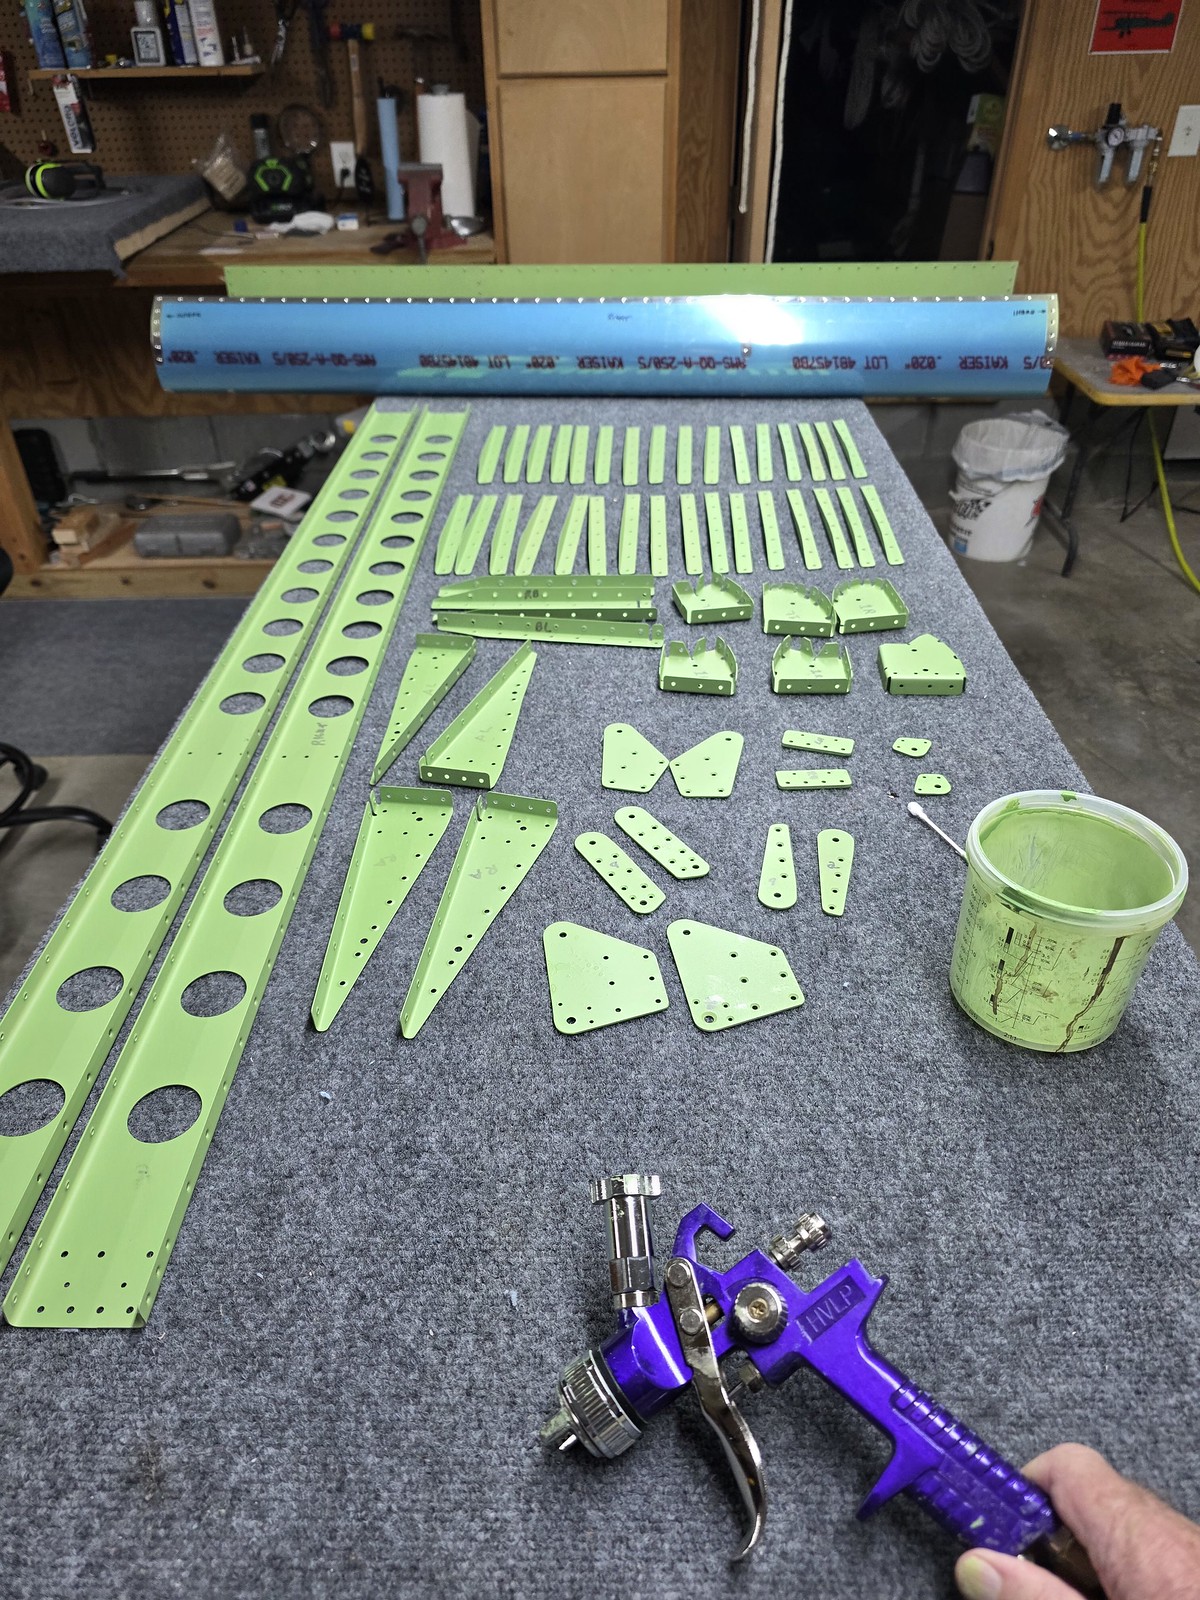
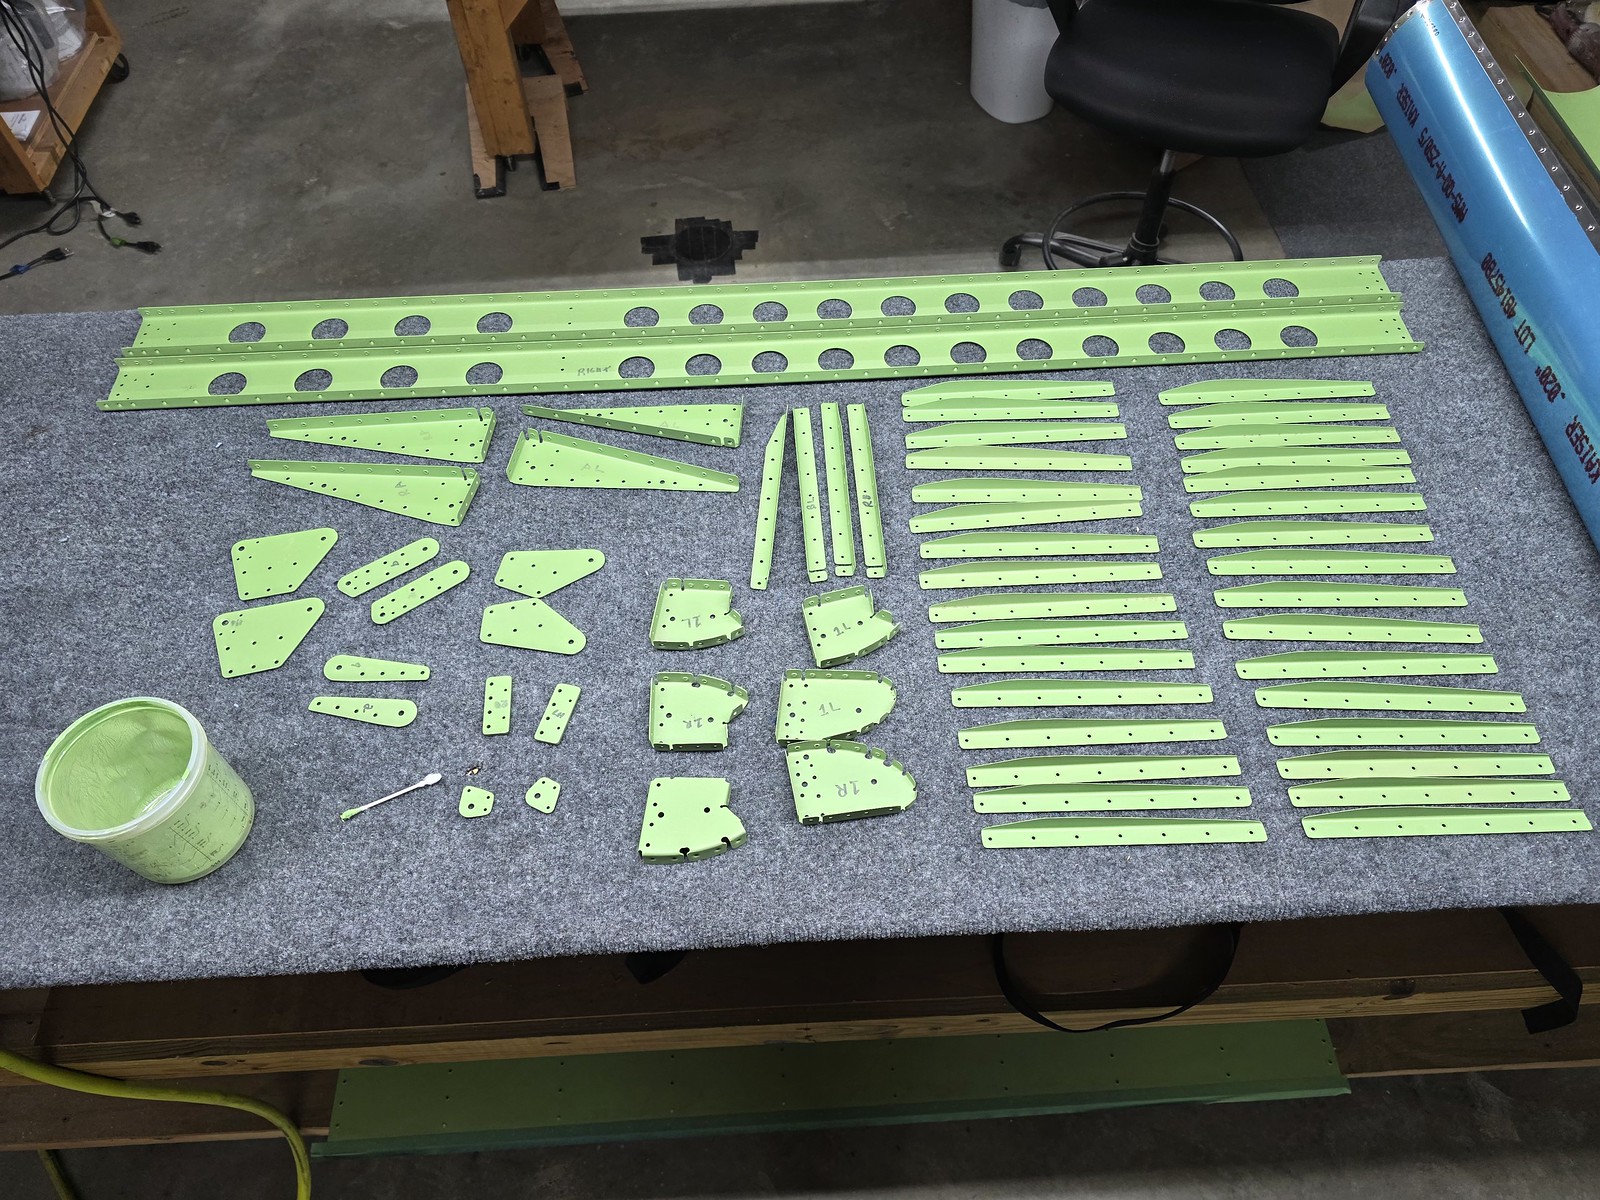
rivet doublers main ribs, backrivet stiffeners
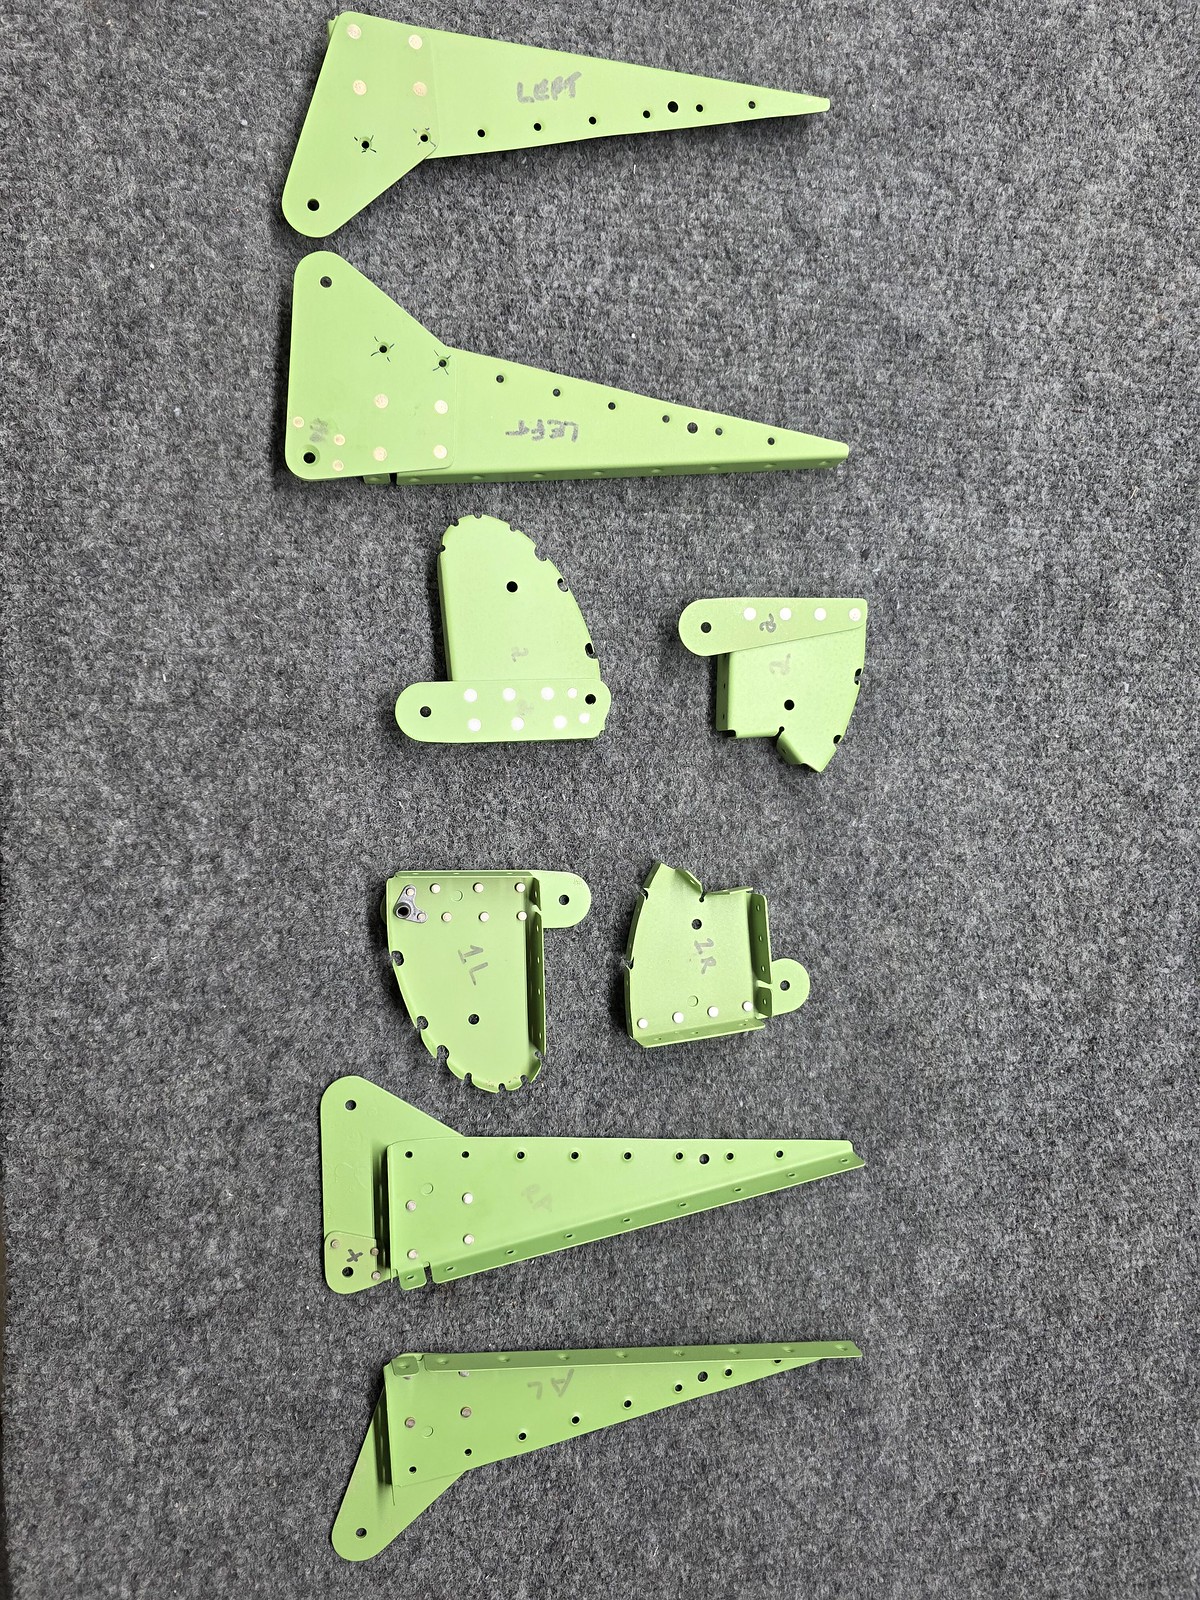
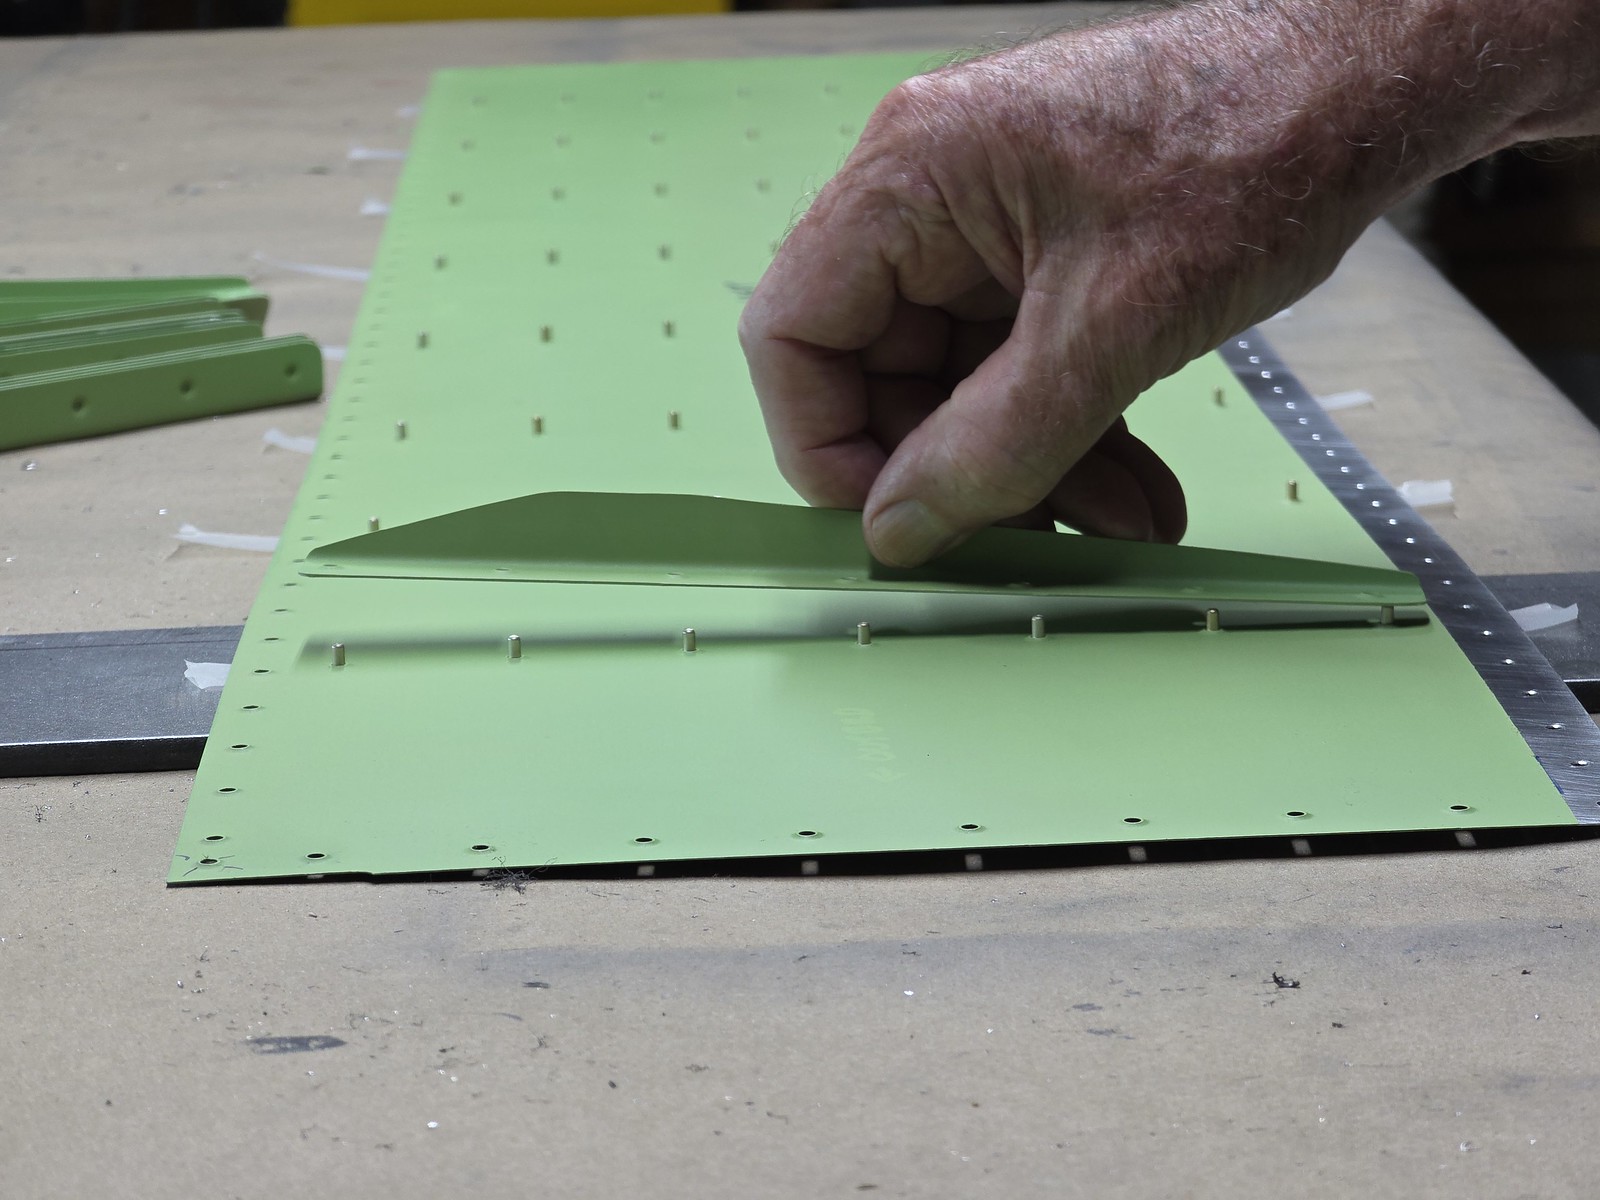
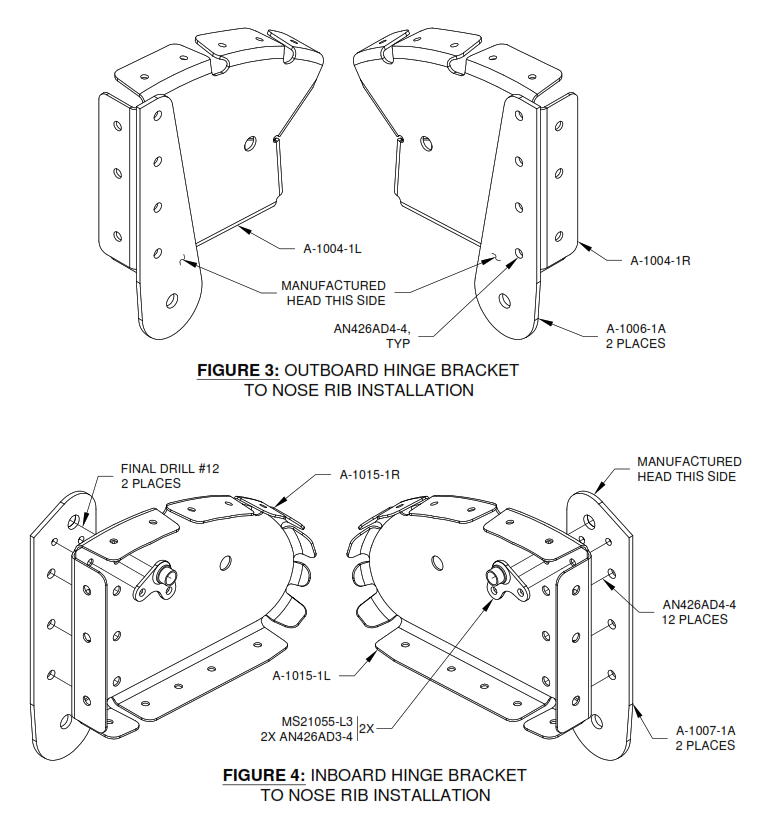 manual ref
backrivet stiffeners, attach counterbalance to nose ribs with hardware

cleco the trailing edge and mark

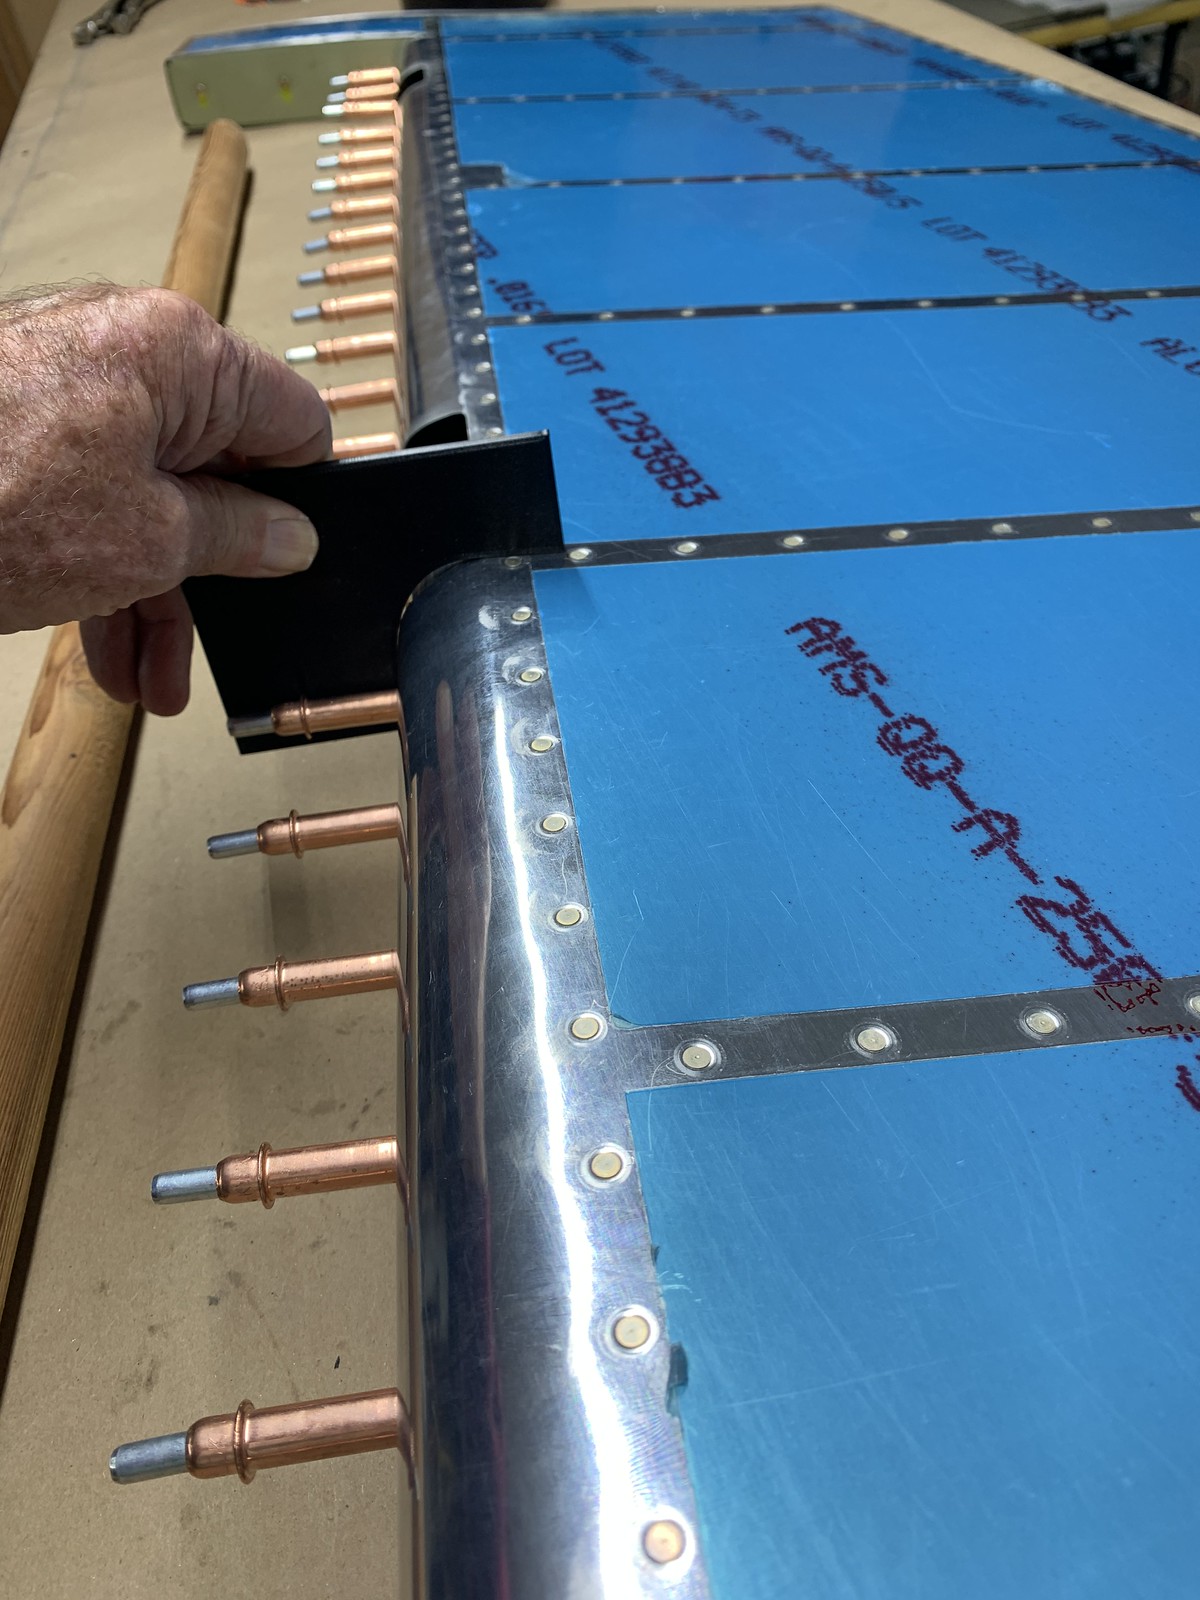
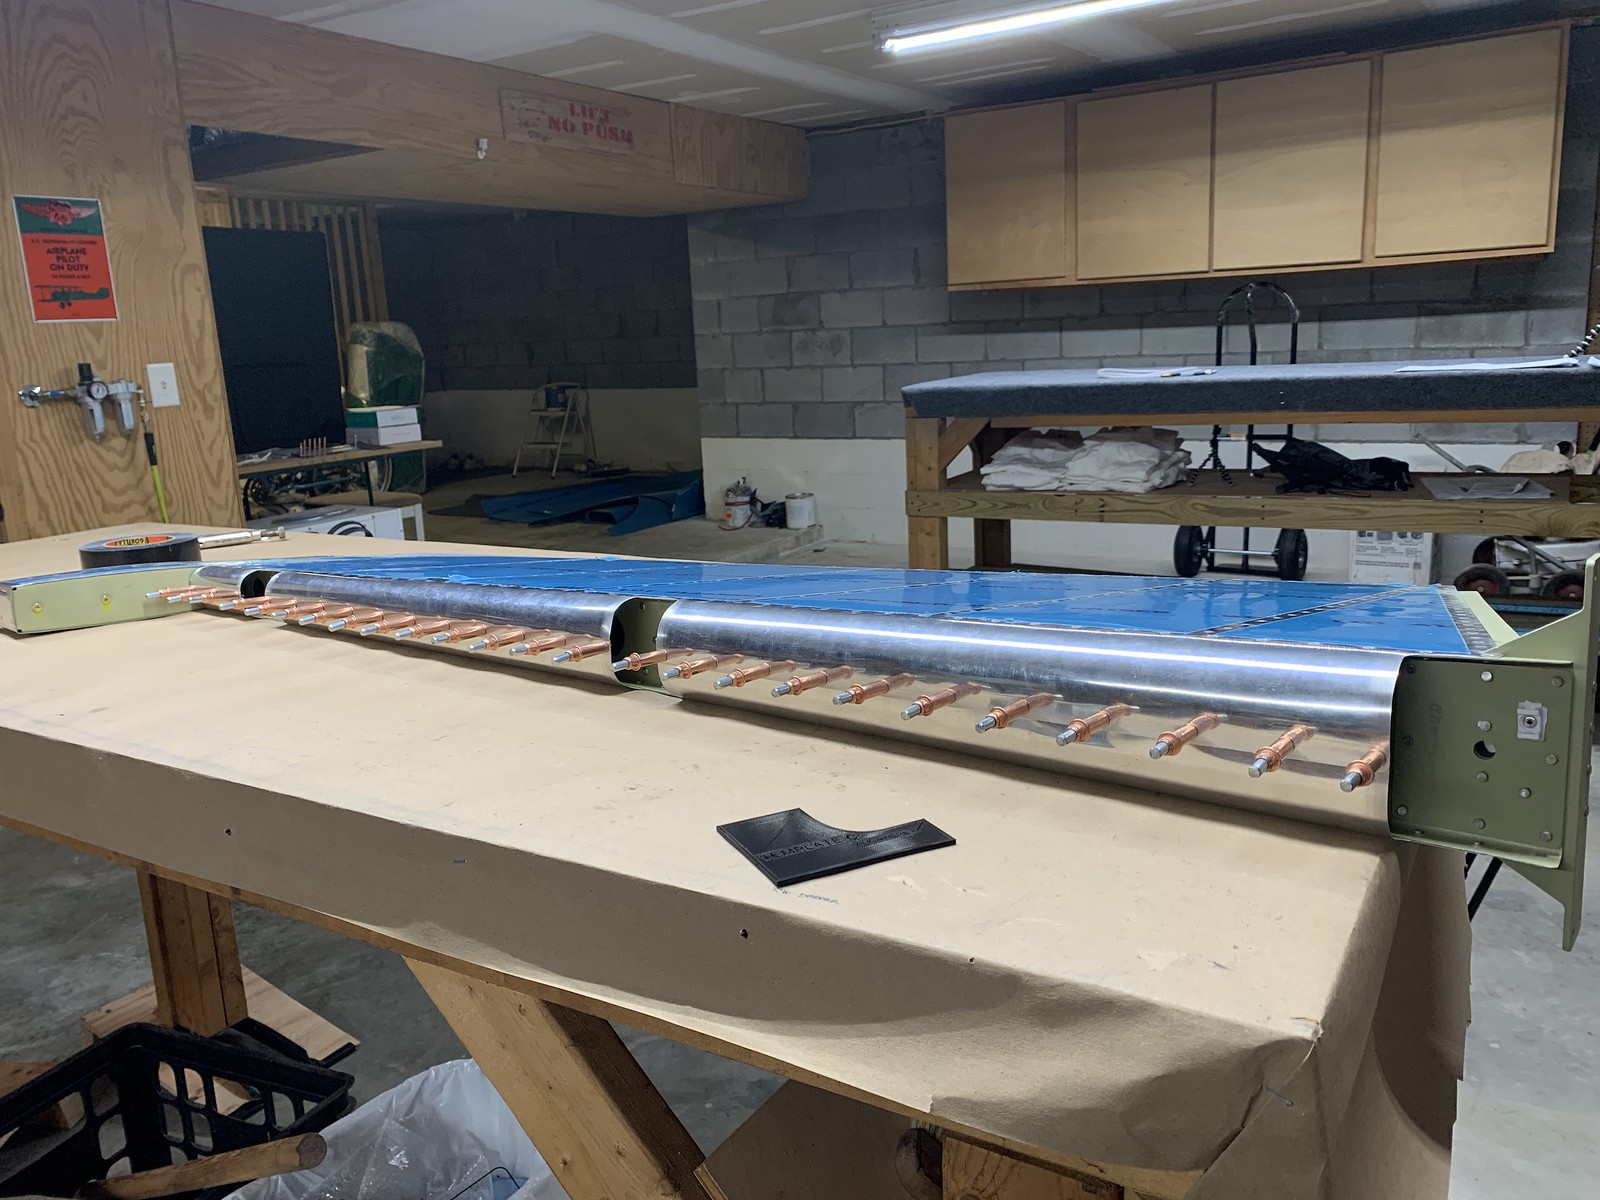
the angle piece keeps the edge flat and straight for match drilling
final drill trailing edge, make edge breaks, dimple skin trailing edge L
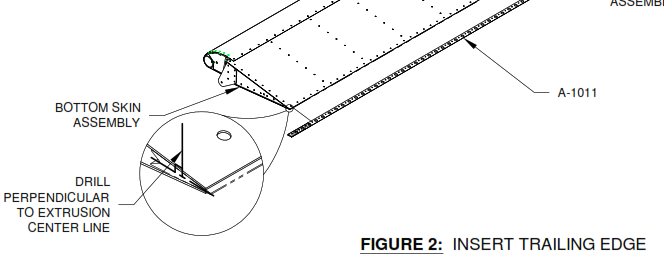 manual ref
final drill trailing edge, make edge breaks, dimple skin trailing edge R
final drill counterbalance, trim trailing edge, debur, rivet nose skin to ribs R
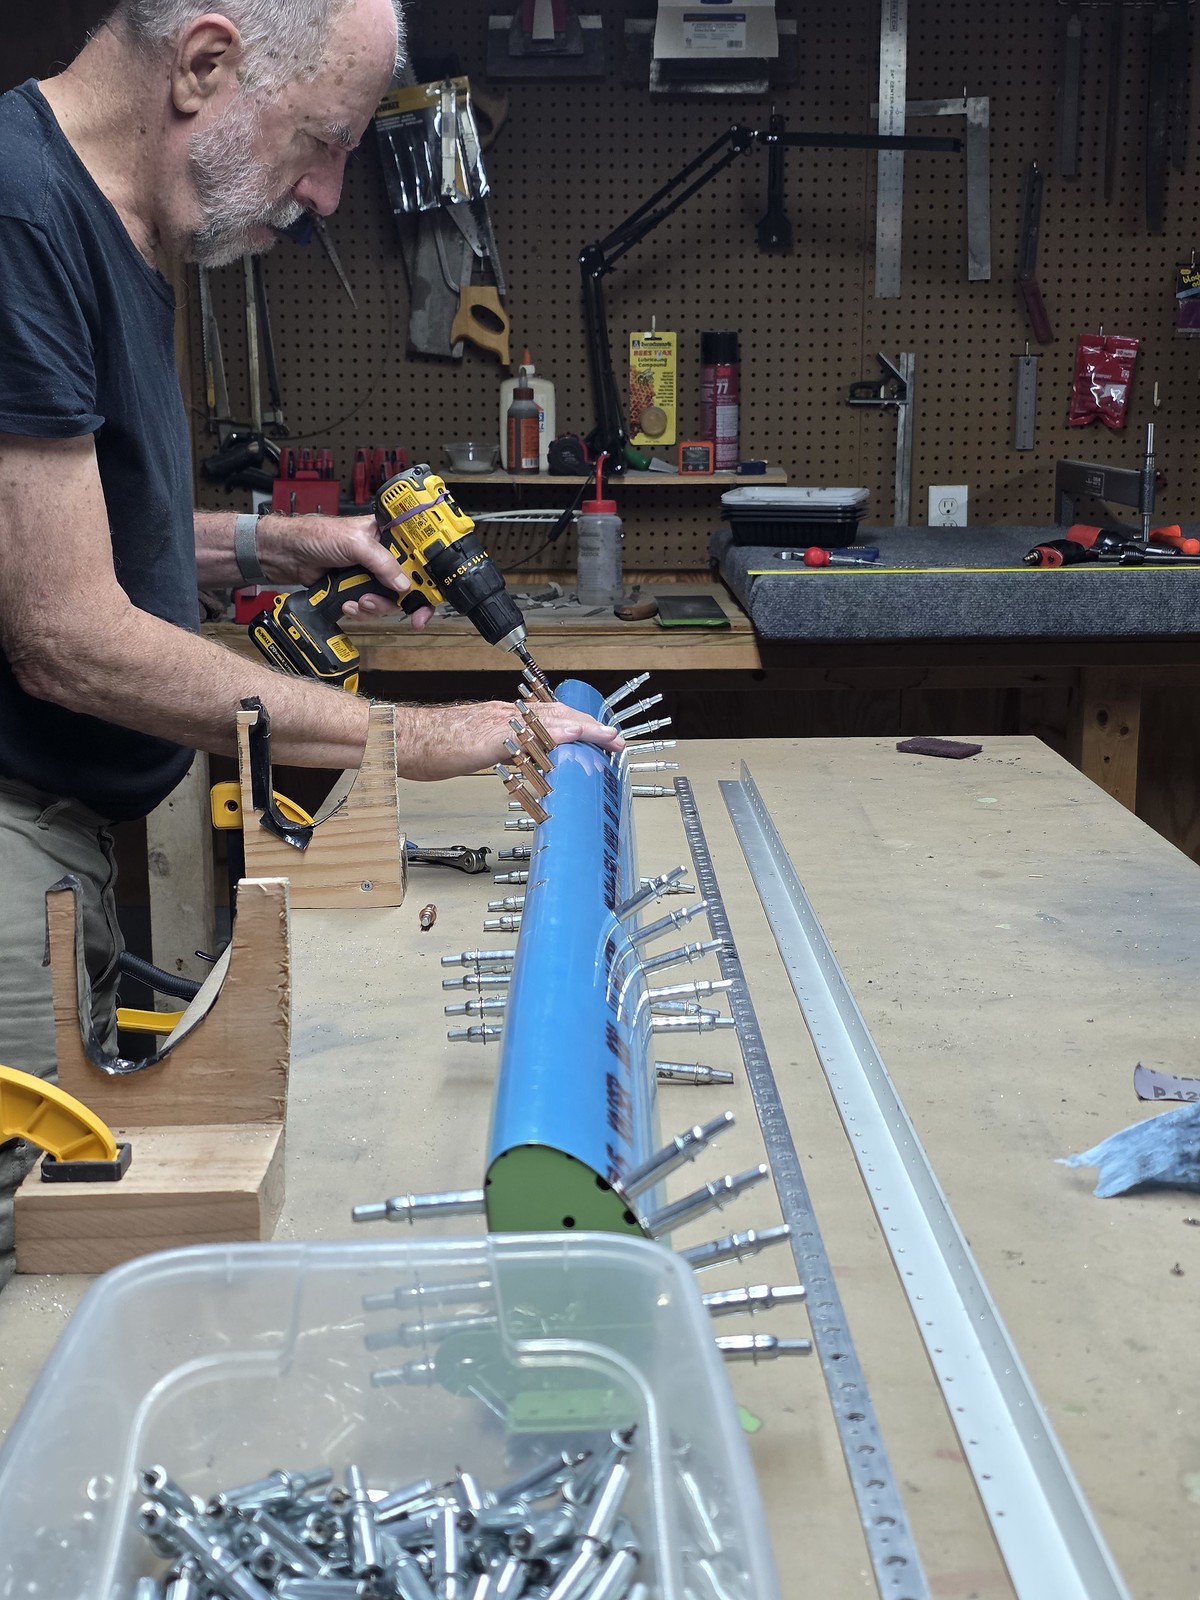
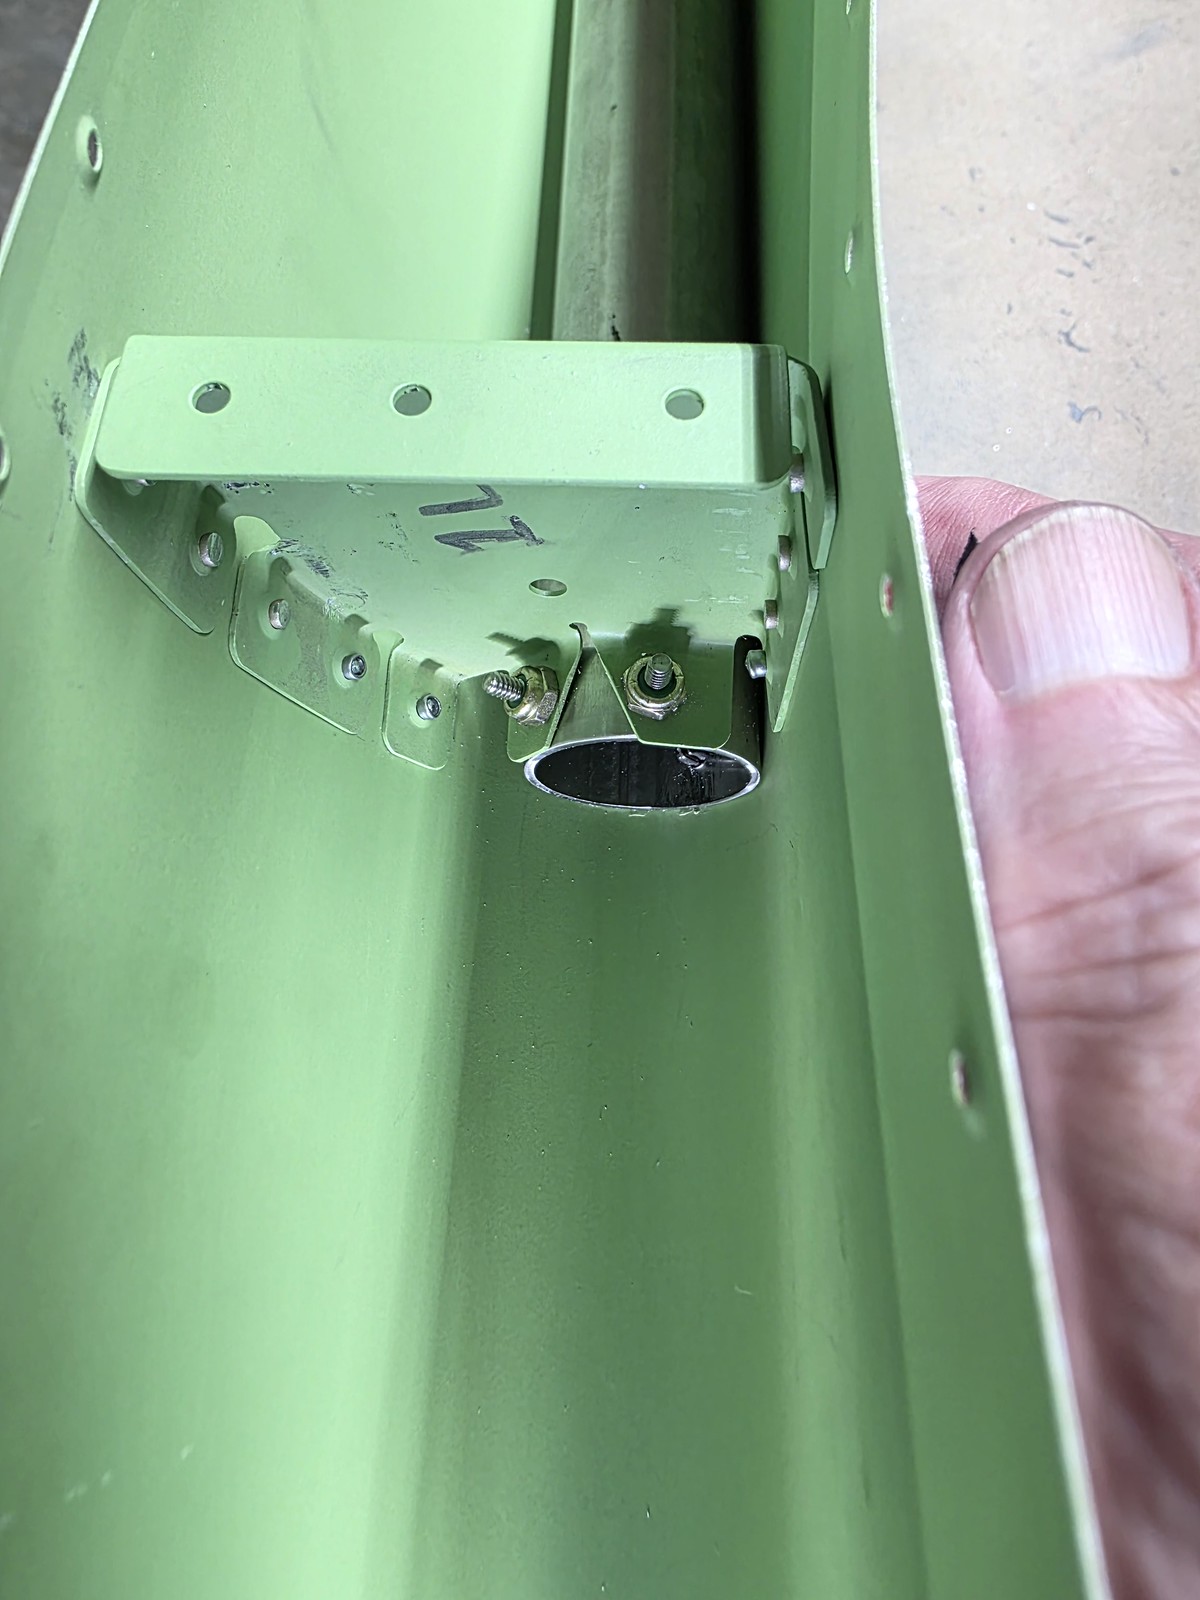
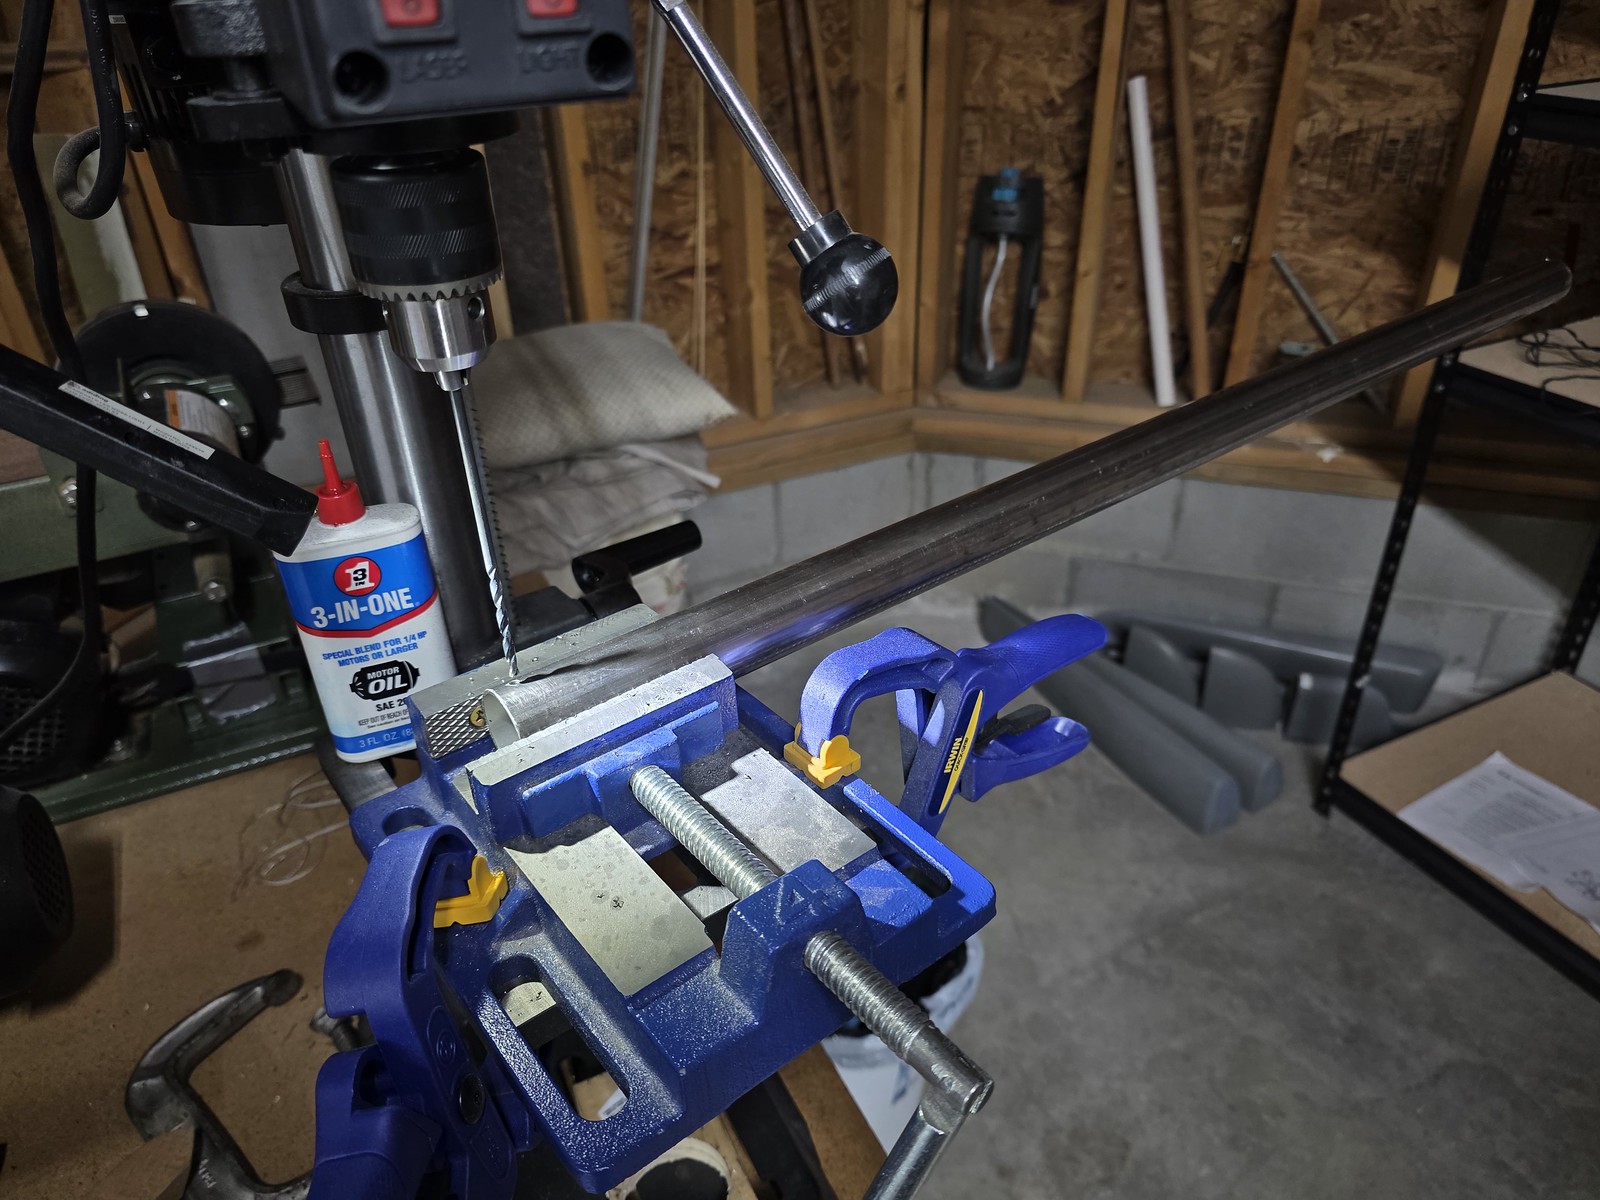
I used the drill press to make the pilot holes in the SS counterbalance. The hand drill tends to wander leading to poor outcome.
countersink trailing edges, rivet spar to nose ribs

nose skin do-over LH)
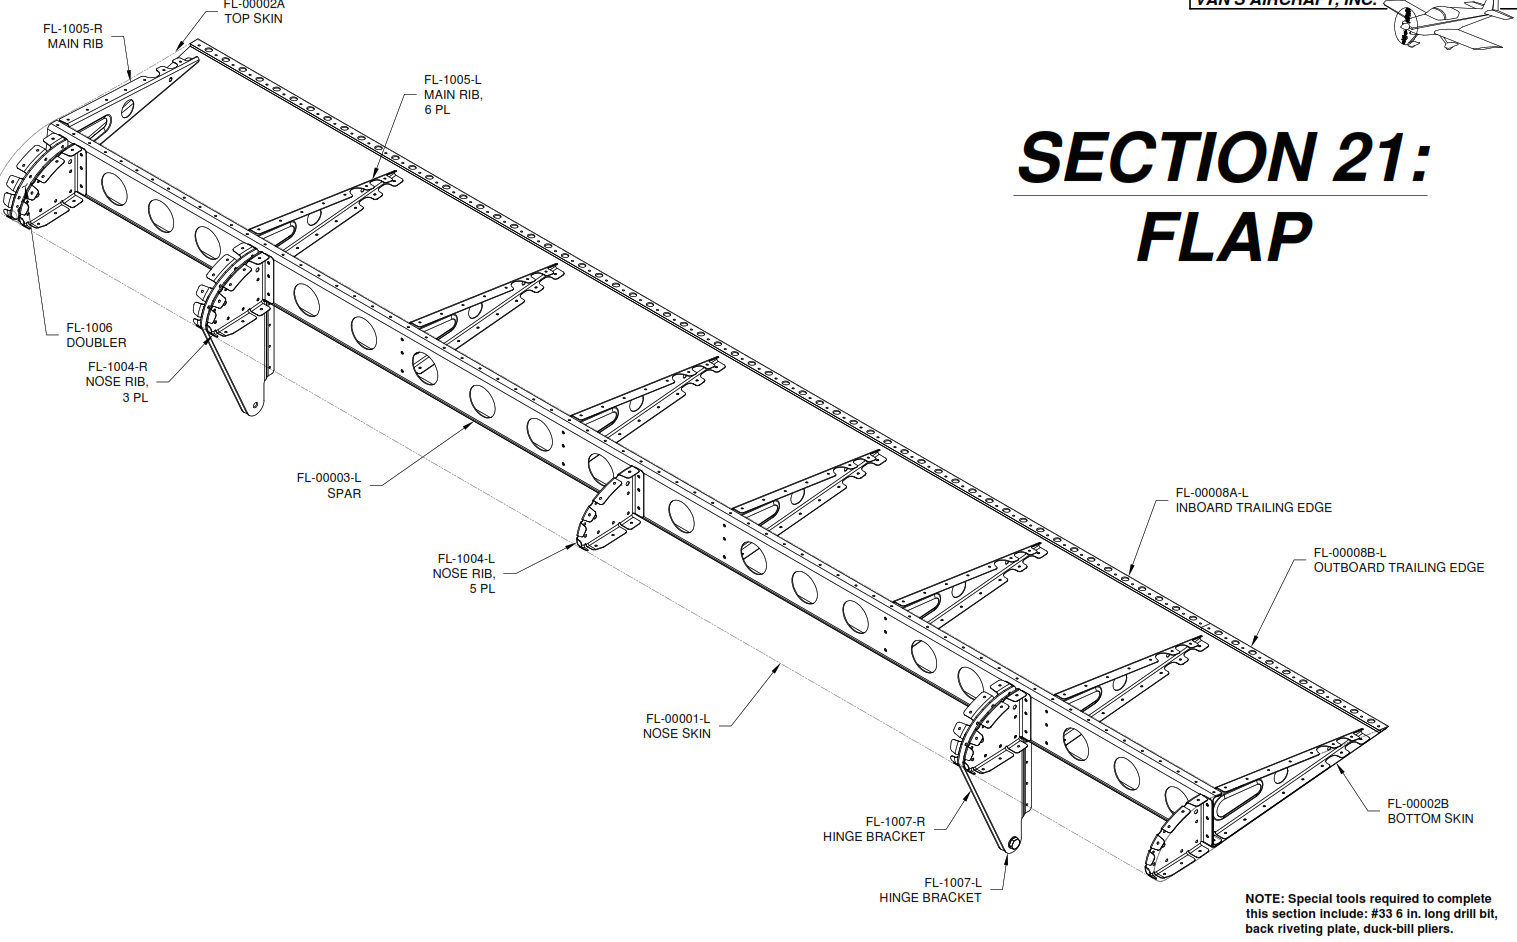
Flaps
fab cradle fixtures

Hinge Bracket Flanges

End Rib Subassemblies and hinge pair rib subassemblies
Main rib tab removal, debur

debur, preassemble lower skin, ribs, hinges, spar

cleco flap and match drill
disassemble and debur
preassemble right flap, bend leading edges, trim trailing edge extrusions

debur upper skin and nose skin
match drill nose ribs, TE, hinge brackets. countersink hinge brackets, disassemble debur

countersink TE, dimple skins and spars

dimple ribs, skins. mask for primer
re-do rib, clean for prime
primer paint
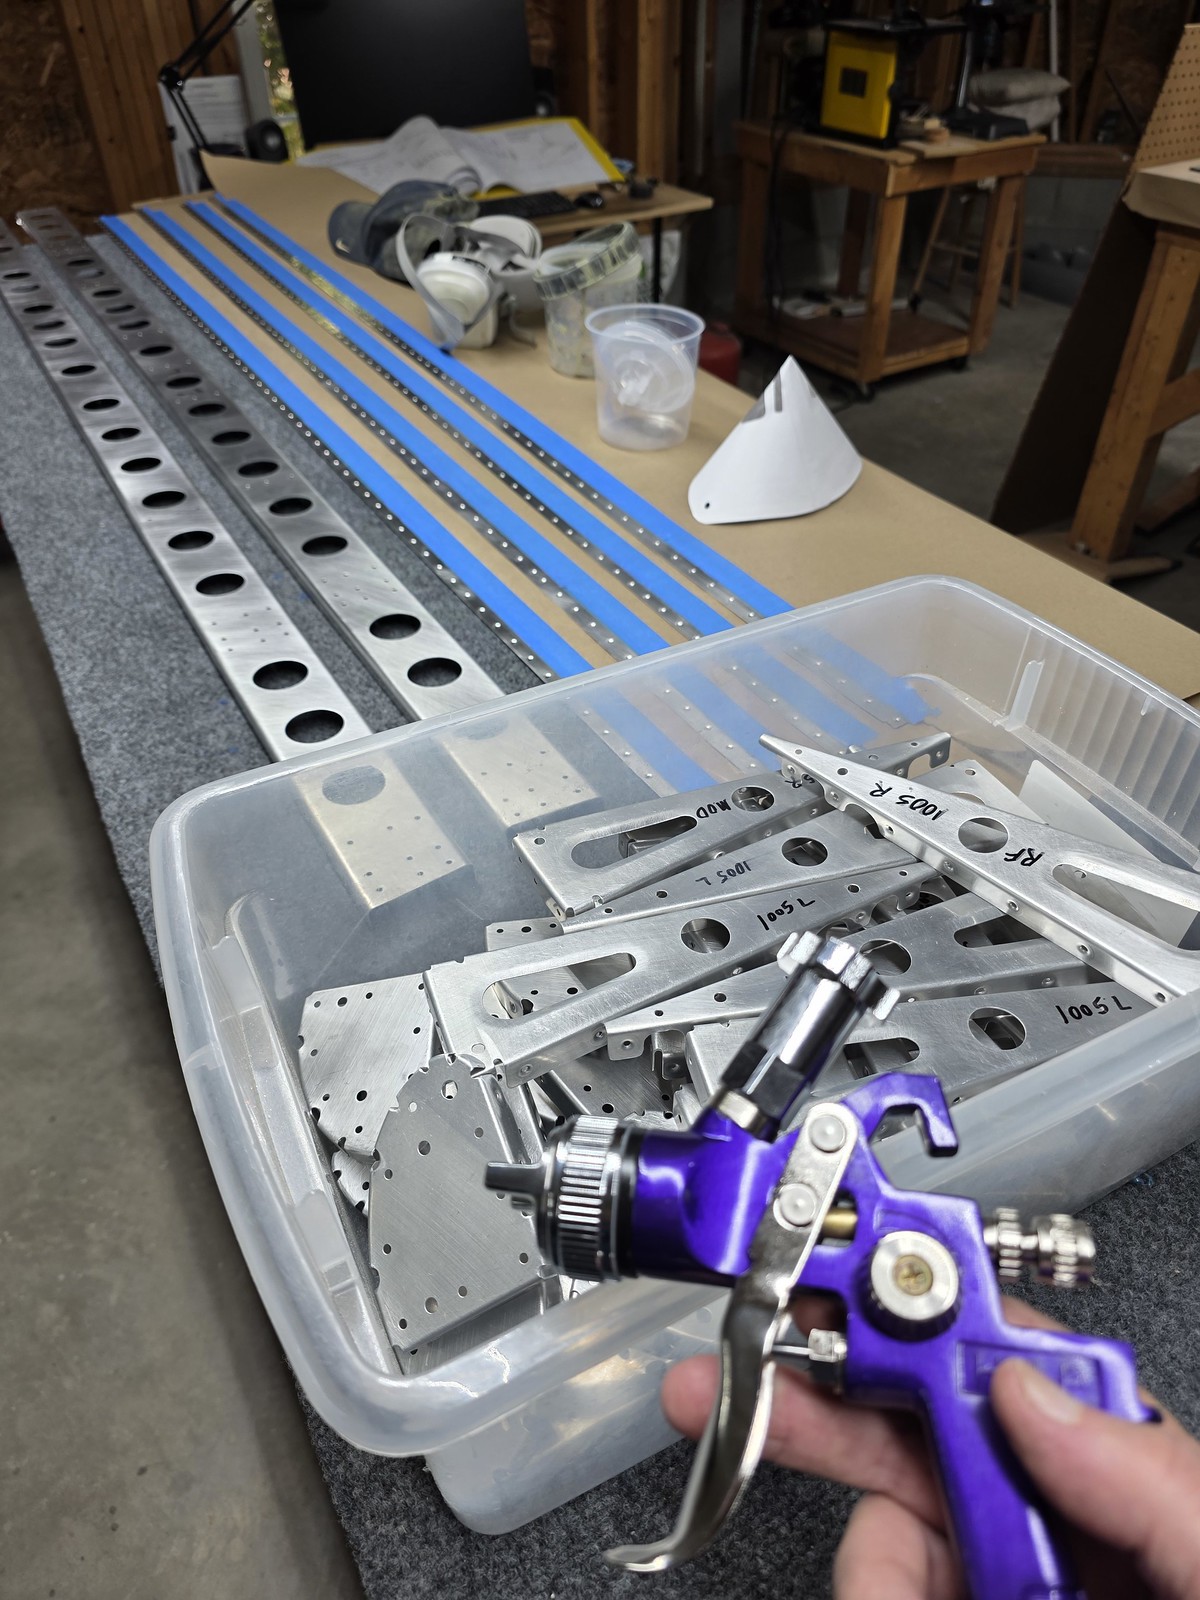
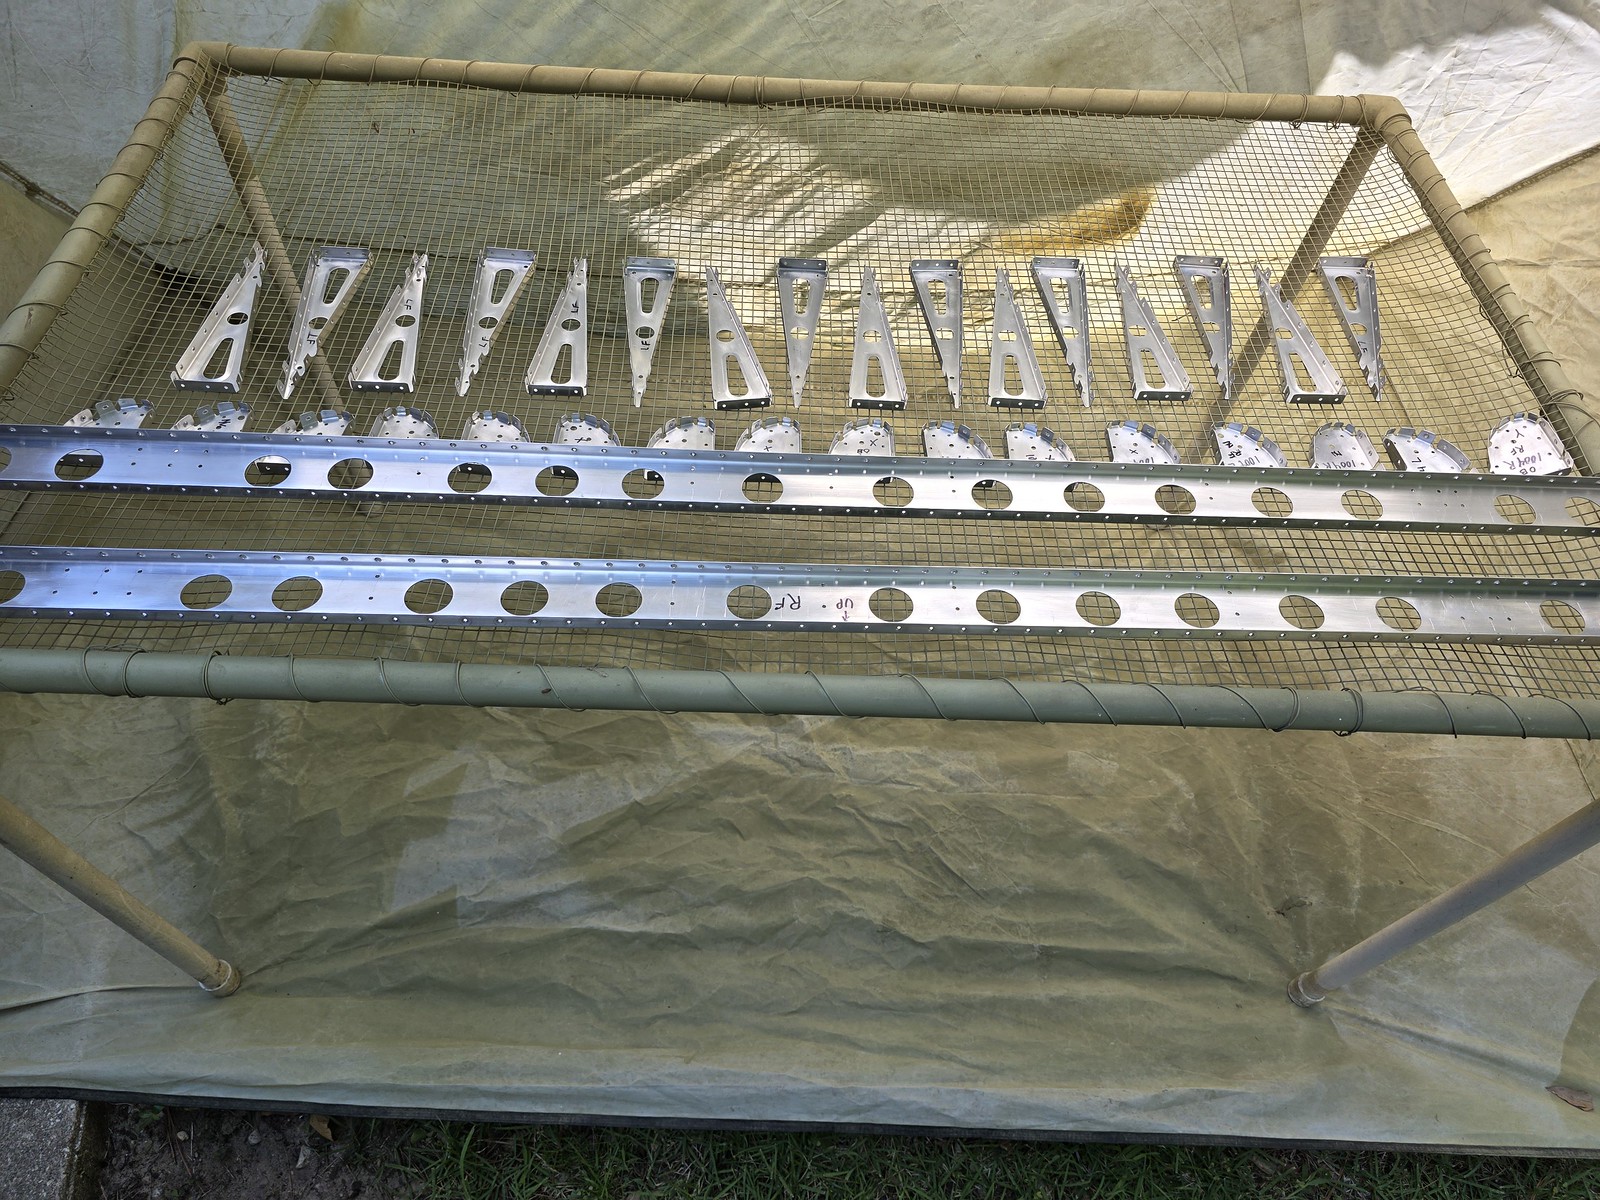
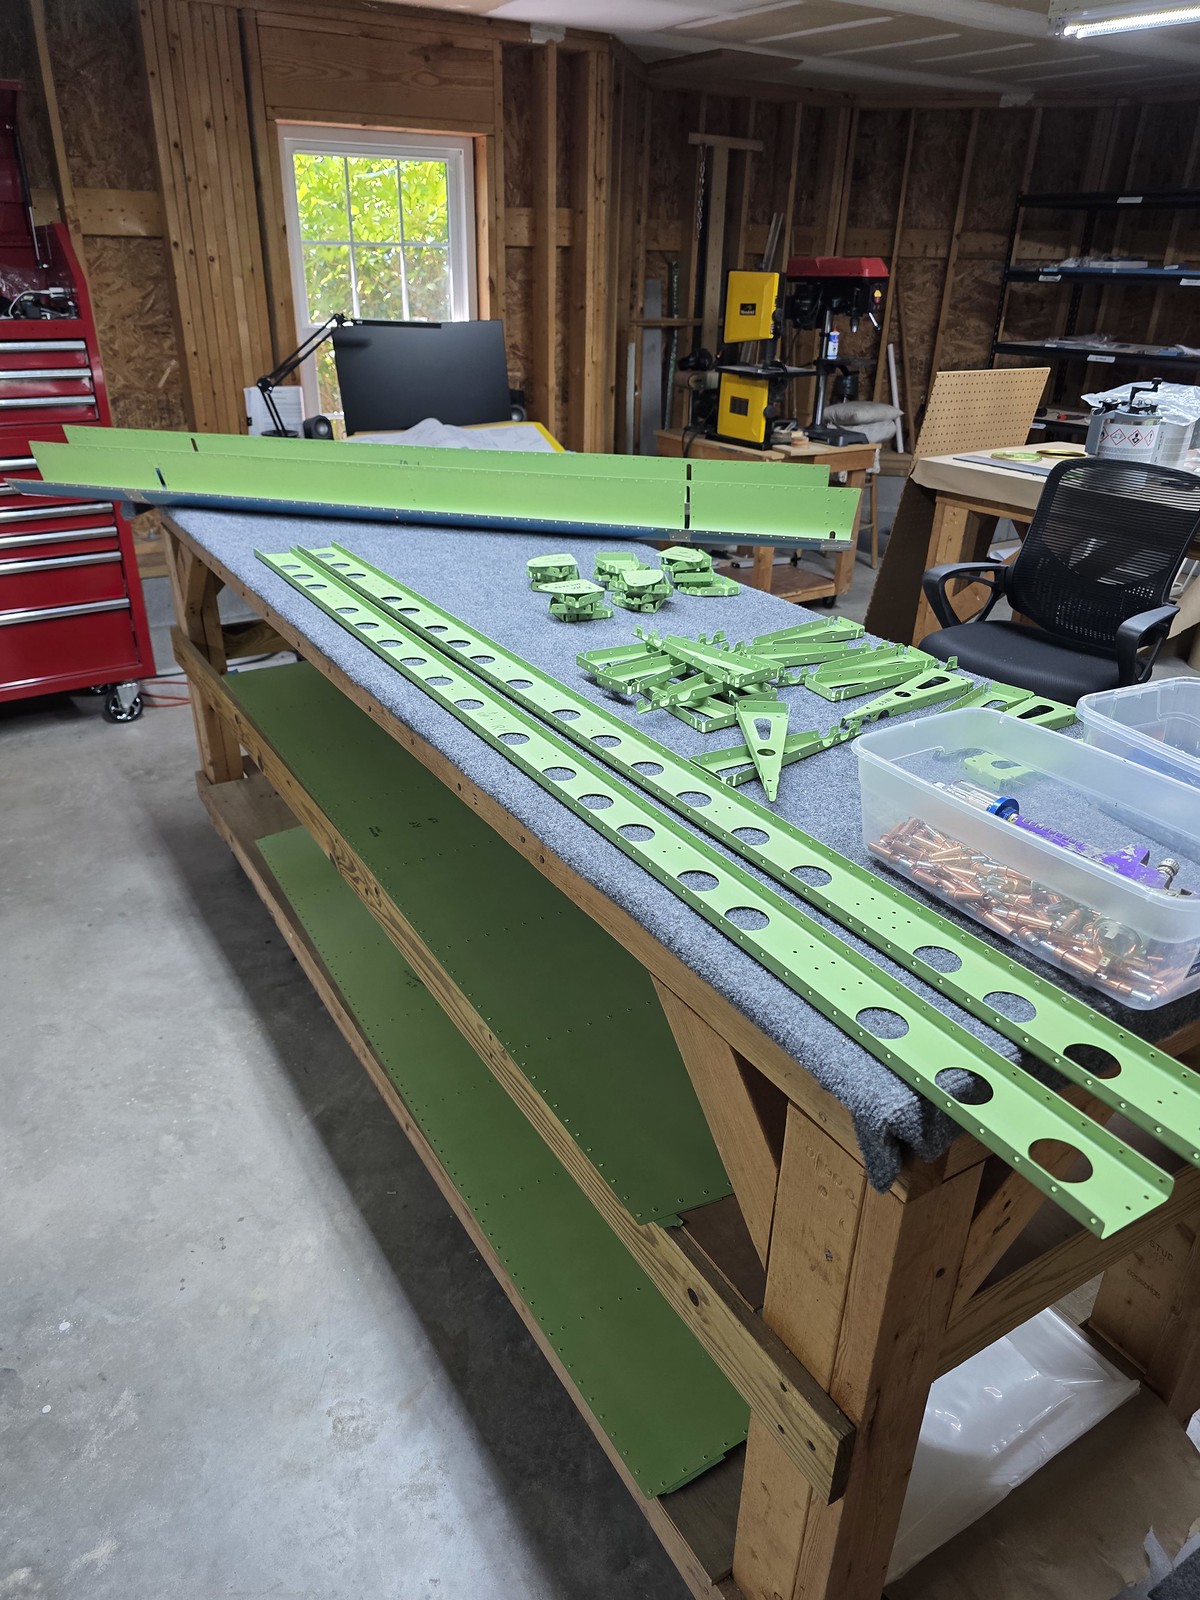
rivet rod end rib subassemblies

double flush rivet hinge pair subassemblies

rivet ribs, hinge subassemblies to spar

rivet ribs, hinge subassemblies to spar. cleco nose skin and top skin

rivet top skin to spar and nose skin

rivet ribs to top skin, check for twist
rivet top skin to spar and nose skin, blind rivet nose skin to nose ribs
rivet top skin to spar and nose skin, blind rivet nose skin to nose ribs
trailing edge adheasive
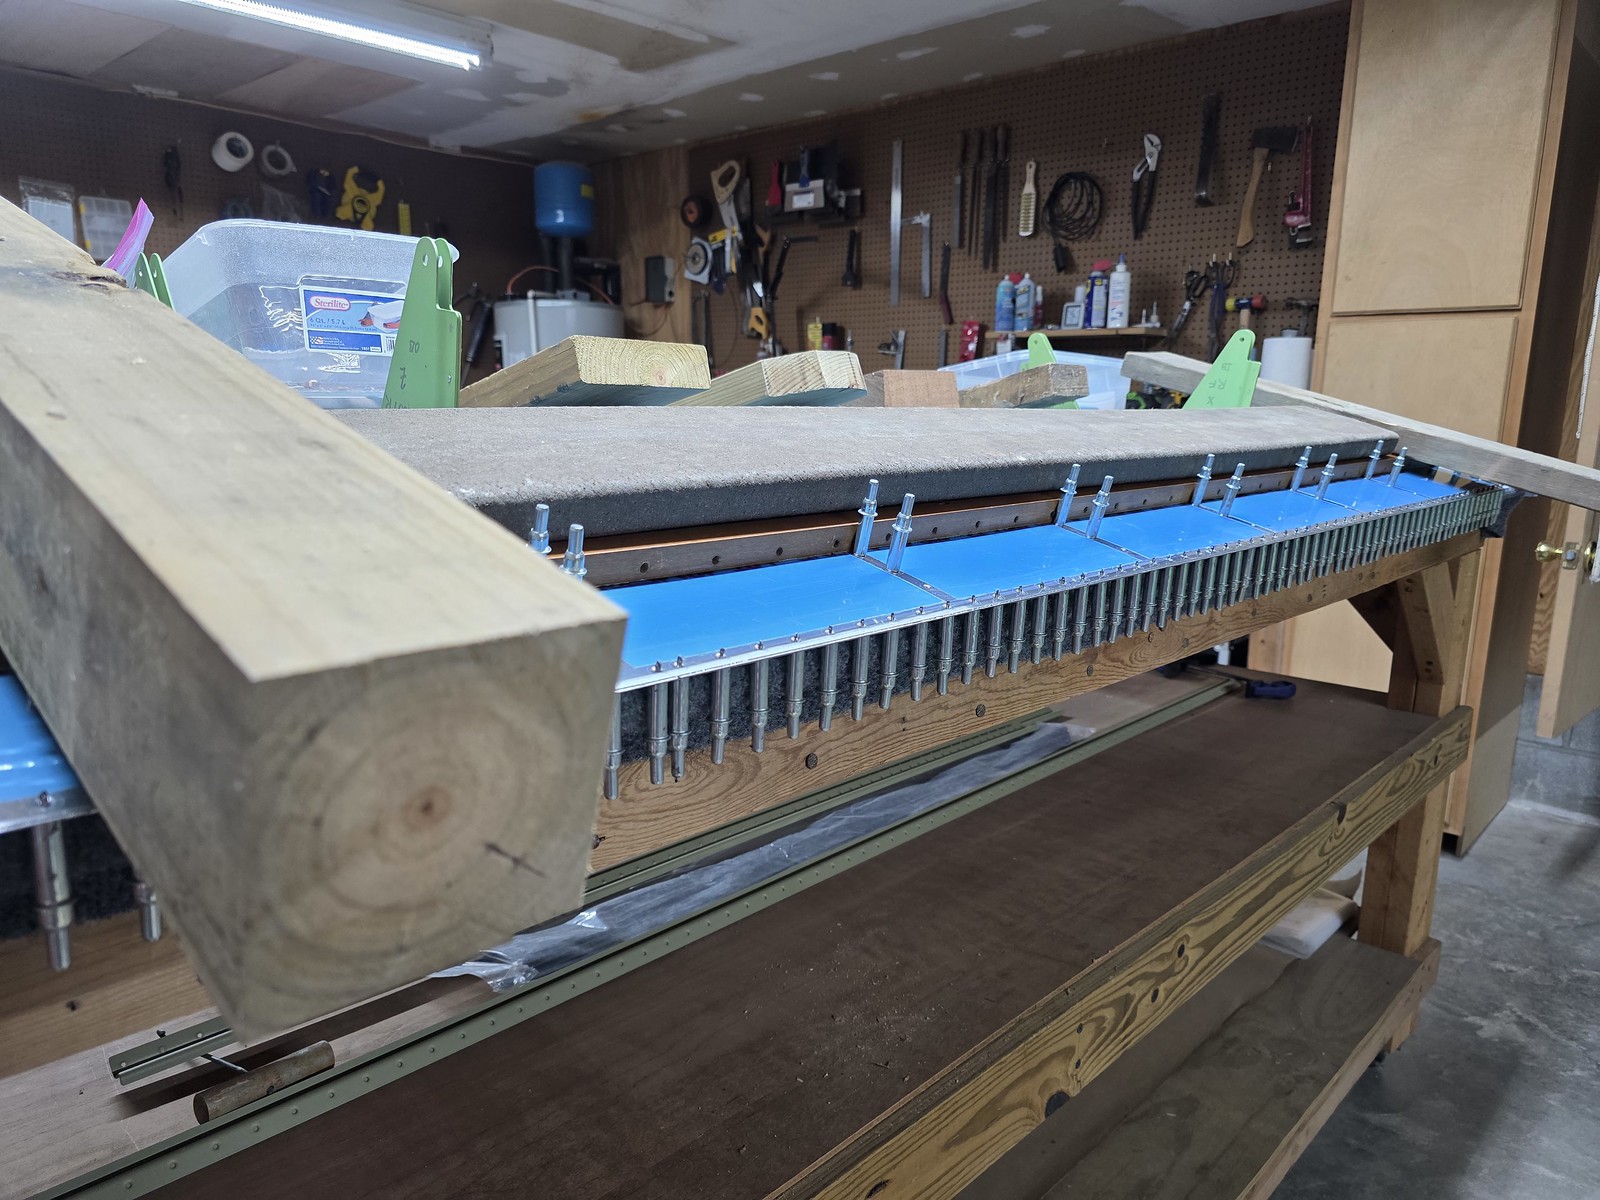
rivet trailing edges
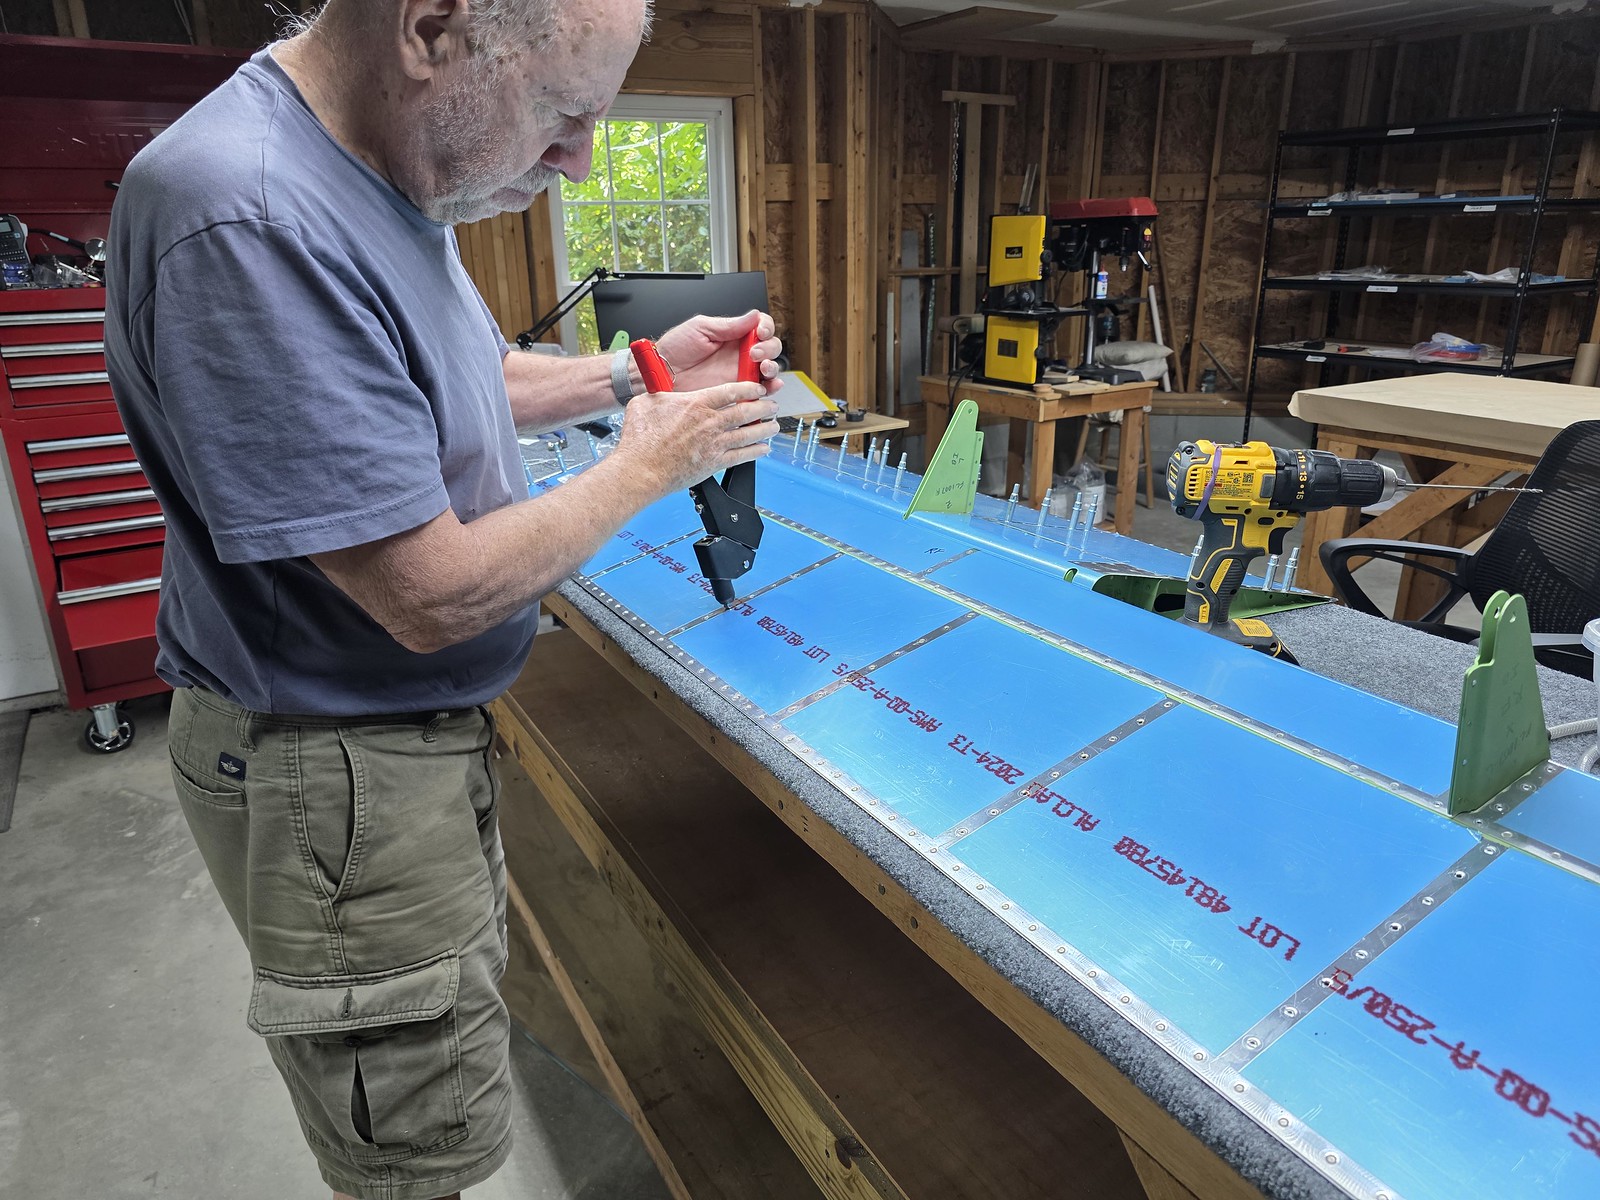
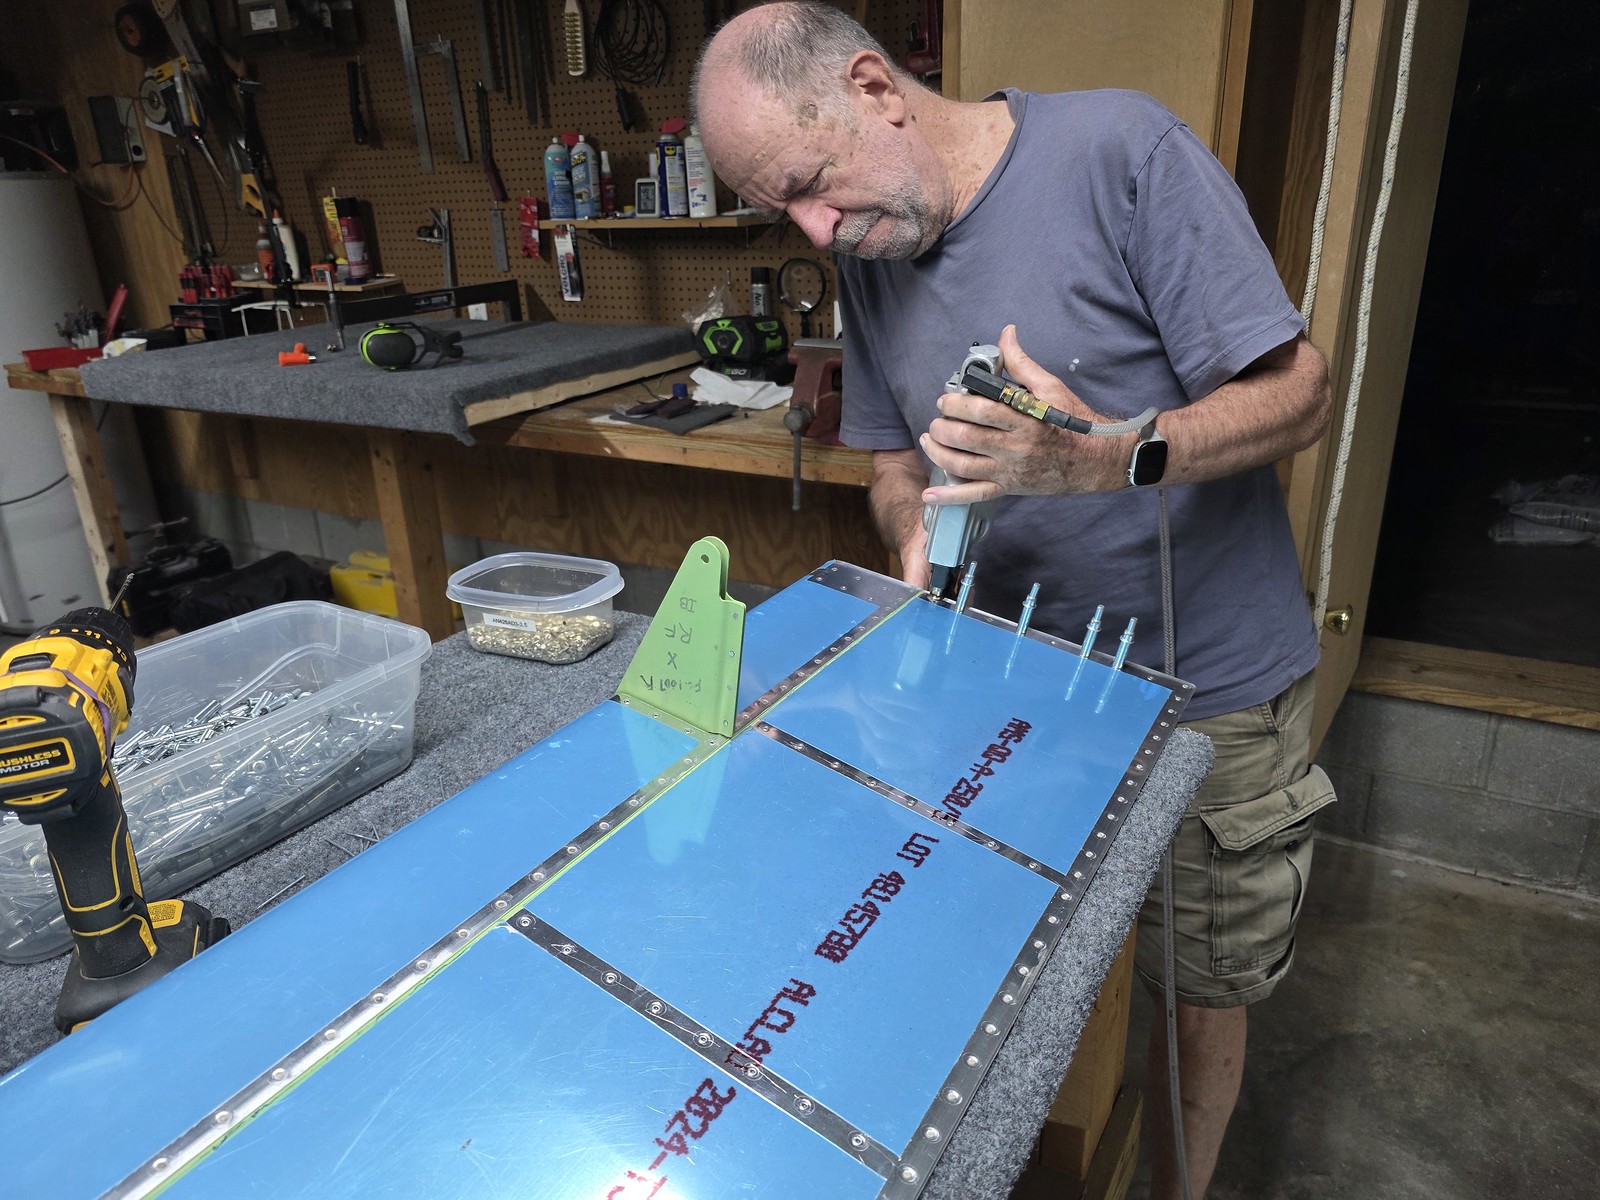
rivet bottom skin to ribs
Systems
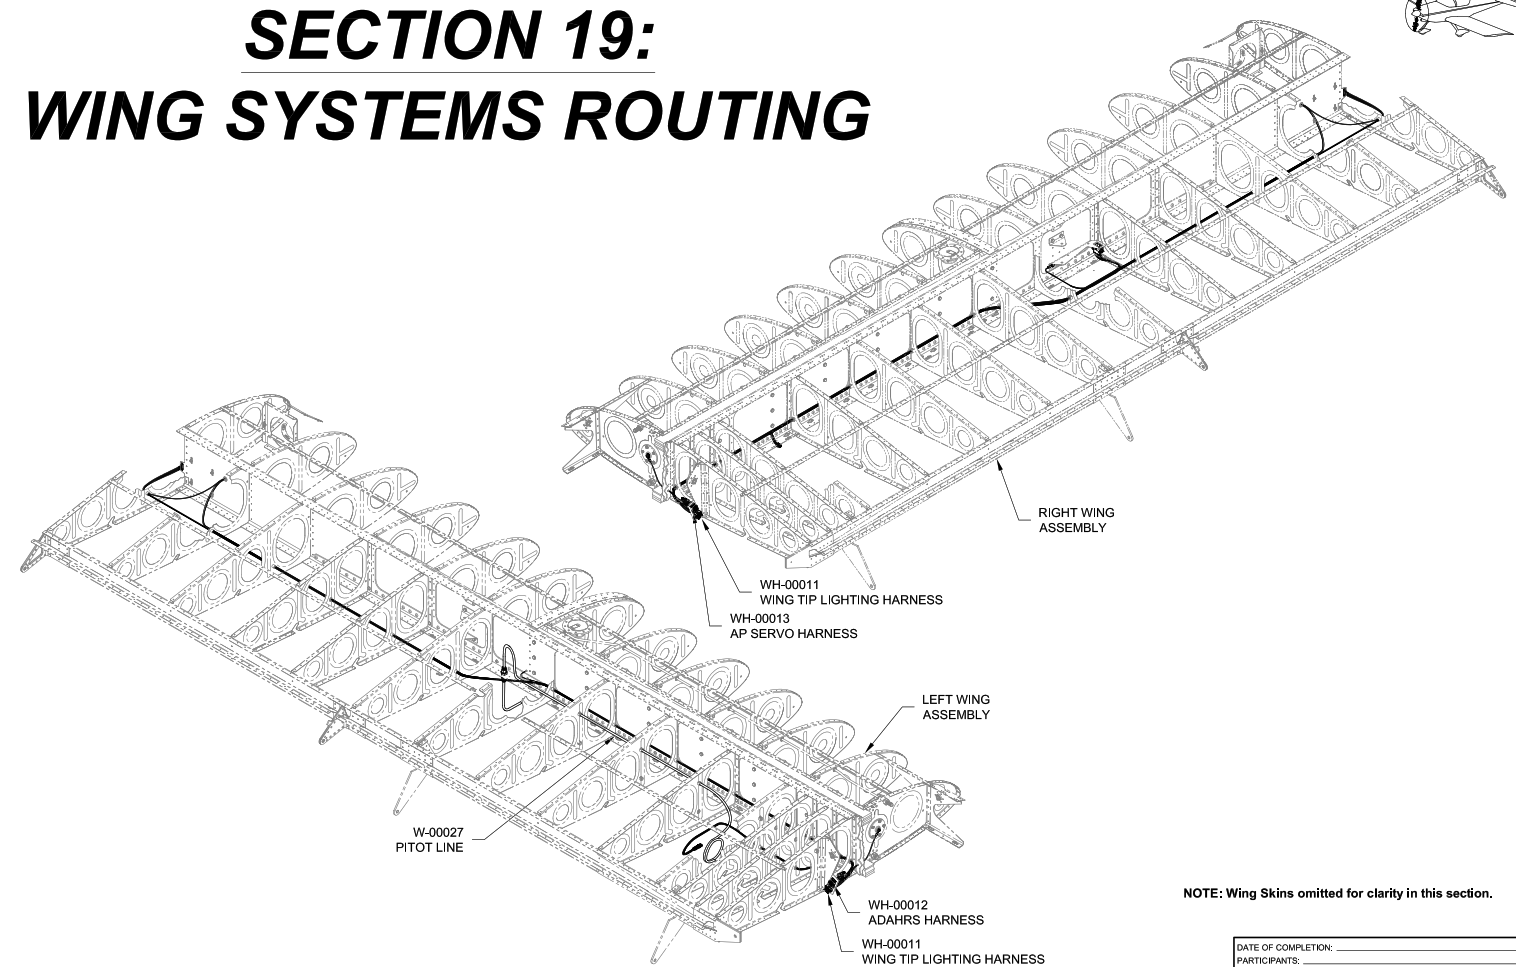
Wing tip lighting harnesses
AP Servo Harness
Wing tip lighting harnesses
ADAHRS harness
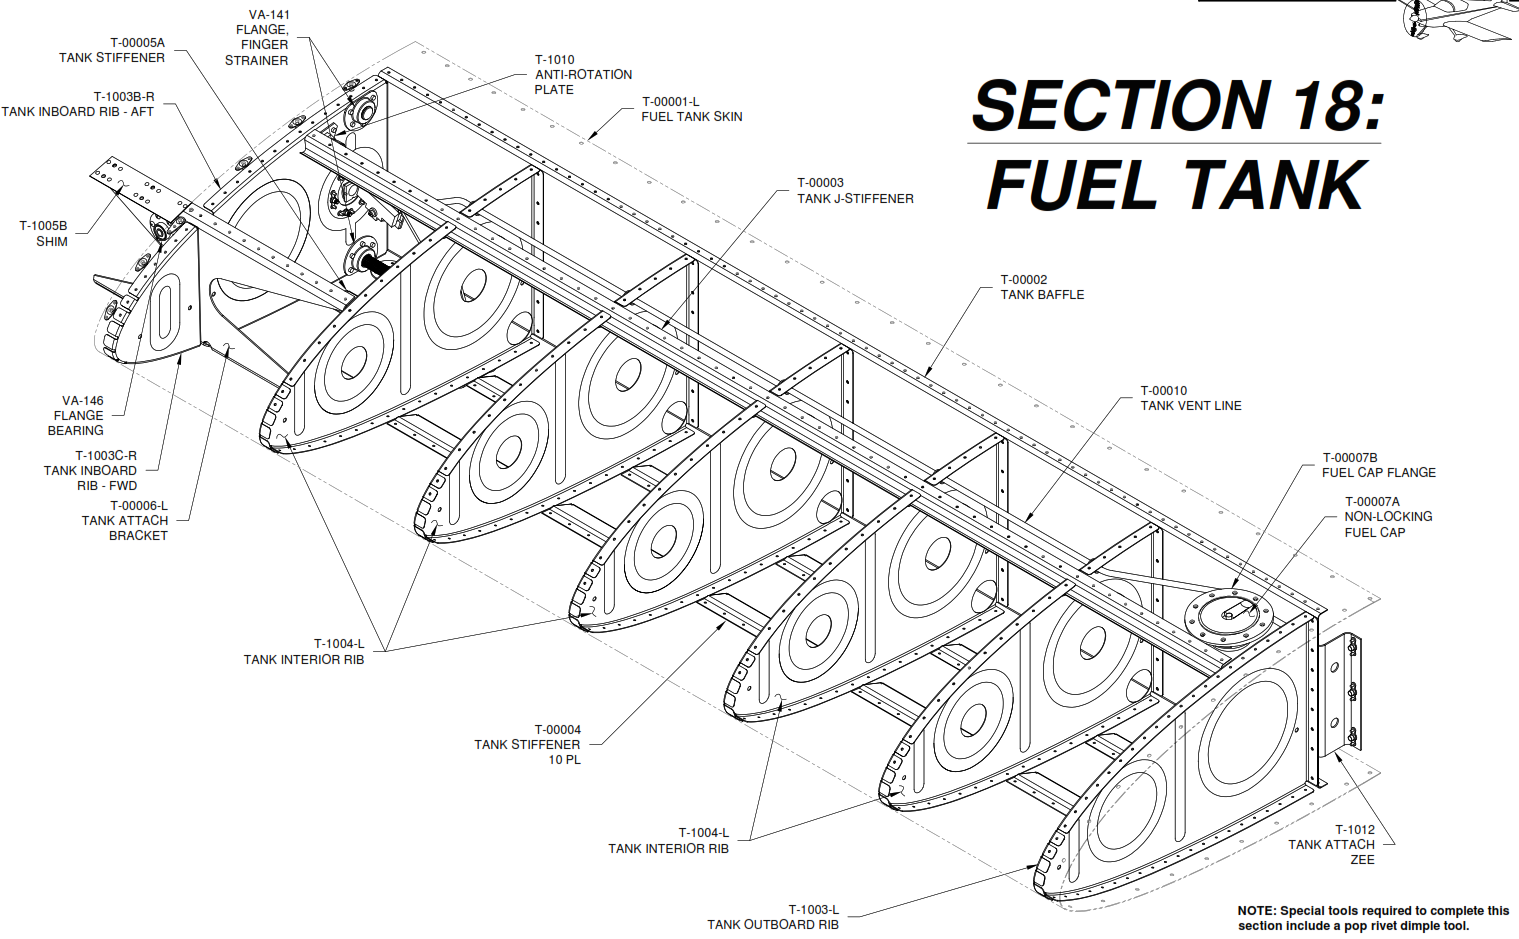
Fuel Tanks
flute, square flangesof ribs and final drill, step drill finger strainer flange 18-02 steps 1-3
deburr and defacet, dimple ribs 18-02 steps 4-6
seperate, debur, ccs, final drill, skuff tank stifeners, tank attach zees 1/-02 steps 7-12
match drill, deburr, dimple J stiffener, cs skin to tank baffle, final drill, crimp aft edges 18-03
match drill, deburr, dimple J stiffener, cs skin to tank baffle, final drill, crimp aft edges 18-03
dimple skins 18-03 step 11 machine cs fuel cap flanges Step 12 debur, trim shims 18-04 step 1
match drill, dimple shims tank bracket sub 18-04 steps 2-5
prime
rivet nutplates, flange bearing, shims, final drill 18-04 step 5, 8
rivet fuel cap flanges, drain flanges18-05 steps 1-2
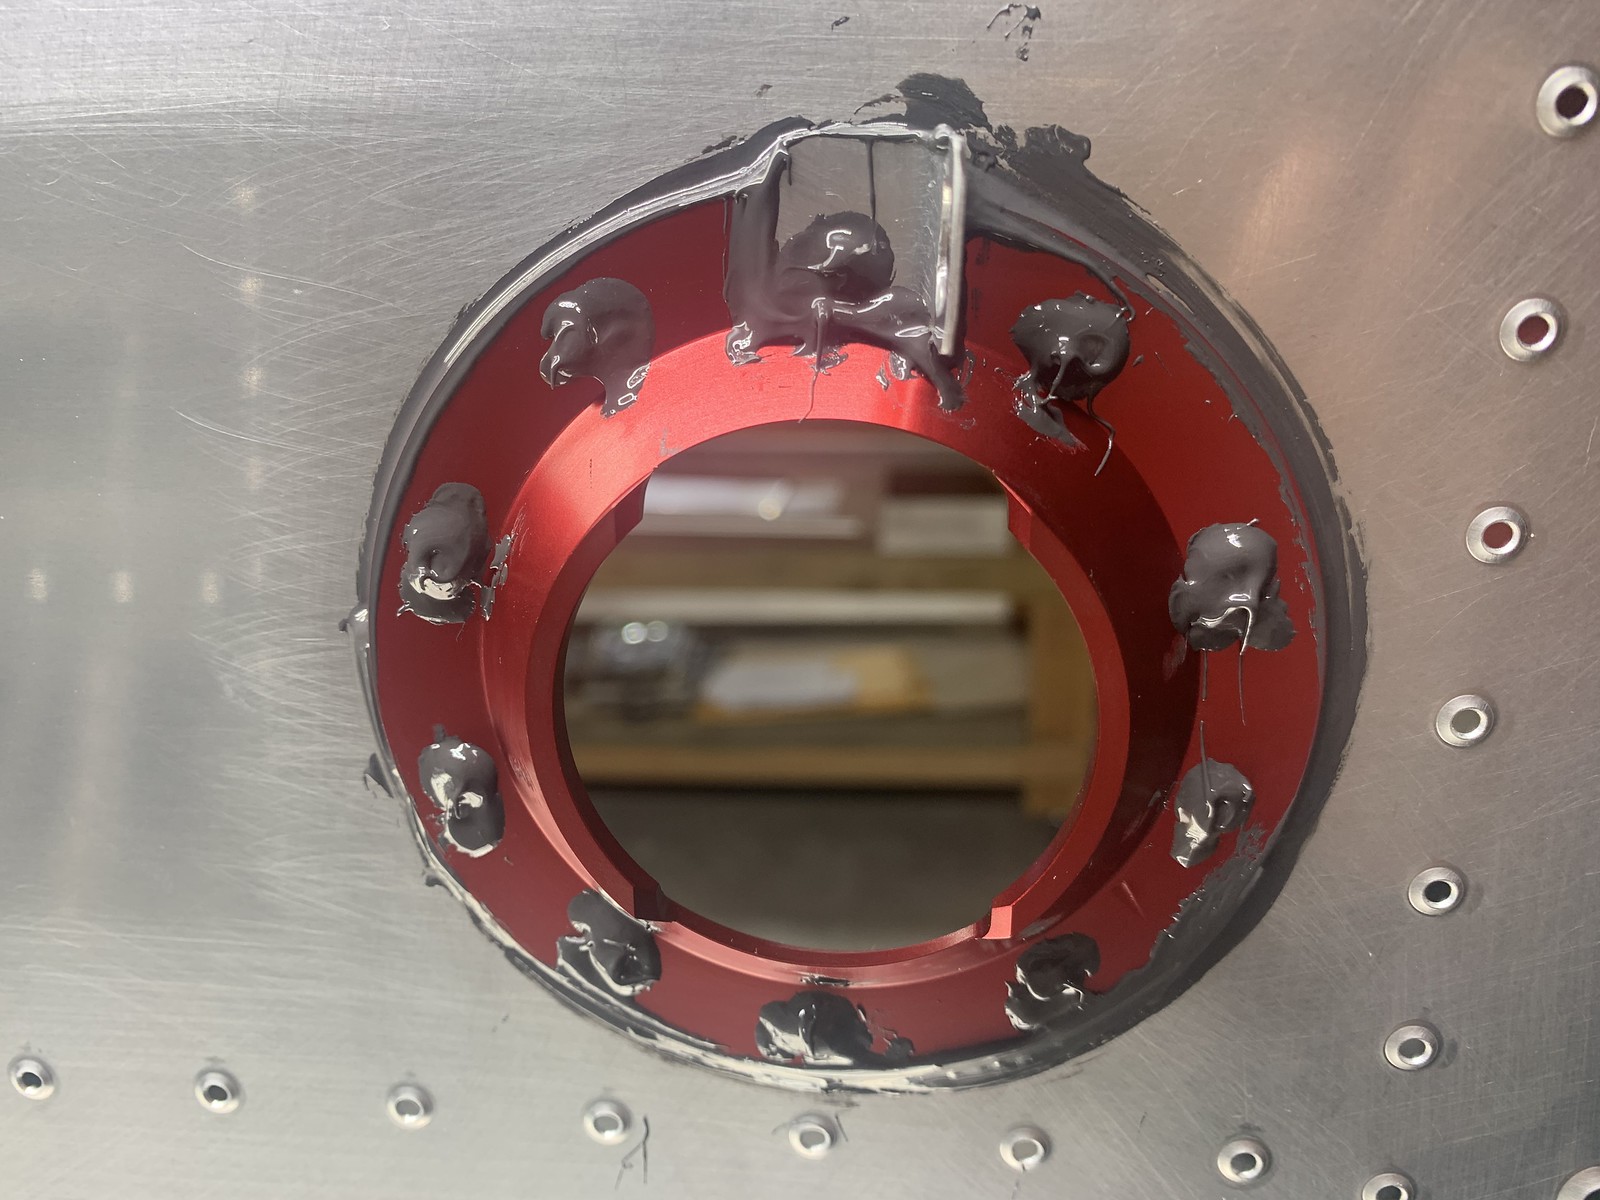
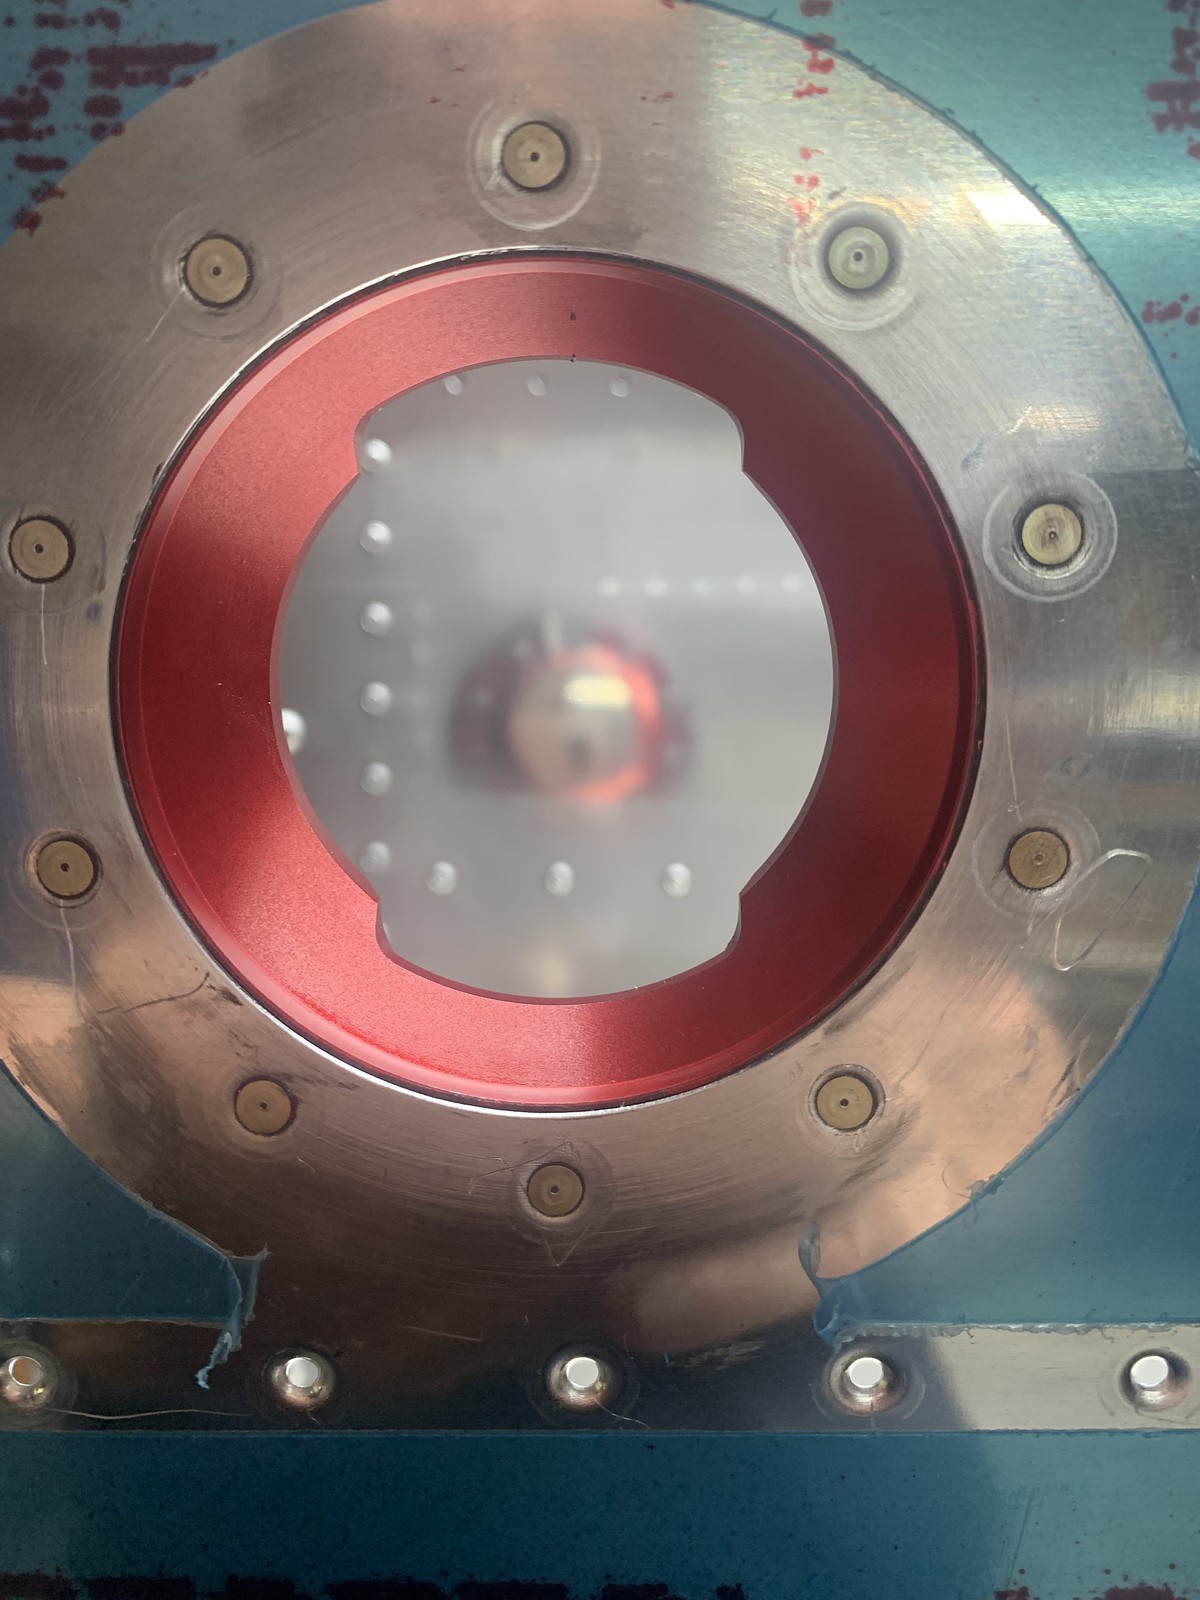
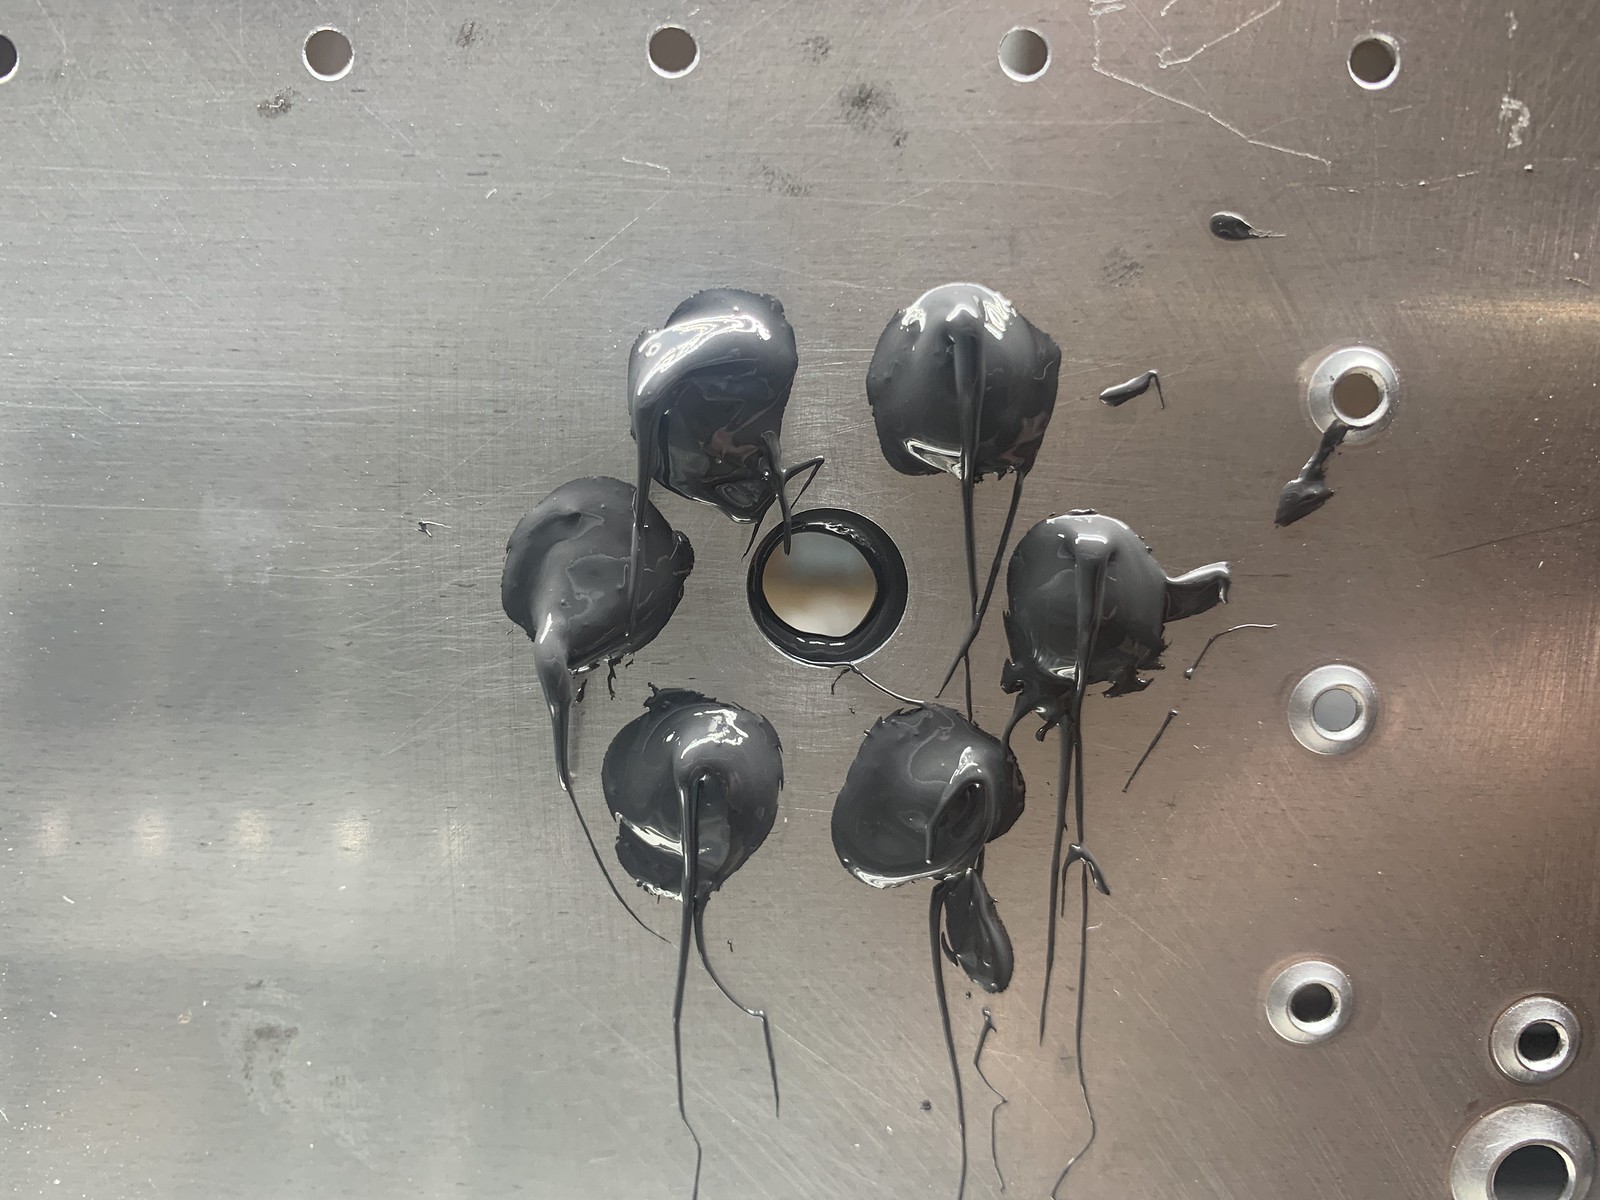
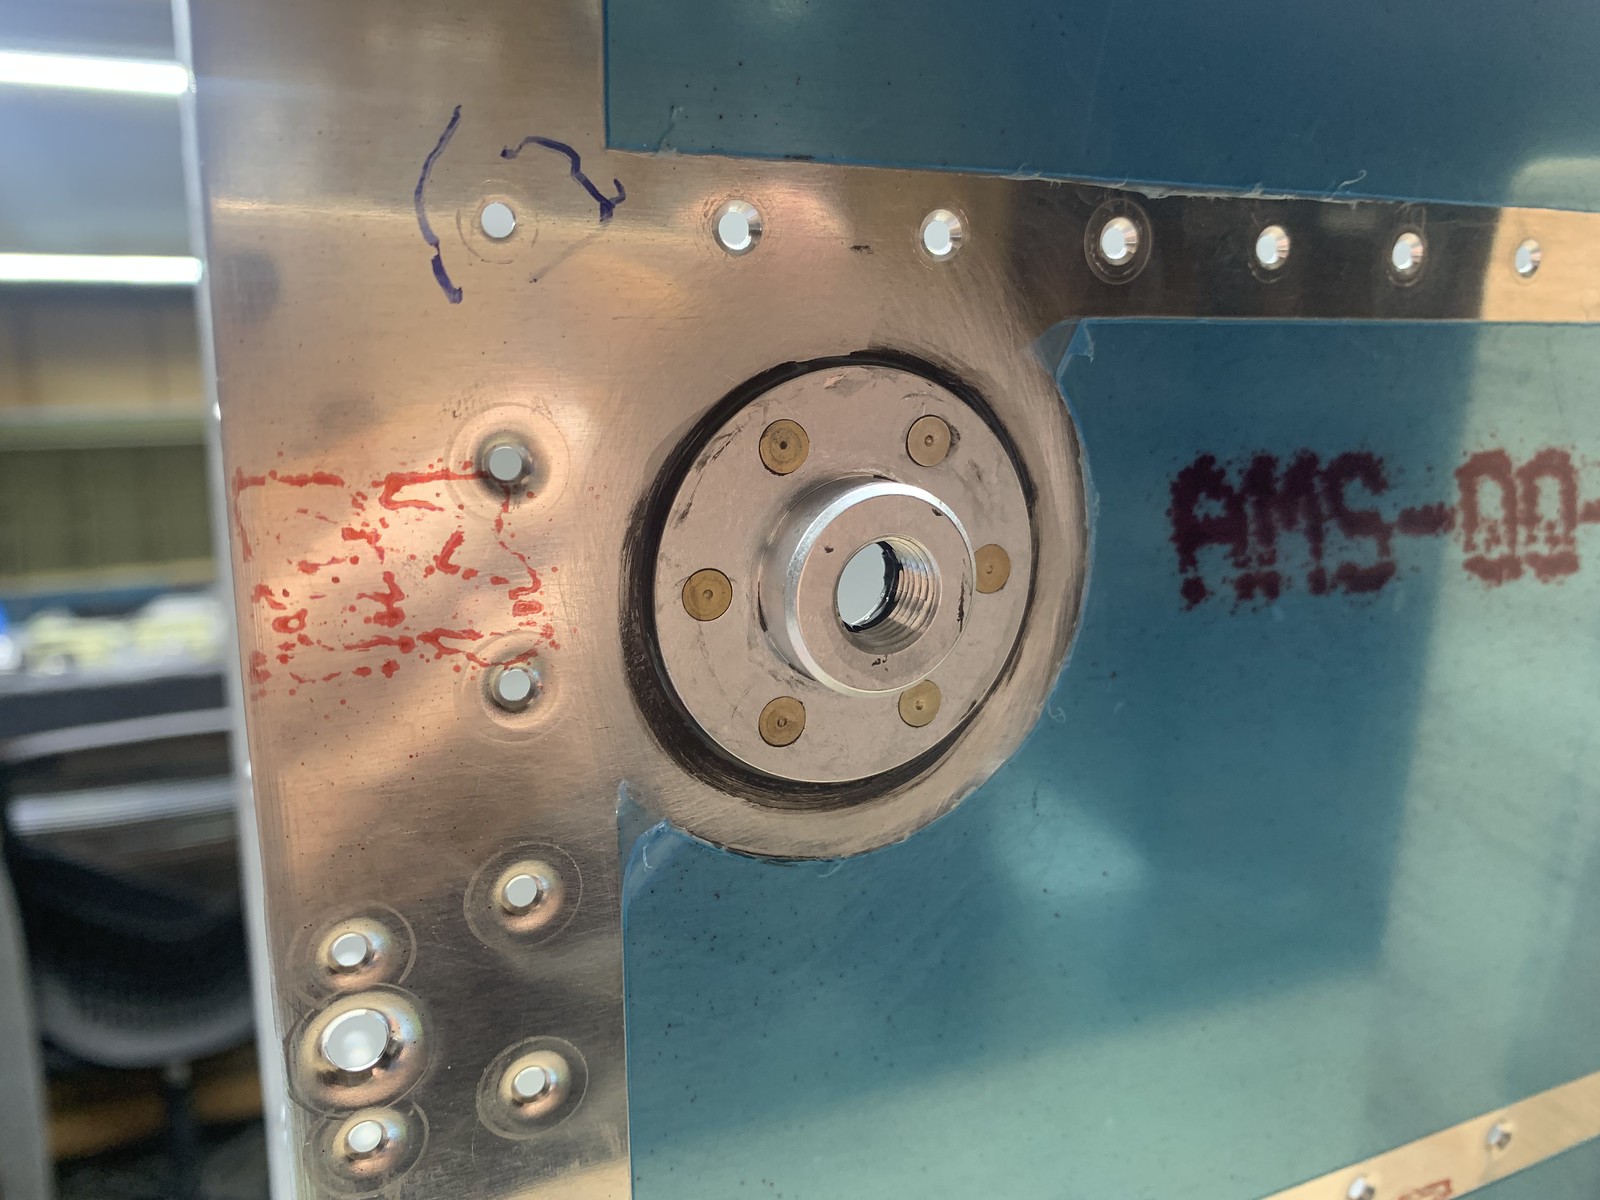
rivet stiffeners 18-05 step 2
rivit plug holes 18-04 step7, rivet stiffeners 18-05 step 2
rivet ribs 18-05 step 3
rivet ribs 18-05 step 3
rivet ribs 18-05 step 3
rivet ribs 18-05 step 3
rivet ribs 18-05 step 3
rivet ribs 18-05 step 3
rivet ribs 18-05 step 3
rivet ribs 18-05 step 3
rivet ribs 18-05 step 3
rivet stiffener
with SMS
rivet stiffener
with SMS
rivet tank attach bracket
rivet tank inboard rib

rivet tank attach bfacket

fabricate fuel tank vent lines

rivit aft inboard rib

rivet inboard end nutplates
rivit aft inboard rib
rivet inboard end nutplates
float wire bending and test fit

rivit nutplates to Zee fuel tank attach subassembly
aft tank baffle and zee brackets
aft tank baffle and zee brackets

rivet aft tank baffle and countersink
seal and mount fuel senders and verify continuity

fuel strainer and plug
Leak test

Leak test
with SMS
Install fuel tank assembly
with SMS
remove wing tanks adjust fitment and prepare for primer
with SMS
primer paint
install fuel tank
with SMS
install fuel tank
with SMS
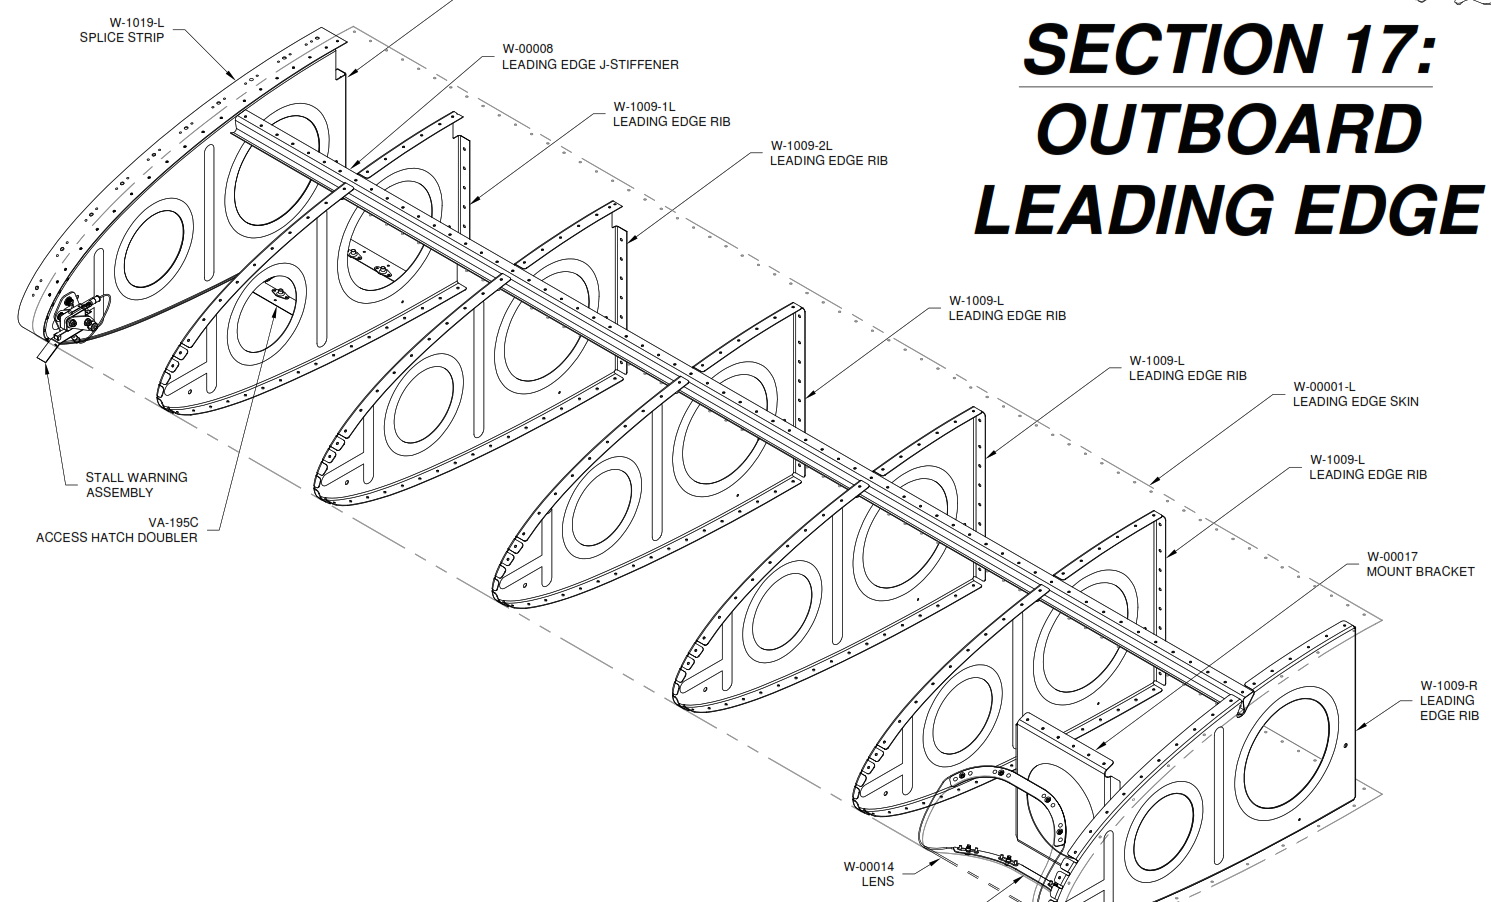
Leading Edge
create cradle, ck flange angles, straighten ribs, modify ribs, 17-02 steps 1-4
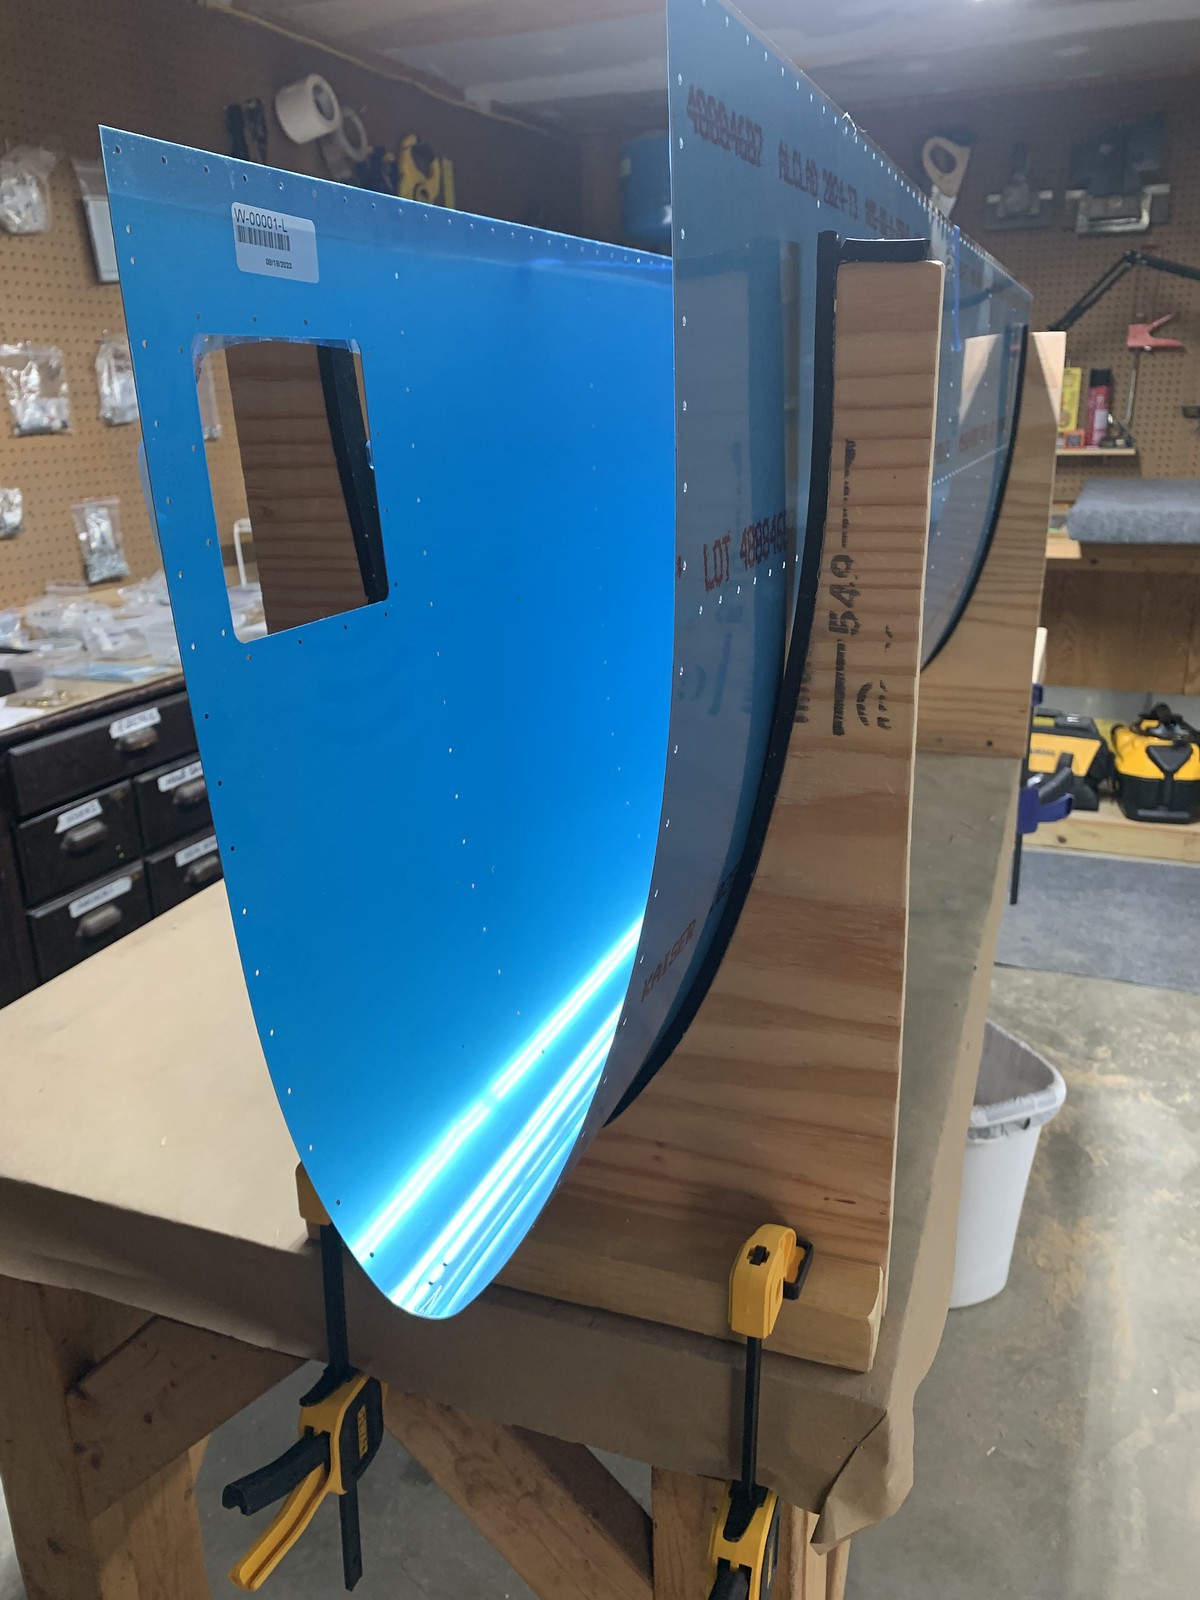
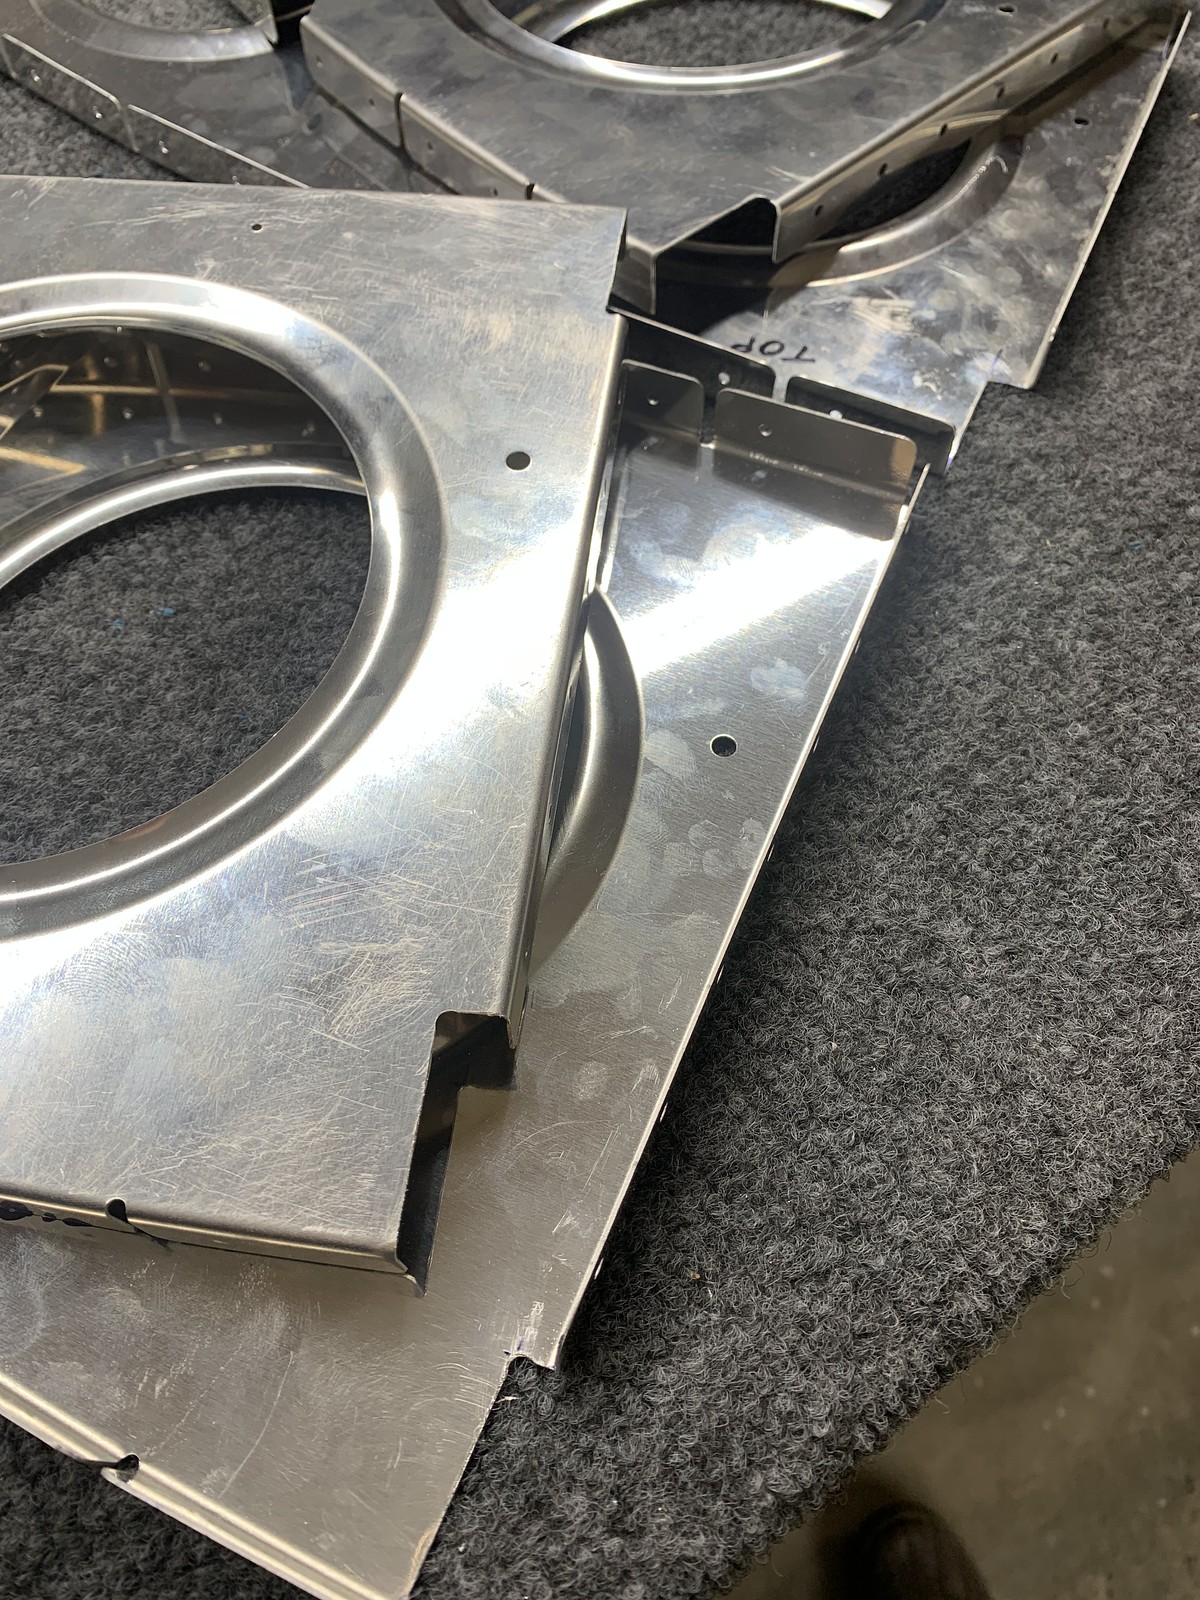
debur, scuff ribs 17-03 step 2
debur, scuff ribs, fabricate J-Stiffeners 17-03 steps 1-5
dimple splice strips, match drill J-Stiffeners 17-03 , 17-04 steps 1-6 debur
debur, dimple skins 17-04 step 8
prime paint 17-05 step 2
rivet nutplates 17-05 steps 3 - 4 17-06 step 3 -4
rivet skin to ribs, splice strip, J-stiffener 17-06 step 4-6
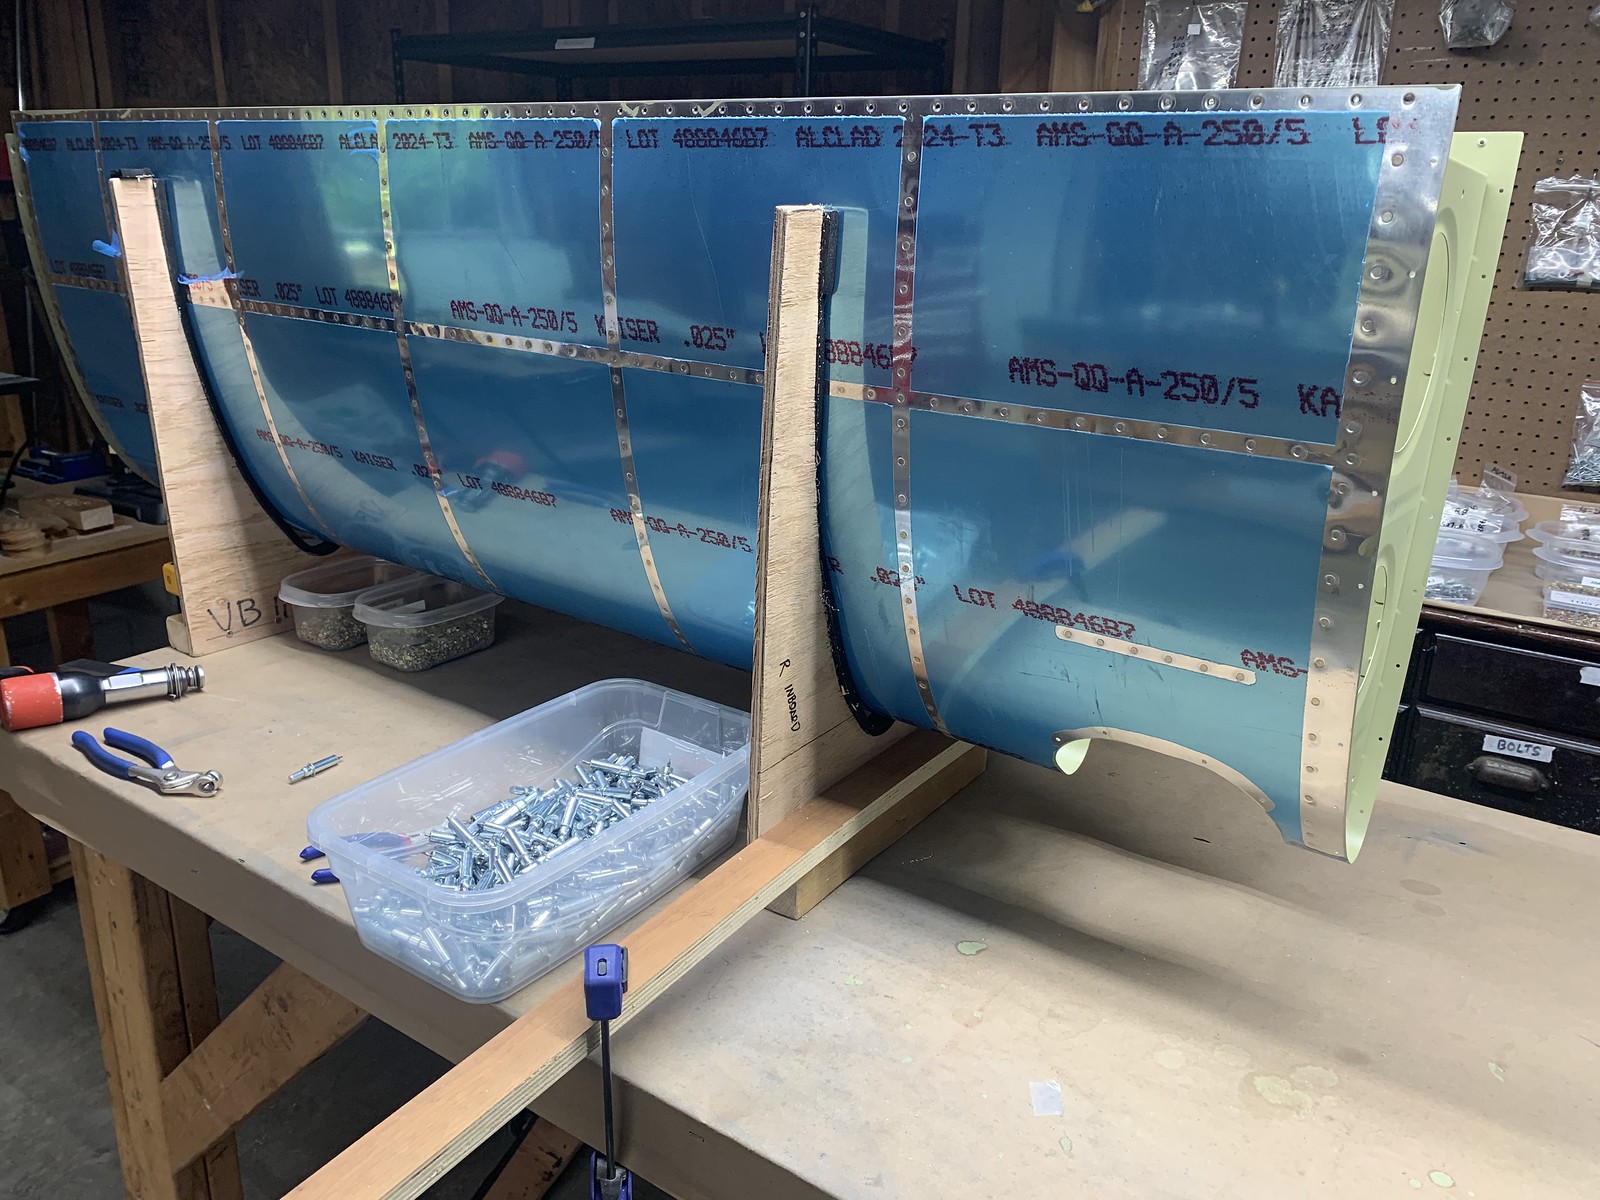
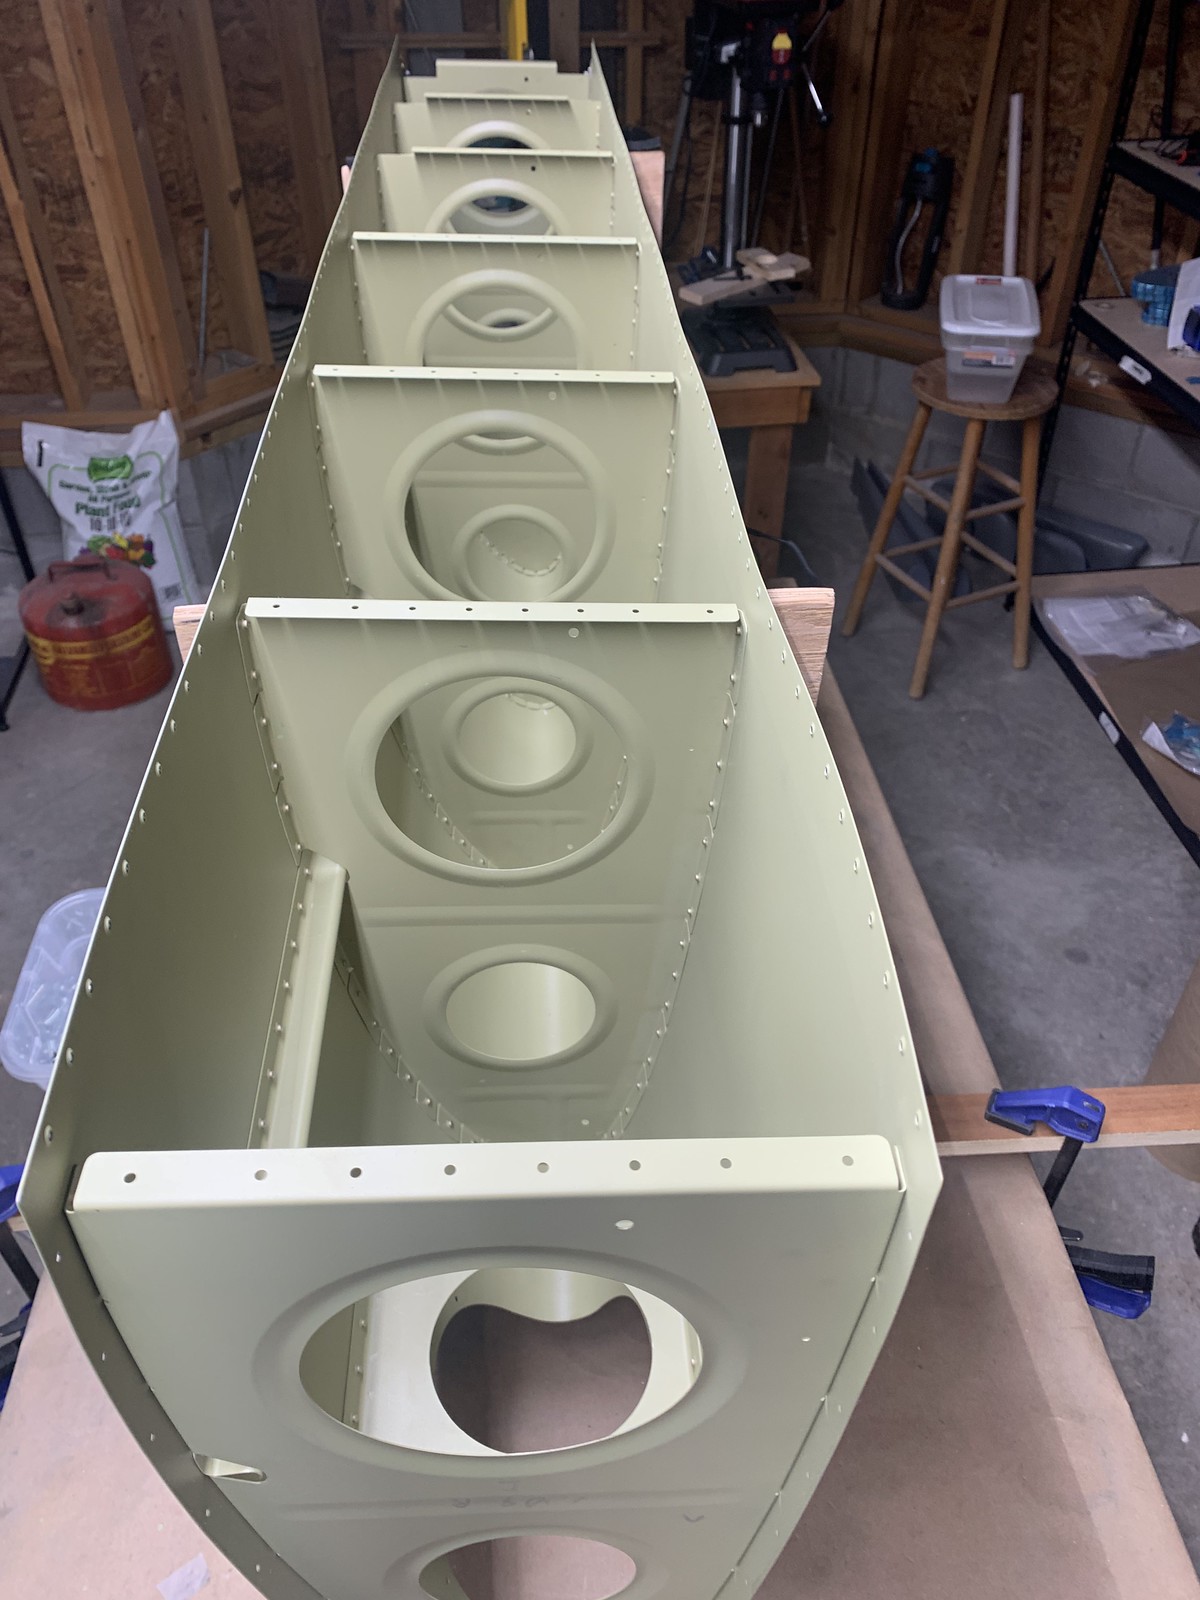
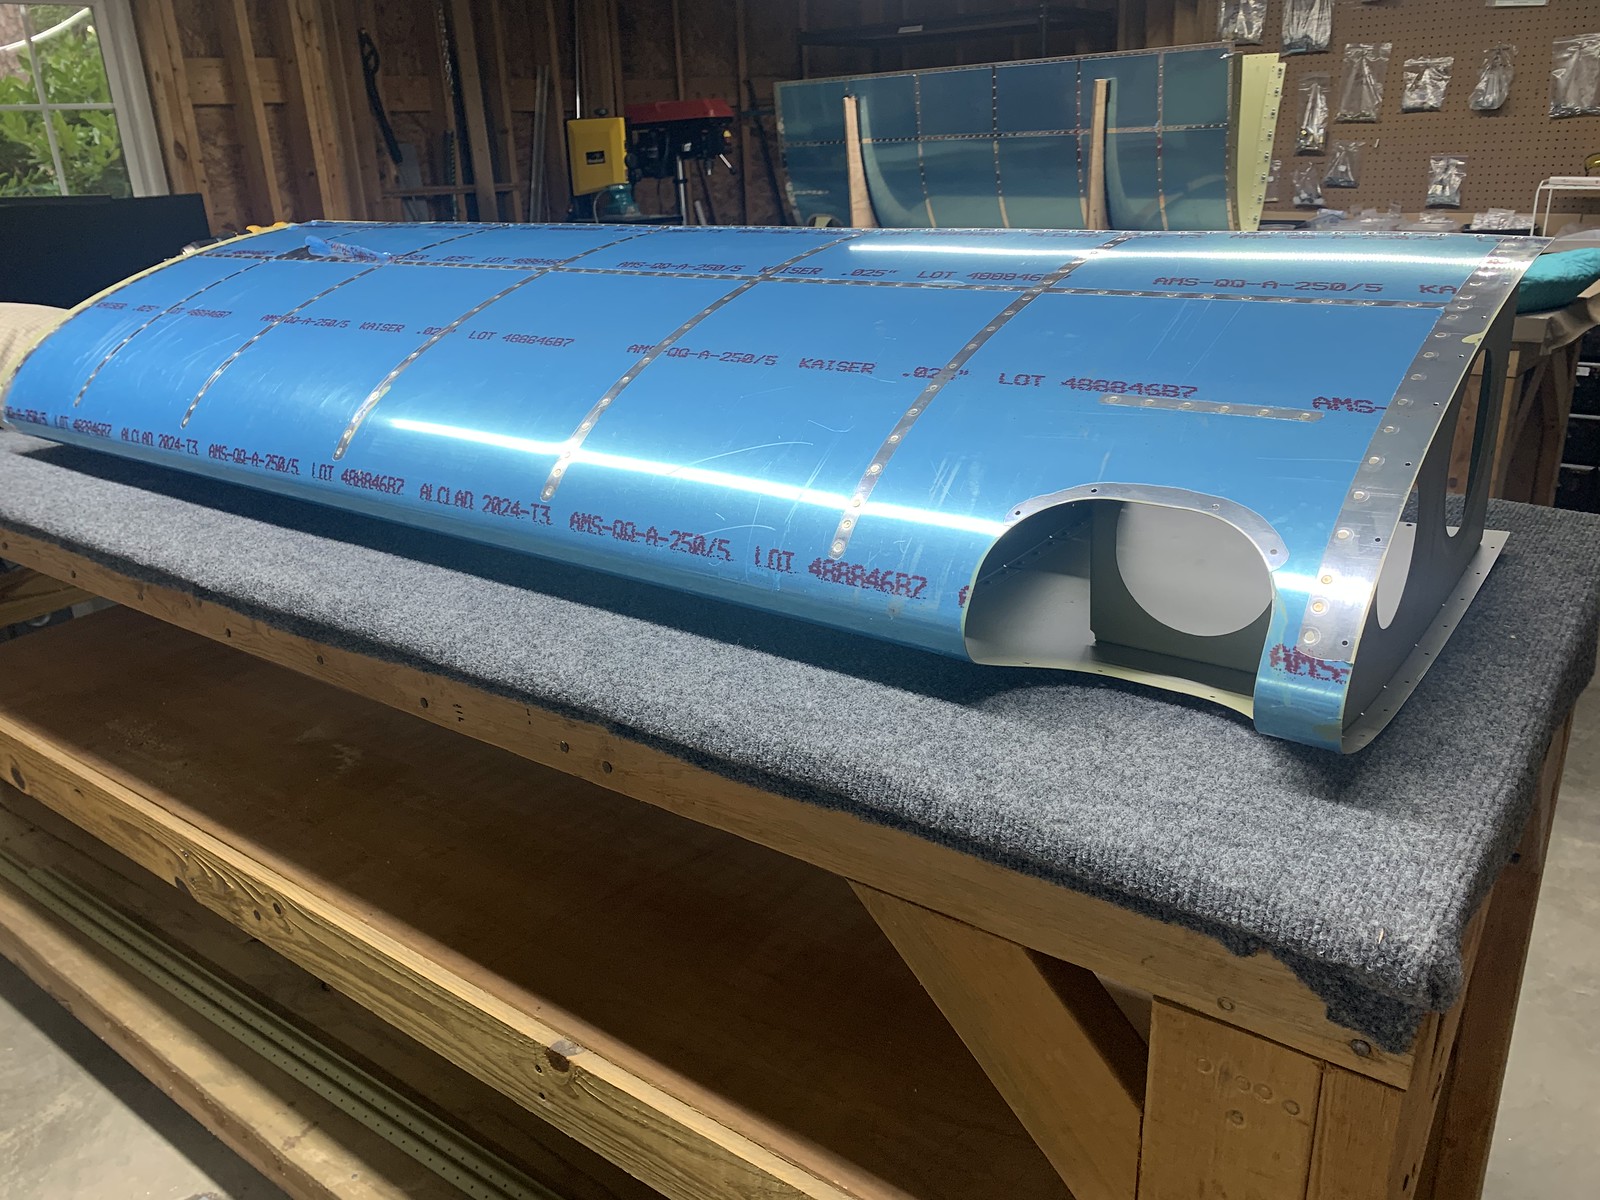
rivet skin to ribs, splice strip, J-stiffener 17-06 step 4-6
cleco leading edges to spar 17-08 steps 1-2
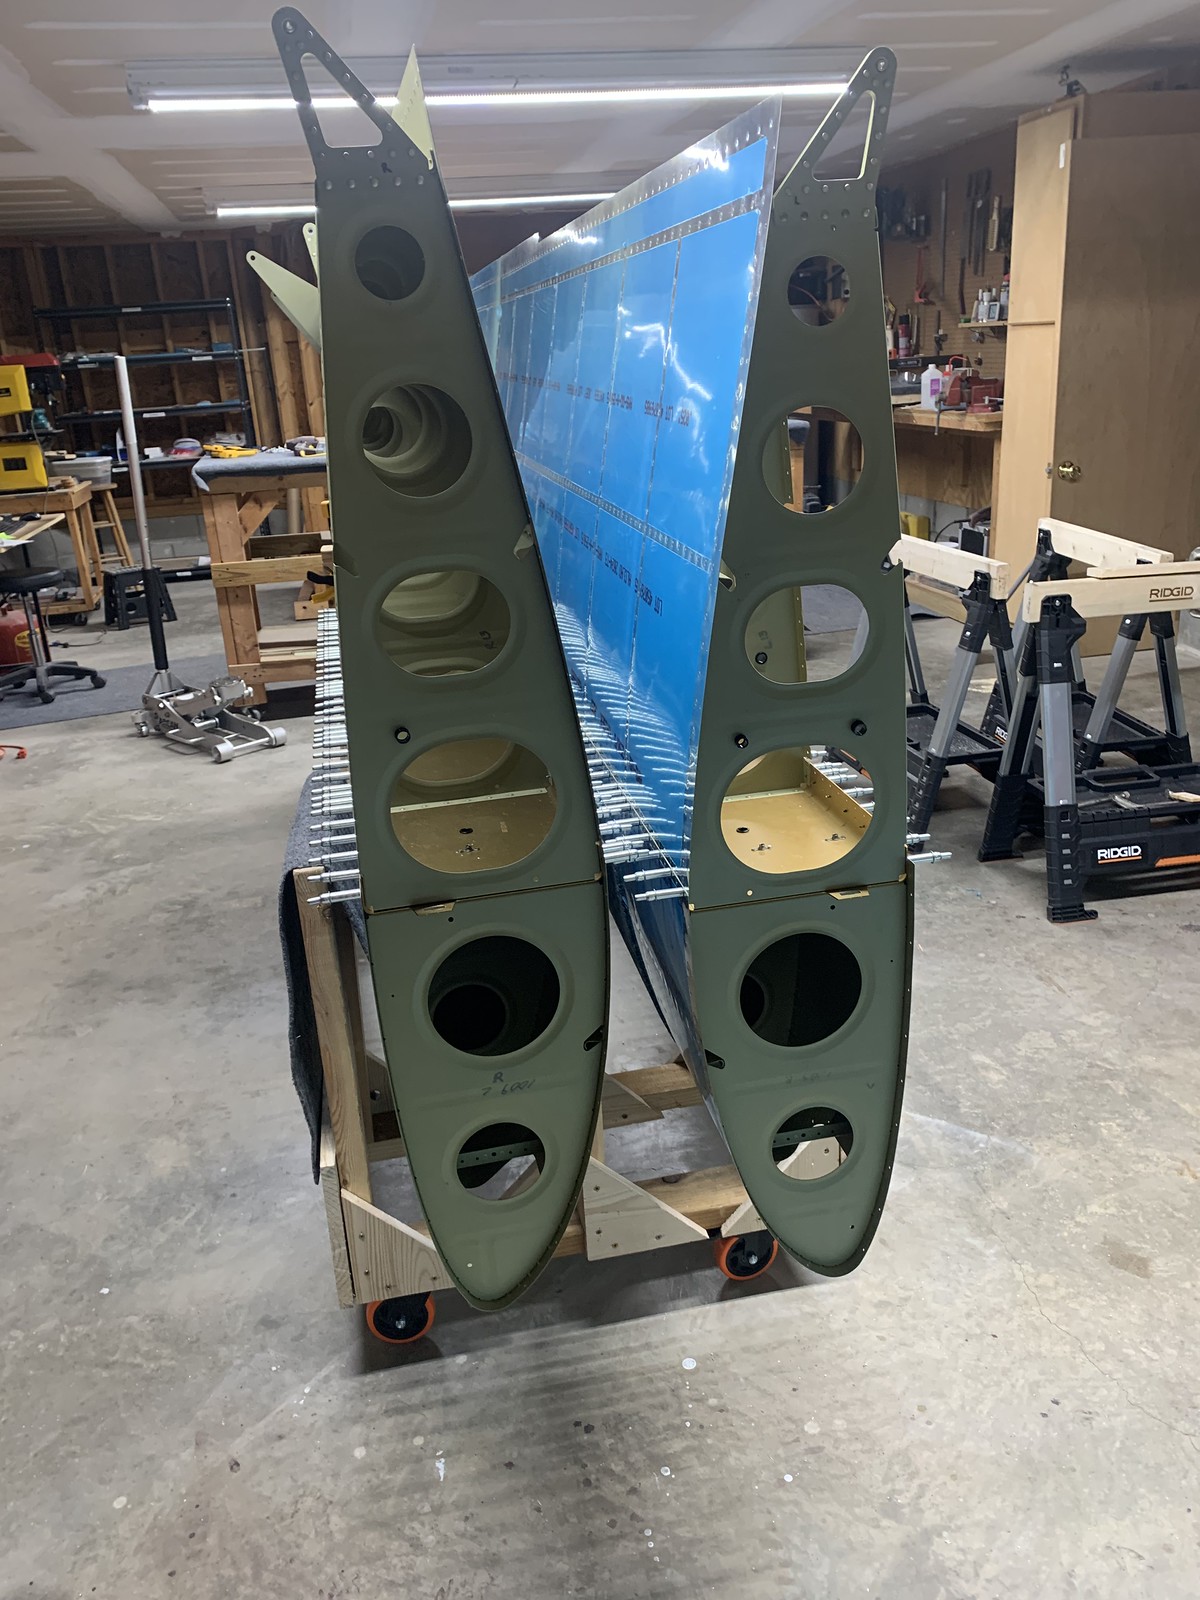
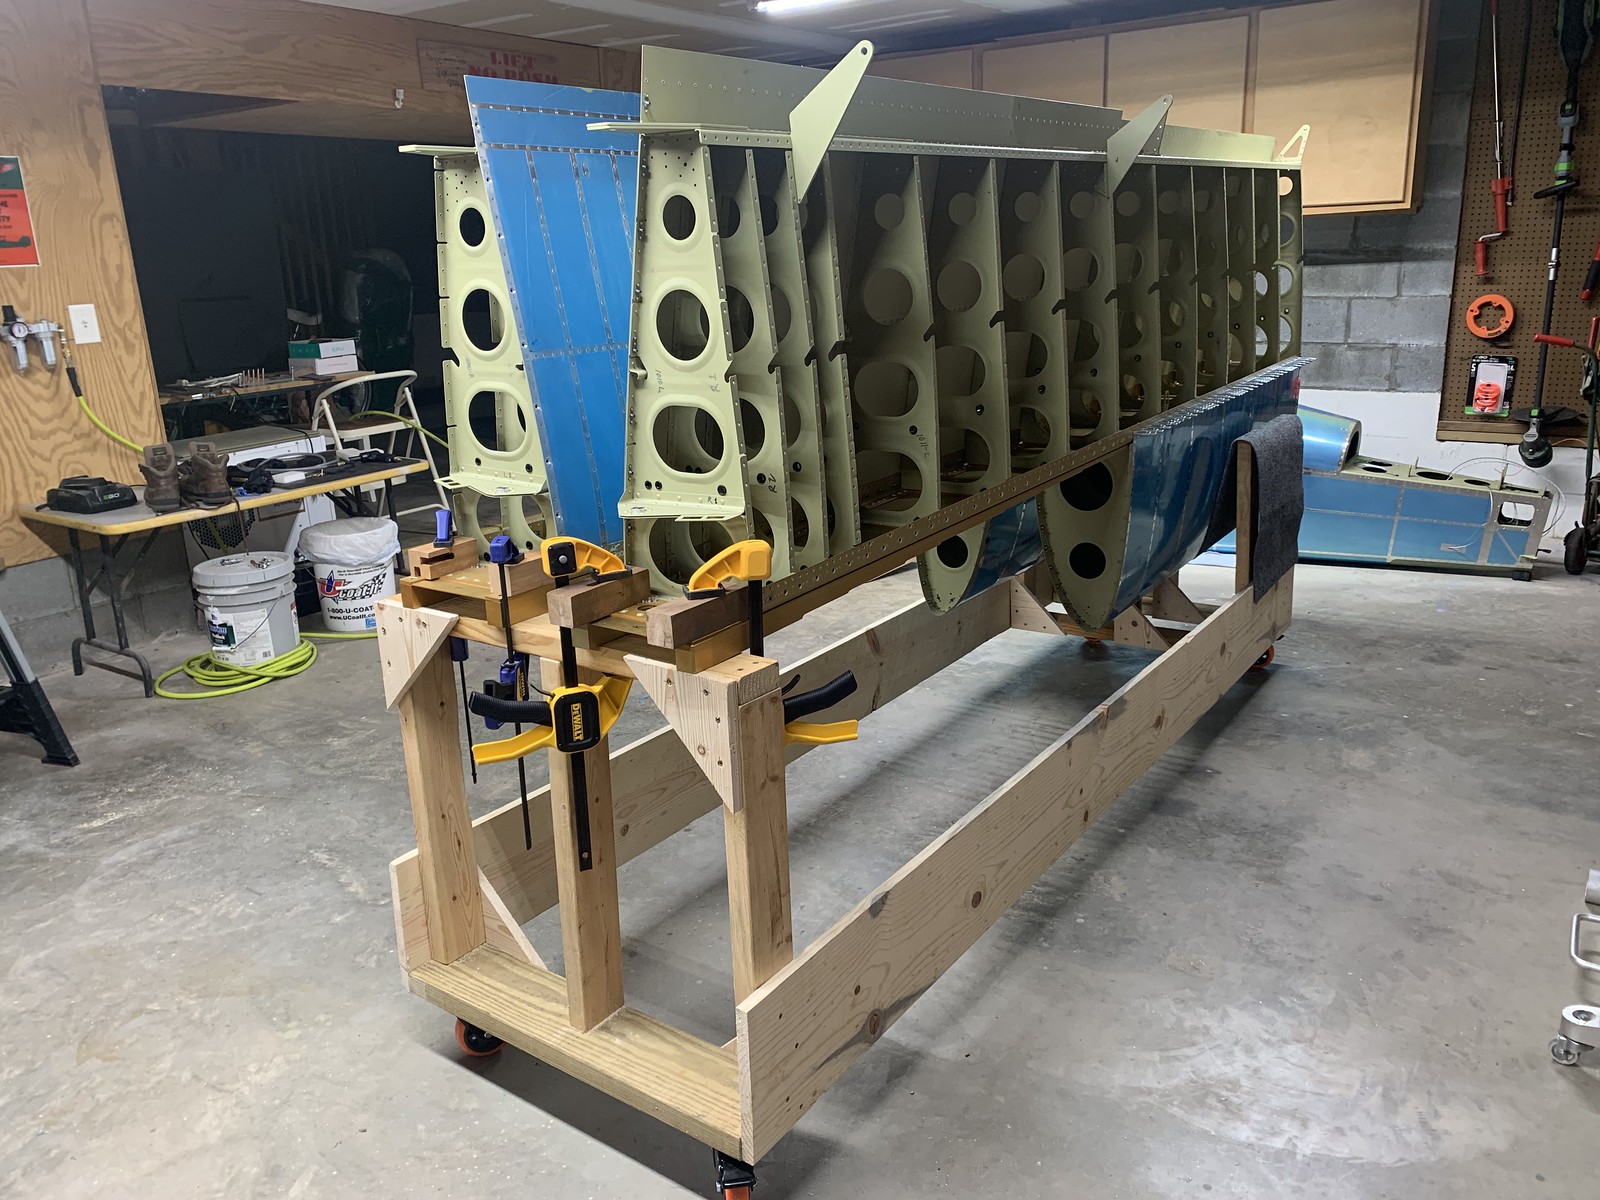
rivet leading edge ribs to spar 17-08 step 3
rivet leading edge skins to spar 17-08 step 5
with SMS
rivet leading edge skins to spar 17-08 step 4
rivet leading edge skins to spar 17-08 step 5
rivet leading edge skins to spar 17-08 steps 5, 6
fitting the lense 17-09 steps 1-4
attaching the lense 17-09 steps5-10
attaching the lense 17-09 steps5-10
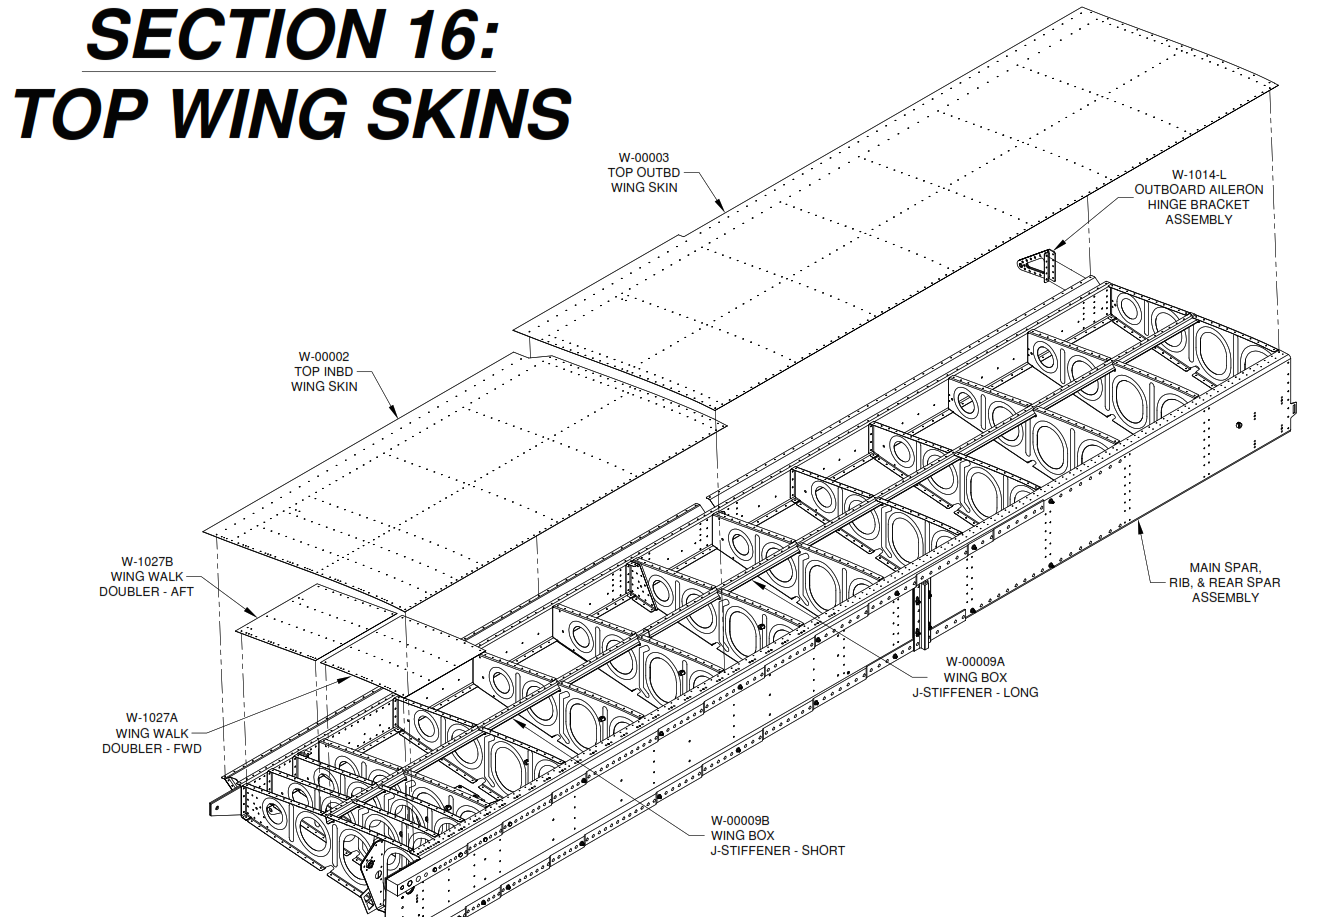
Top Skins
match, final drill inboard skin and walk doubler, countersink 16-02 steps 1-4
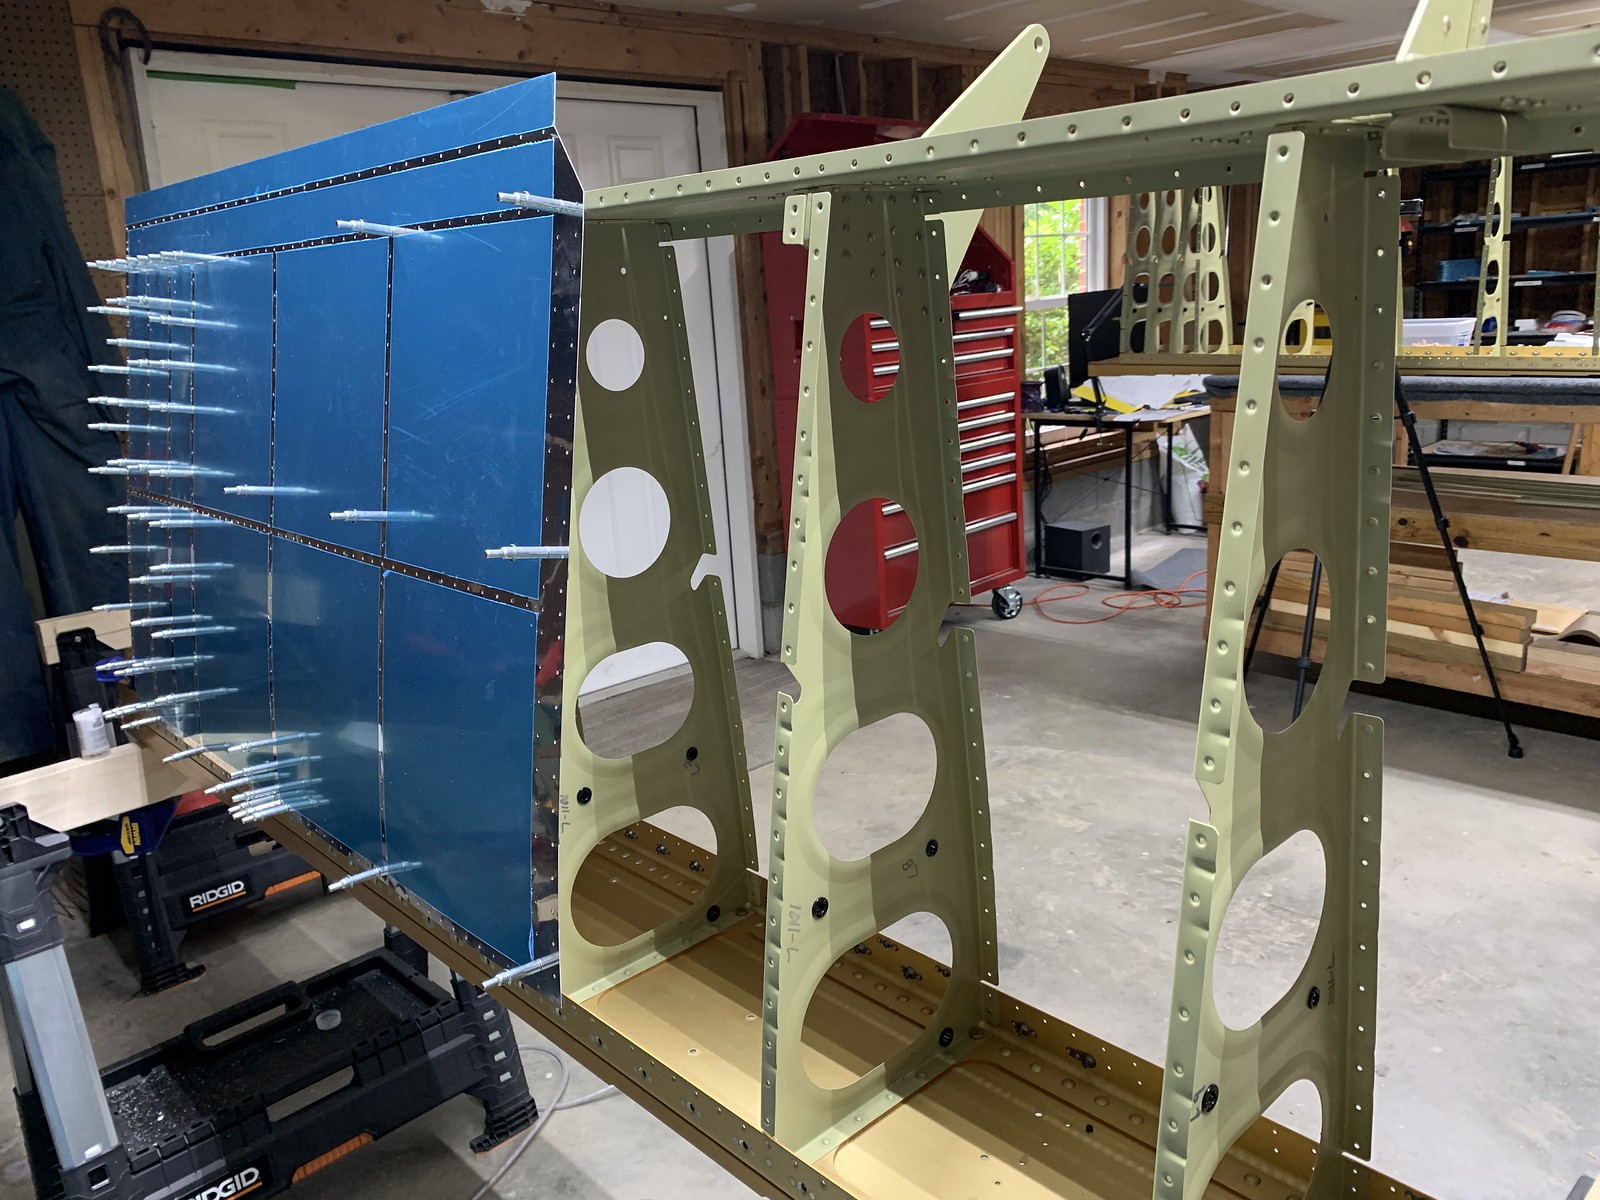
debur, dimple inboard skin
match, final drill inboard skin and walk doubler, countersink 16-02 steps 1-4
debur, dimple inboard / outboatd skins, dimple wing box J stiienerss 16-02 step 7
prime skins
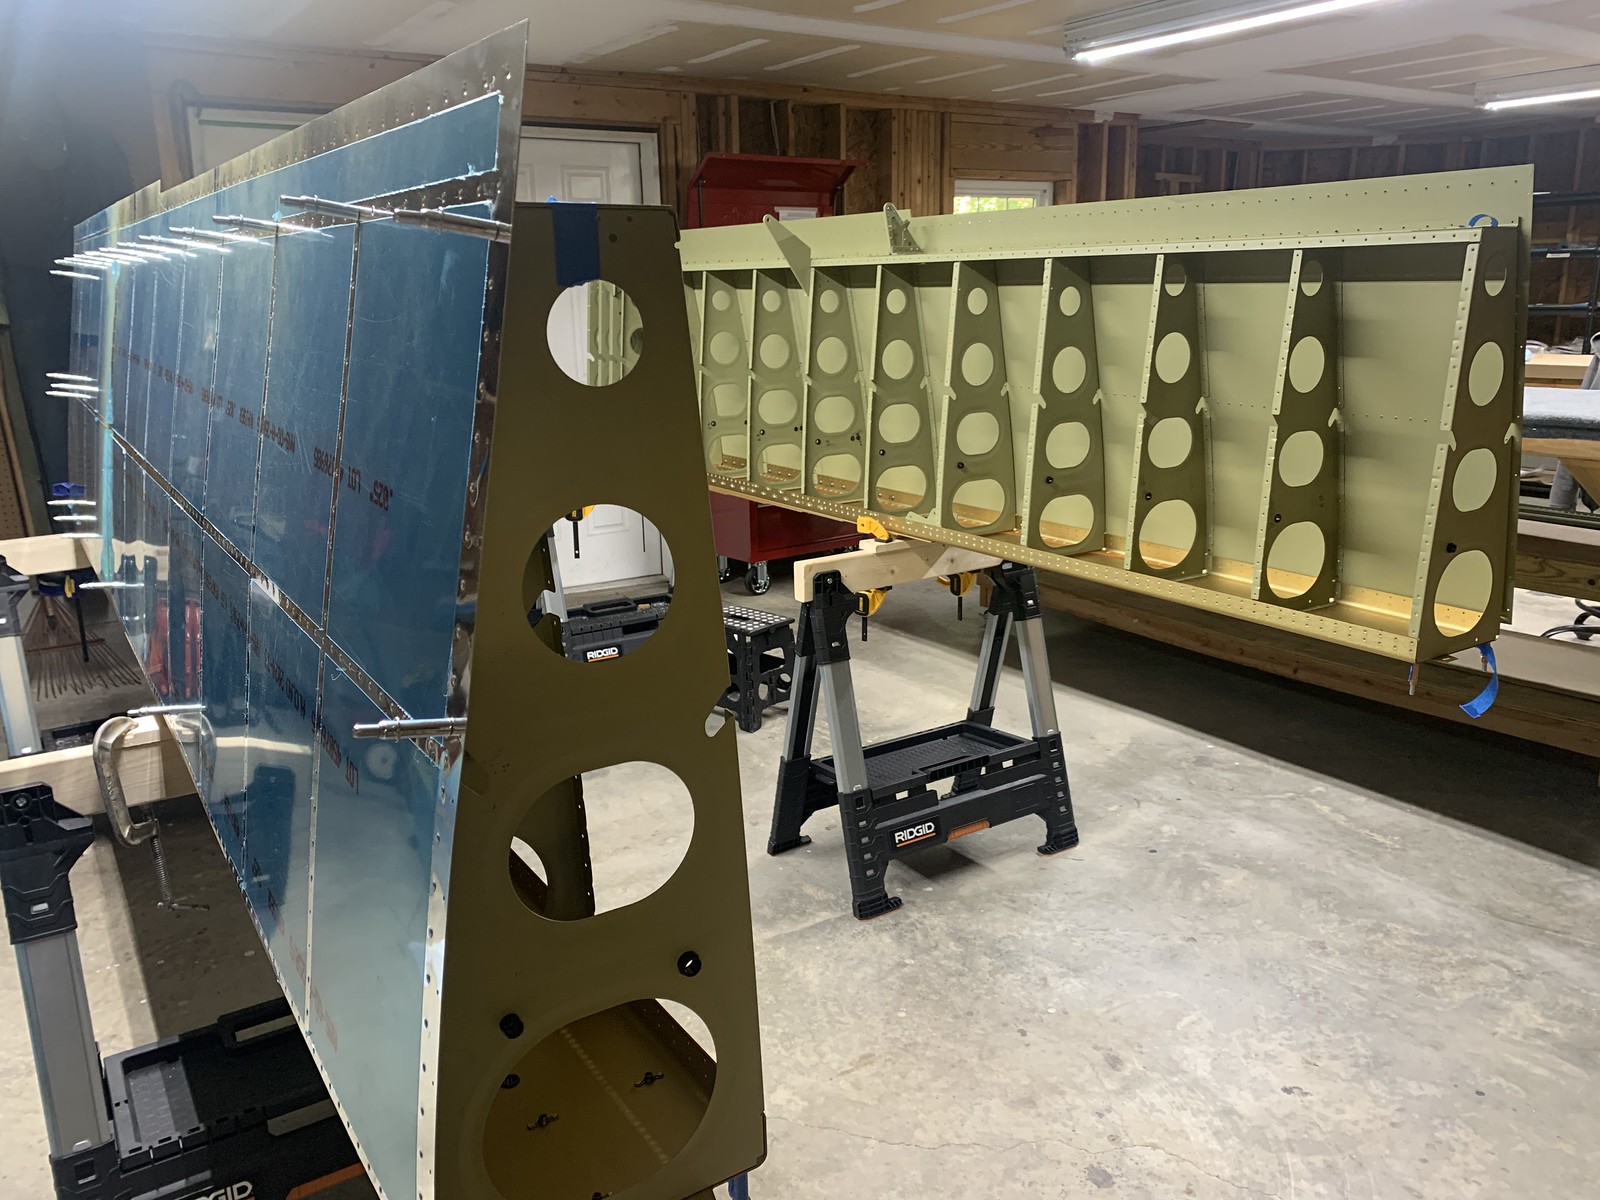
rivet upper inboard / outboard wing skins 16-03 step 1-3
rivet upper inboard / outboard wing skins 16-03 step 1-3
rivet upper inboard / outboard wing skins to rear spar 16-03 step 1-3
rivet upper inboard / outboard wing skins 16-03 step 1-3
rivet upper inboard / outboard wing skins 16-03 step 1-3
rivet wing fairing nutplates 16-03 step 3
rivet J channel wing box stiffiners 16-04 steps1
machine counter sink screw holes, rivet outboard aileron Hinge bracker 16-04 steps 1-6
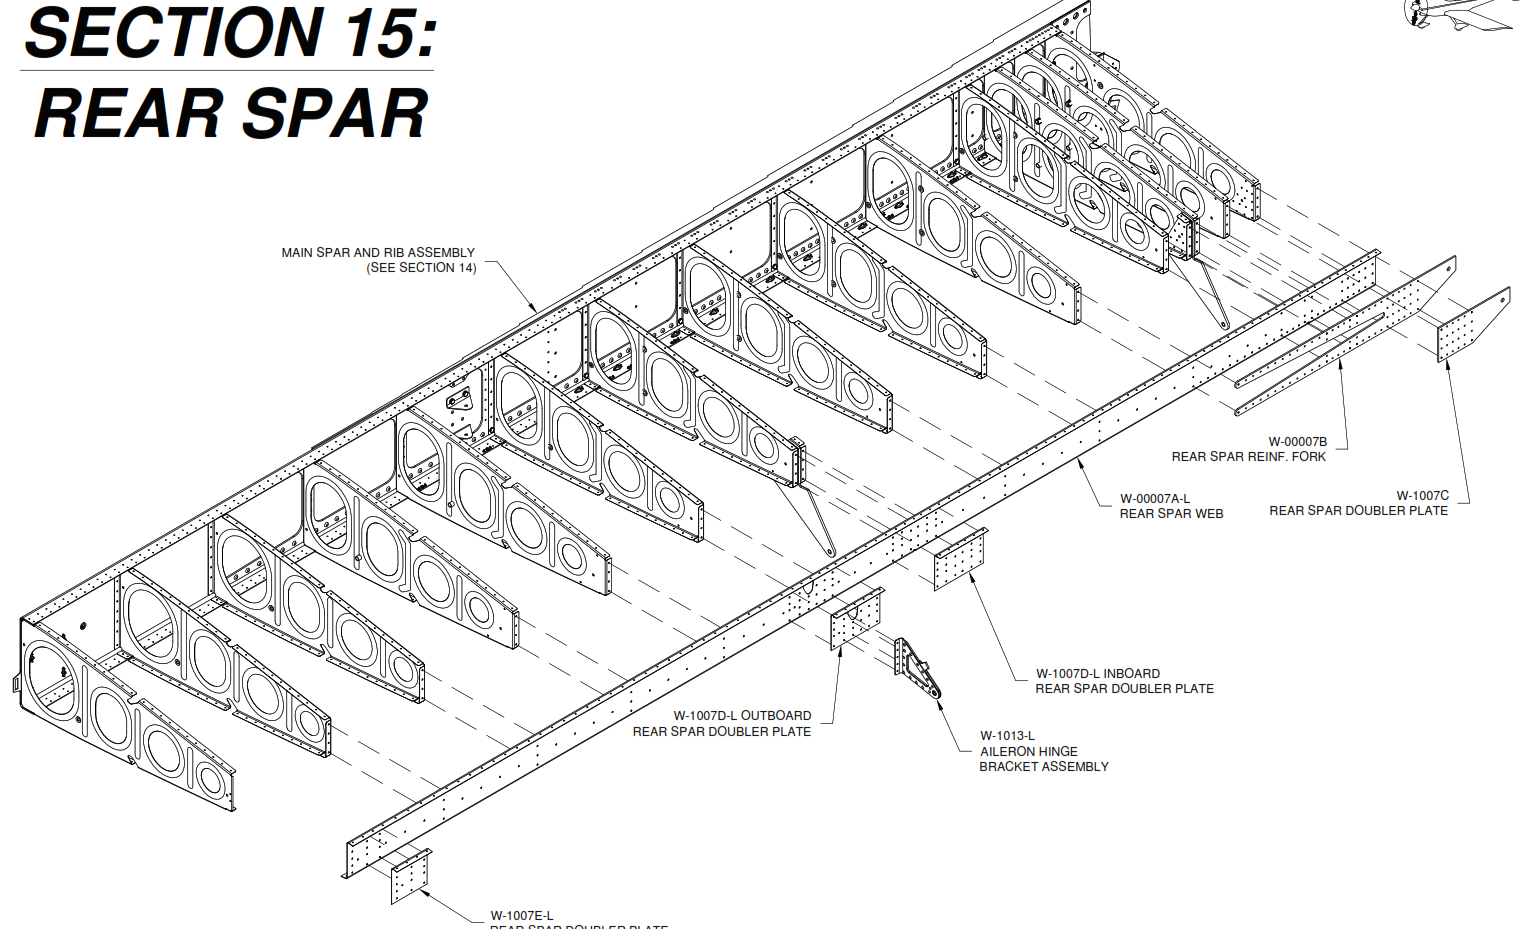
Rear Spar
assemble inboard/outboard aileron brackets 15-02 SB 16-03-28
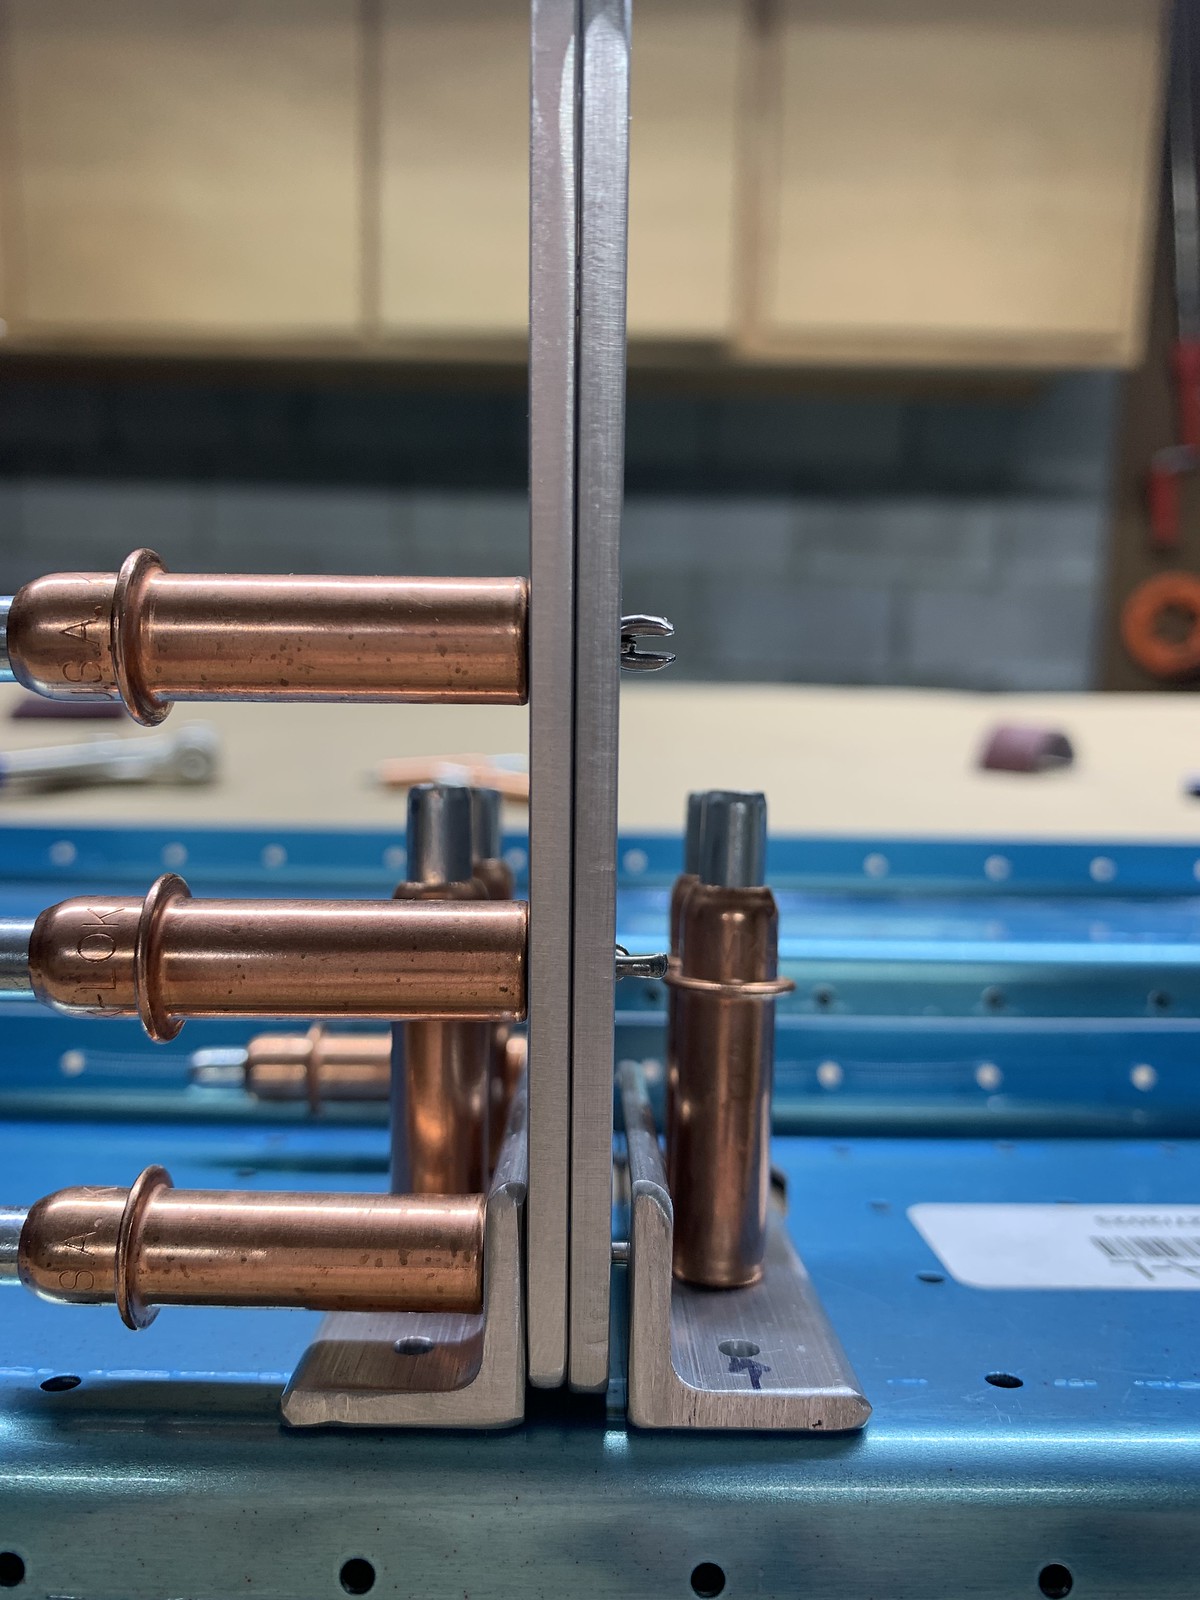
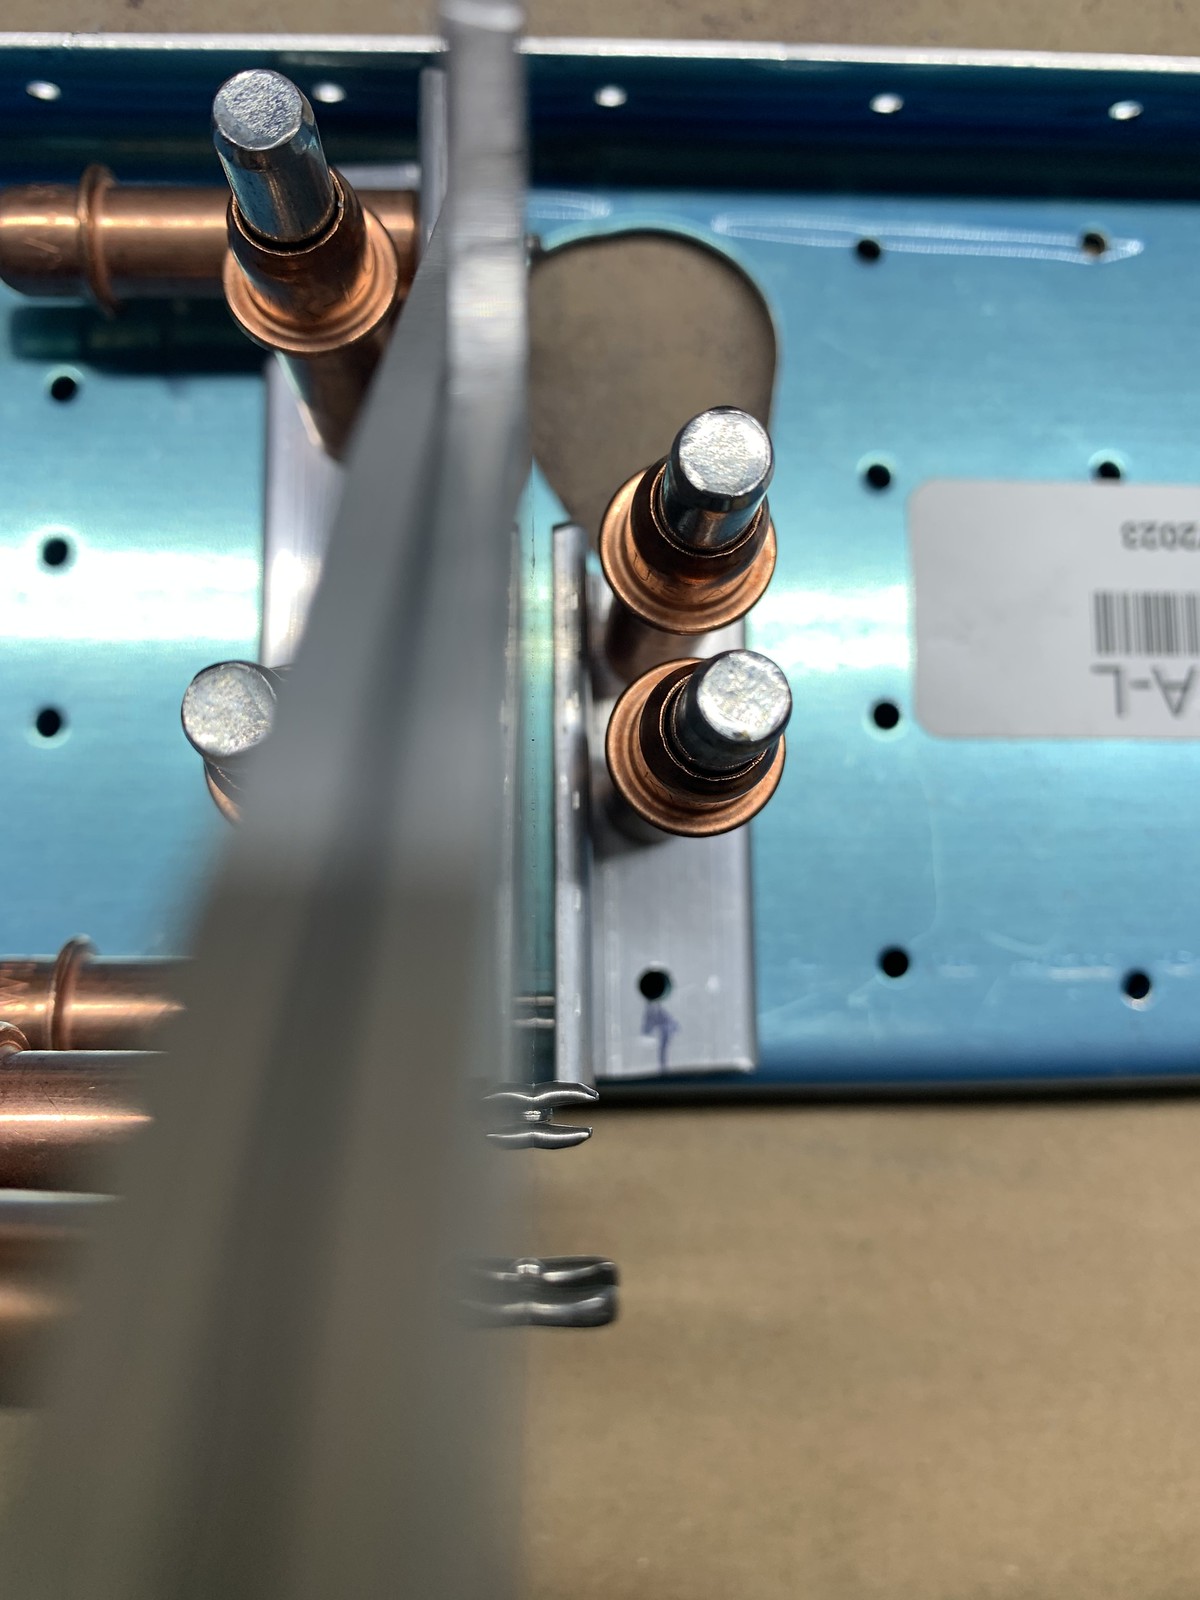
match/final drill rear spar doubler plates, reinforcement fork 15-03 steps 1-5 15-04 steps 1-2
counter sink, debur, scuff for priming, dimple flanges 15-04 steps 1-5
debur, dimple, scuff dimple flanges 15-04 prime rear spar assembly steps 4-5
rivet parts to rear spar 15-04 step 6
rivet alieron brackets to rear spar 15-04 step 6 drill out 3 rivets
rivet rear spar to ribs 15-04 step 8
rivet rear spar to ribs 15-04 step 8
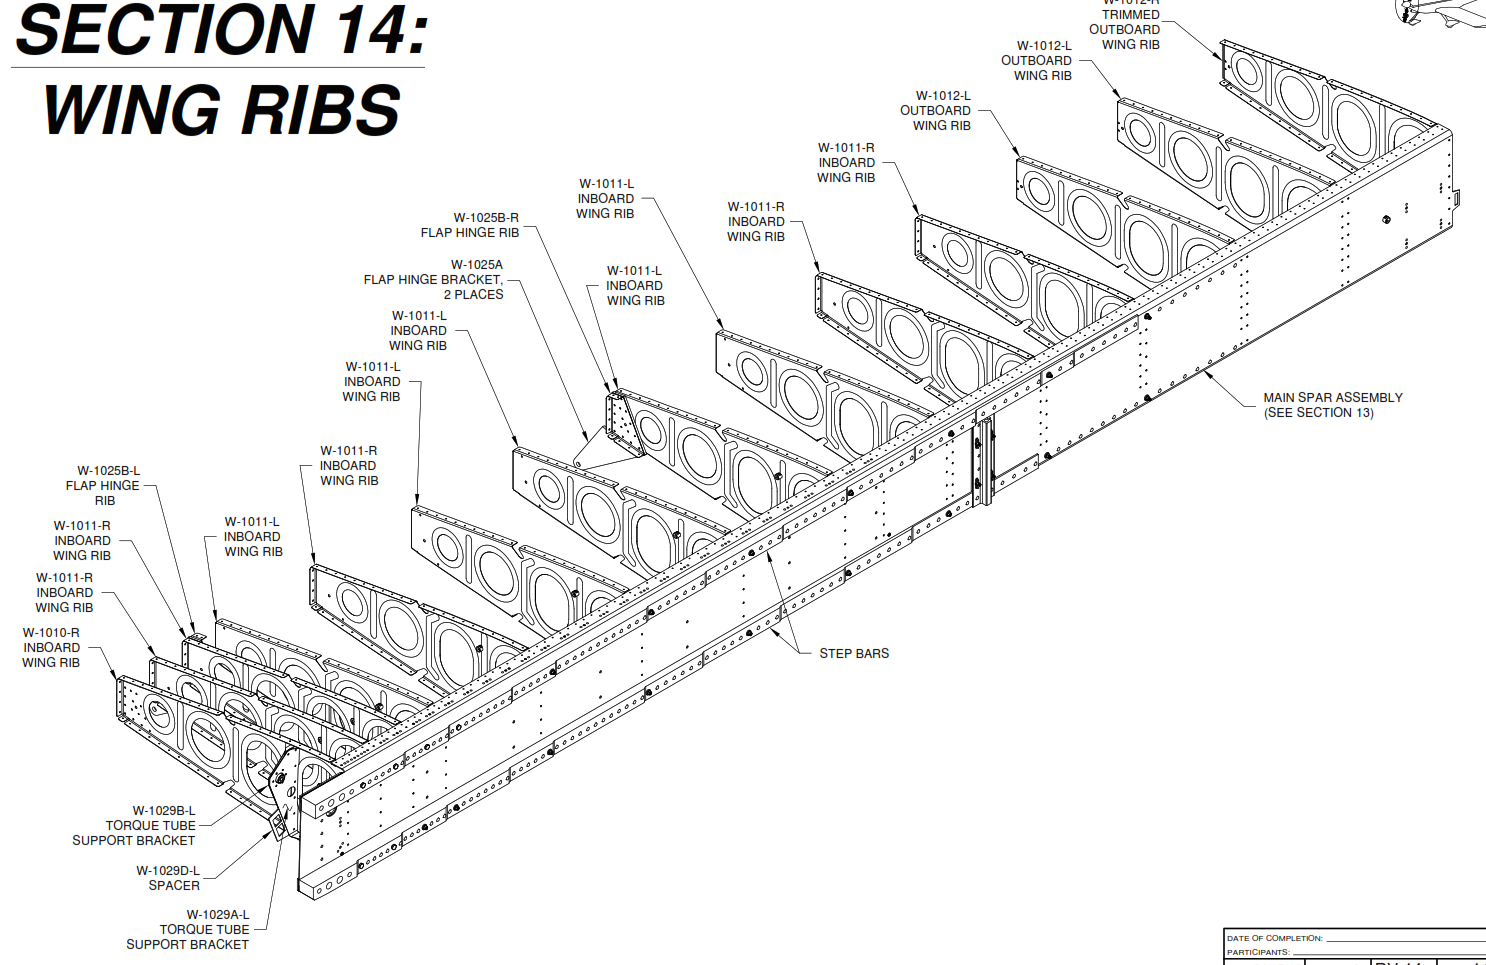
Wing Ribs
debur, adjust angles, flute 1011 ribs 14-02 step 2
debur, adjust angles, flute 1011 ribs 14-02 step 2
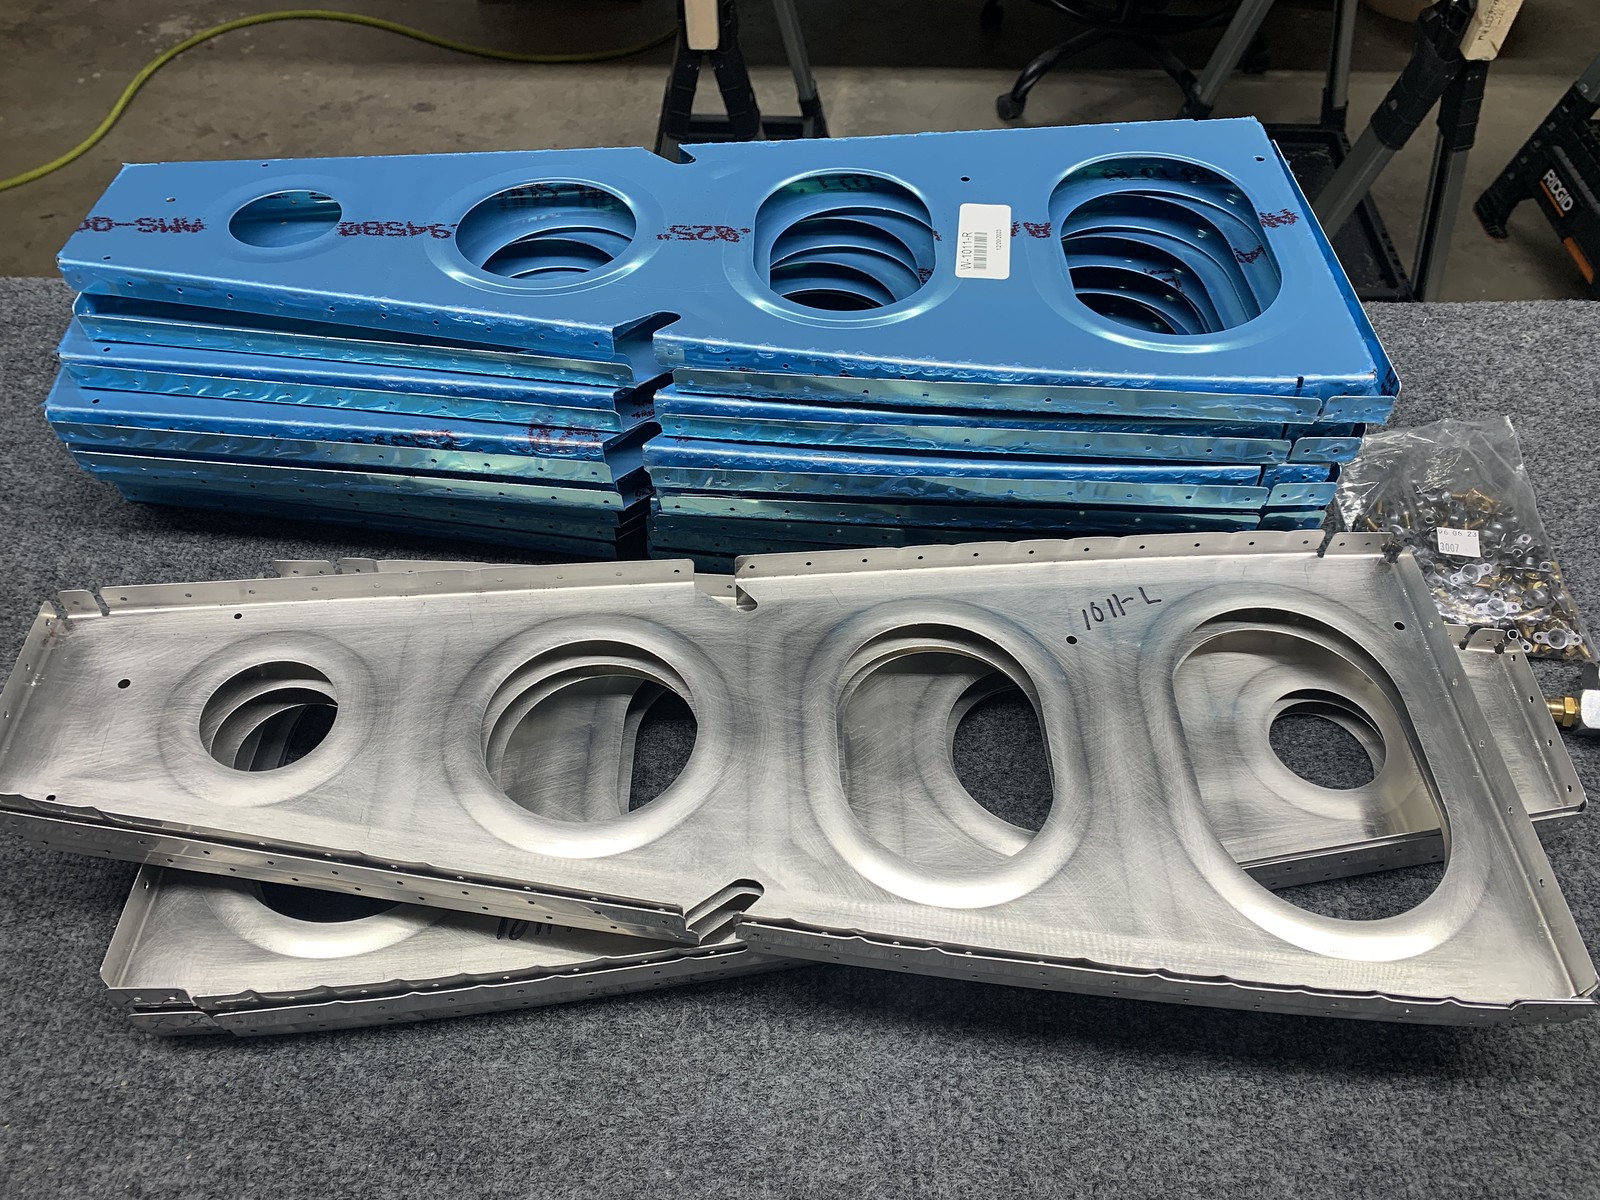
debur, adjust angles, flute 1011 ribs 14-02 step 2
debur, adjust angles, flute 1011 ribs 14-02 step 2
debur, adjust angles, flute 1011 ribs 14-02 step 2 , 14-03 steps 1-2
debur, adjust angles, flute 1011 ribs 14-02 step 2 , 14-03 steps 1-3
debur, adjust angles, flute 1011 ribs 14-02 step 2 , 14-03 steps 1-3
dimple ribs 14-02 step 2 match drill rib to spar attach points 14-03 step 4
final drill systems holes 14-04, 14-05, prime ribs, flap brackets
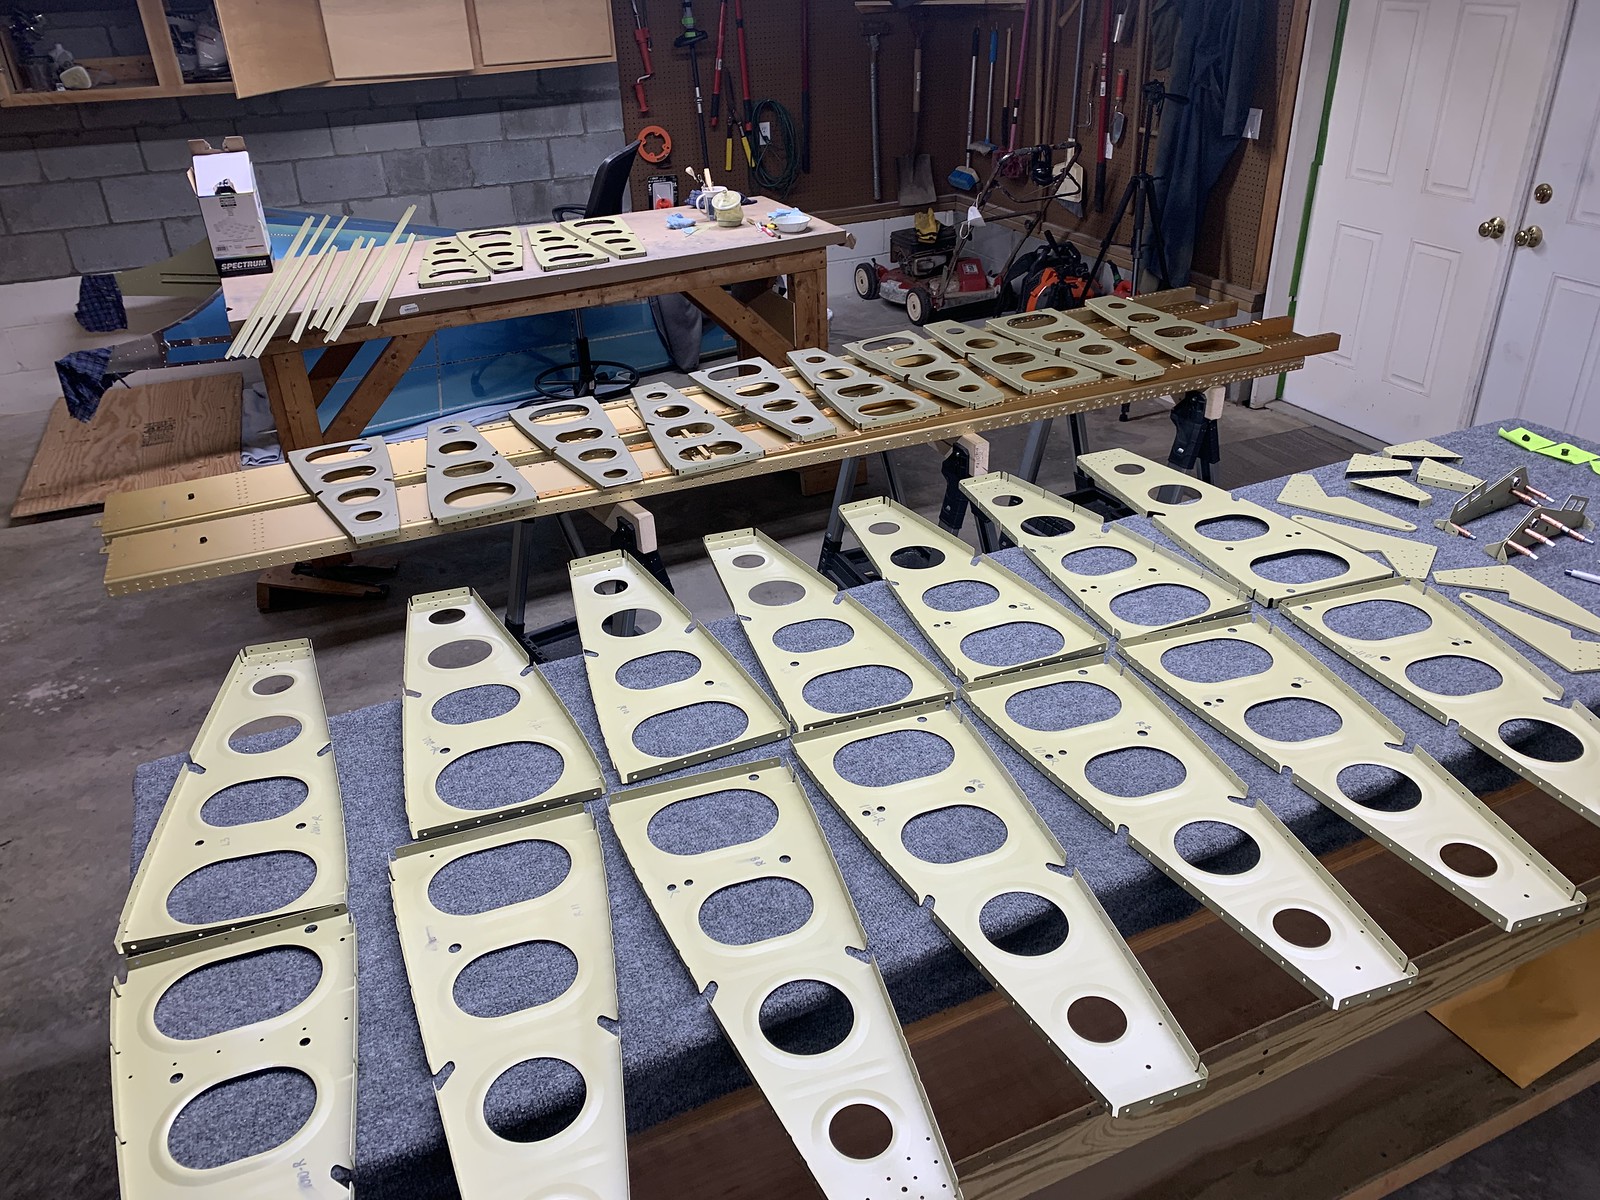
rivet flap hinge ribs and brackets 14-06 rivet torque tube support brackets 14-06 step 3-4
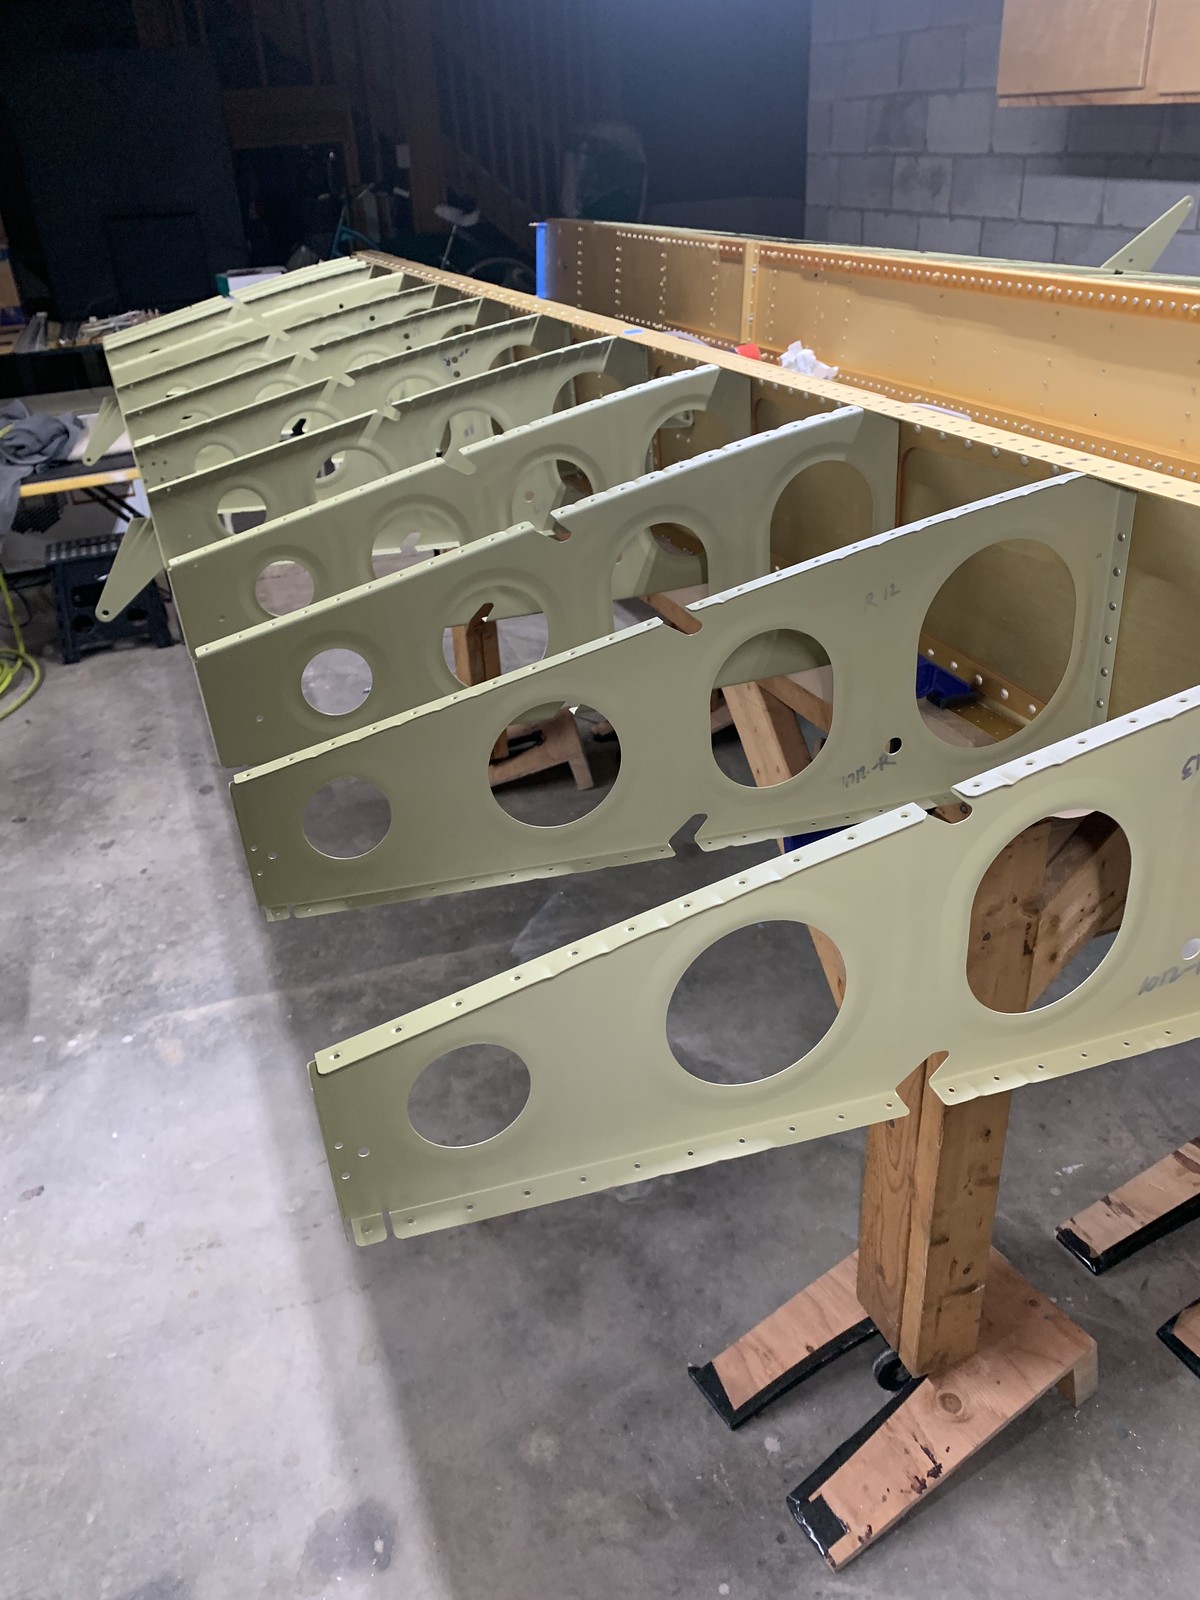
rivet ribs to main spar, install bolts 14-07 steps 1-4
rivet upper forward holes of rib flanges to wing spar flange 14-07 step 5
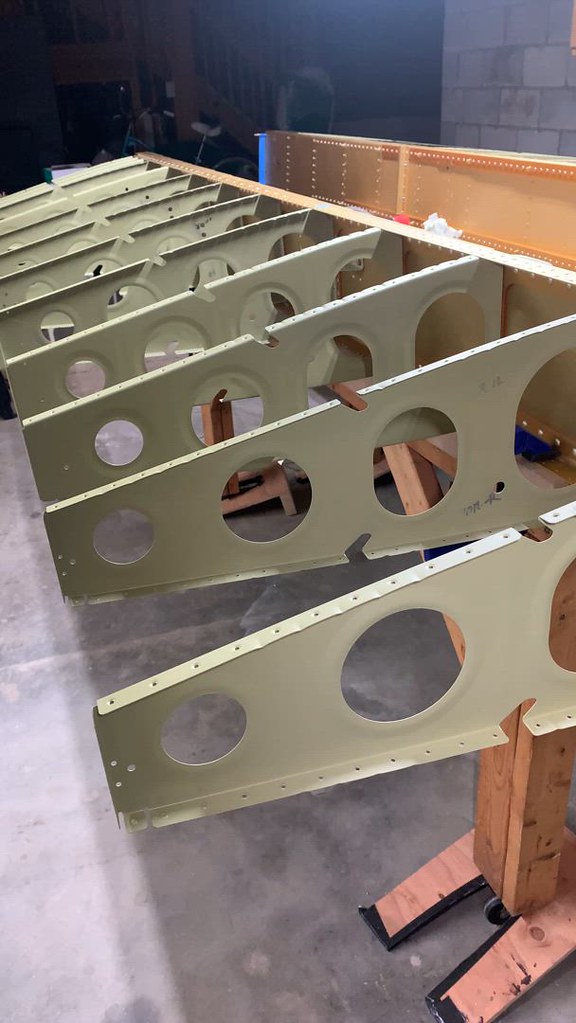
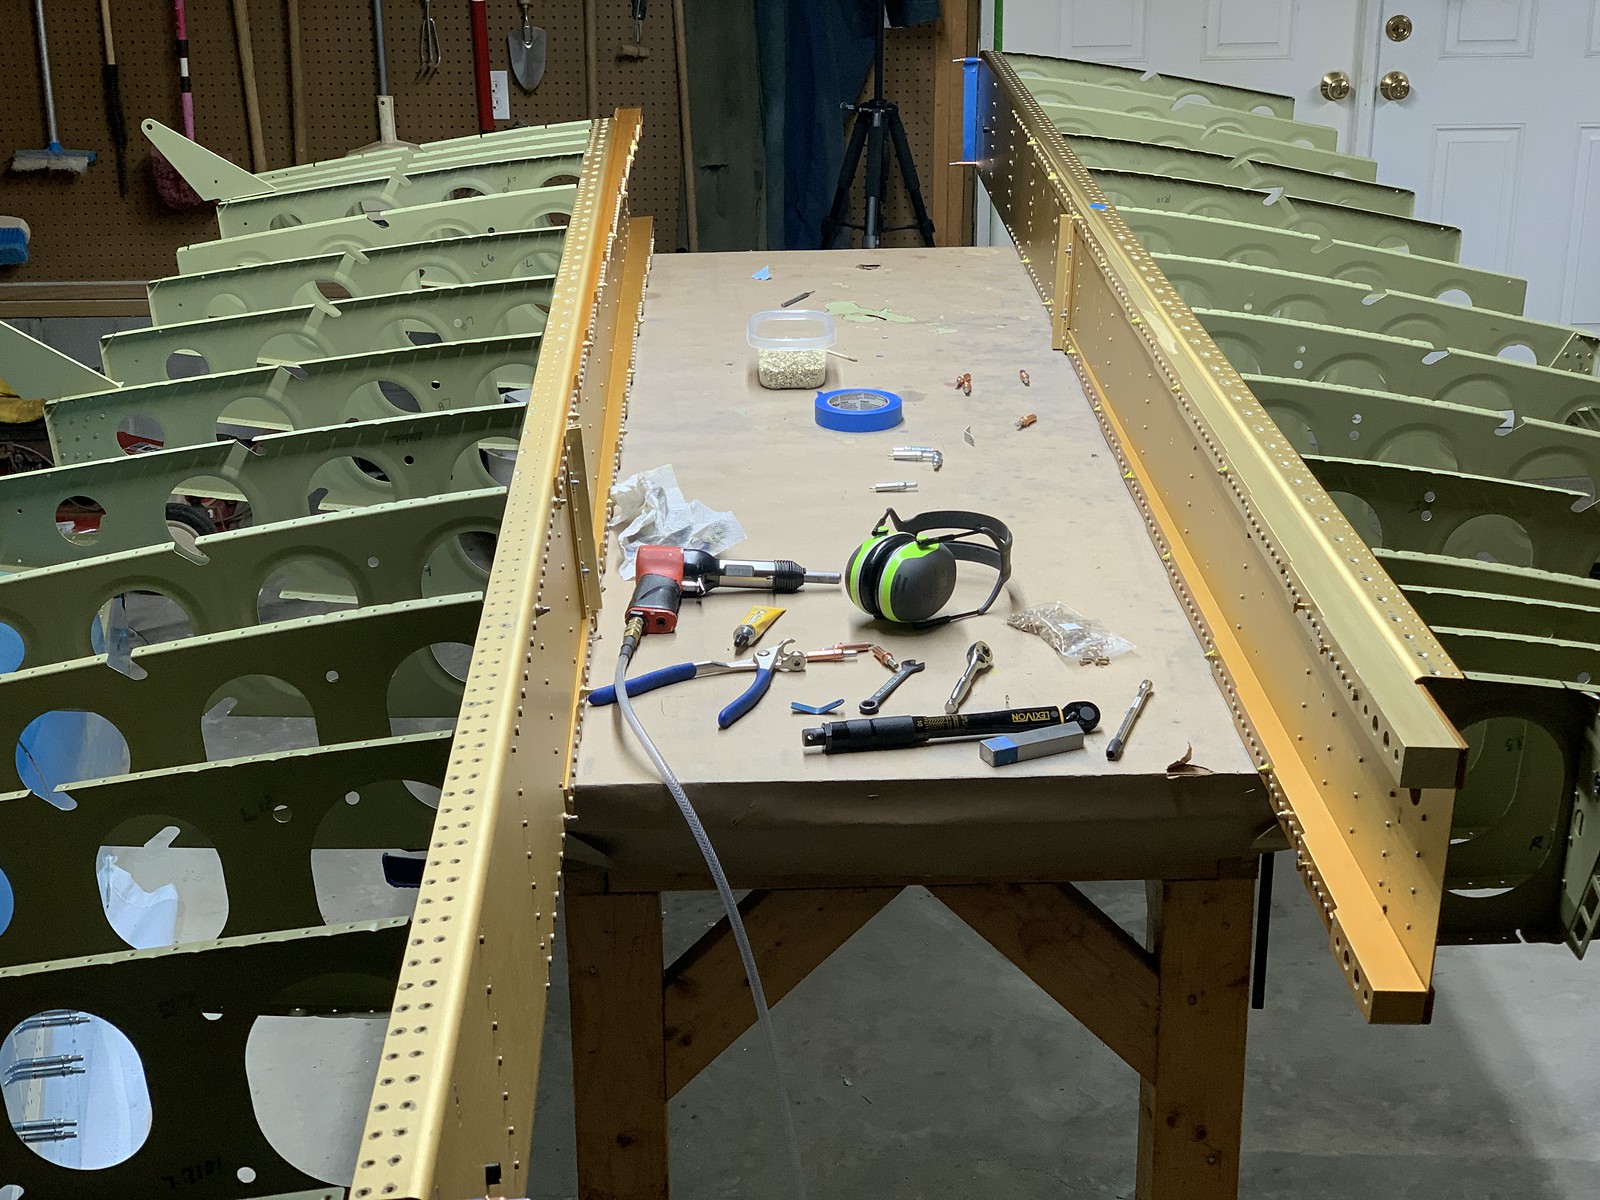
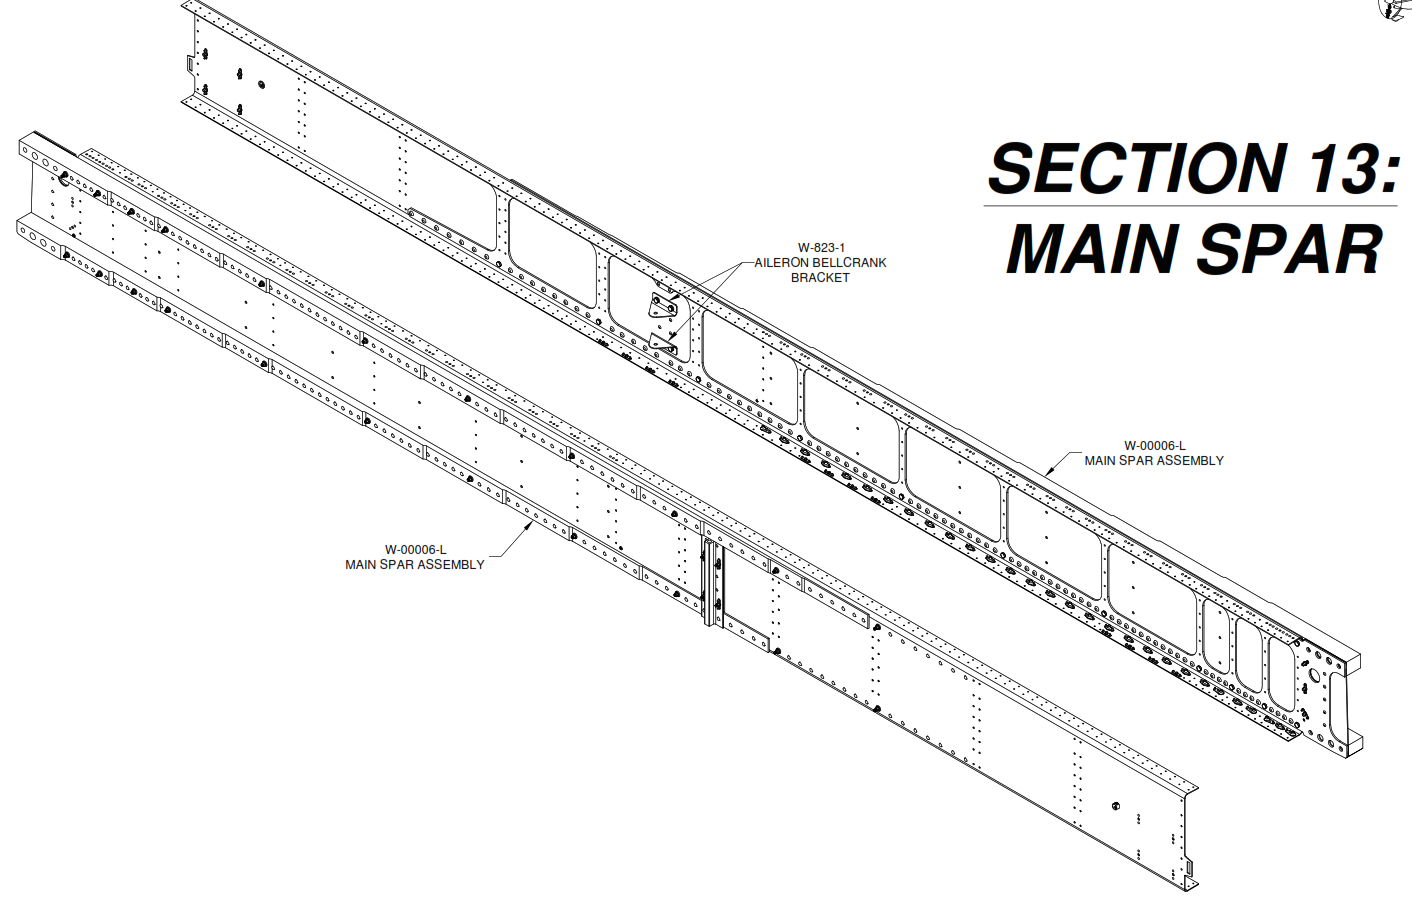
Main Spar
match drill J channels 13-02 steps 1-4
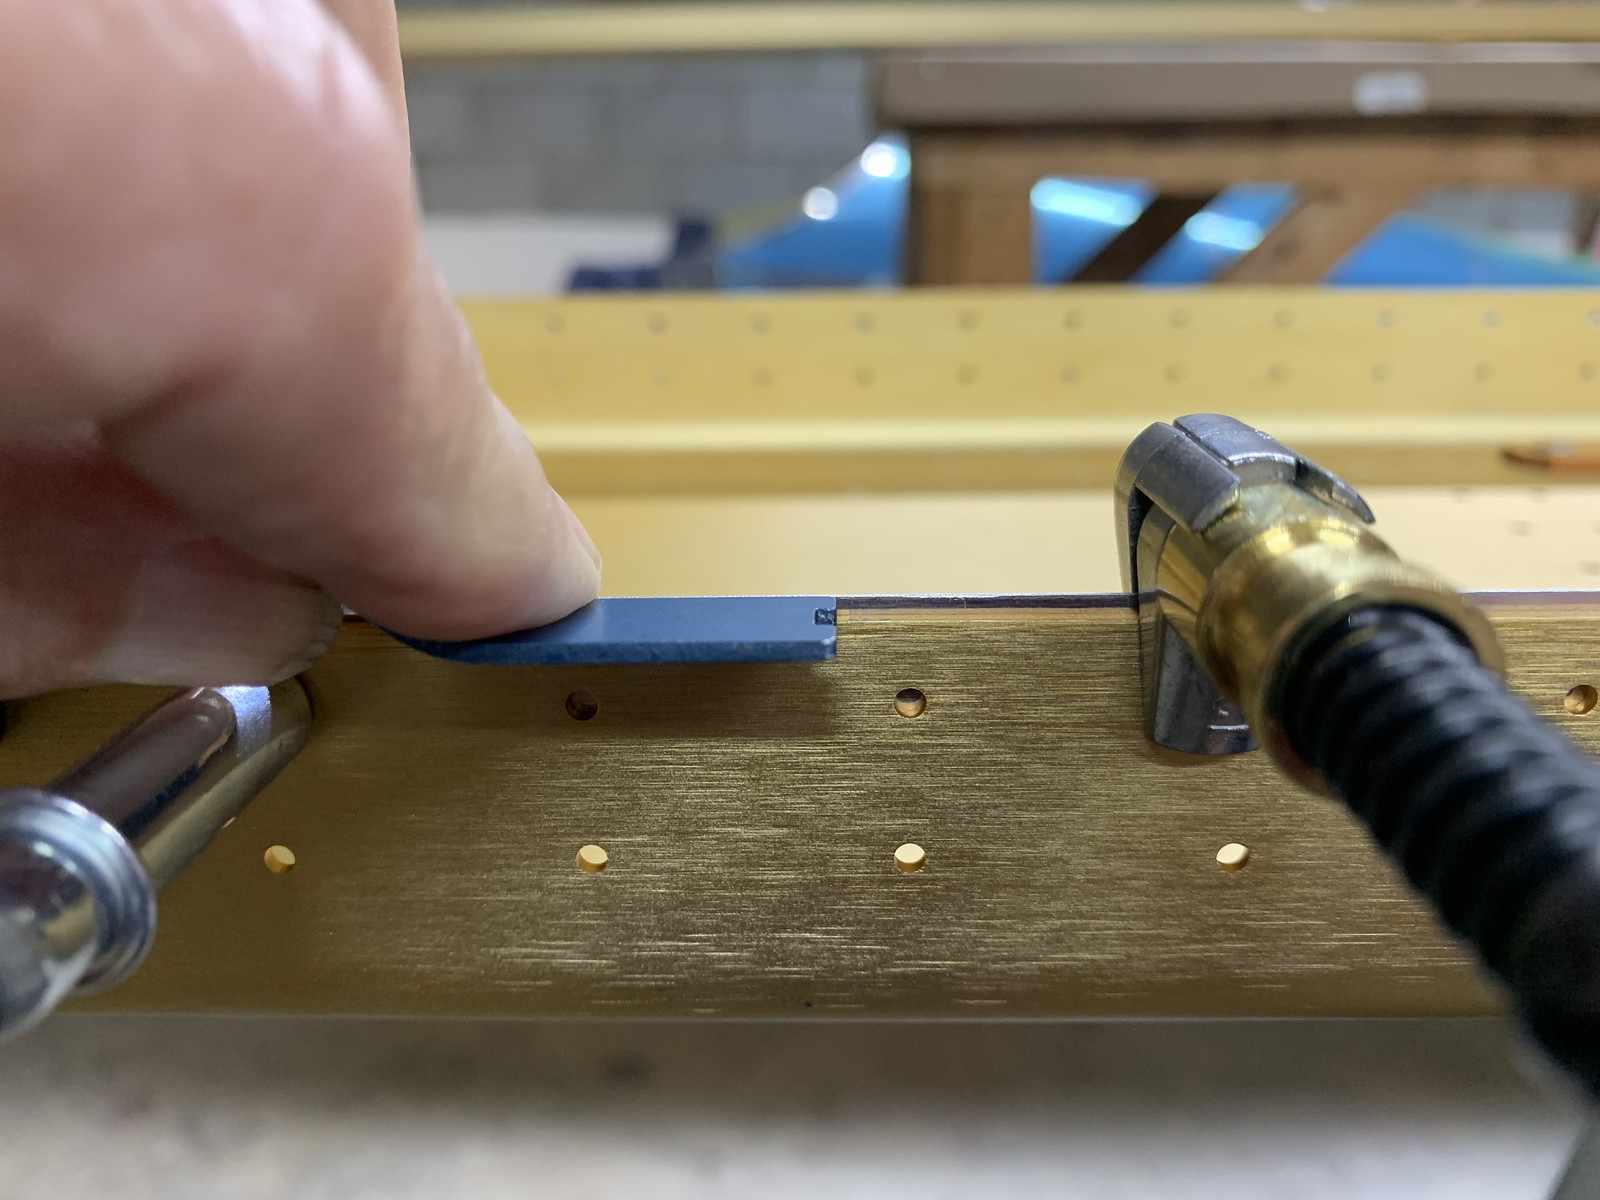
match drill J channels 13-02 steps 4-5
timelapse
final drill flange, machine countersink 13-03 steps 1-3
timelapse
machine countersink flange for dimpled skin 13-03 step 7
machine countersink flange for dimpled skin 13-03 step 7 debur main spars
spot prime main spars 13-02 step 8
rivet fuel tank skin and access panel attach nutplates 13-03 step 4, 6
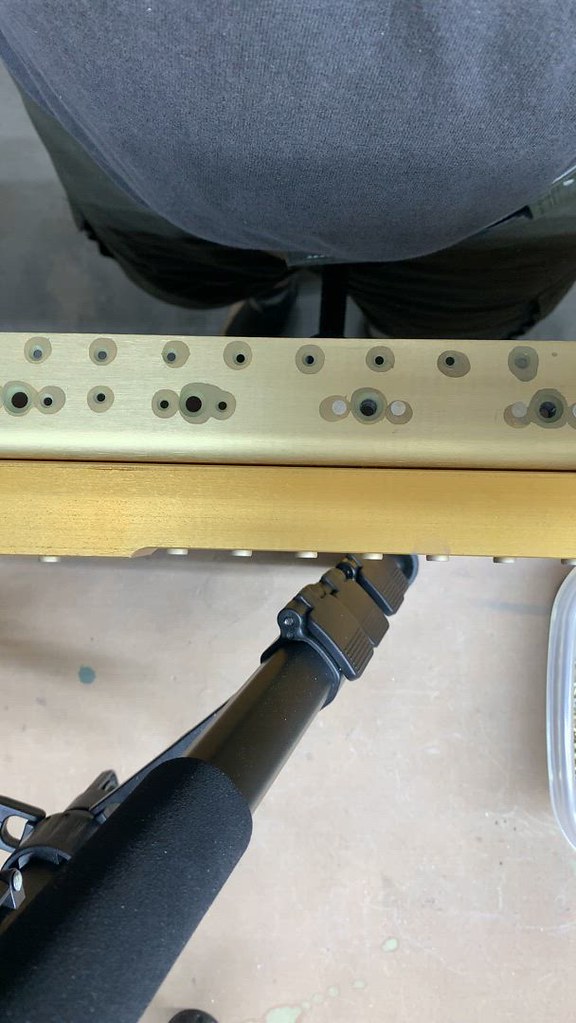
rivet fuel tank skin and access panel attach nutplates 13-03 step 4, 6 13-05 step 3
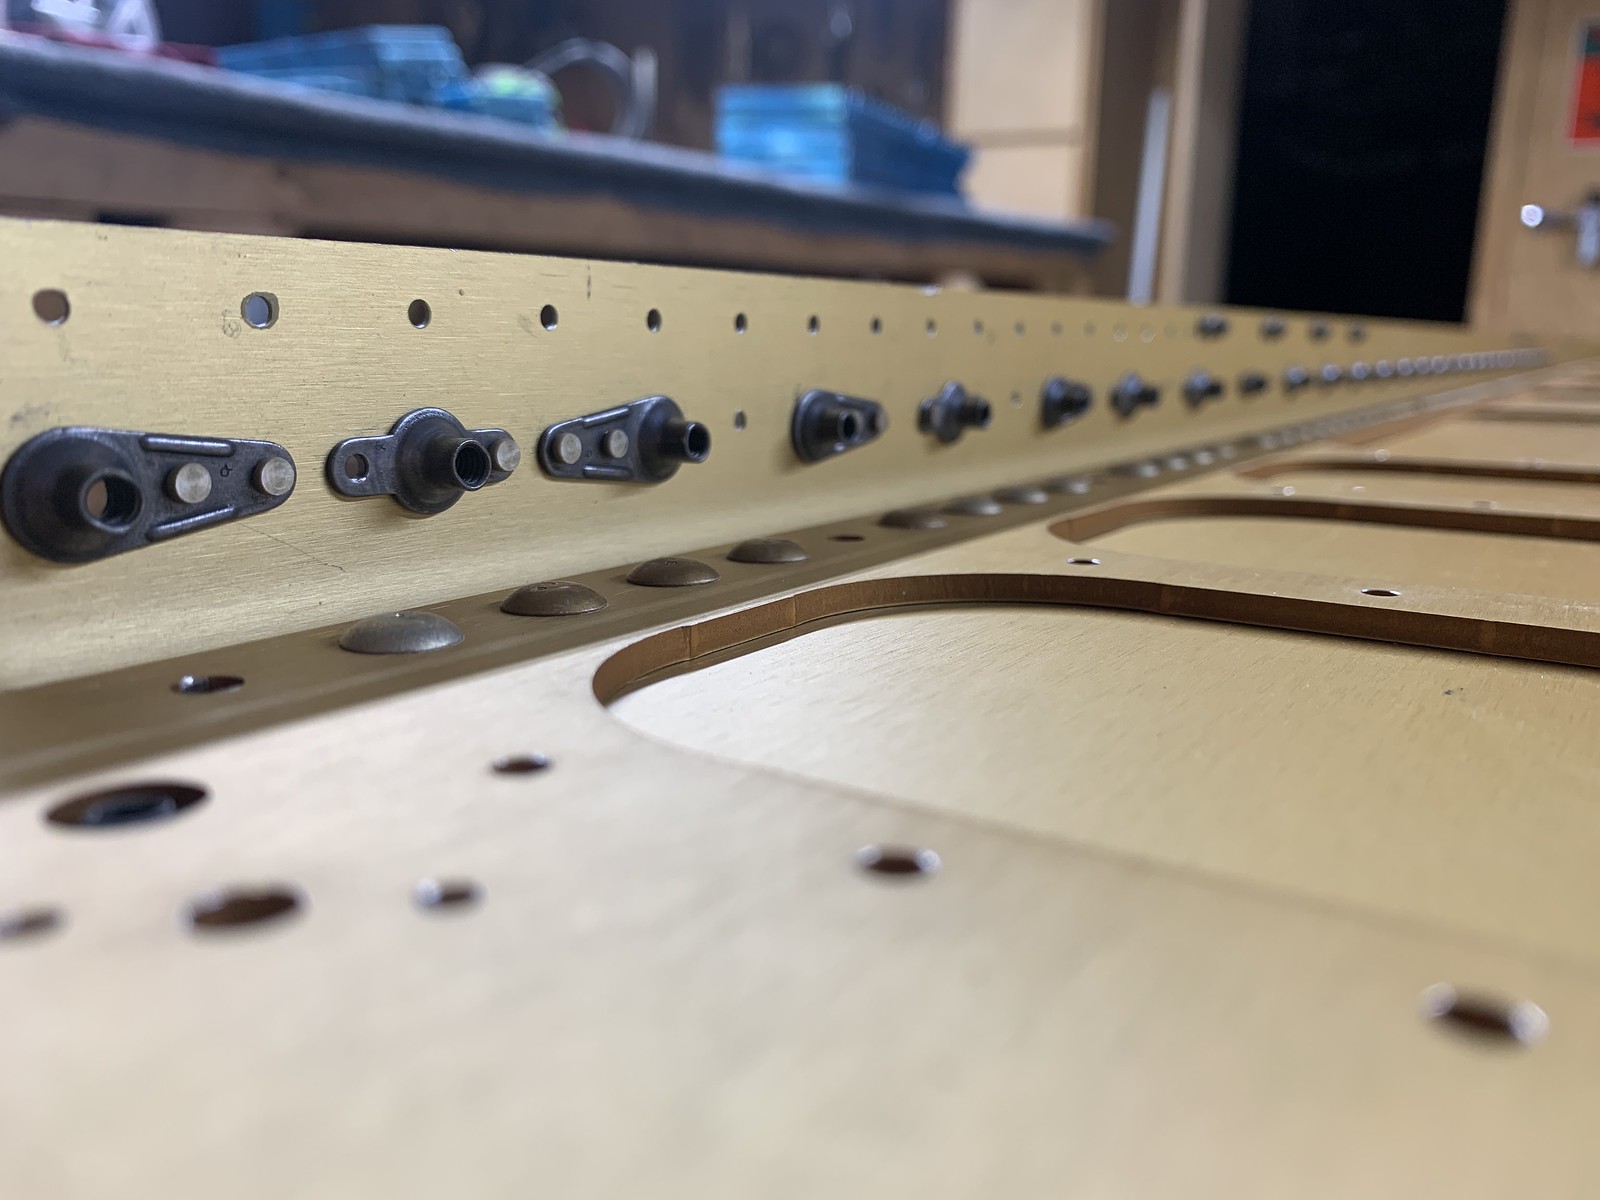
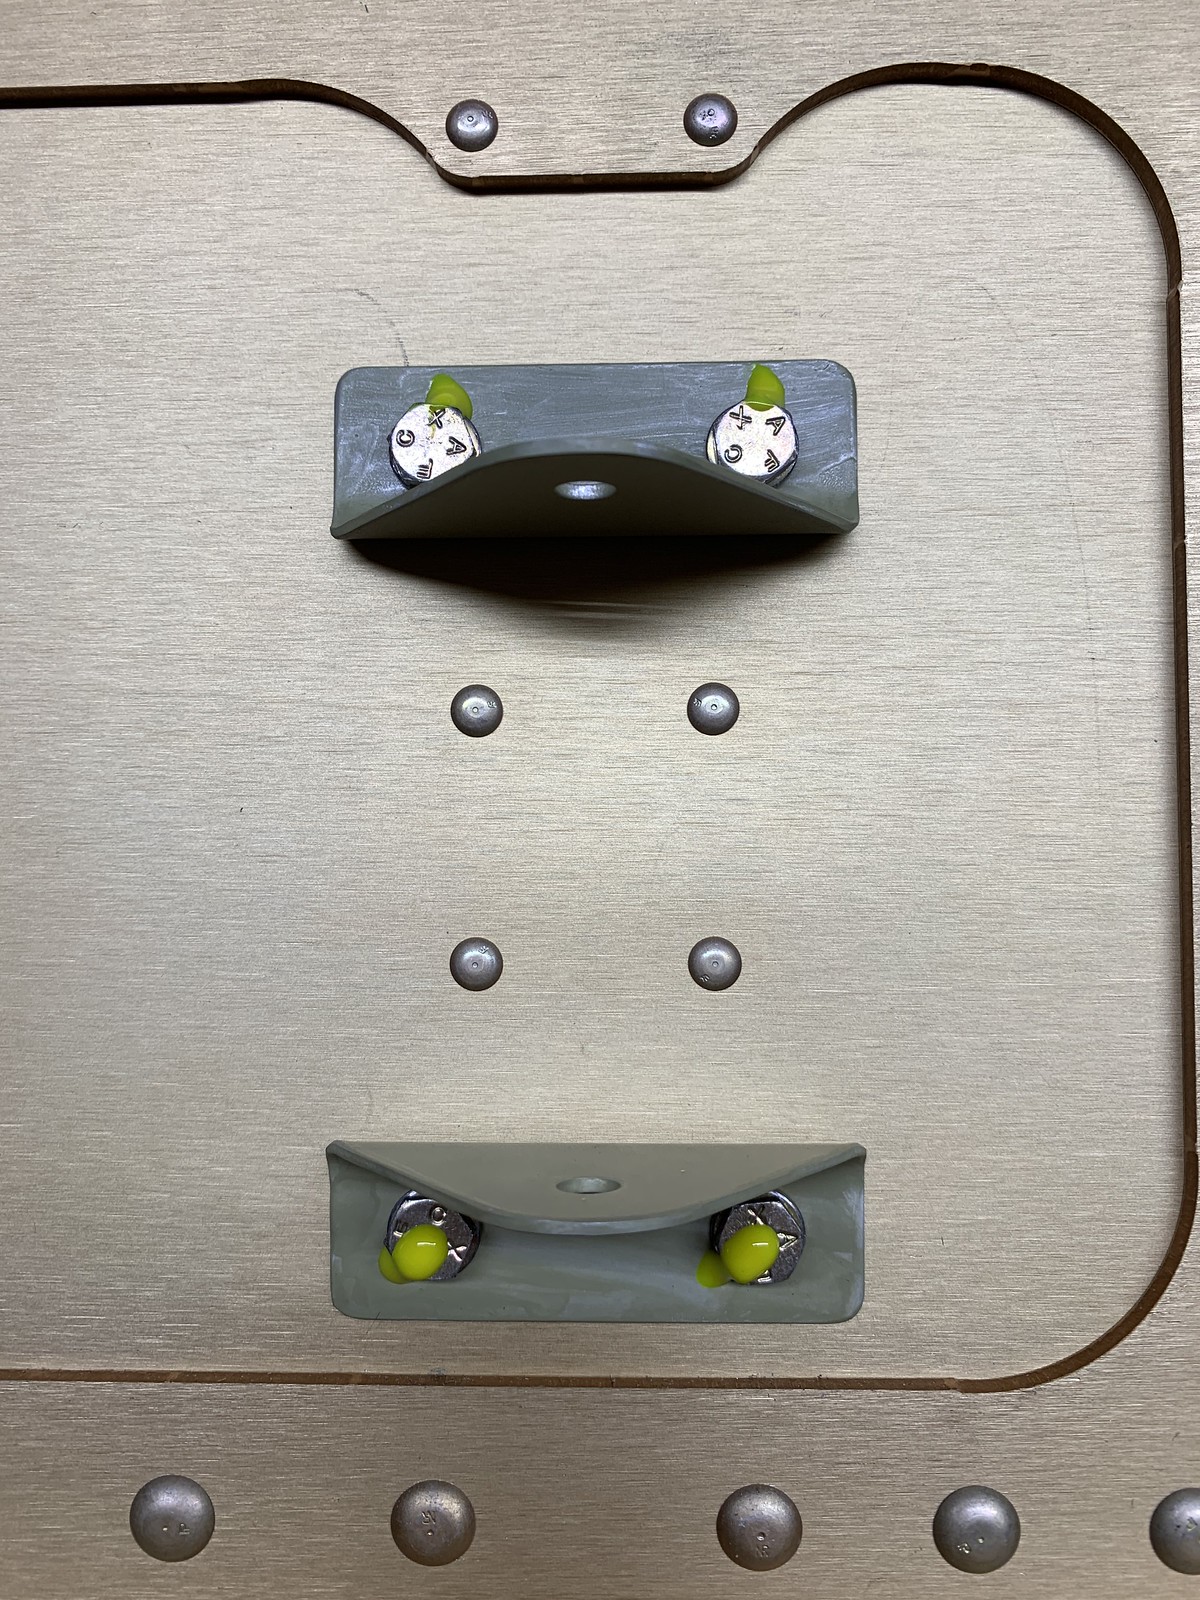
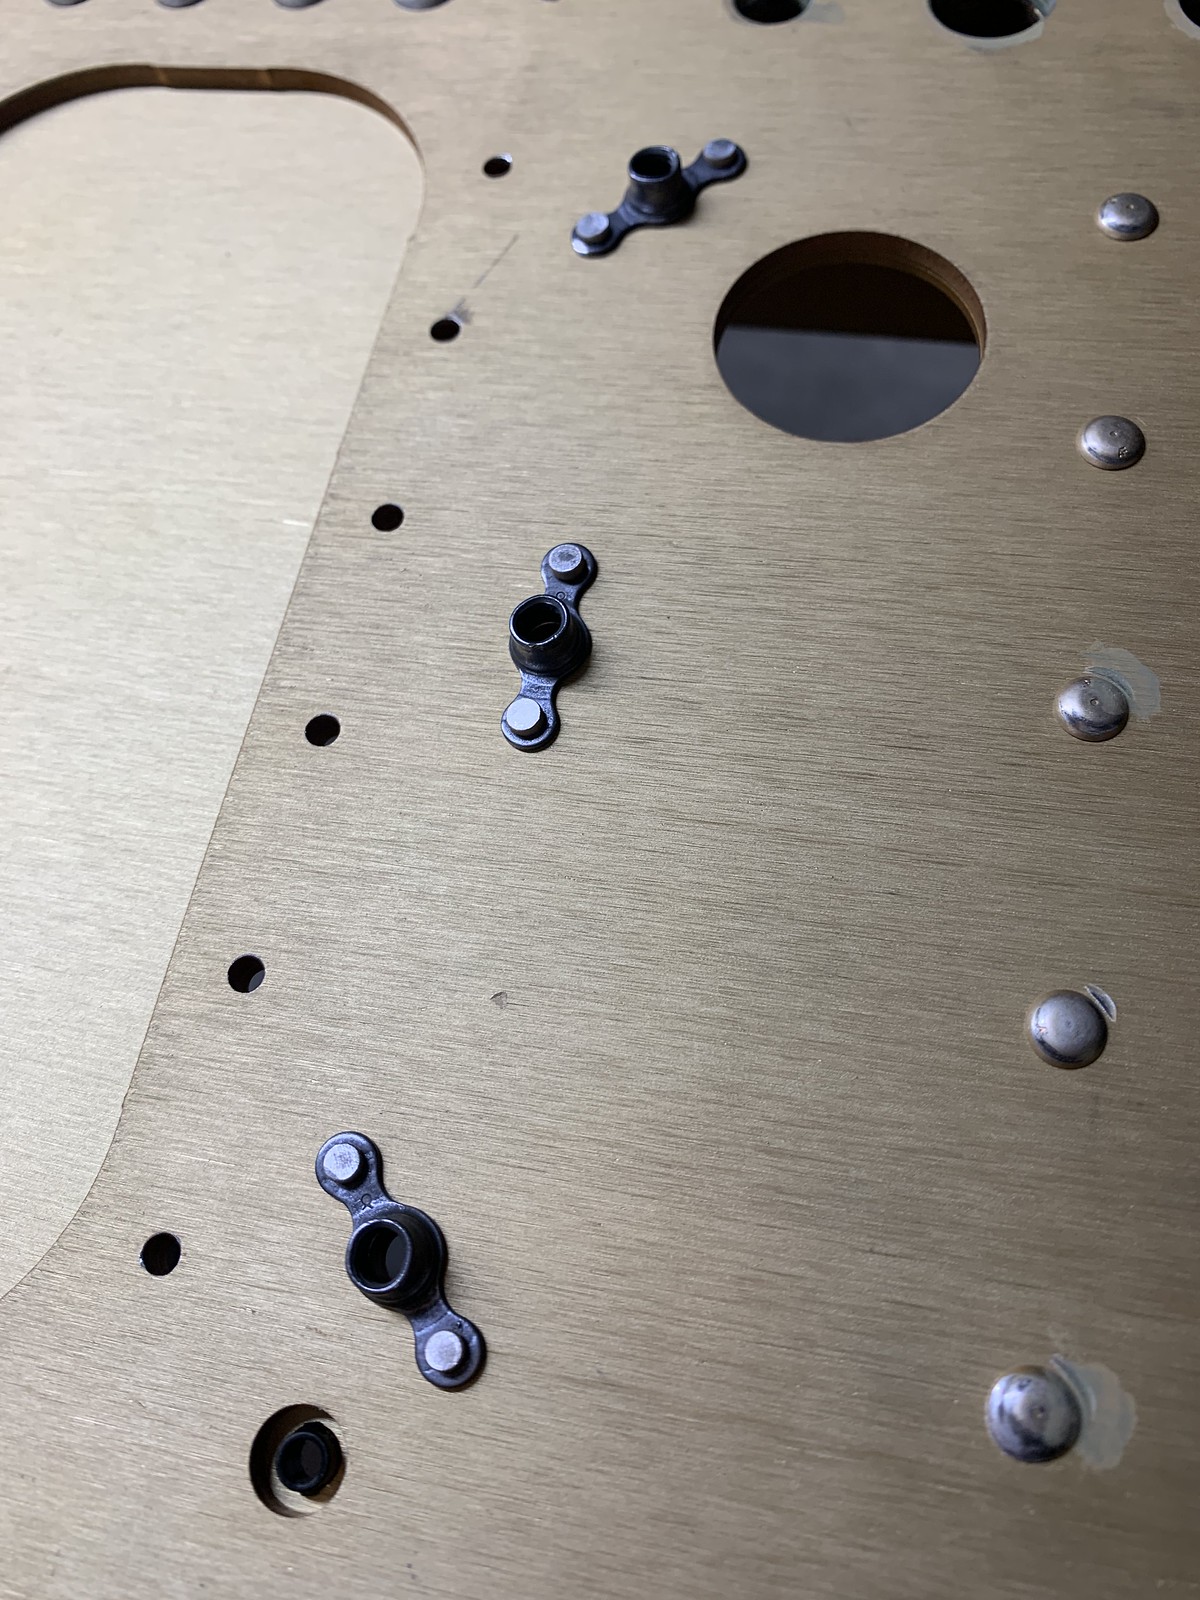
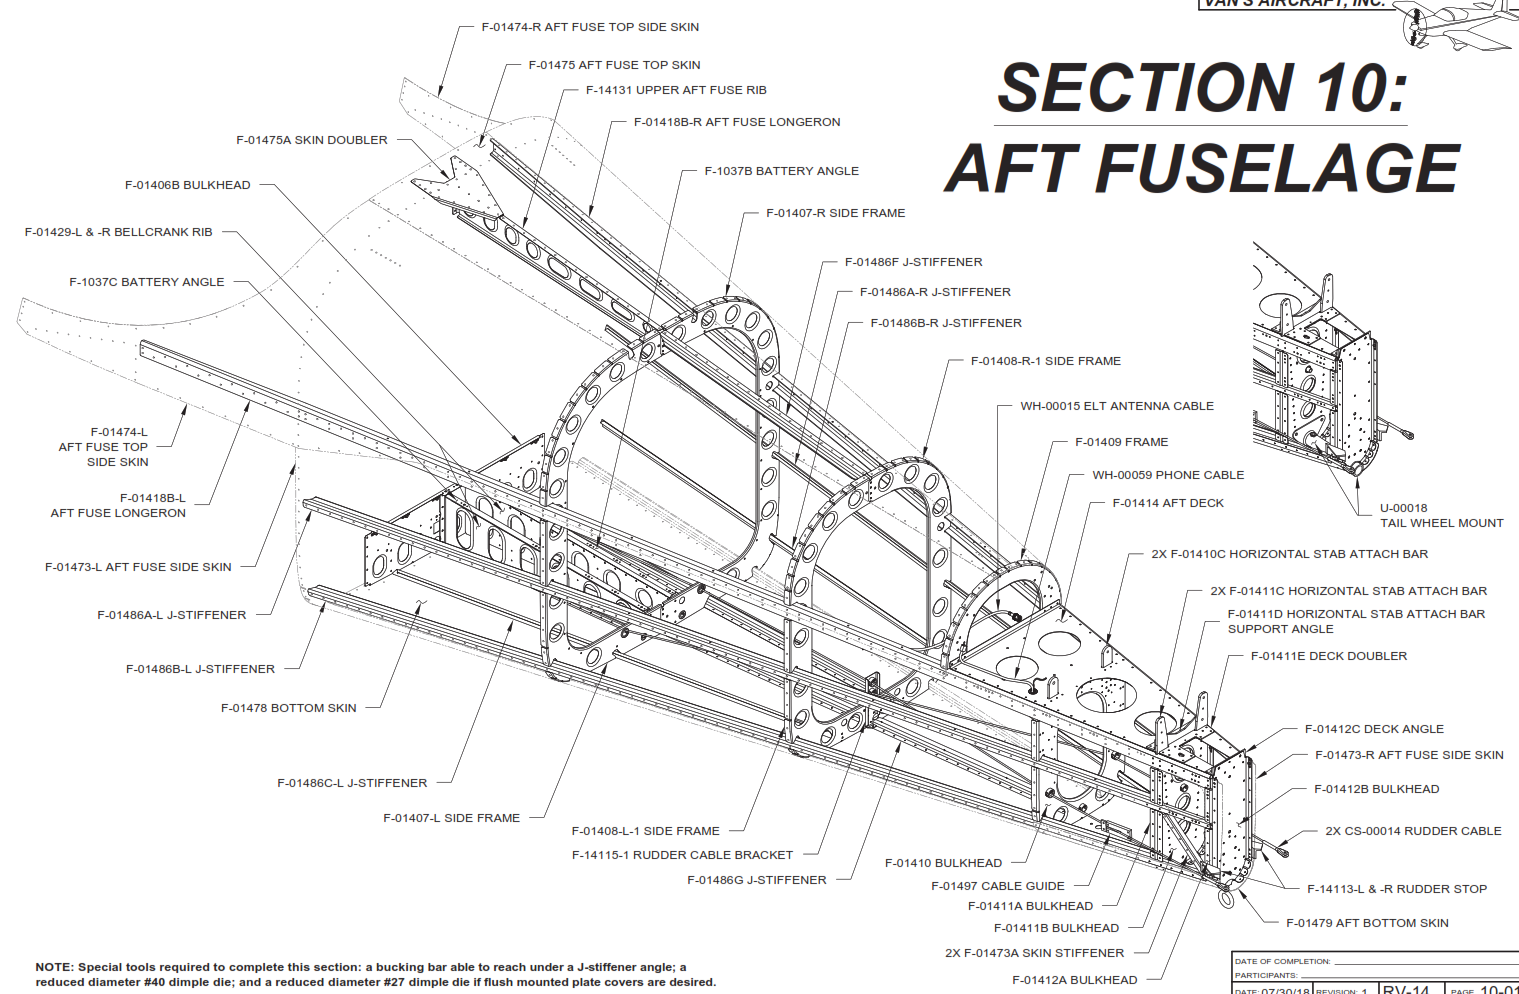
Aft Fuselage
machine stiffener angle, J-stiffener, battery angle 10-02 steps 1-6
modify J-stiffeners, longerons, bulhead doublers, clips, HS bars 10-03 steps 1-6
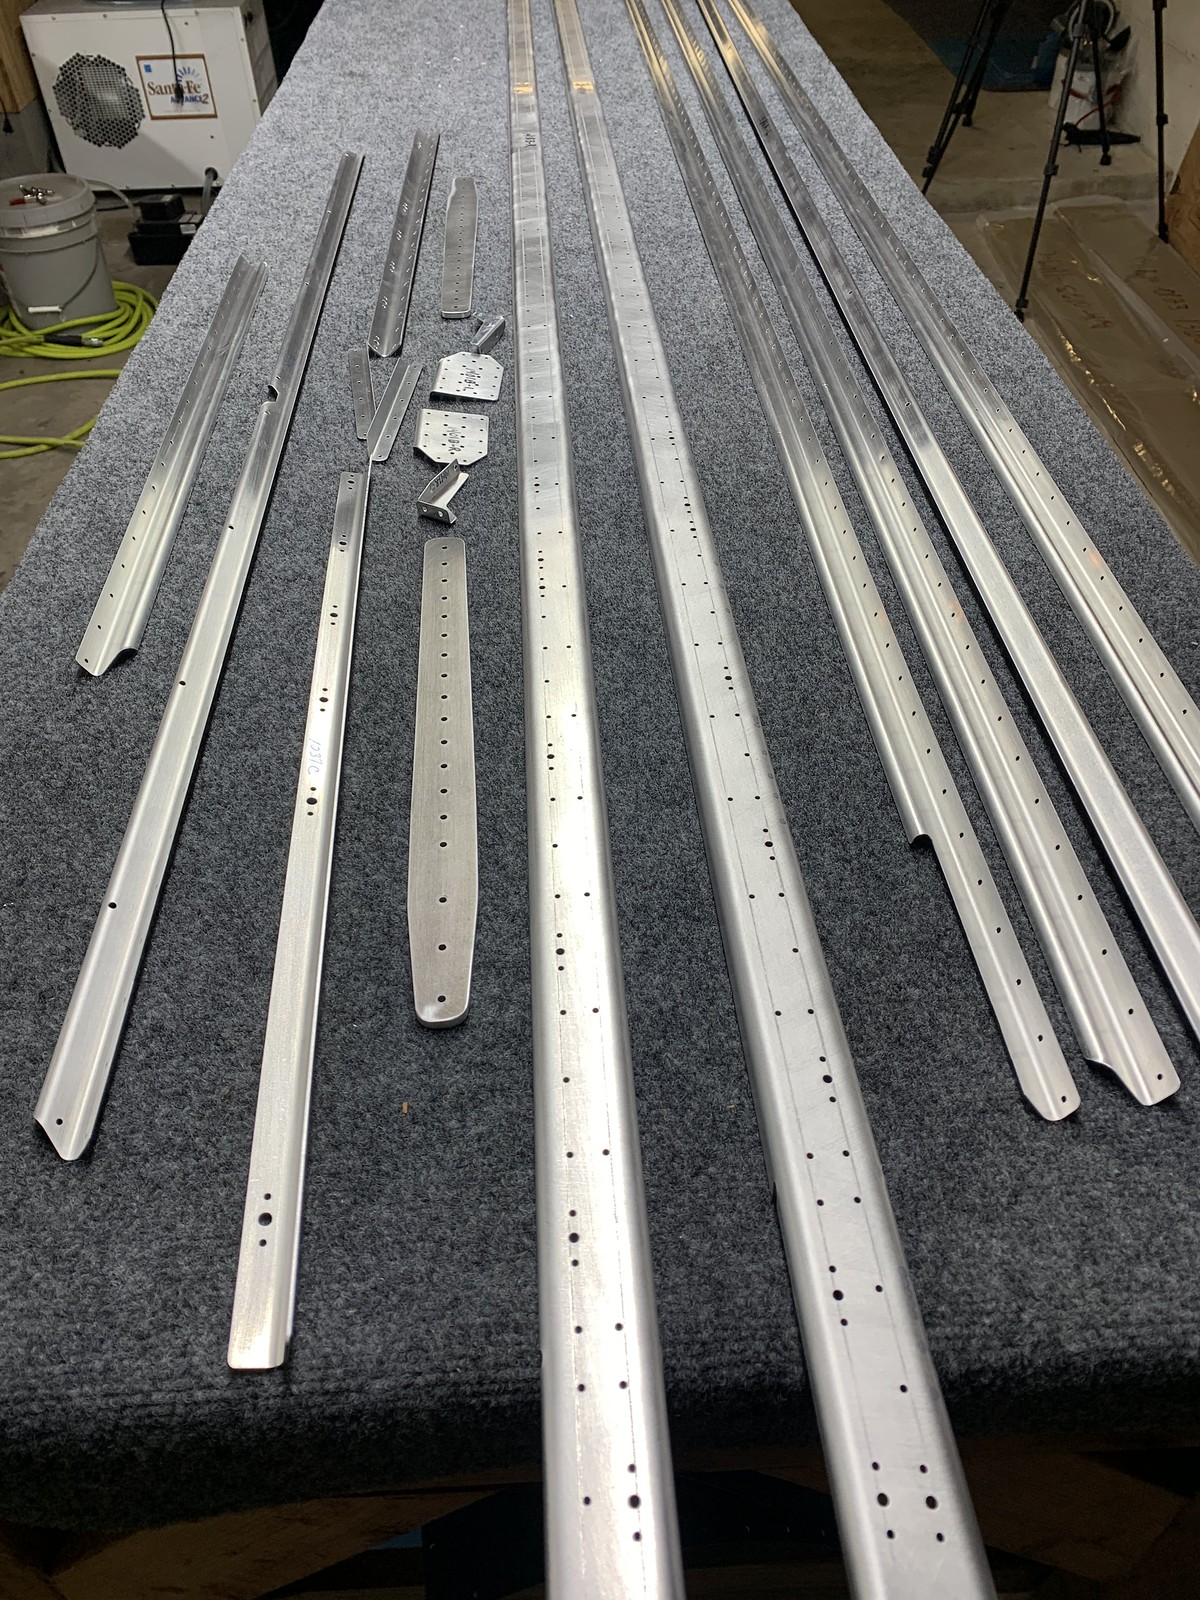
fab HS stab attach bar, rudder stops 10-04 steps 1-3
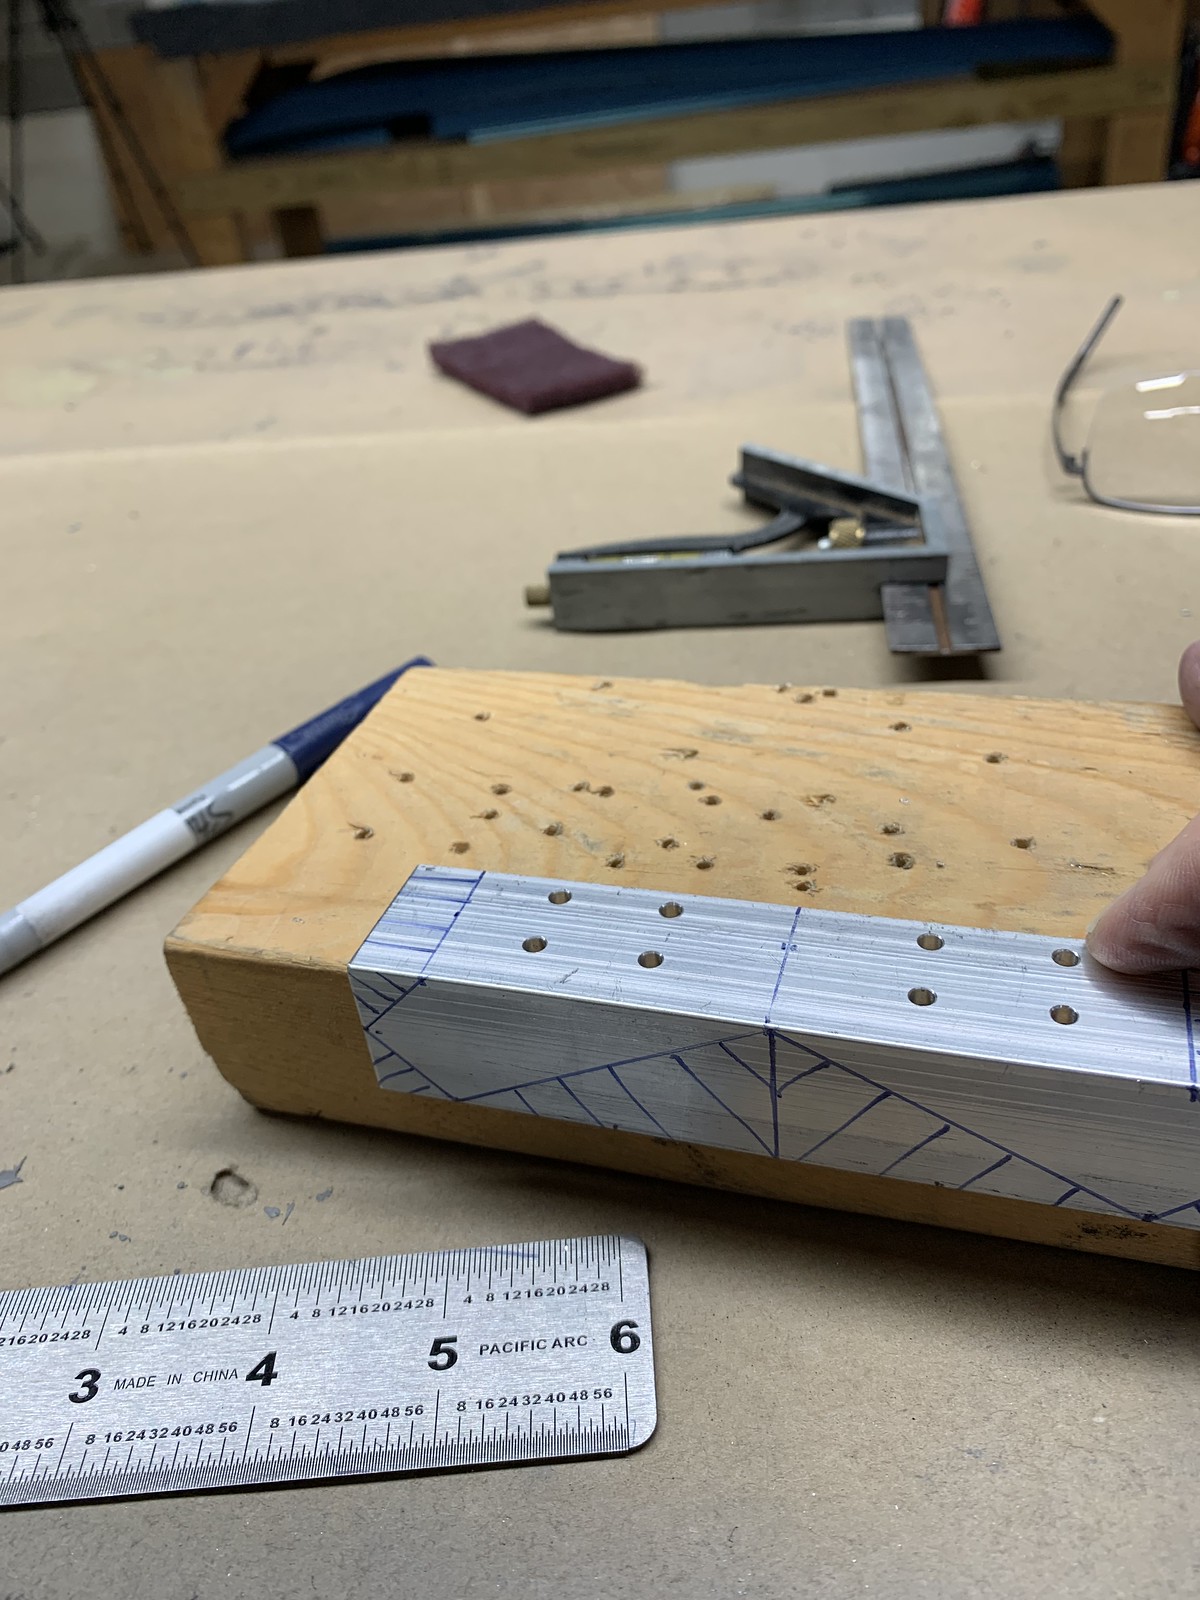
match drill, dimple aft bulkhead, match drill stab attach bars 10-07 steps 1-3, 10-09 steps 1-2
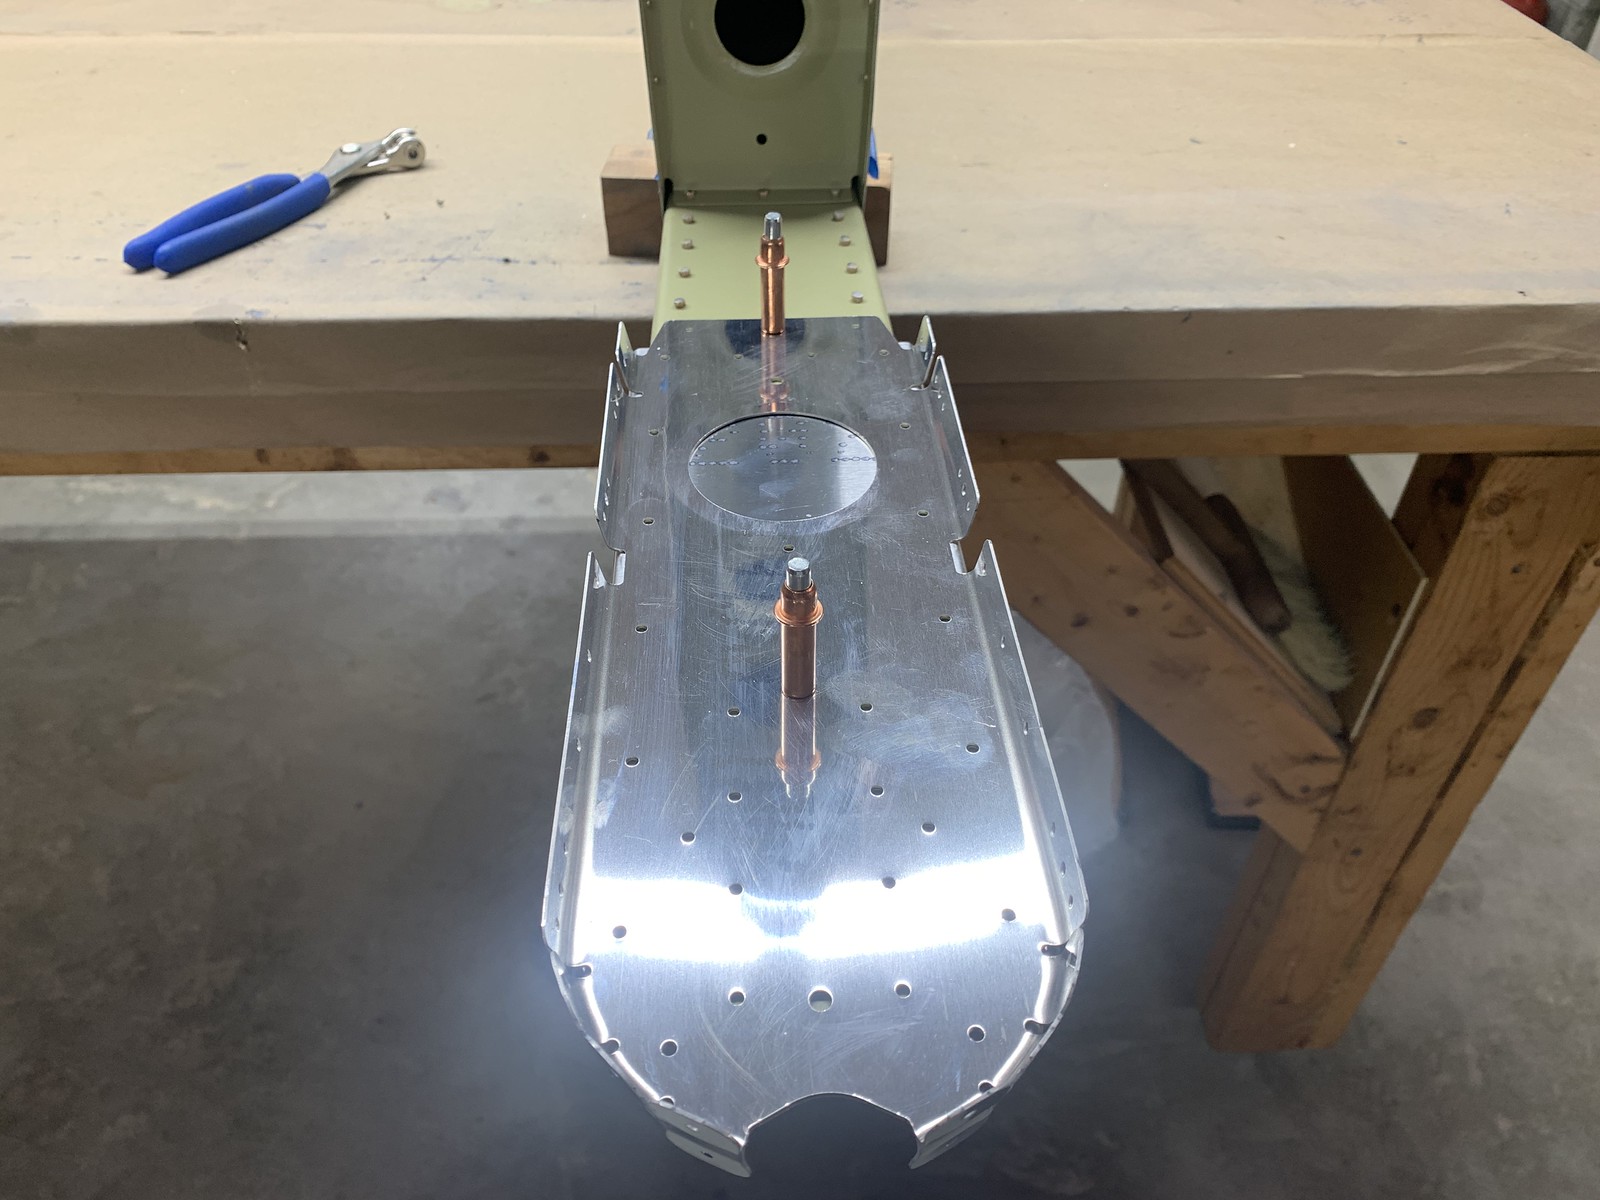
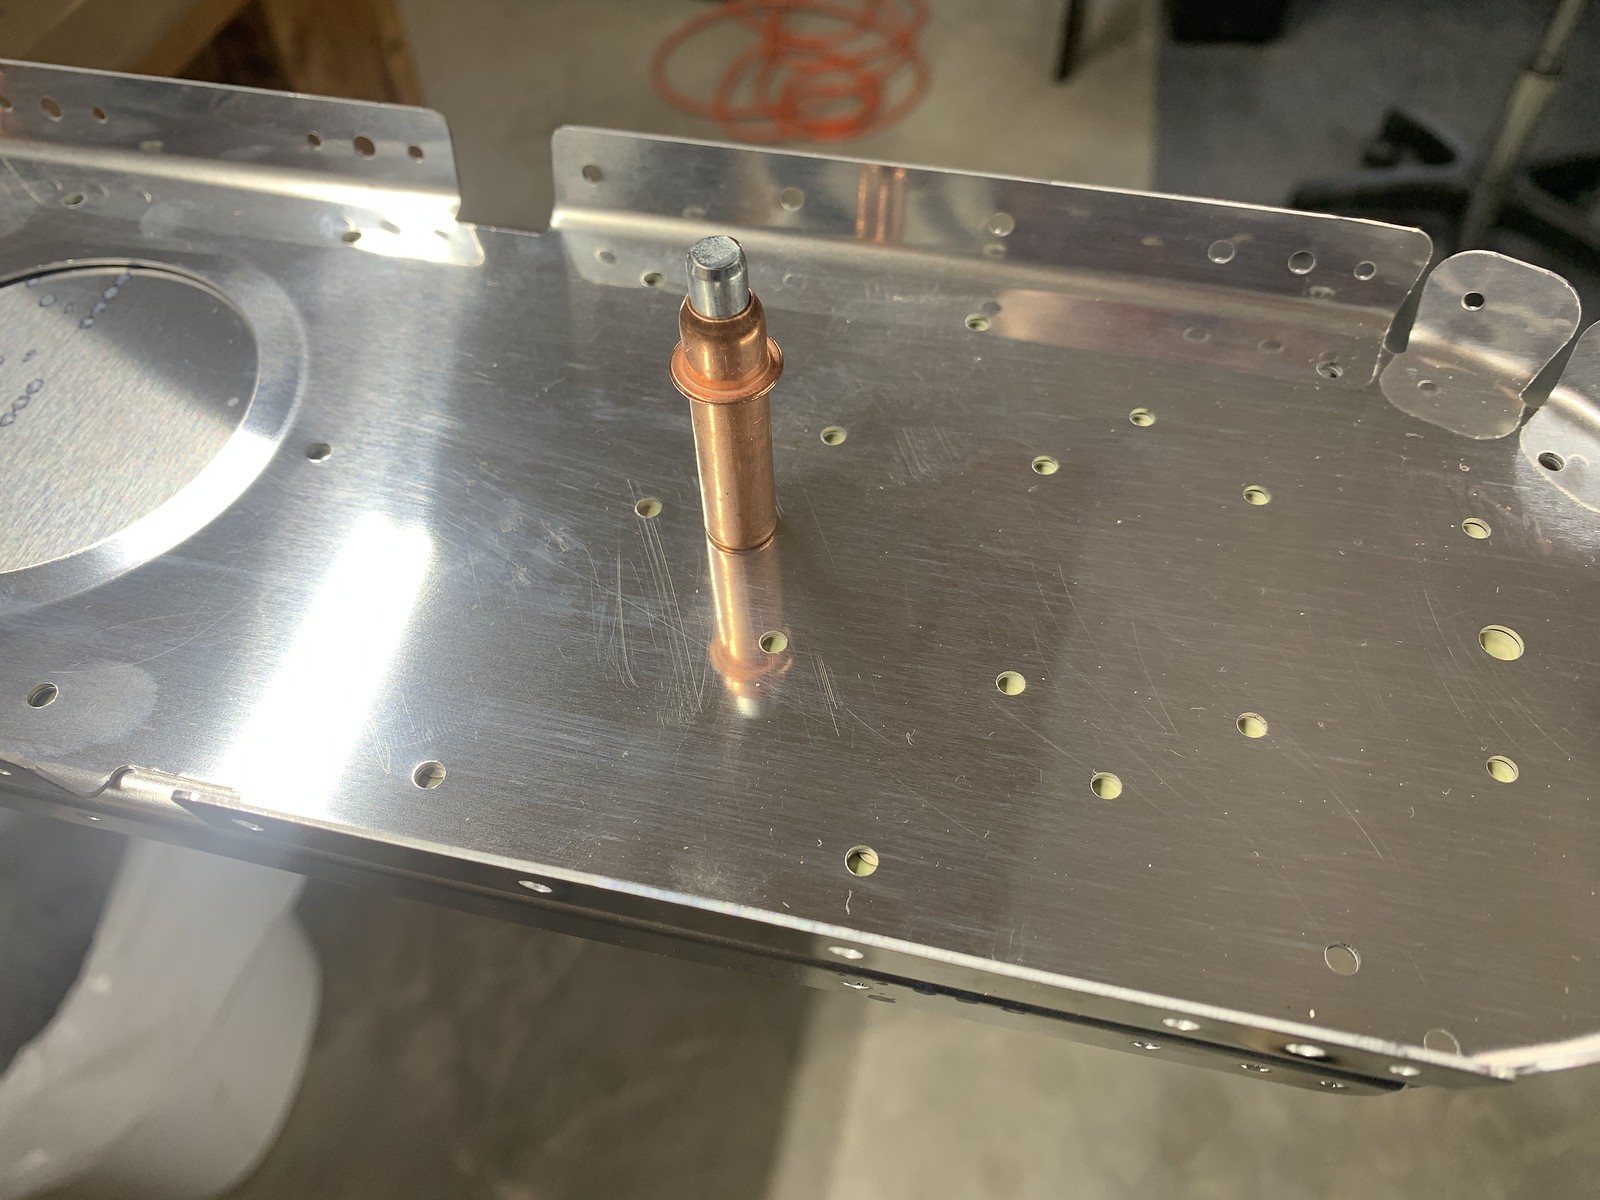
remove facets, deburr, dimple bulkheads, final drill 10-09 steps 3-5 and 10-10 steps 3-5
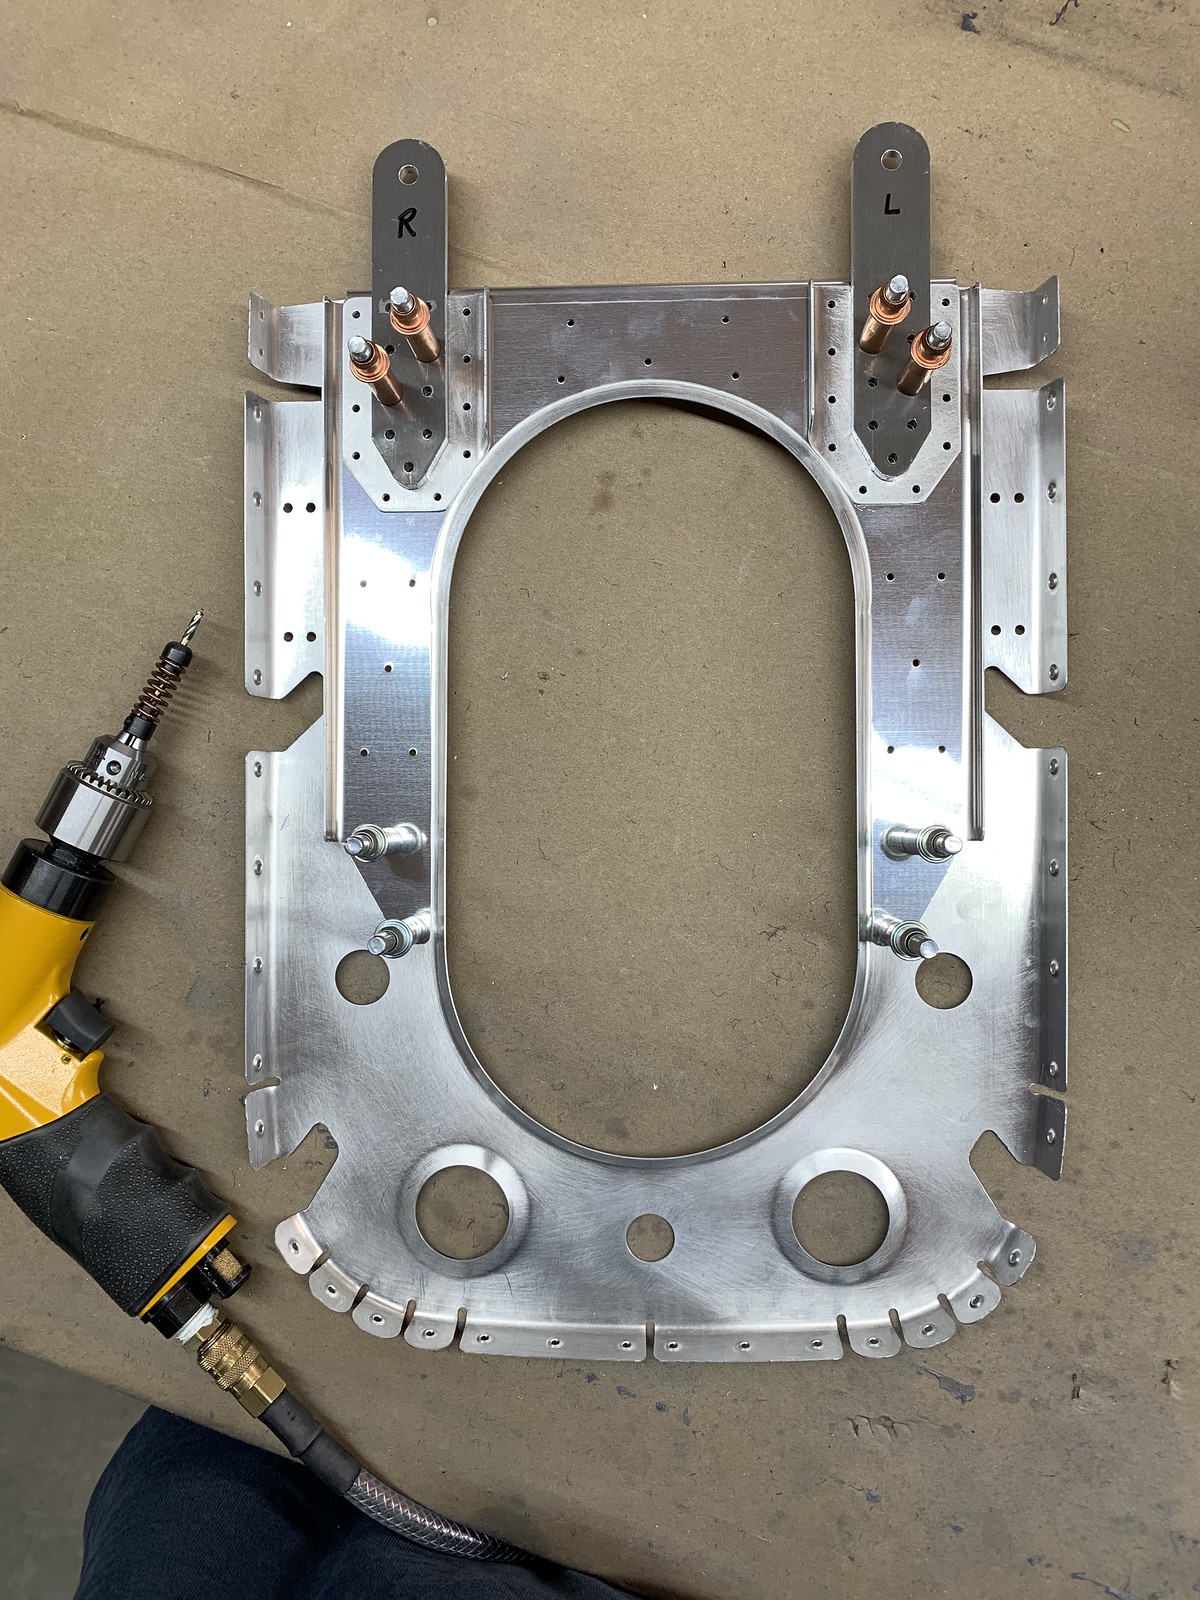
deburr, match drill, bullkheads, battery angles 10-11 step 7 bellcrank ribs 10-12 steps 1-3, 6
timelapse
scuff all parts for priming, deburr and dimple bottom skin
dimple lower skin, J-stiffeners, deburr side skin 10-14 step 3
dimple R skin, countersink R longeron, deburr and skuff L skin 10-14 steps 1-2
timelapse
dimple L skin, countersindk L longeron 10-14 steps 1-2
prime skins, stifeners, longerons
rivet bulheads and HS atttach bars 10-08, 10-09, 10-10, 10-11
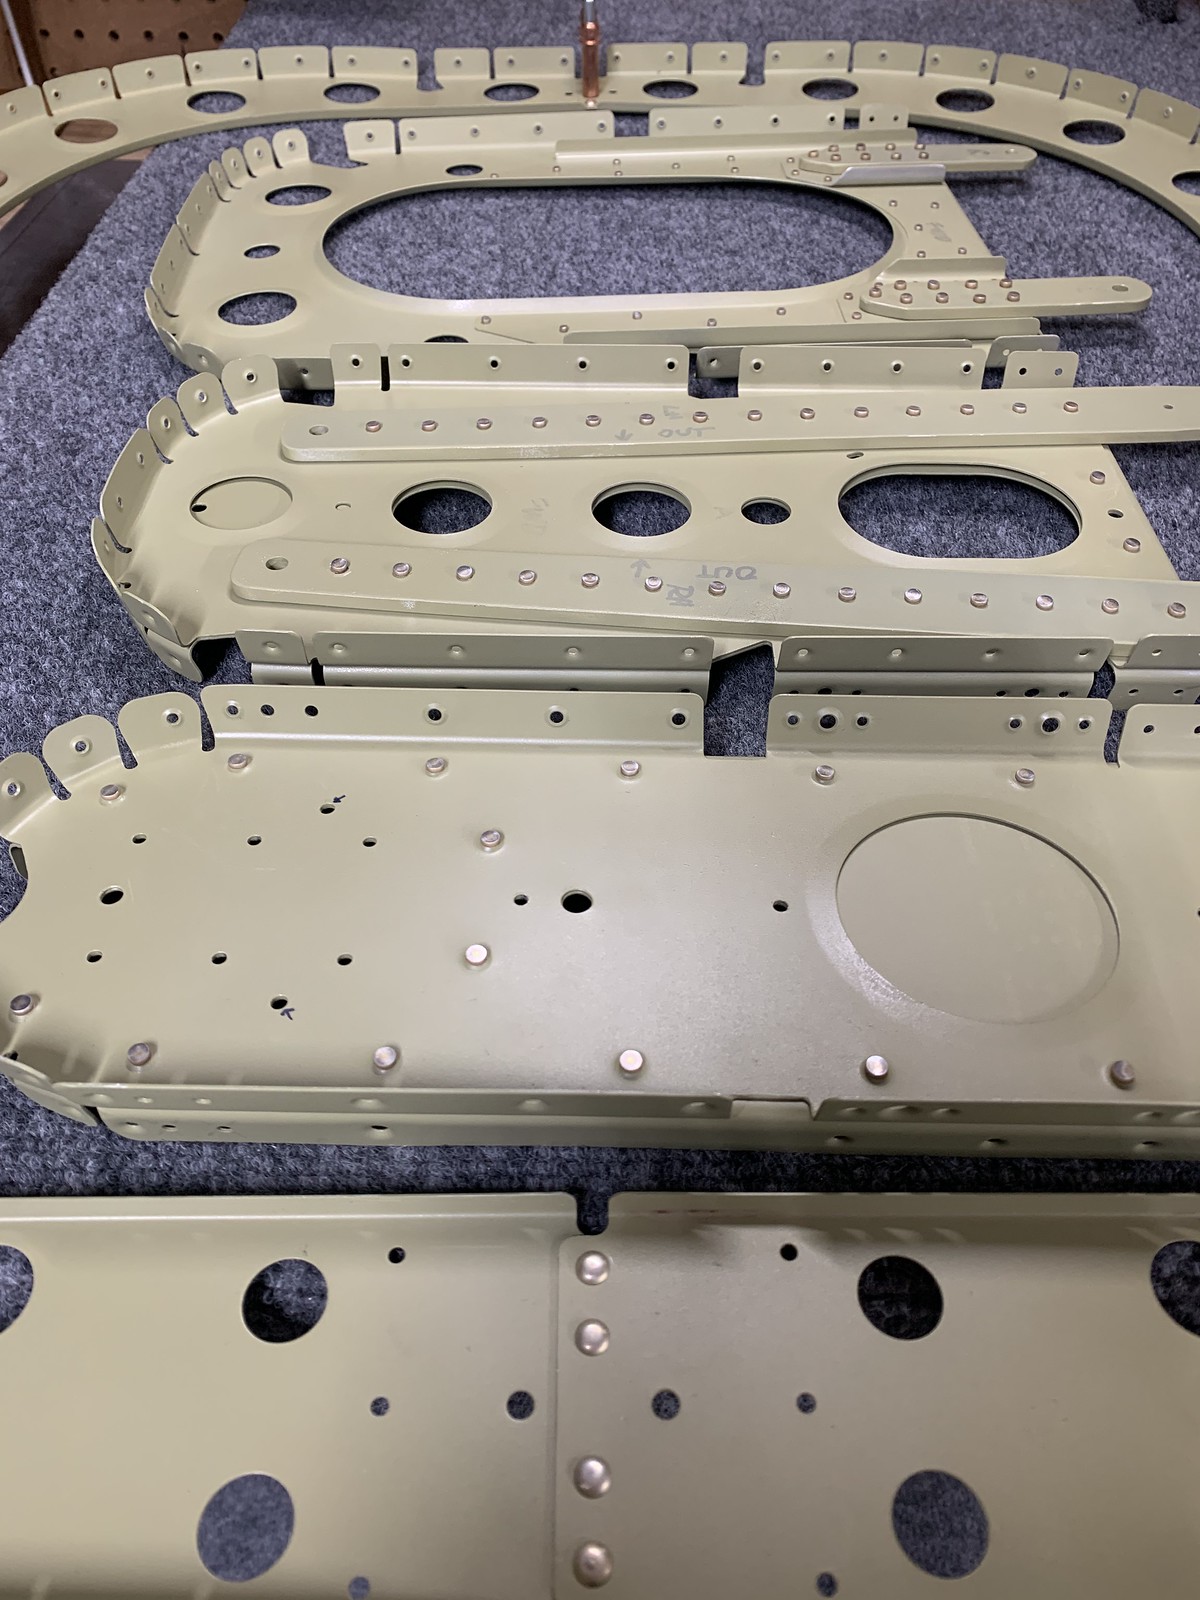
rivet nutplates, battery angles, bulkheads, bellcrank ribs 10-11, 10-12 steps 5,9, 10-13 step 1
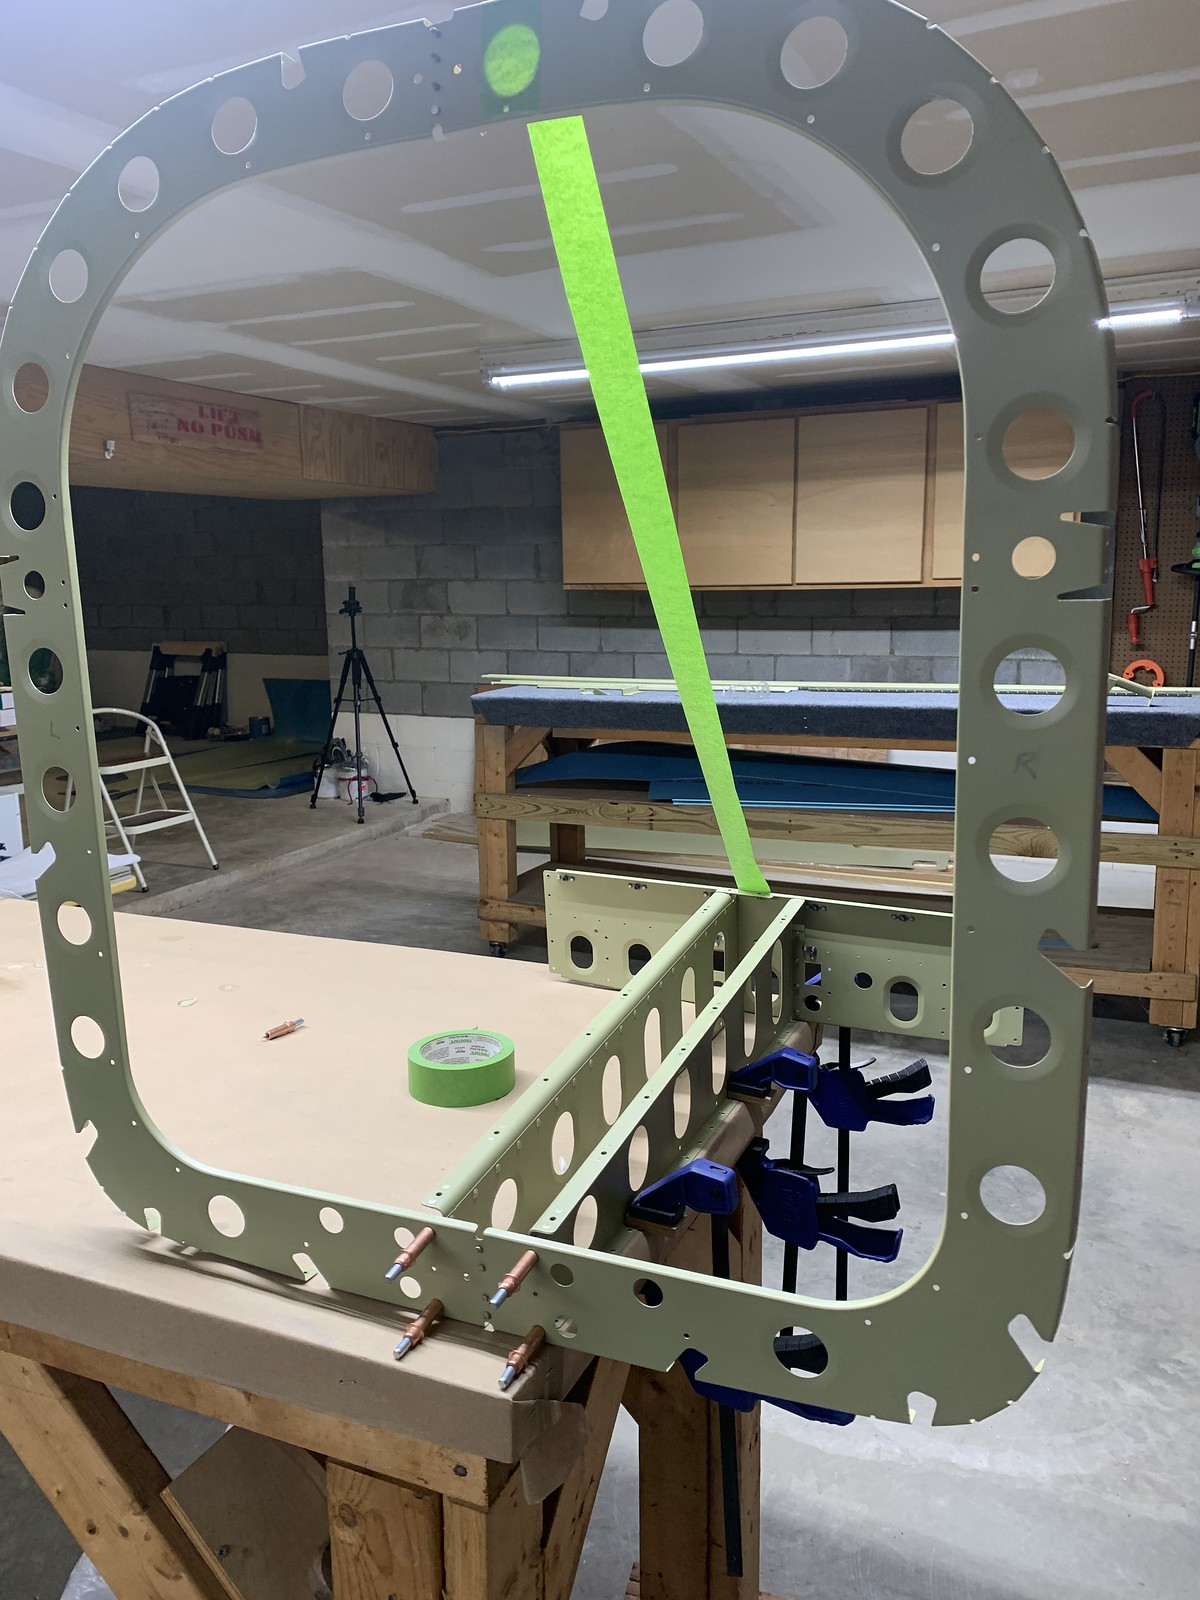
rivet J-stiffeners, bellcrank ribs to bottom skin 10-13 steps 4-6
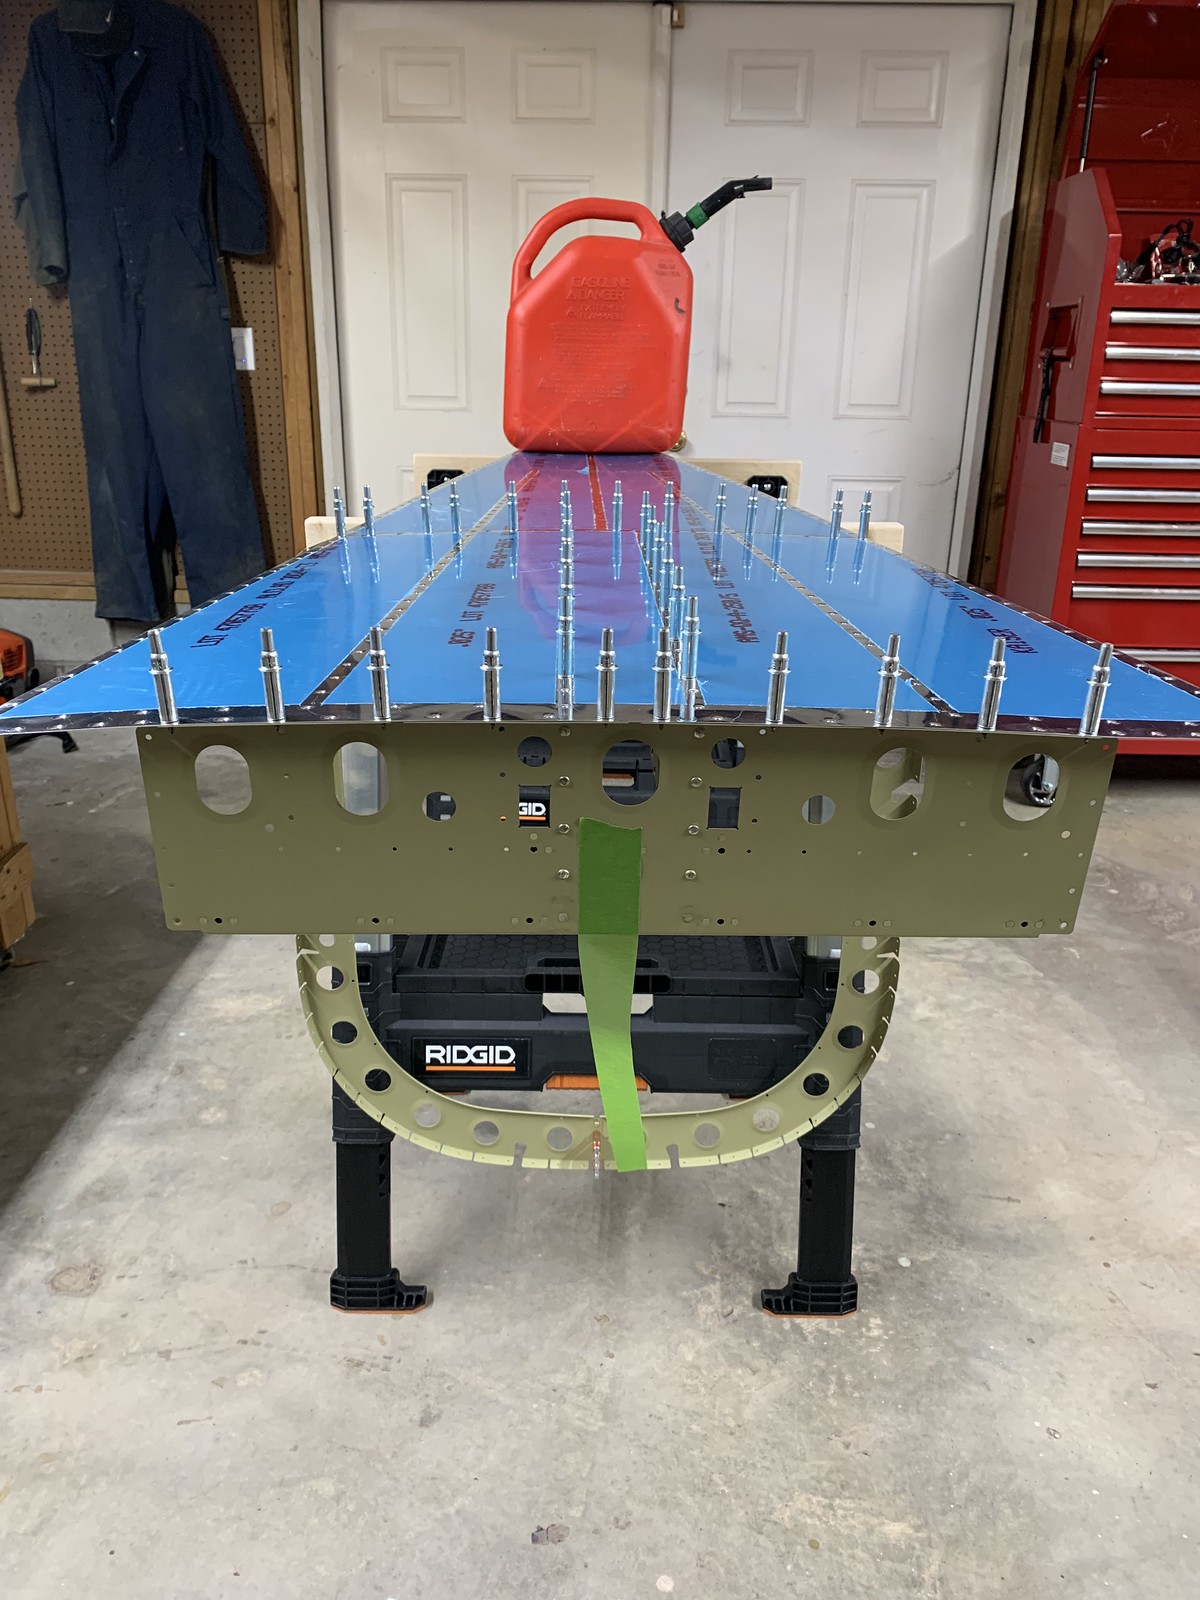
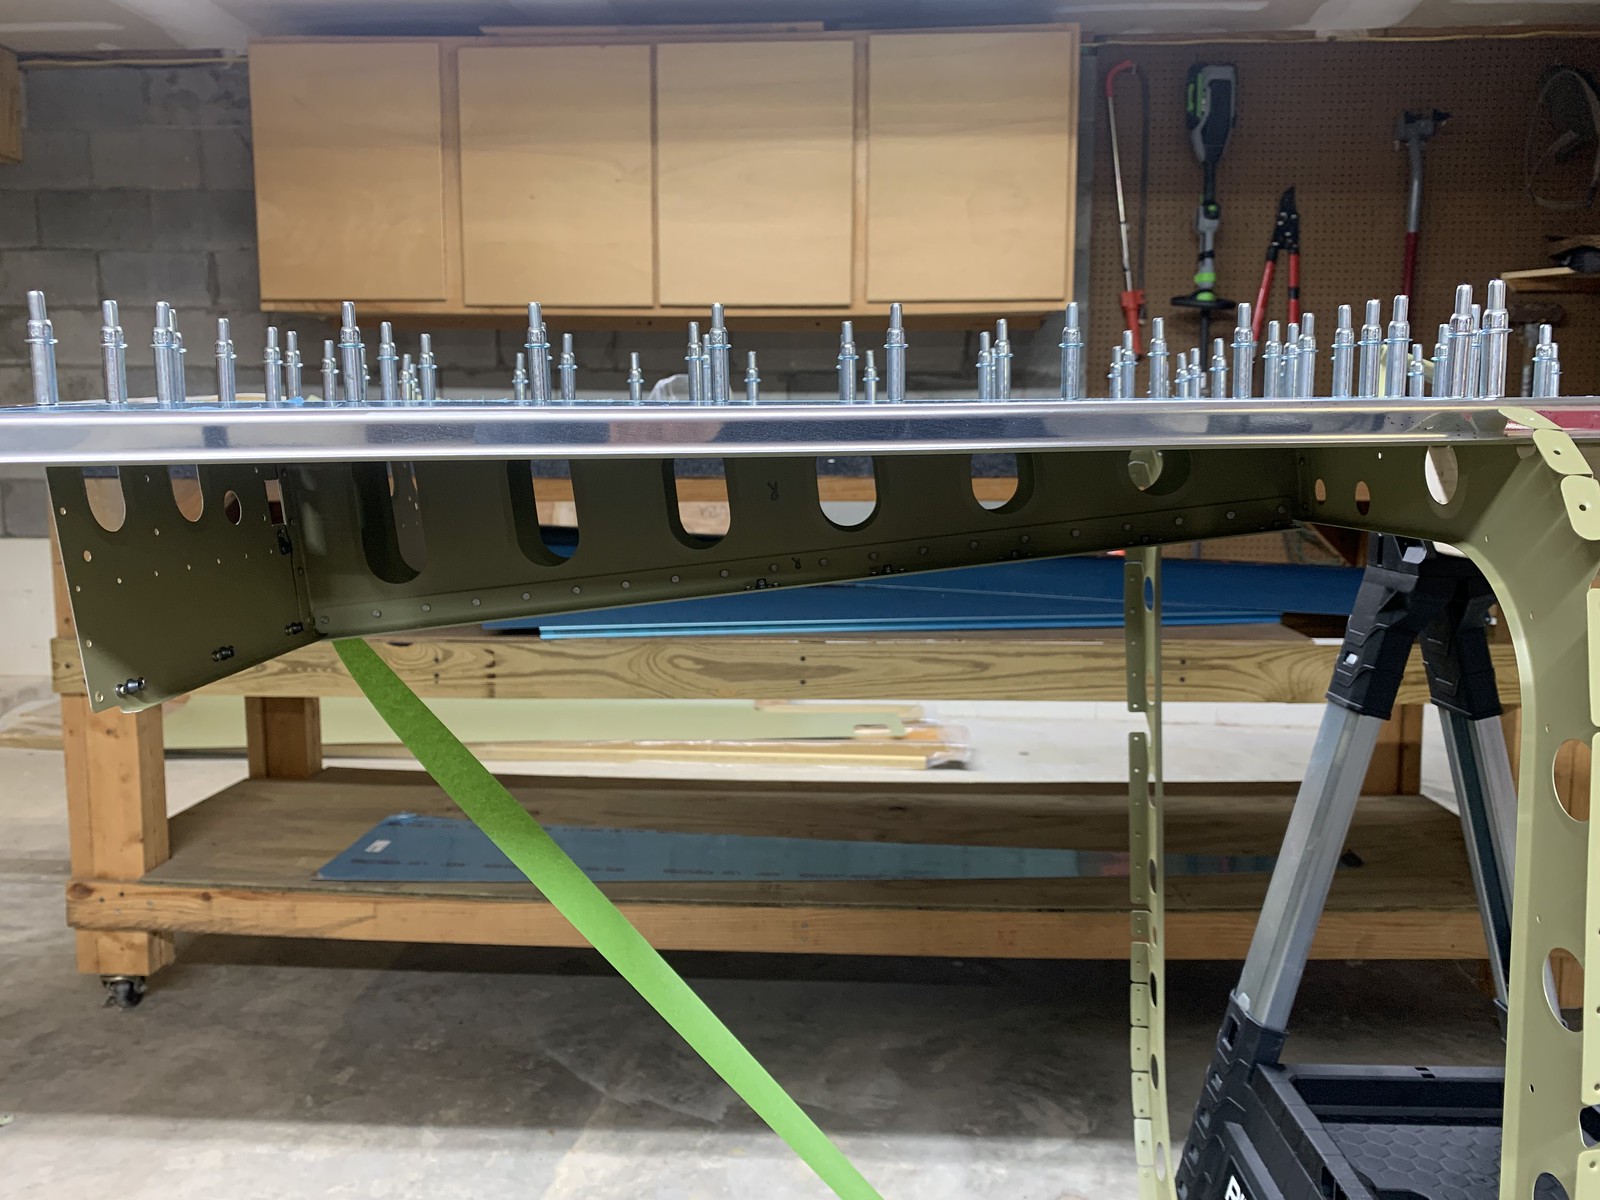
re-do lower skin [8] out of spec rivets , position longeron, J-stiffenrs,WH 10-14 steps 7-9
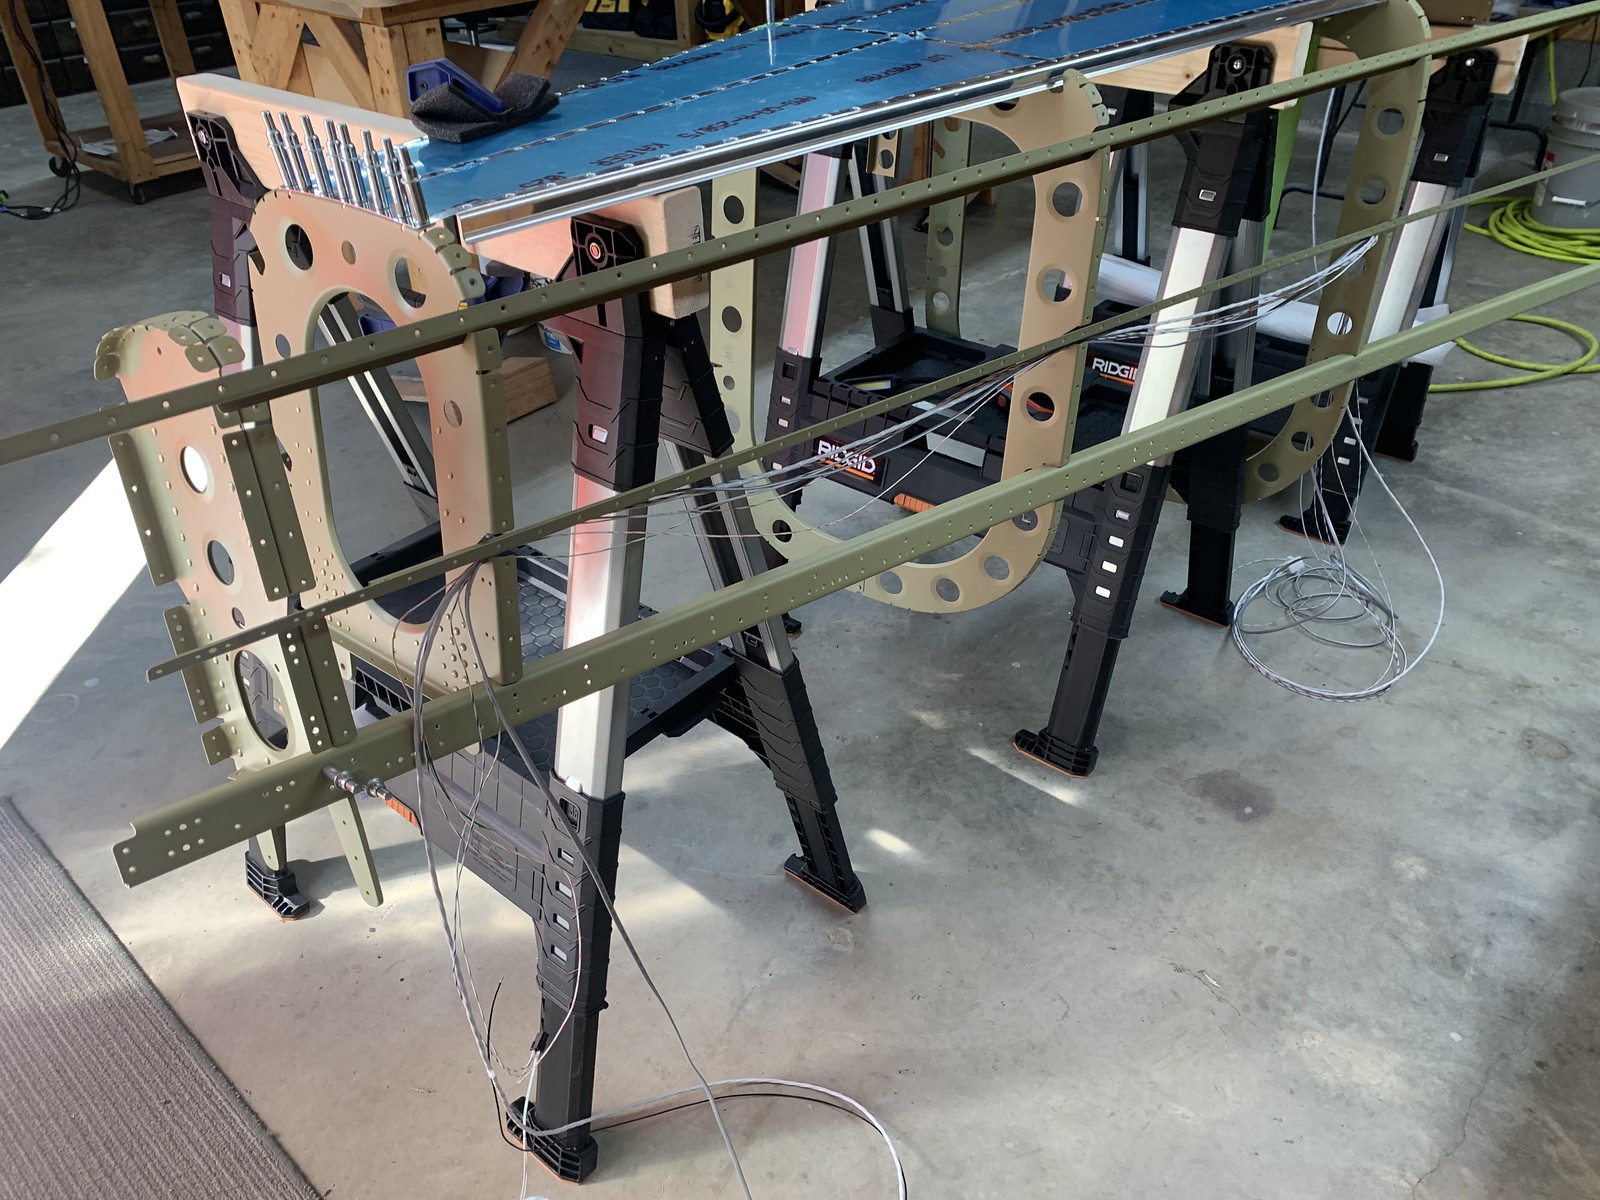
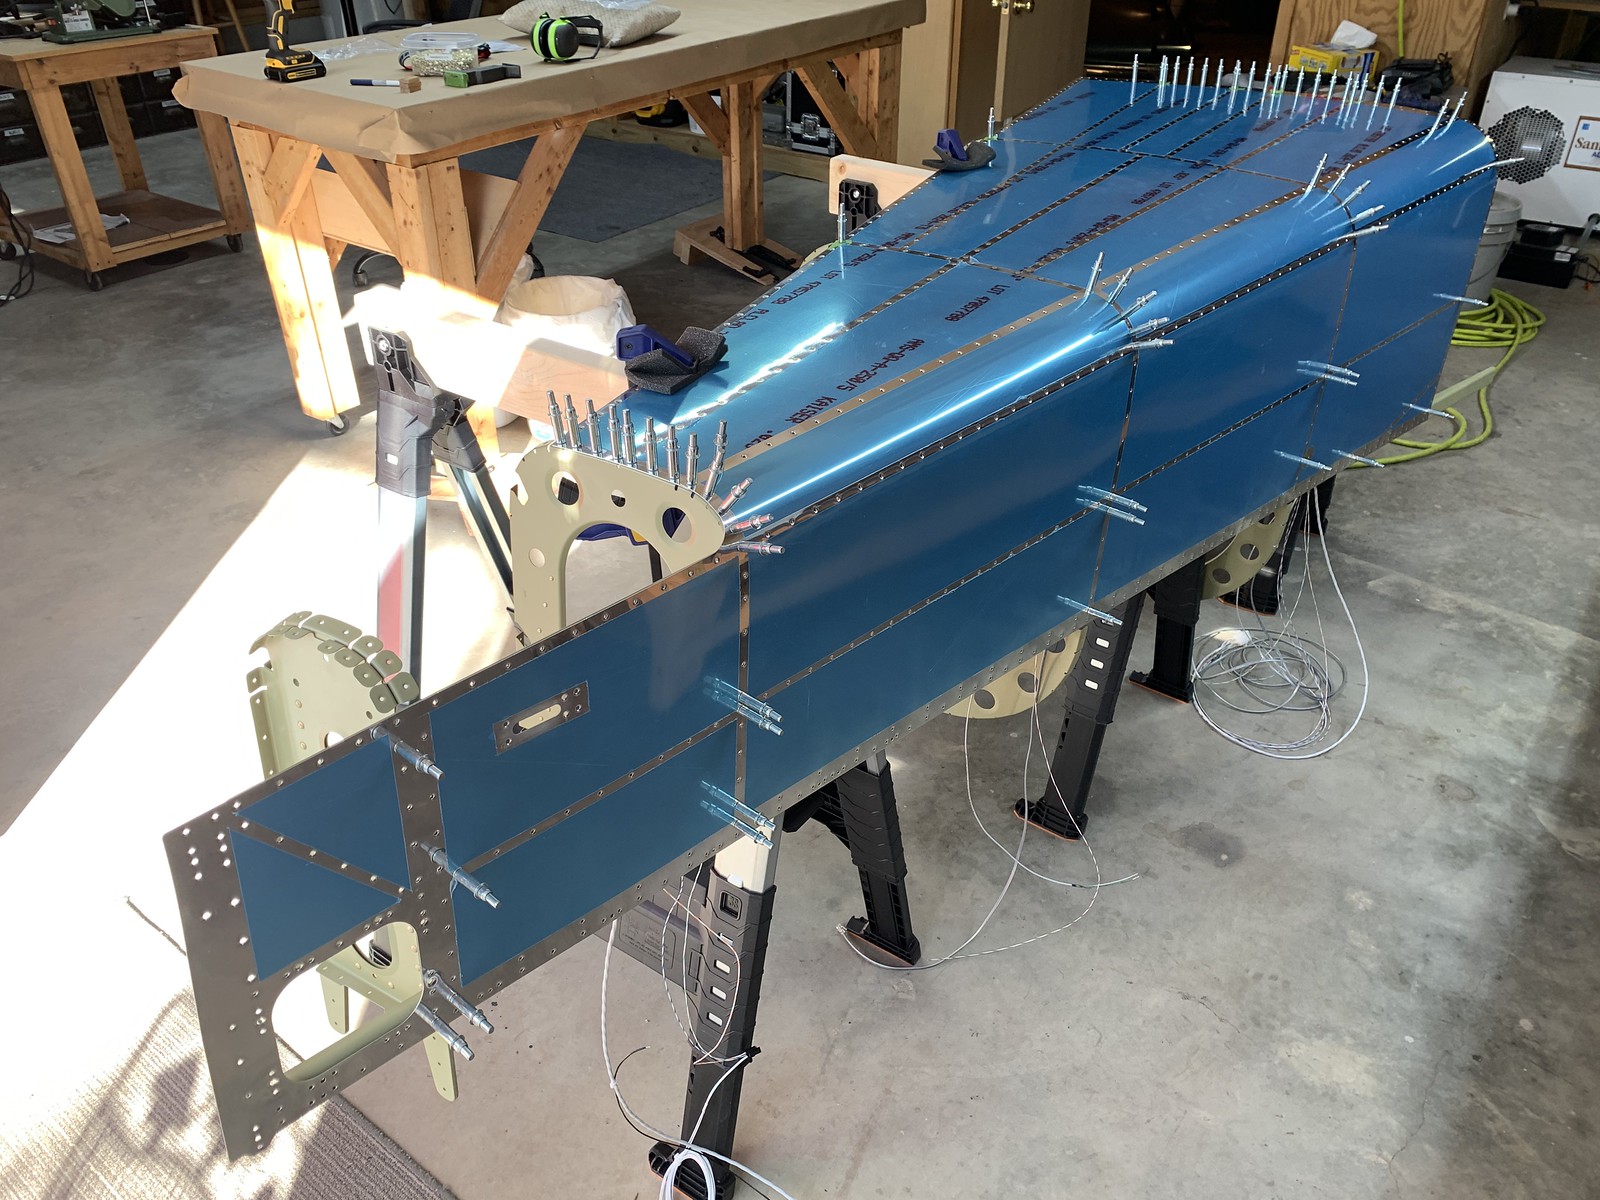
position RH skin 10-14 step 10 machine bottom aft skin 10-15 step 1 10-16 step 1
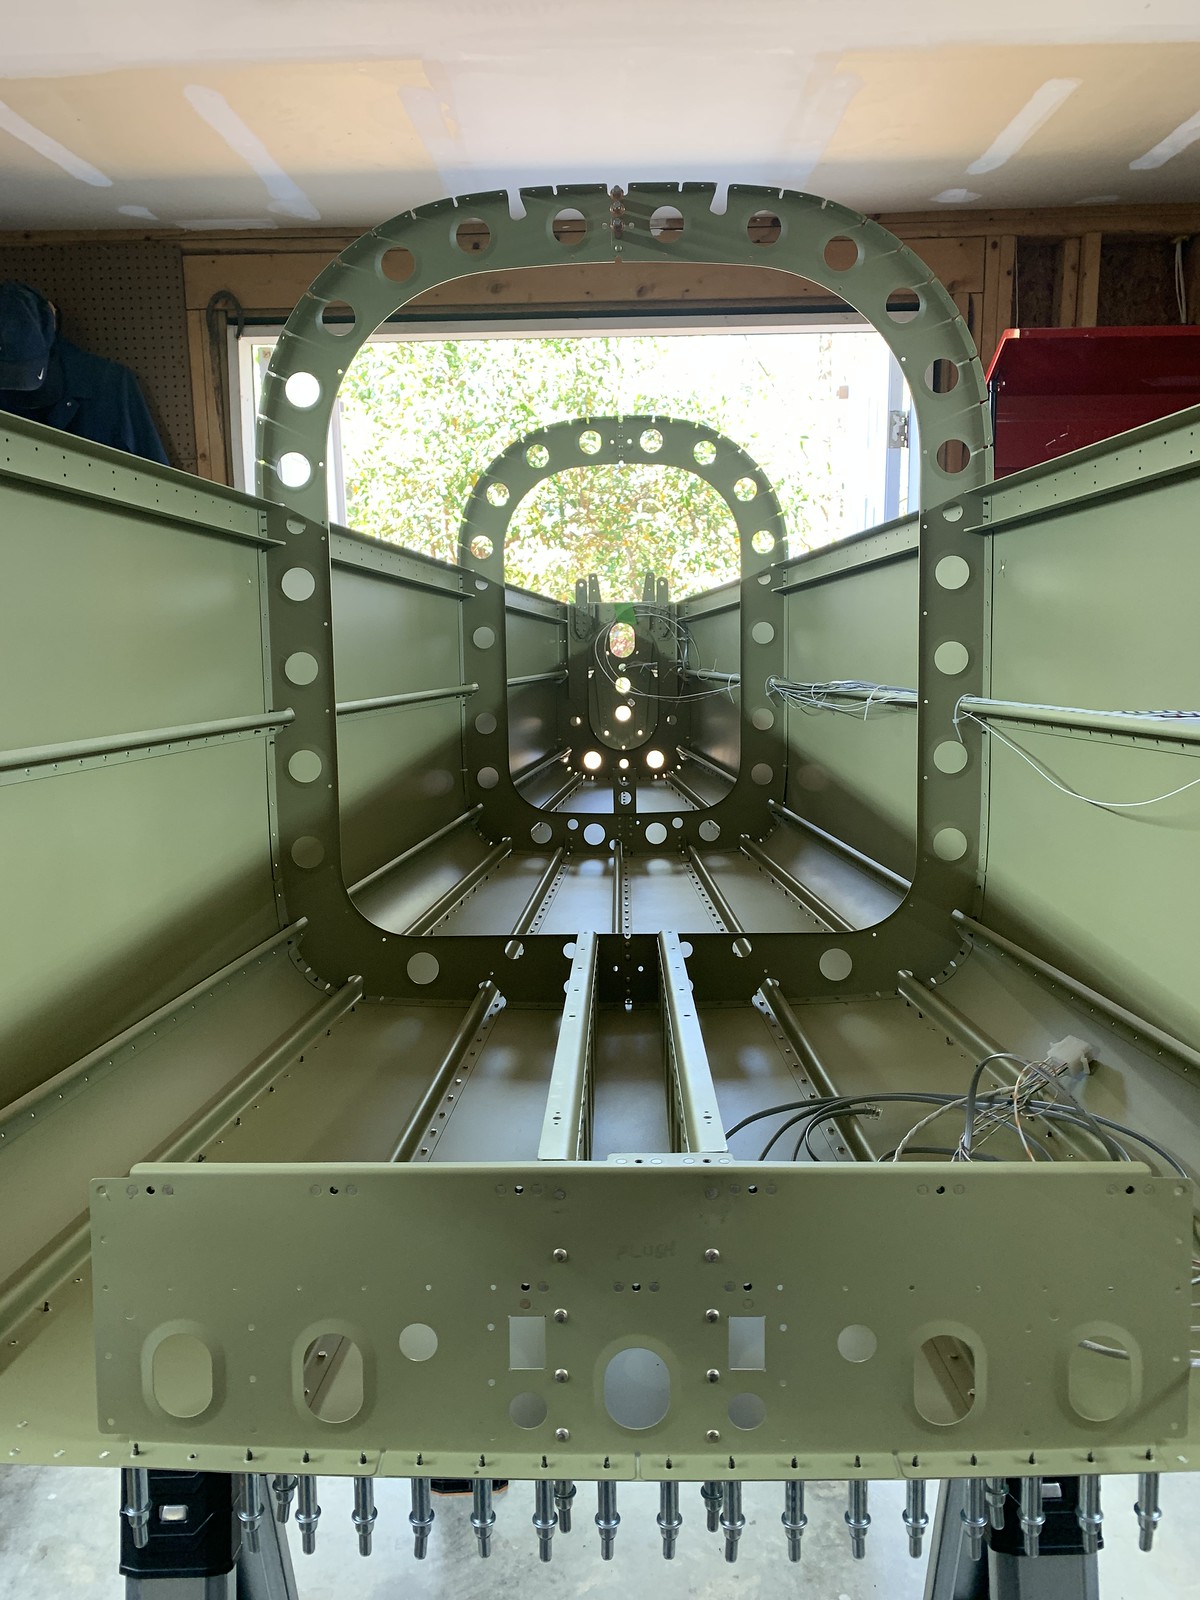
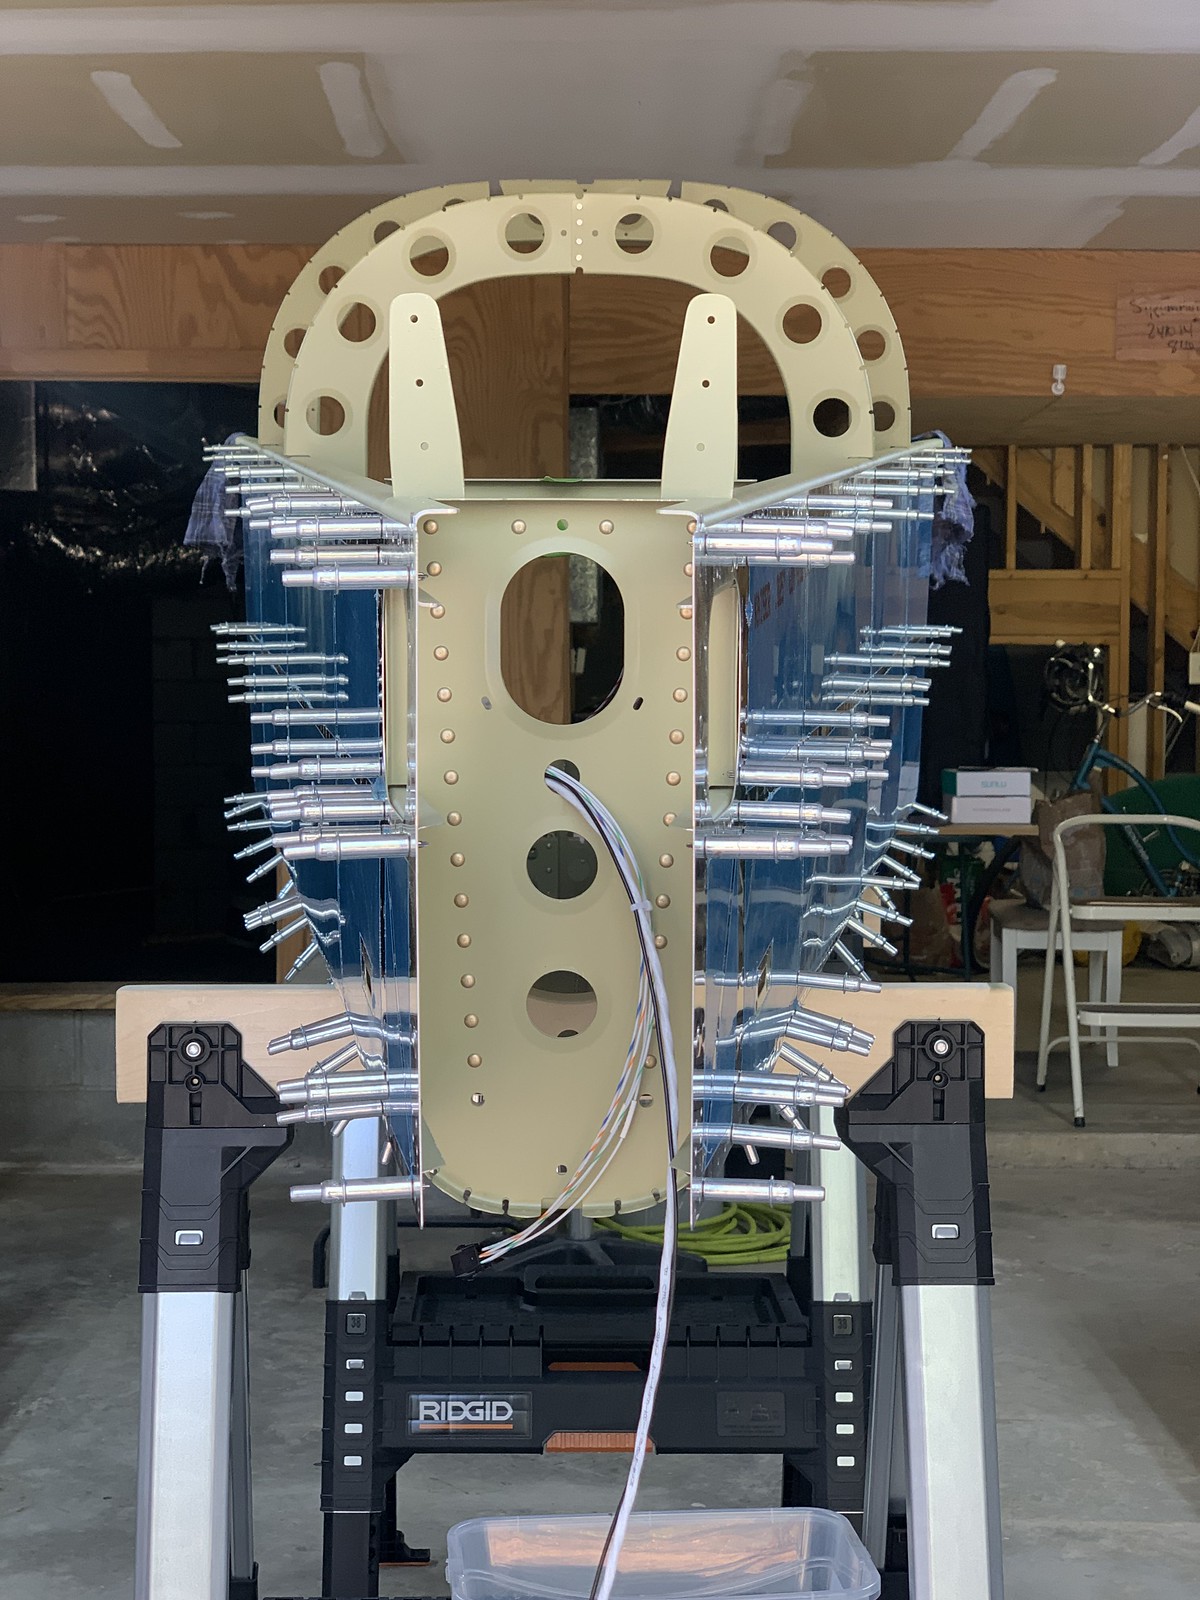
position aft bulhead assemblies 10-18 steps1-3 re-do [8] rivets
deburr, scuff, dimple aft deck, frame, siffeners 10-27 steps 1-2
deburr, scuff, dimple LH upper side skin 10-30 step 1
deburr, scuff, dimple RH upper side skin 10-30 step 1 prime upper skins, aft deck
Lower aft fuselage assembly 10-18 steps 2,3,5,7
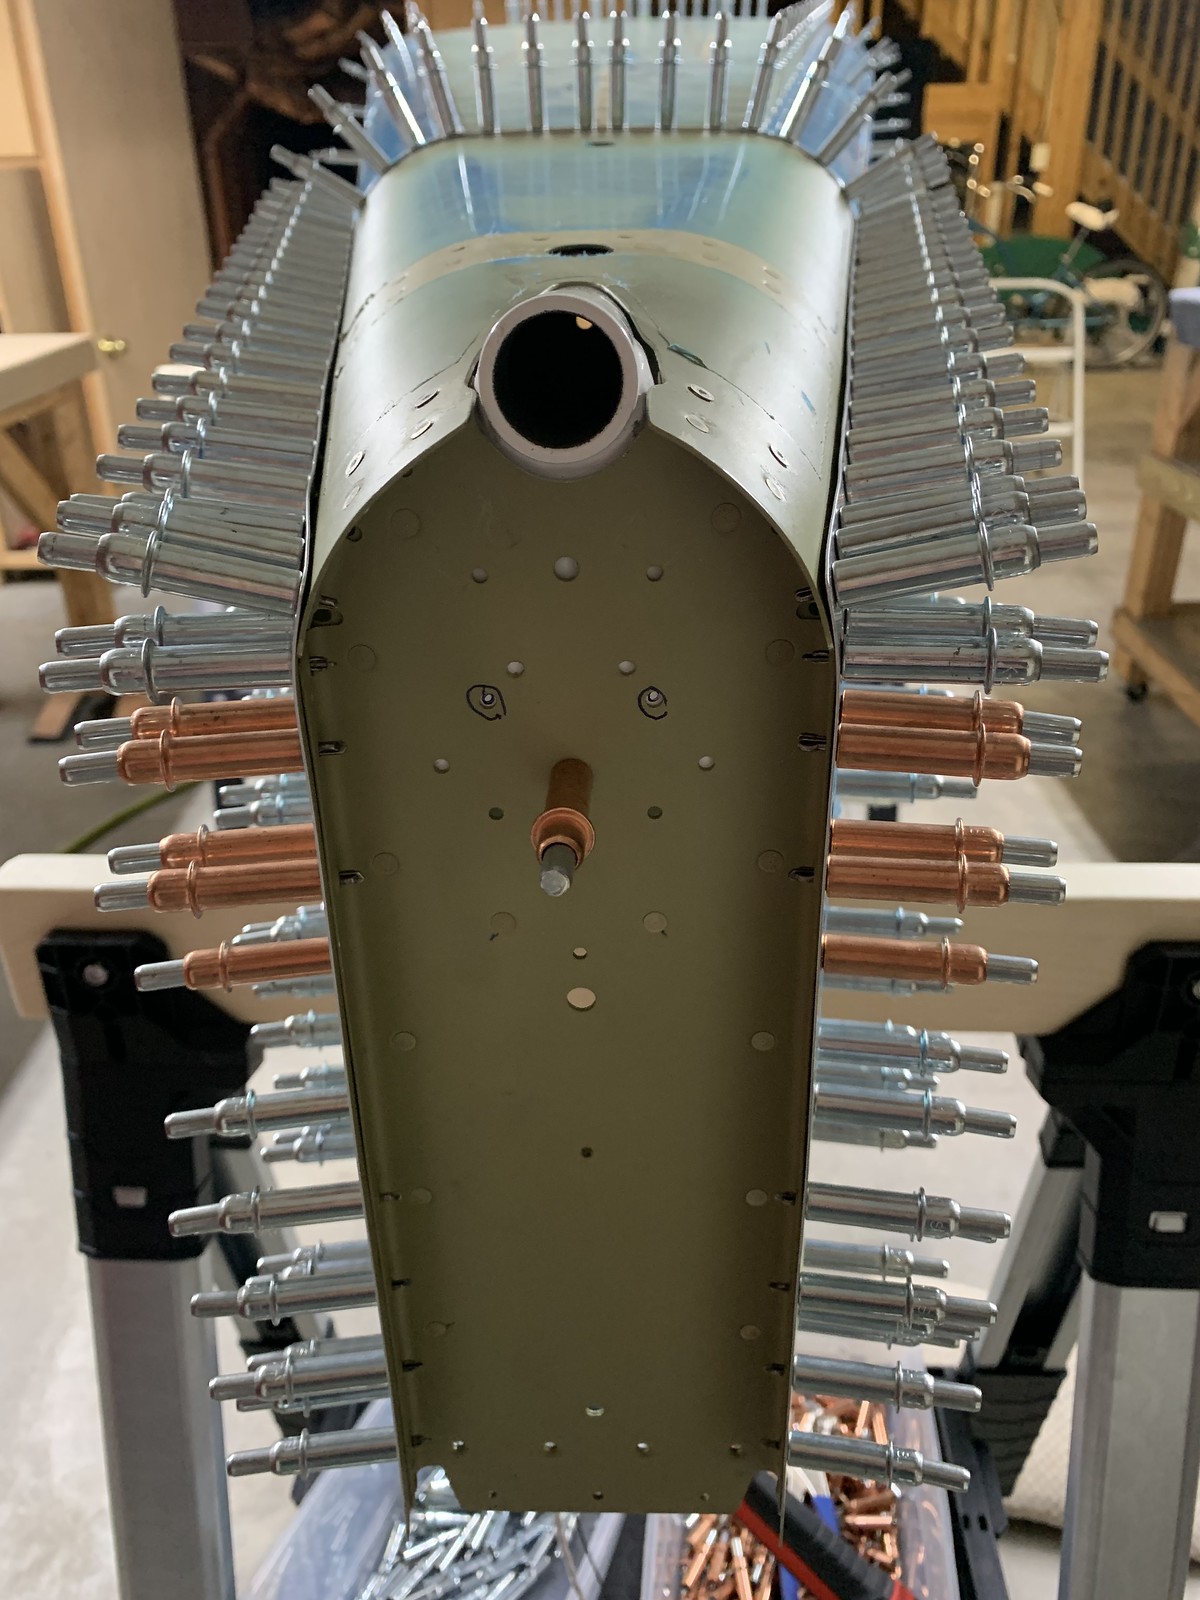
Lower aft fuselage assembly 10-18 steps 4,6
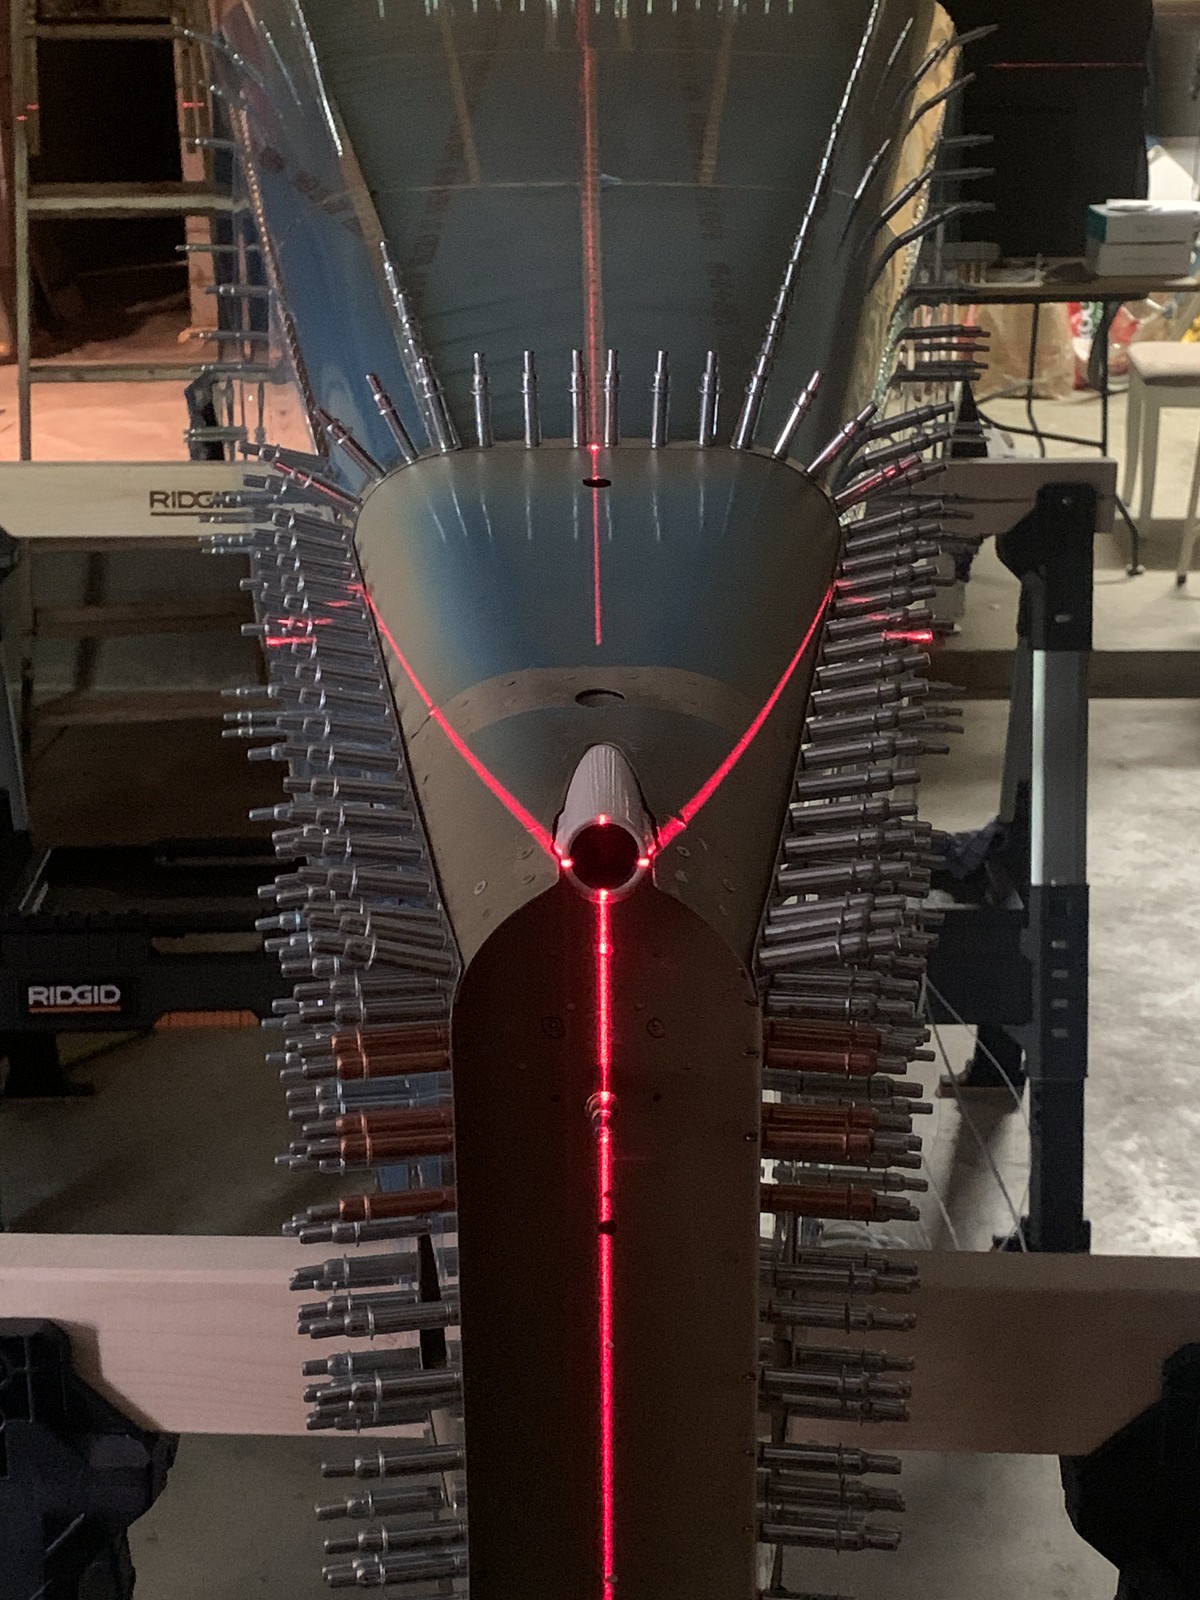
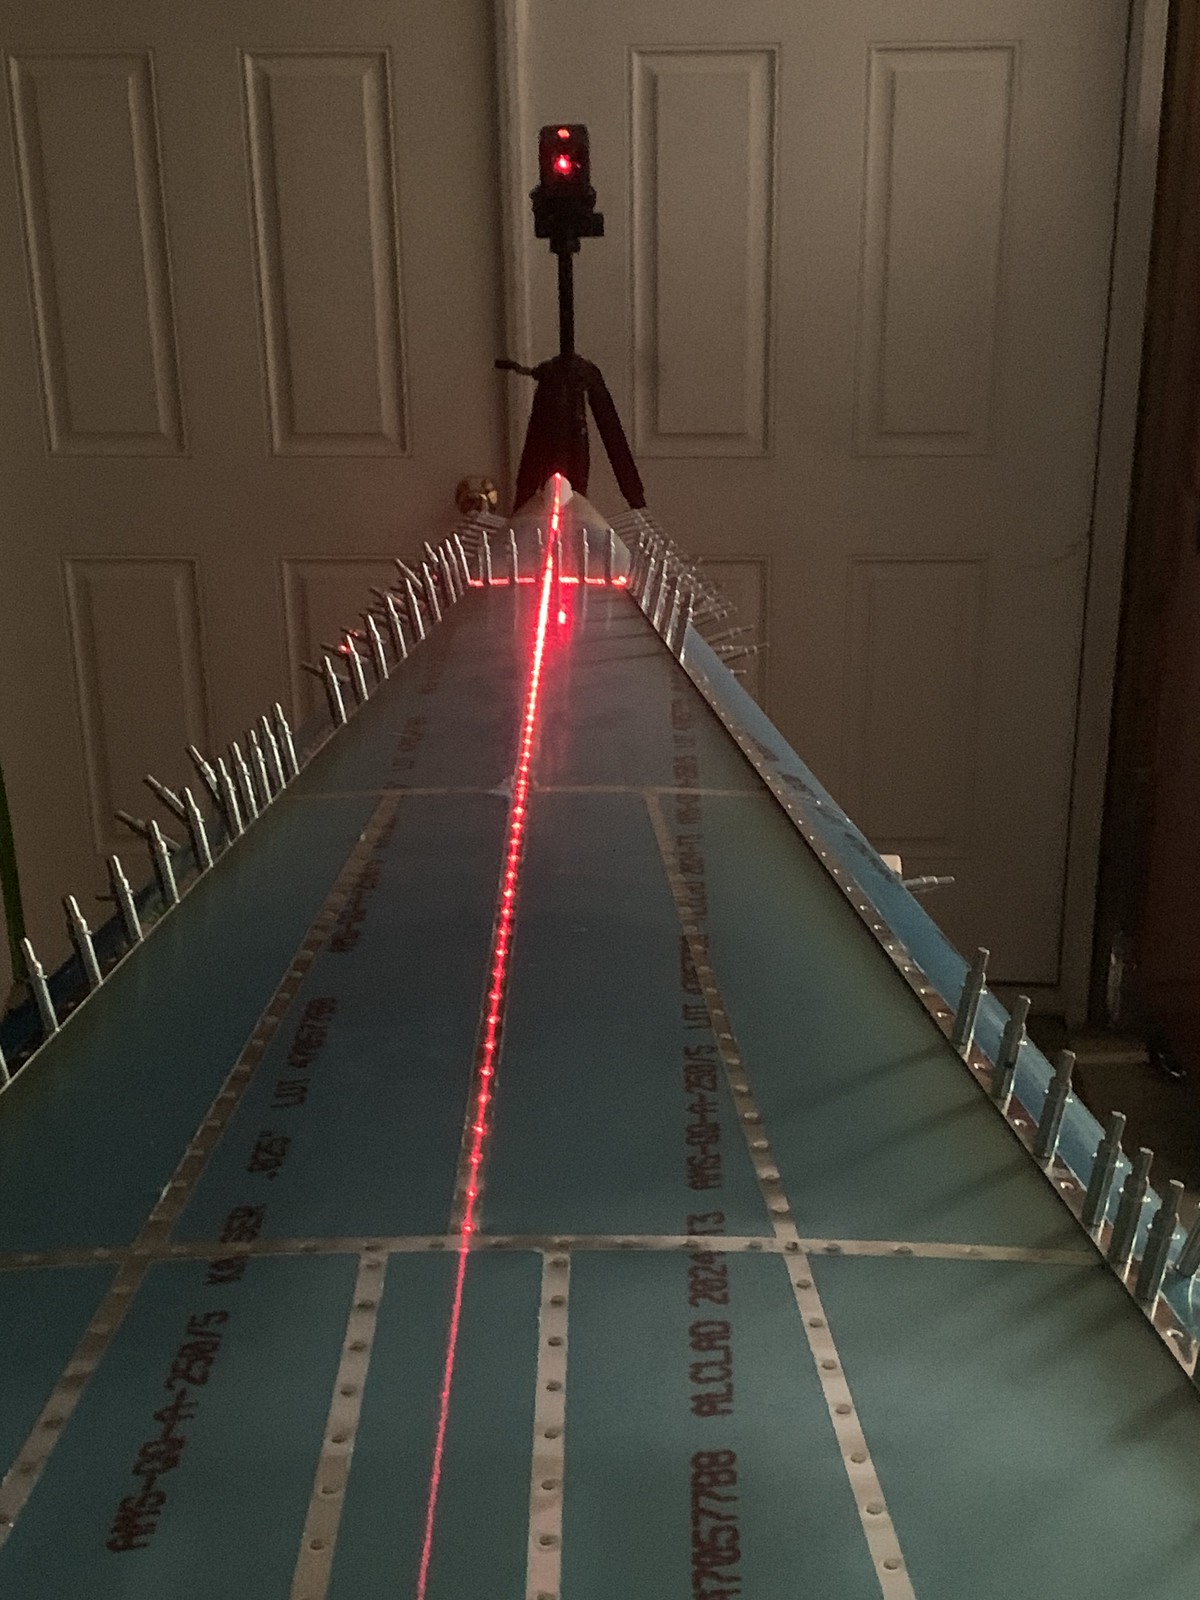
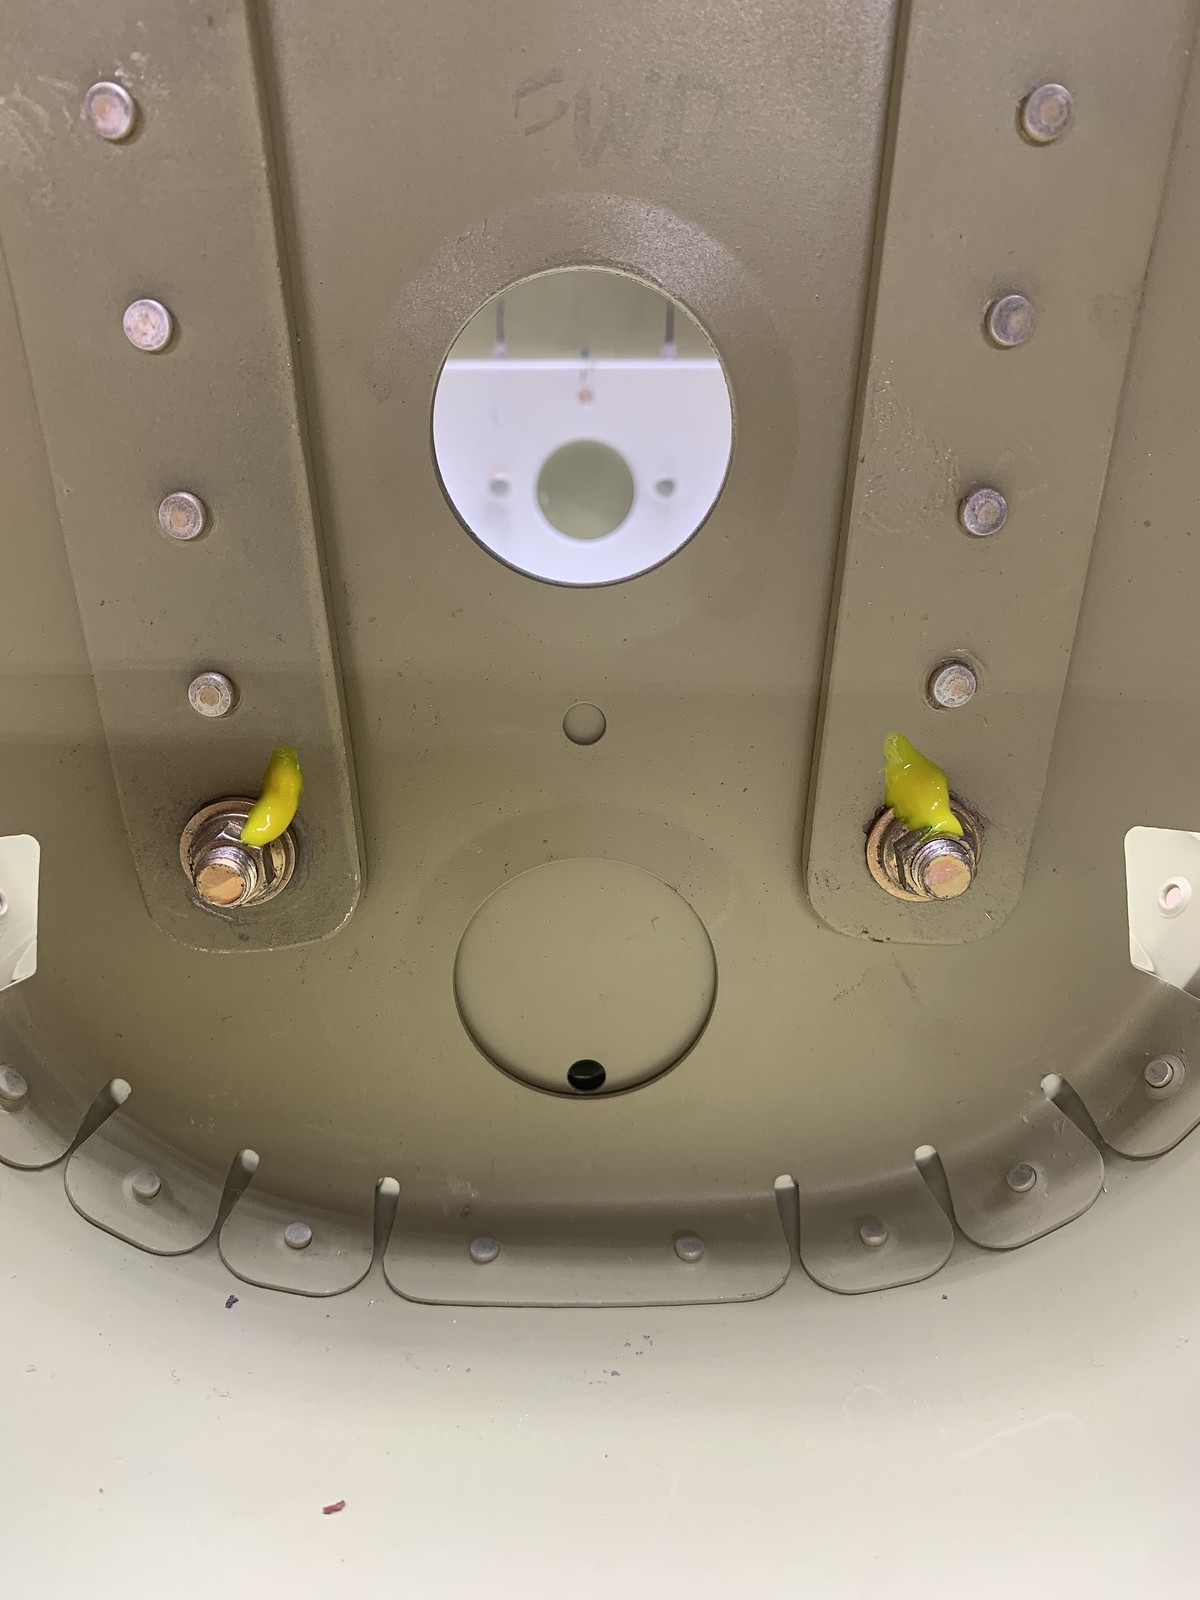
rivet bottom skin to aft bottom skin 10-18 step 8, side skins too structure 10-19 step 1
rivet side skin 10-19 step 1
rivet side skin 10-19 step 1
rivet side skin 10-19 step 1
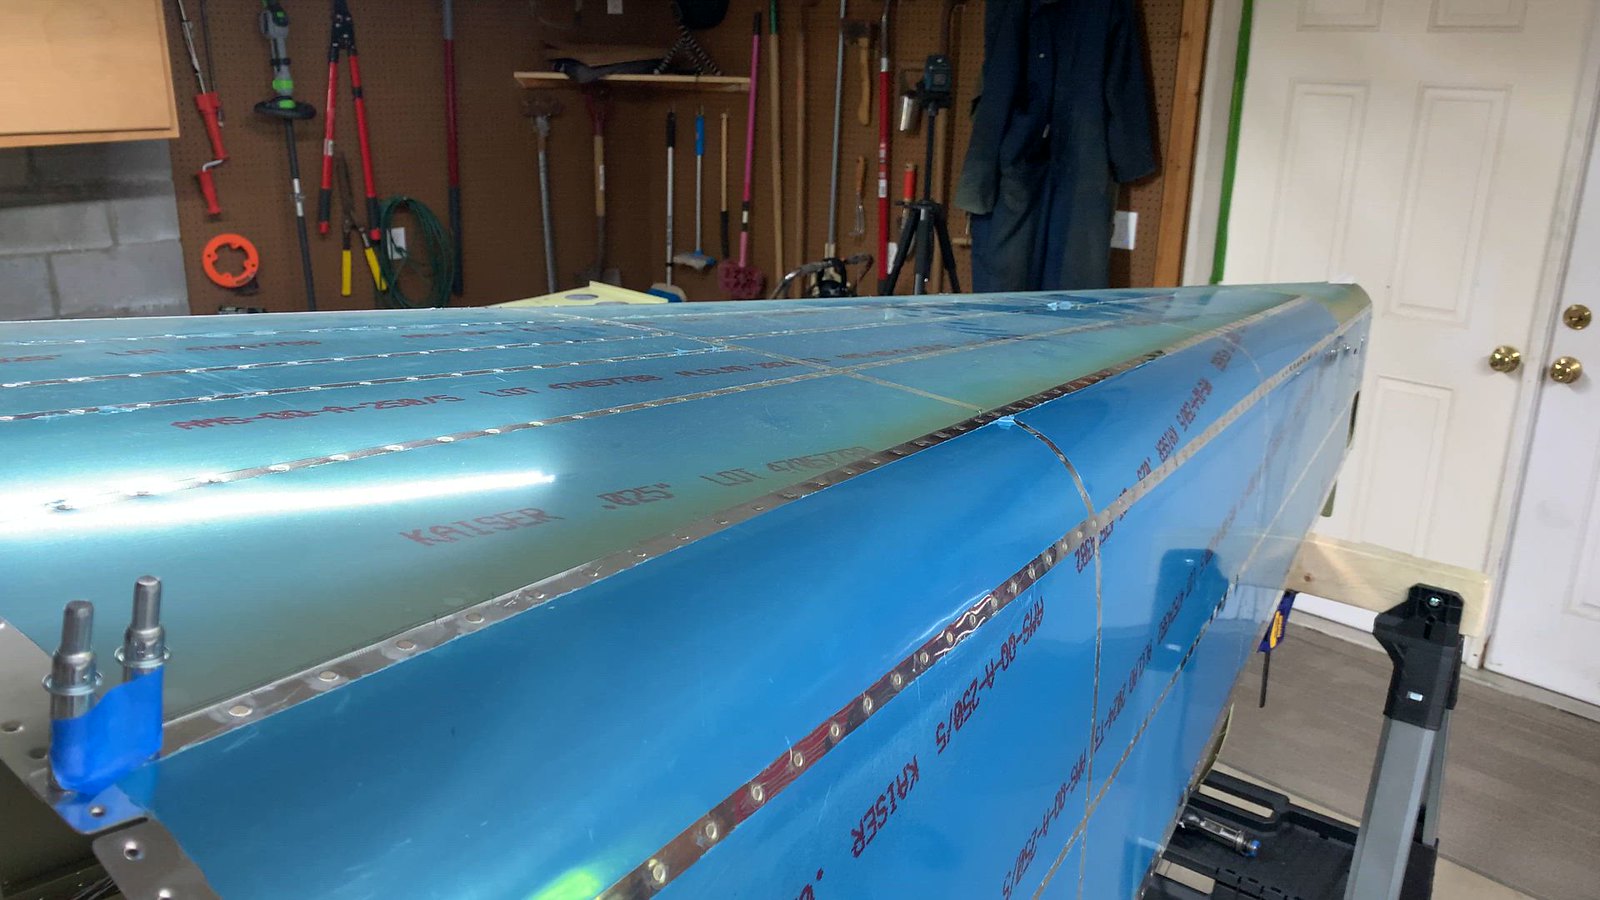
nutplates dimple, rivet rudder stops10-20 steps1-4 rudder cables and guides 10-21 steps1-4
wire harness routing 10-23 10-24 aft deck match drill 10-25 steps4-6
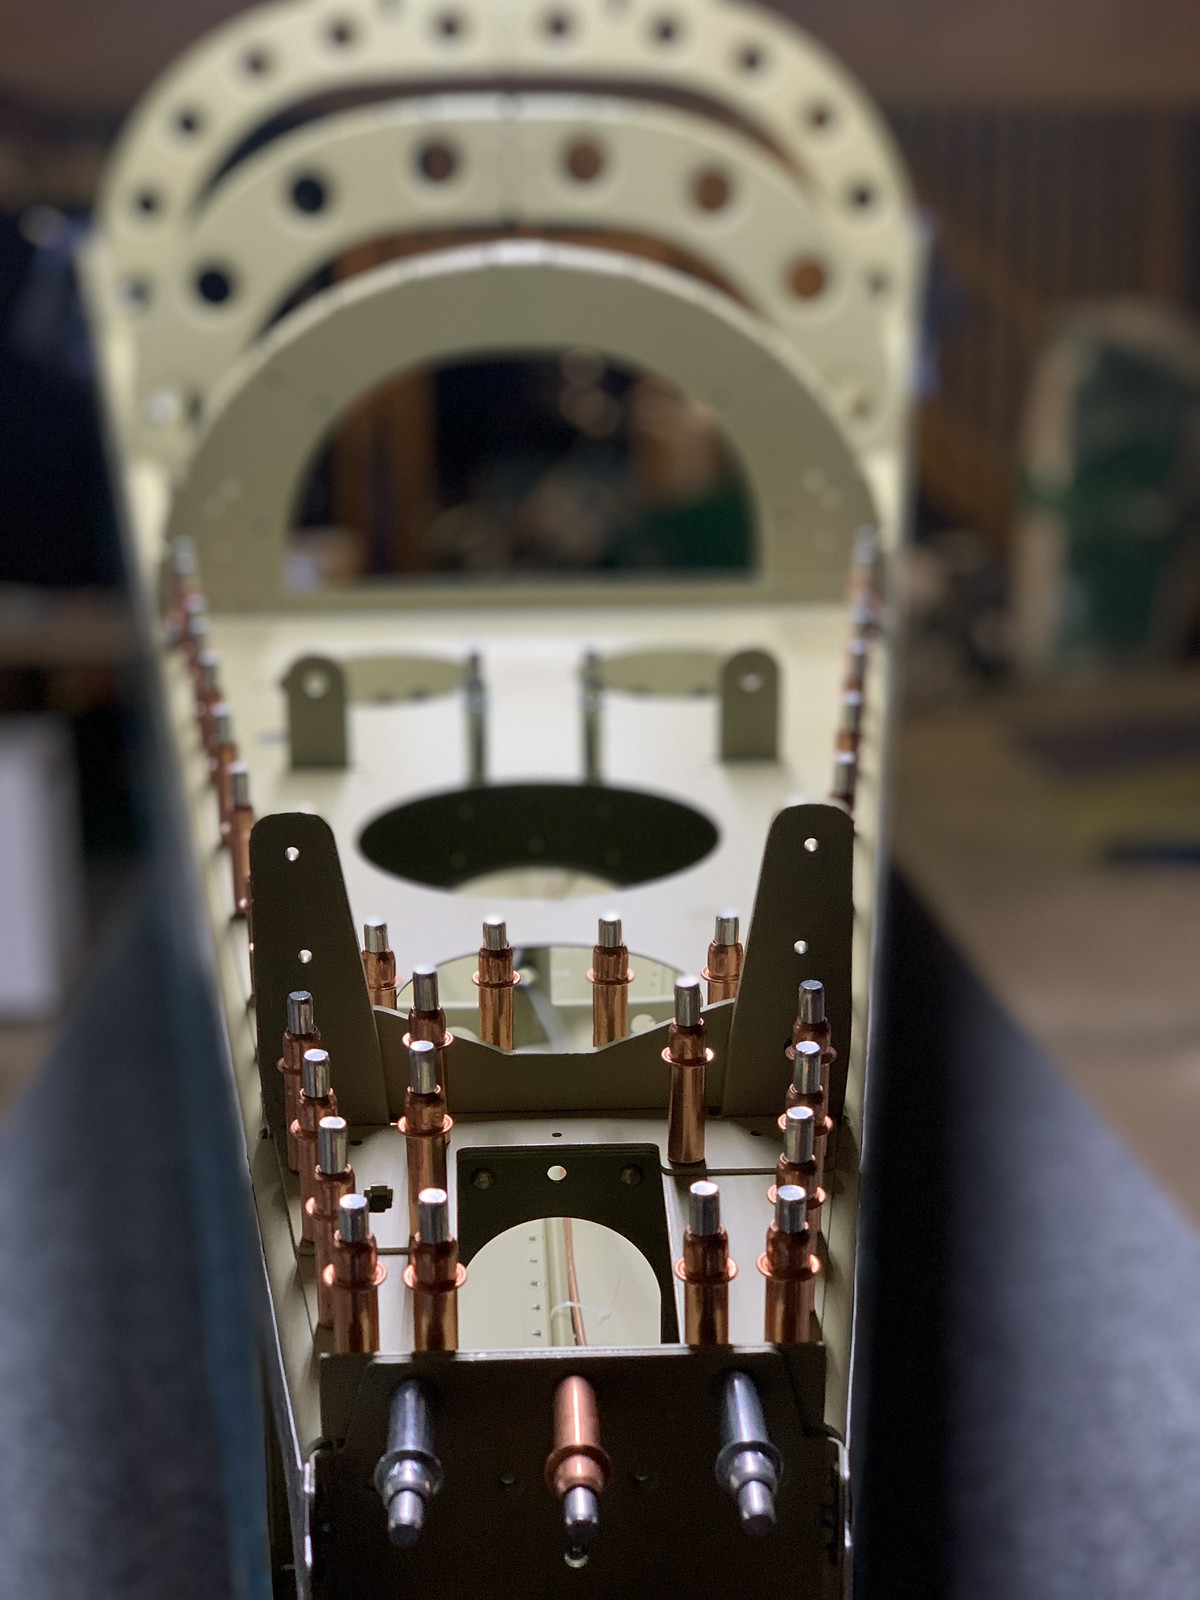
rivet aft deck 10-27 step 7
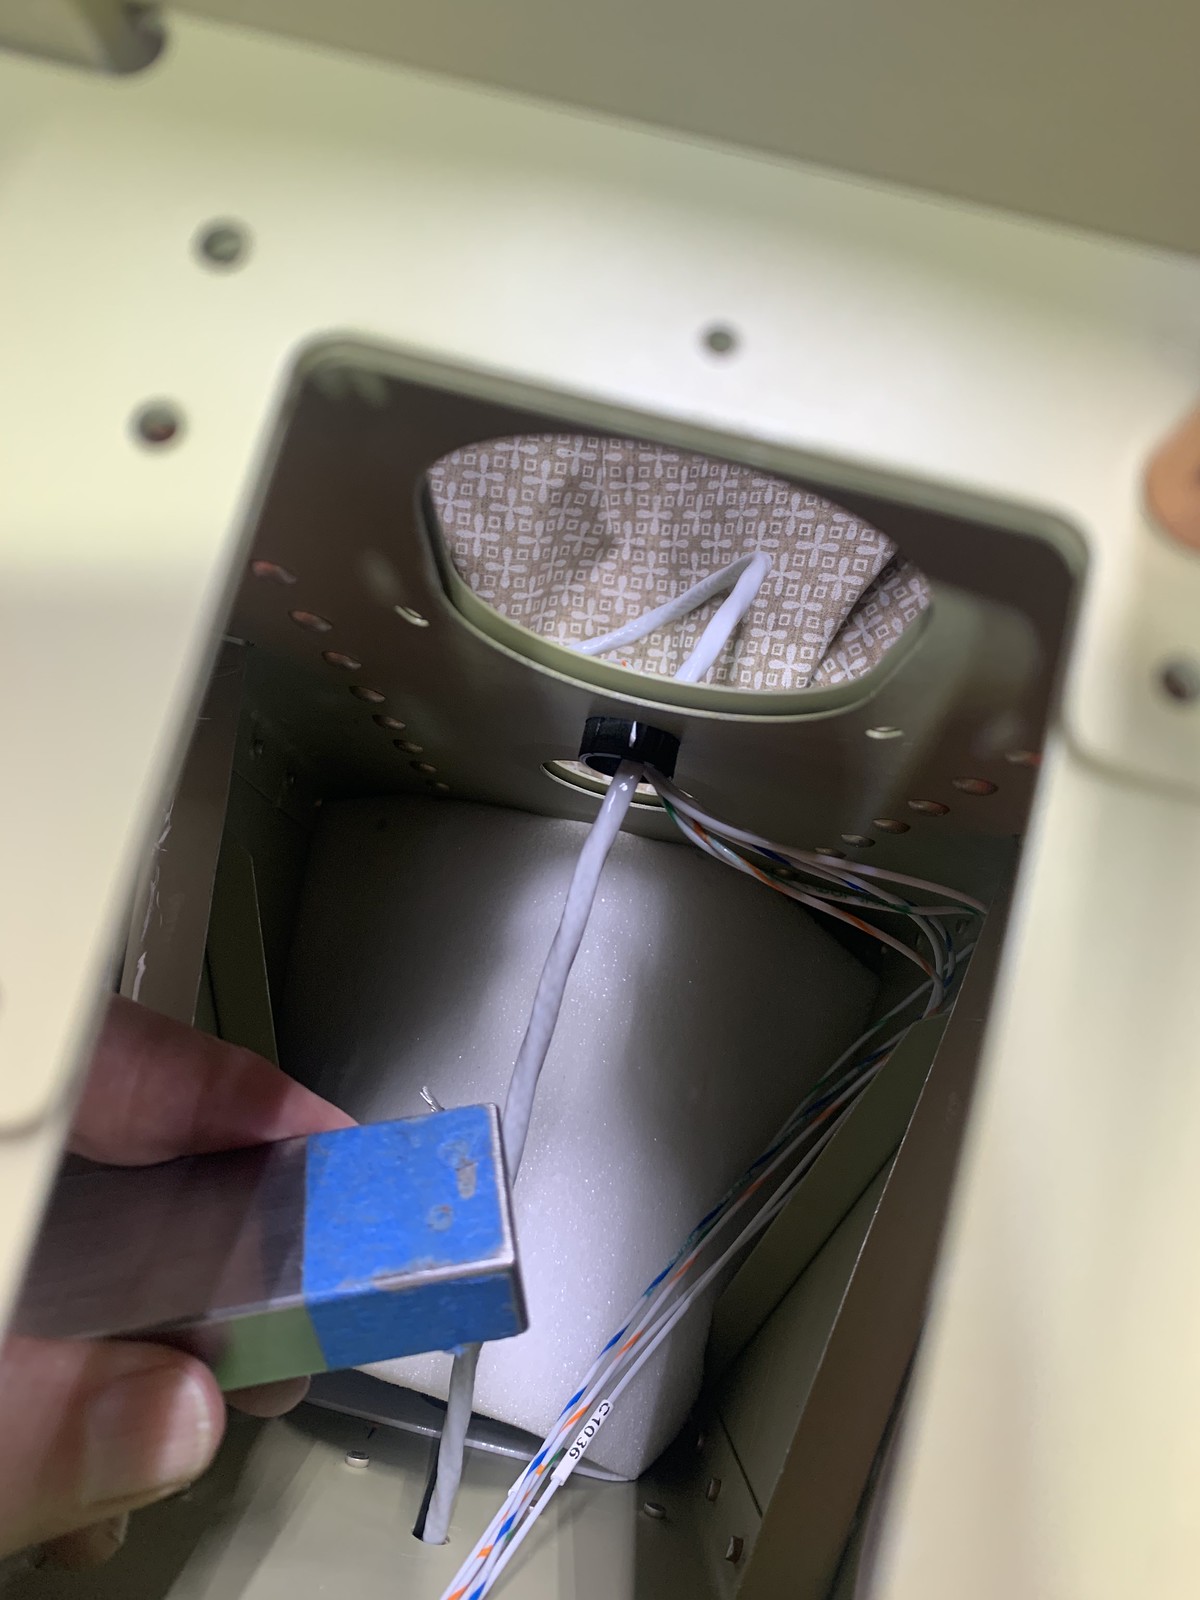
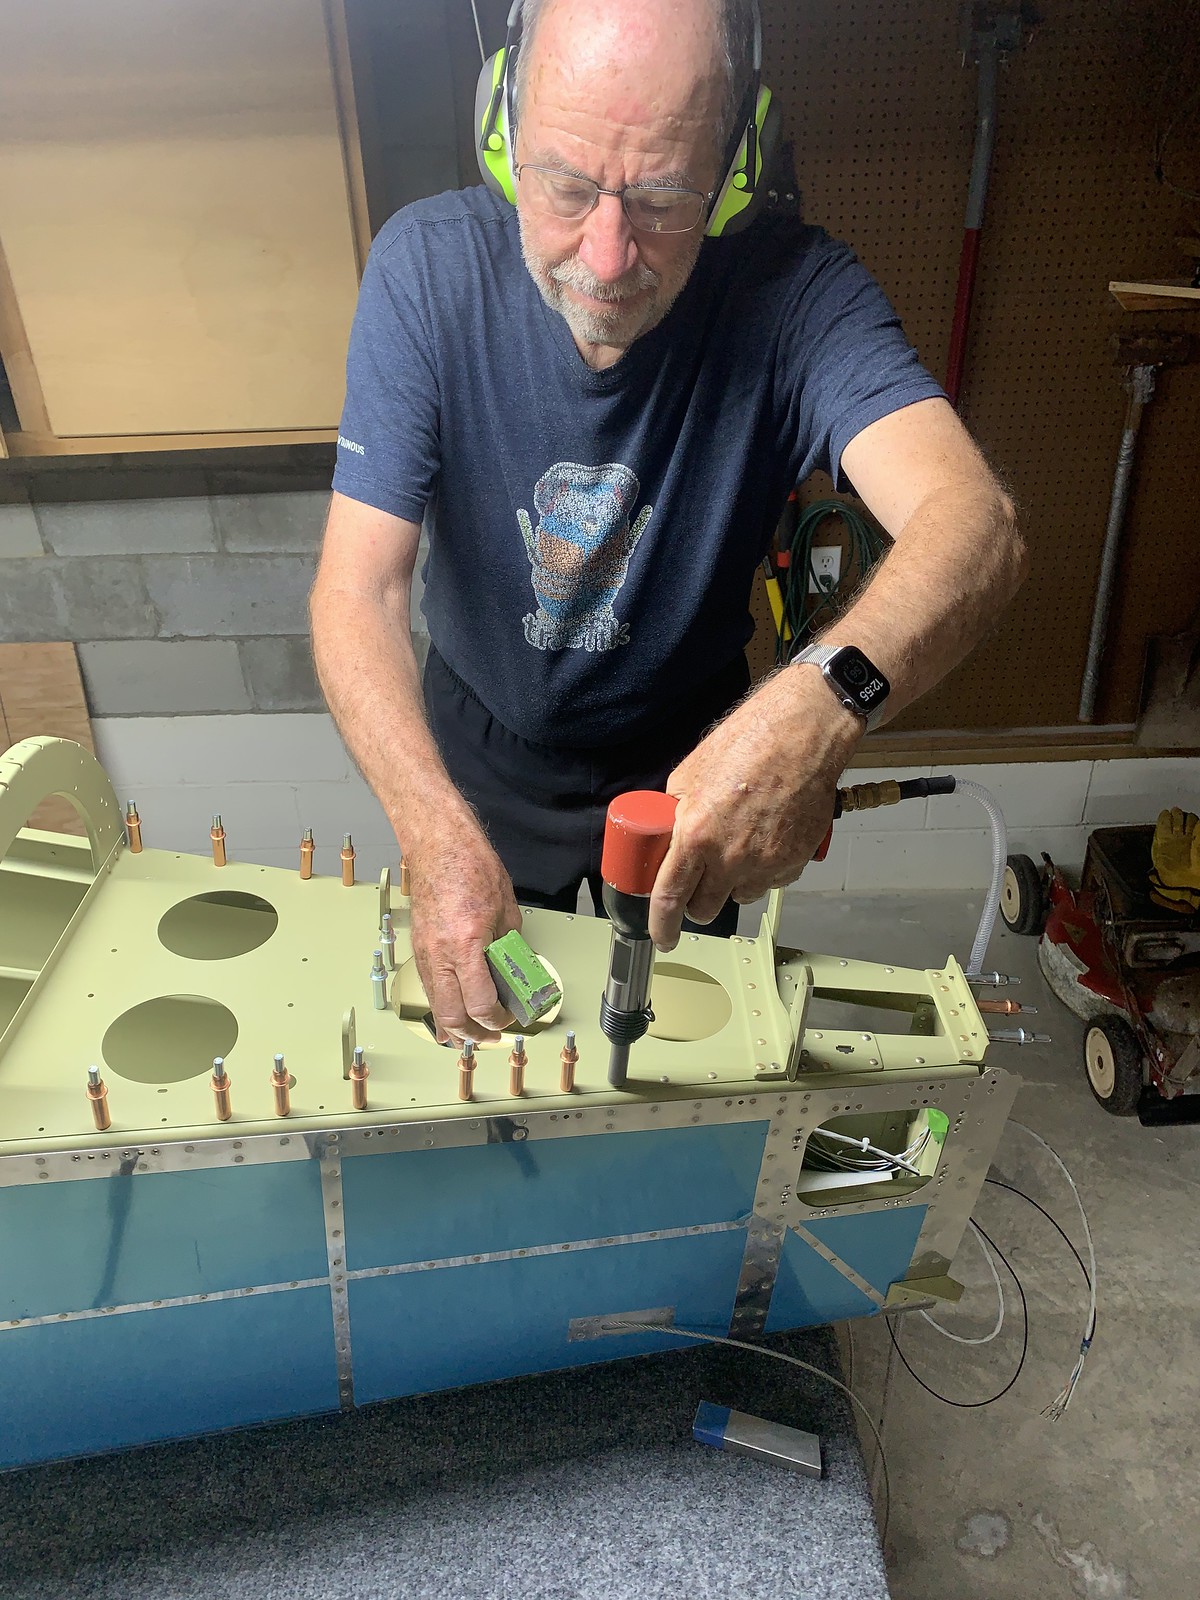
tivet top skin assembly 10-29, rivet upper side skins 10-30, 10-31
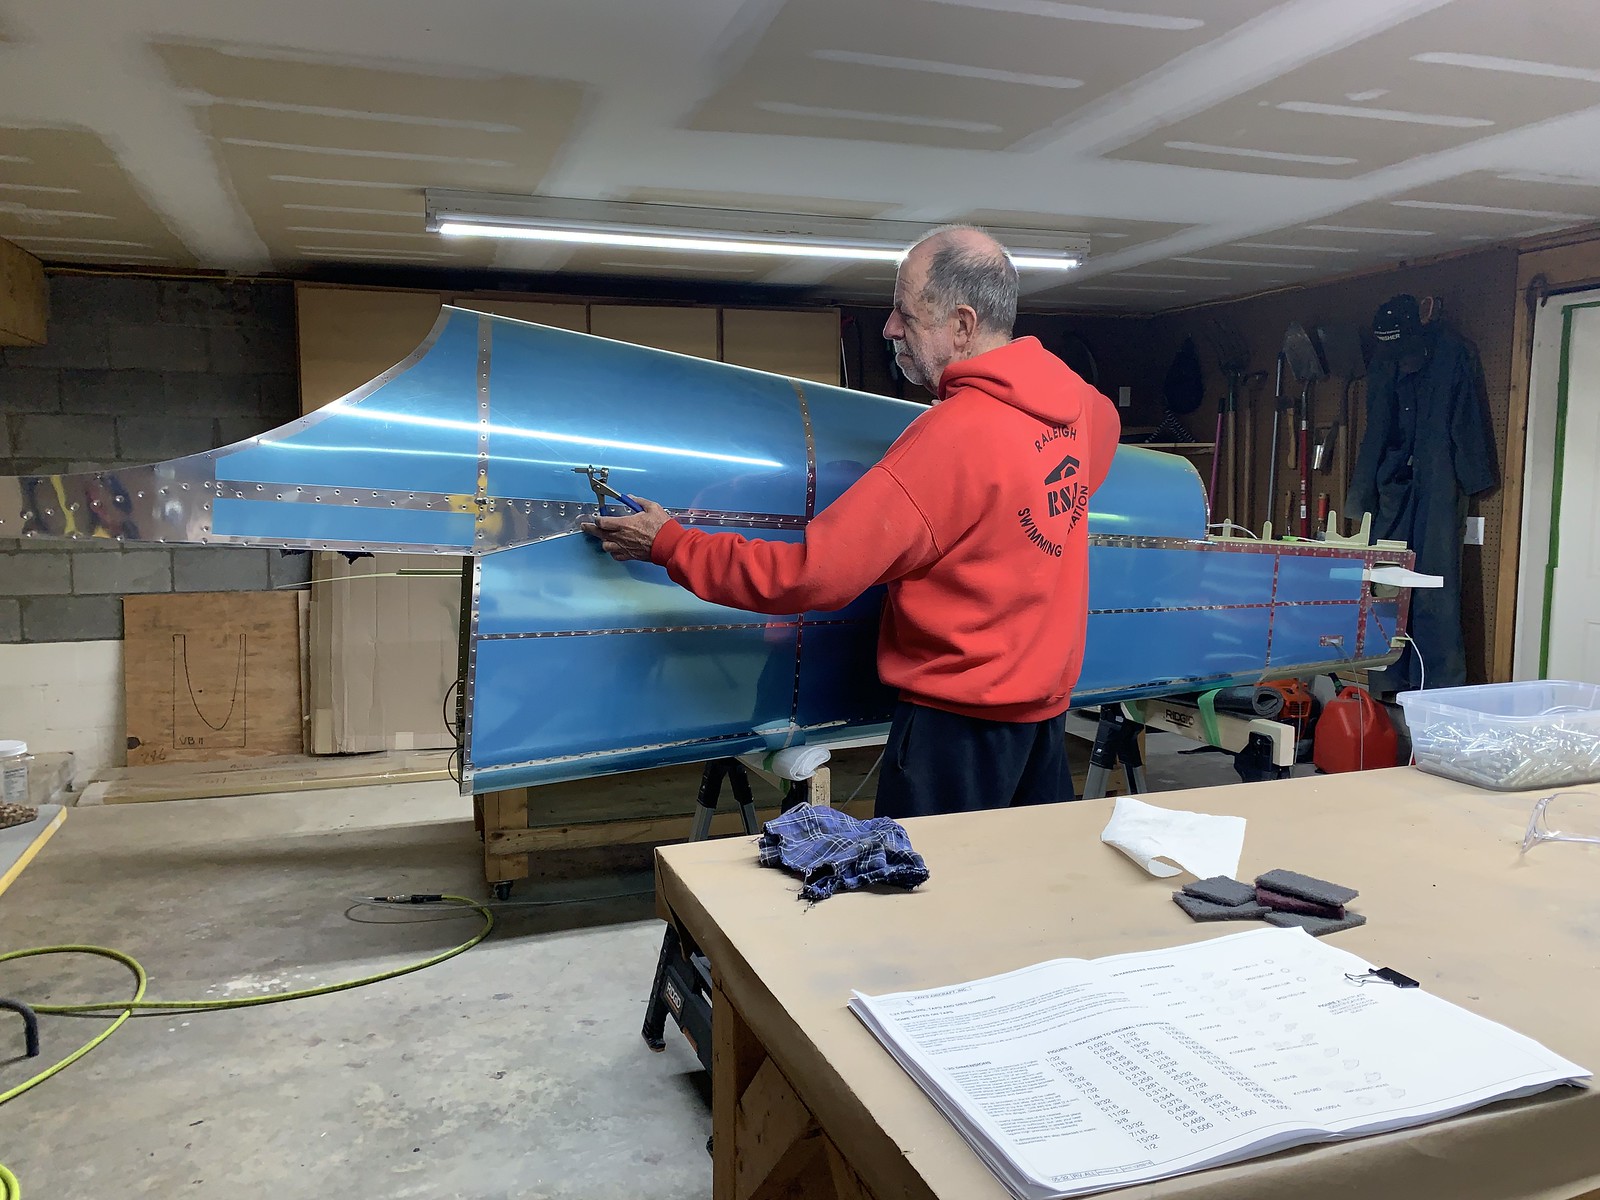
rivet top skin 10-32
timelapse
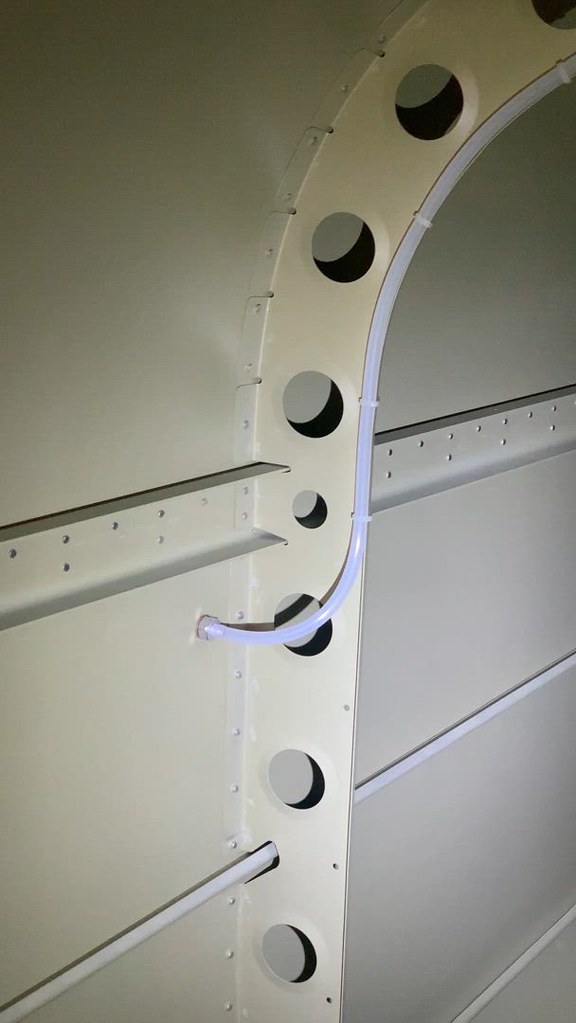
static ports and tubing 10-22
Vertical Stabilizer
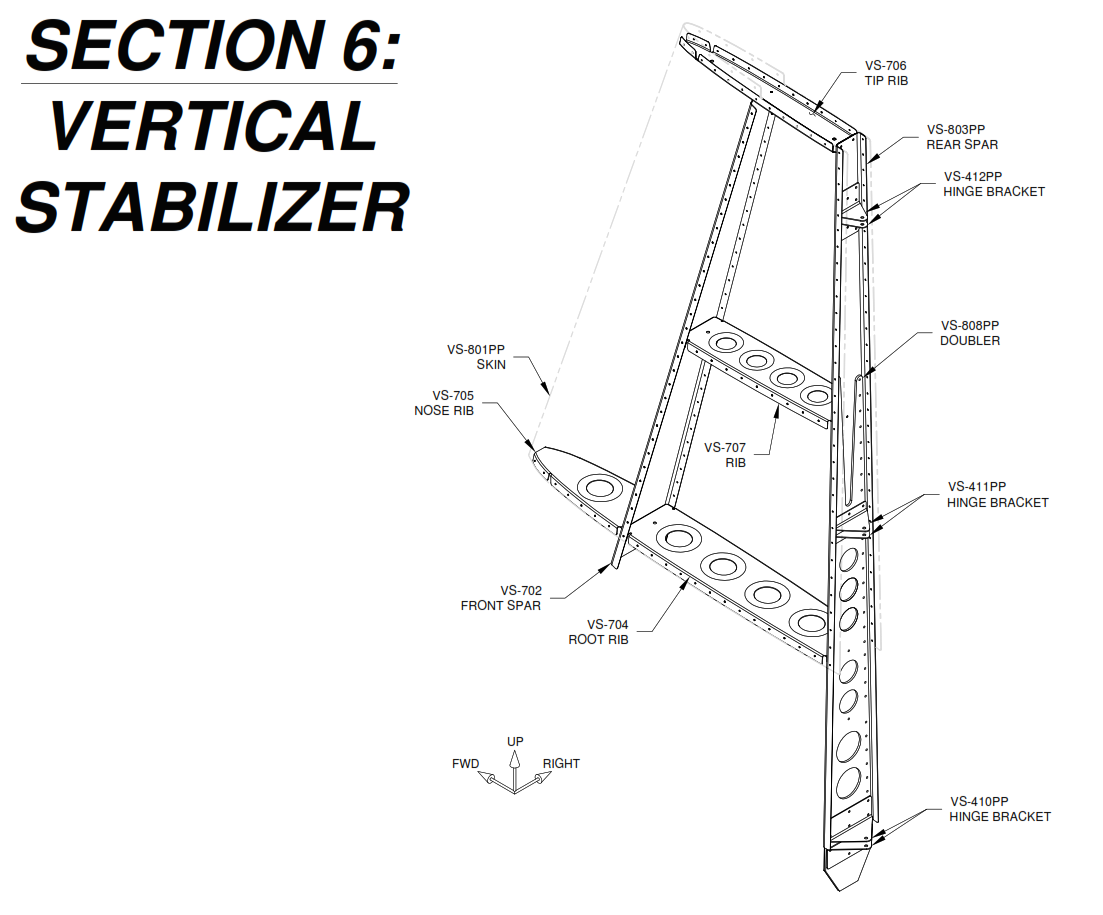
radius VS ribs and flute 06-03 steps 6 and 7
front spar mod and trimming, doubler mod, 06-02 steps 1-6
rear spar and rudder hinges final drilling and match drilling 06-03 steps 1-4
do over - front spar mod and trimming, doubler mod, 06-02 steps 1-6
clecoe ribs and spars 06-03 step 6, cleco skin to skeleton final drill #40 06-04 step 1
cs doubler, dimple all holes in the spar flanges, ribs and skin 06-04 steps 4 and 5
timelapse
rivet doubler to front spar
rivet doubler to rear spar

rivet doubler to rear spar 06-04 step 6
assemble and rivet front spar ant ribs 06-05 step1
rivet skin to front spar and rib step 2
rivet skin to rear spar and top and bottom rib wtep 4
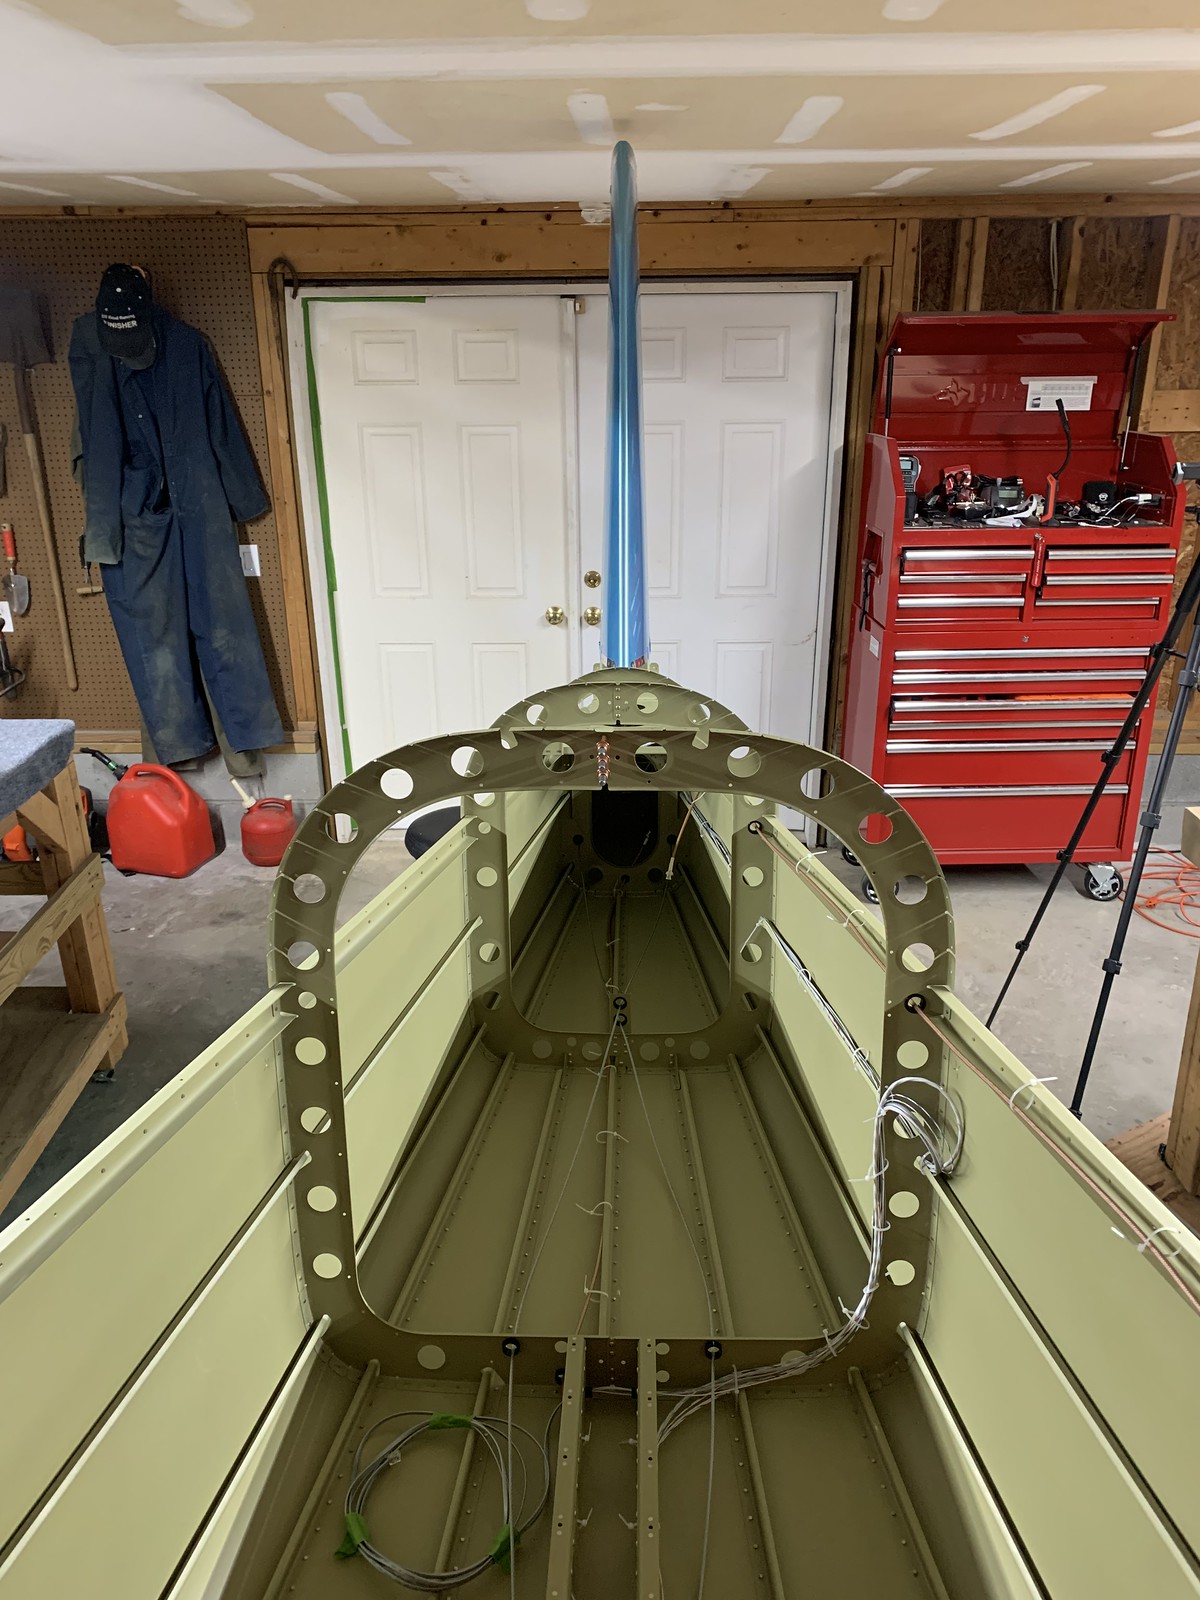
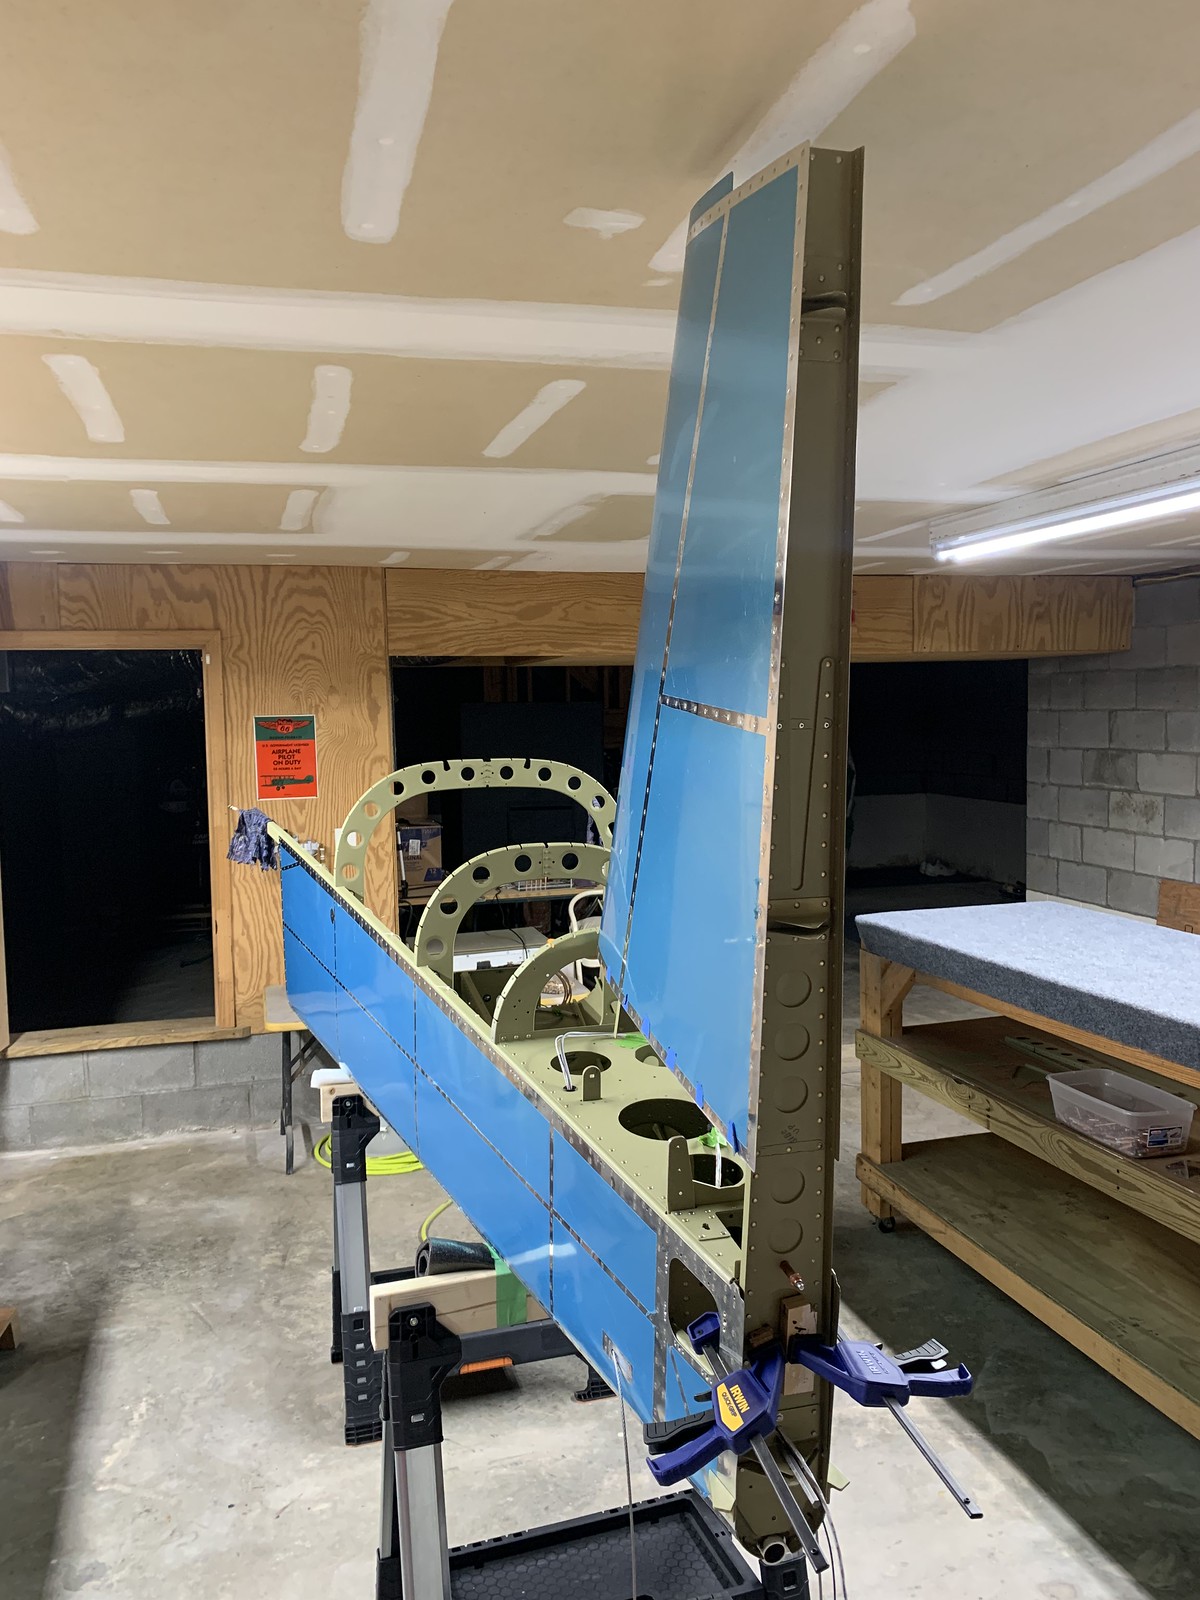
final drill VS rear spar 10-28 steps 1, 2
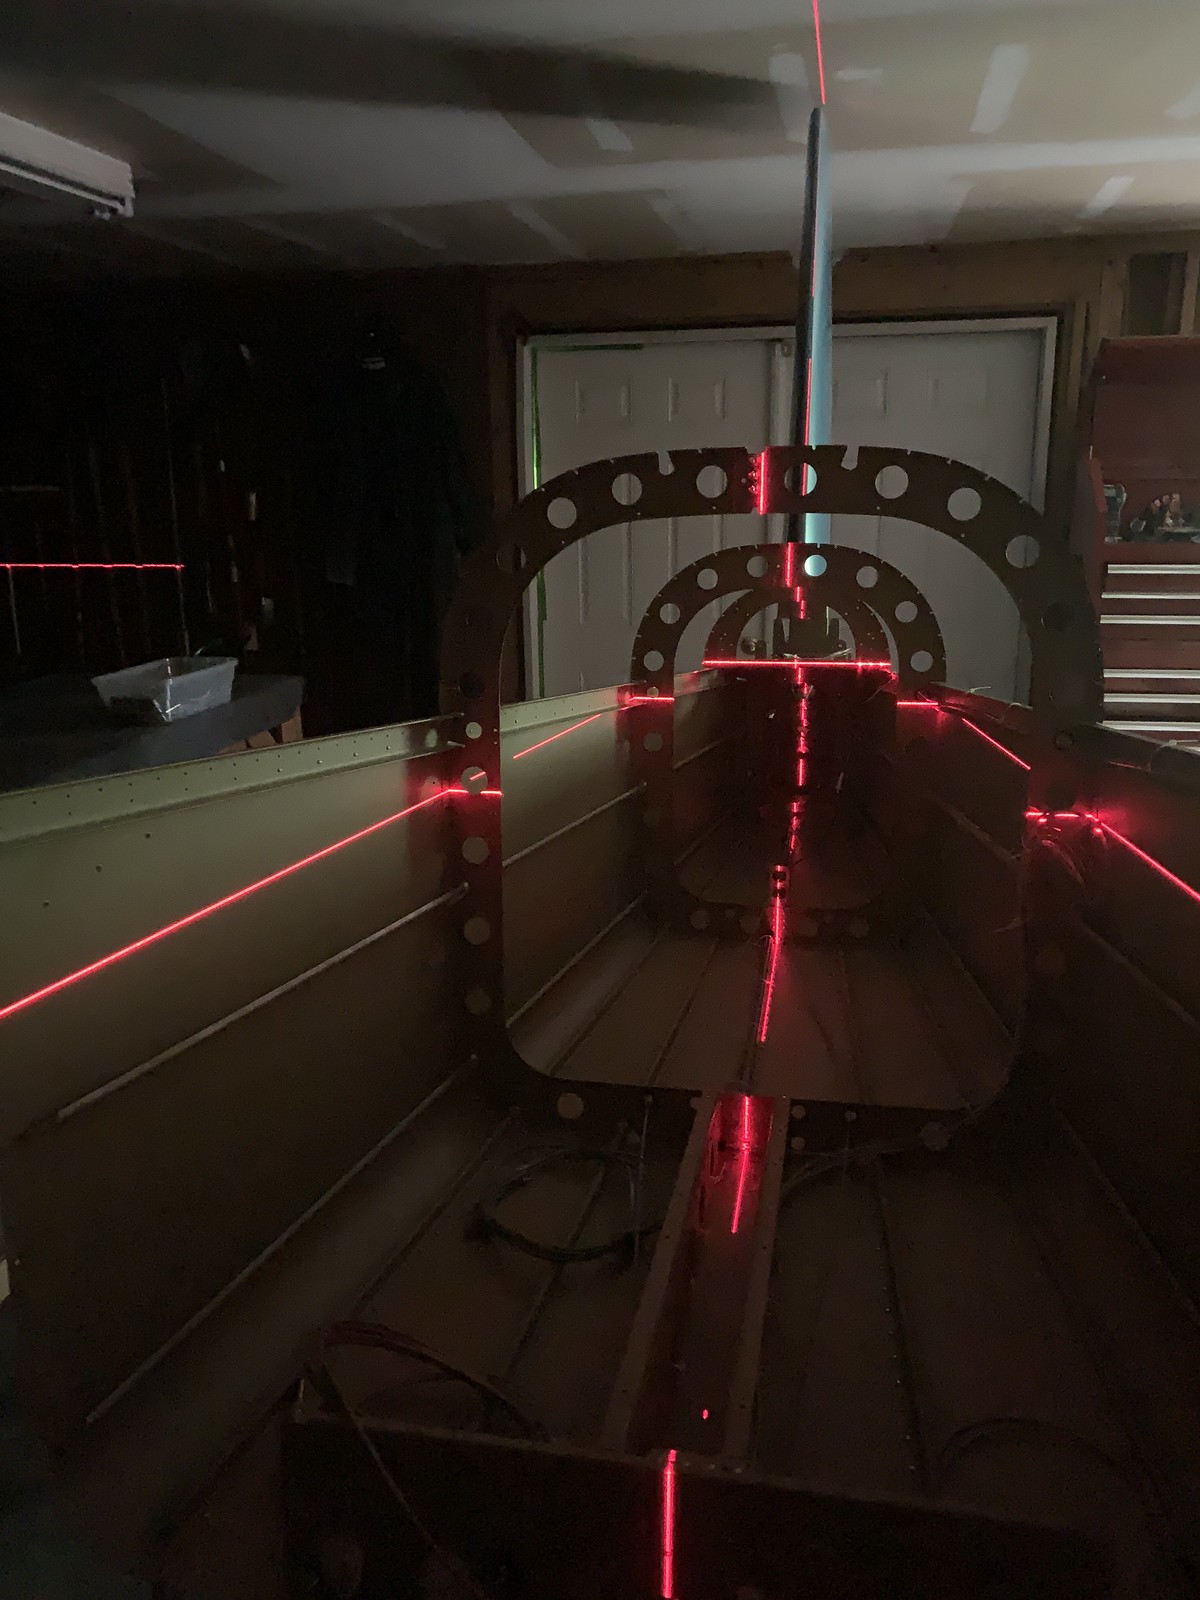
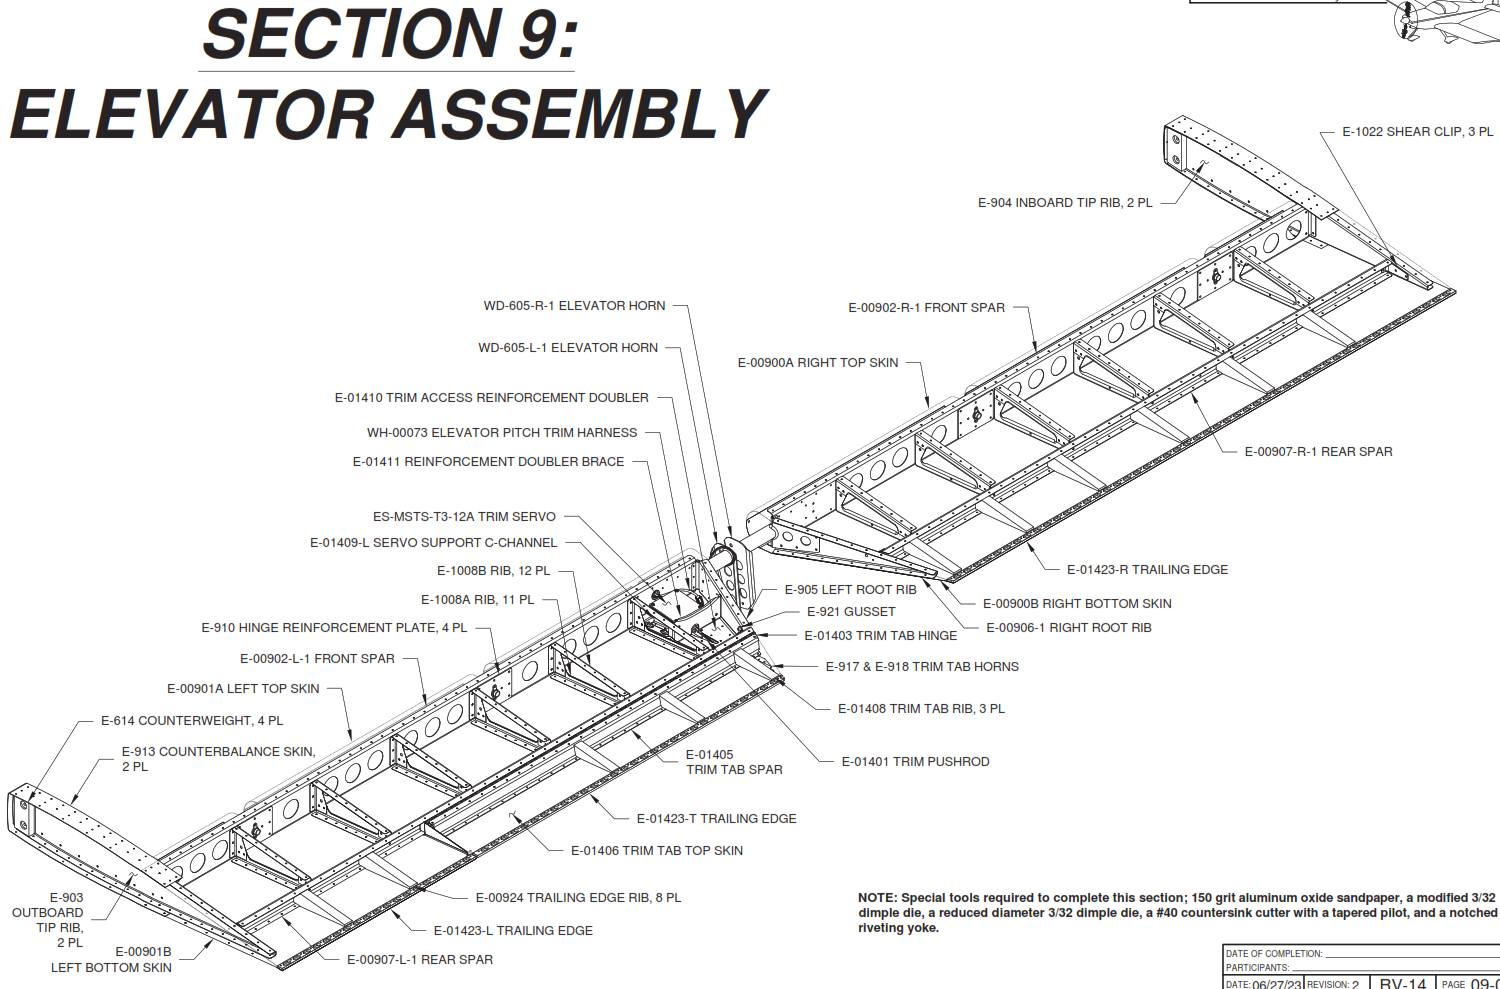
Elevator
remove hatched areas ribs and clips 09-02 steps 1-3
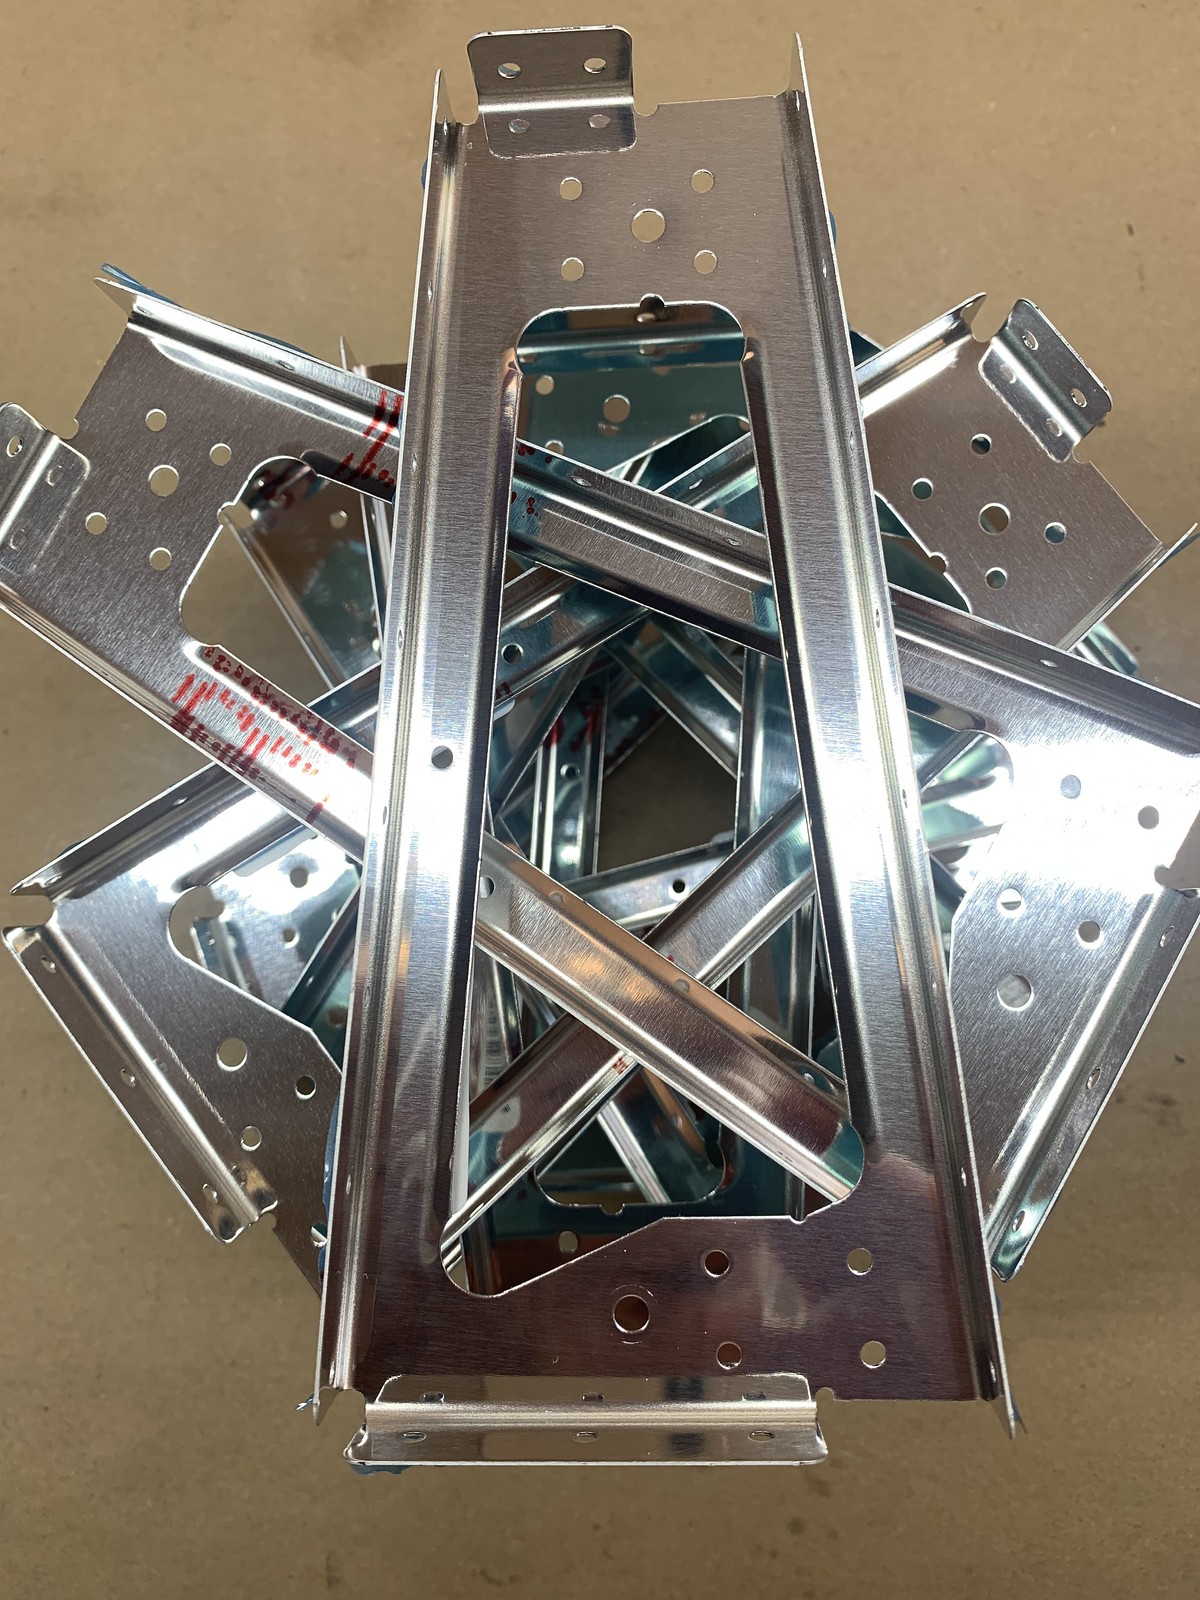
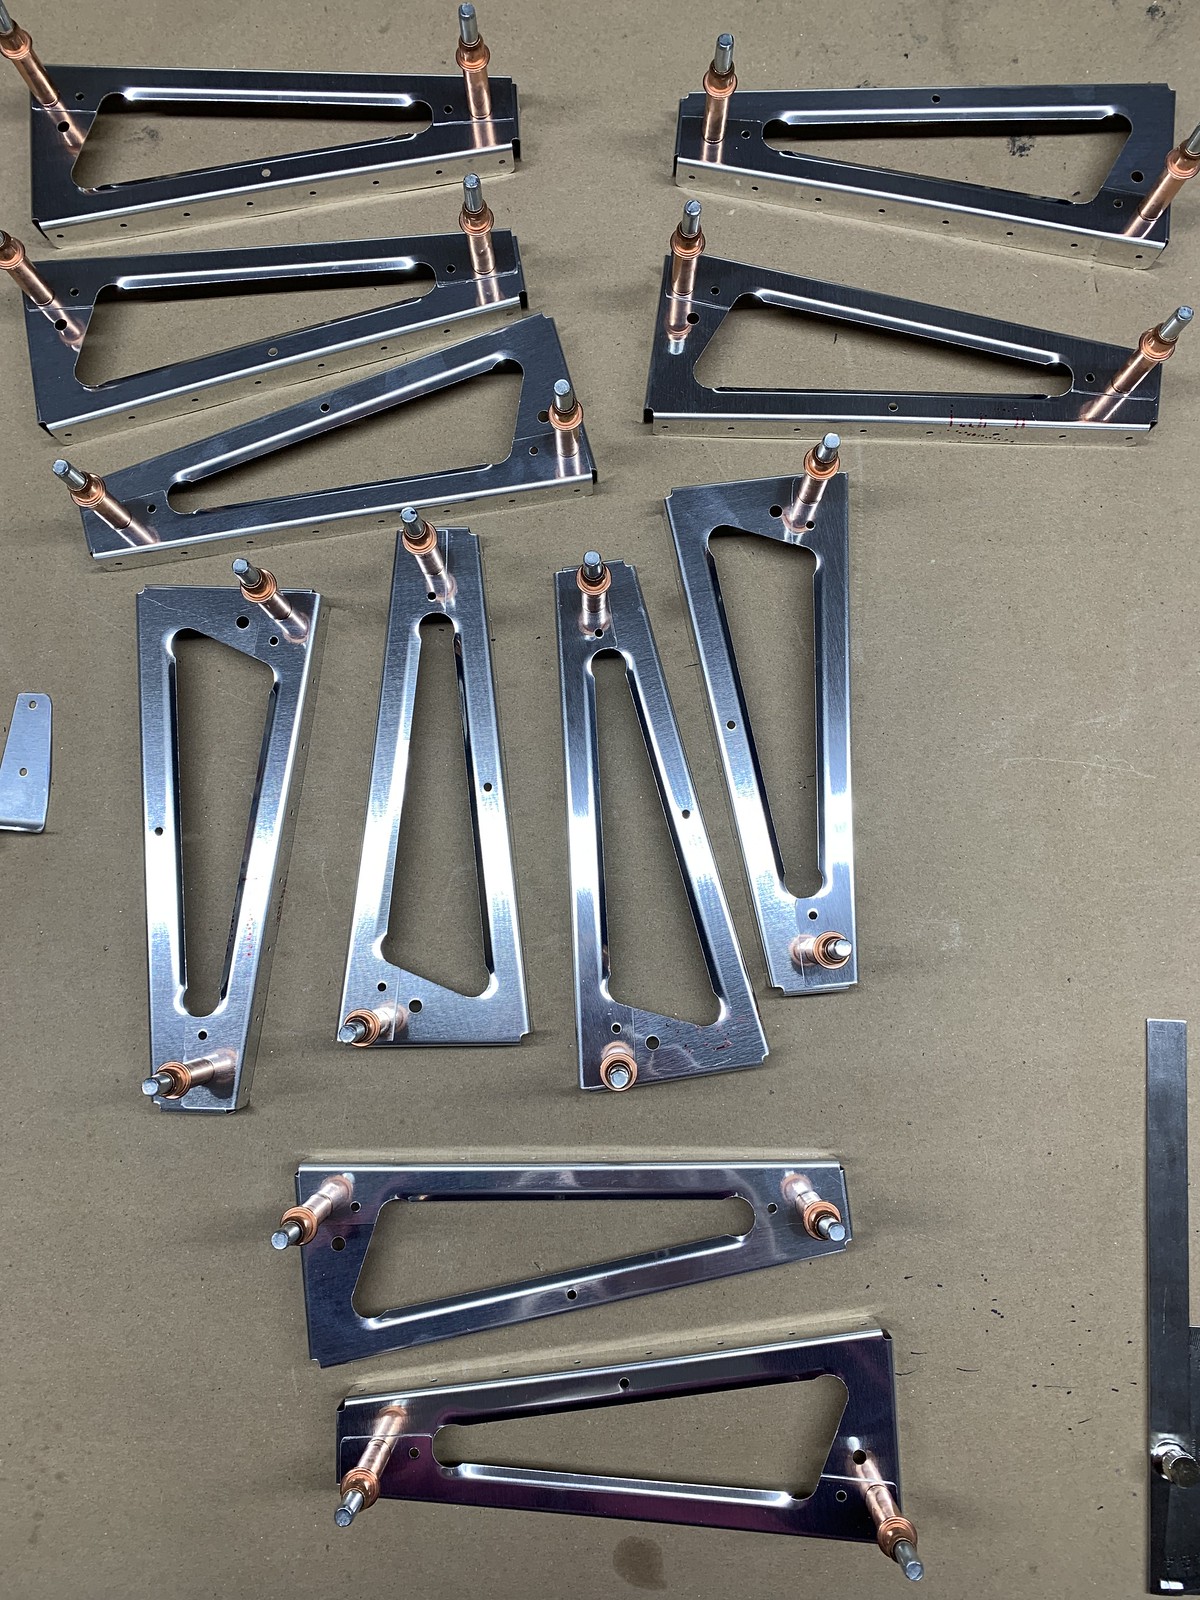
flute and straighten counterbalance skin and tip ribs final drill 09-02 steps 4-7
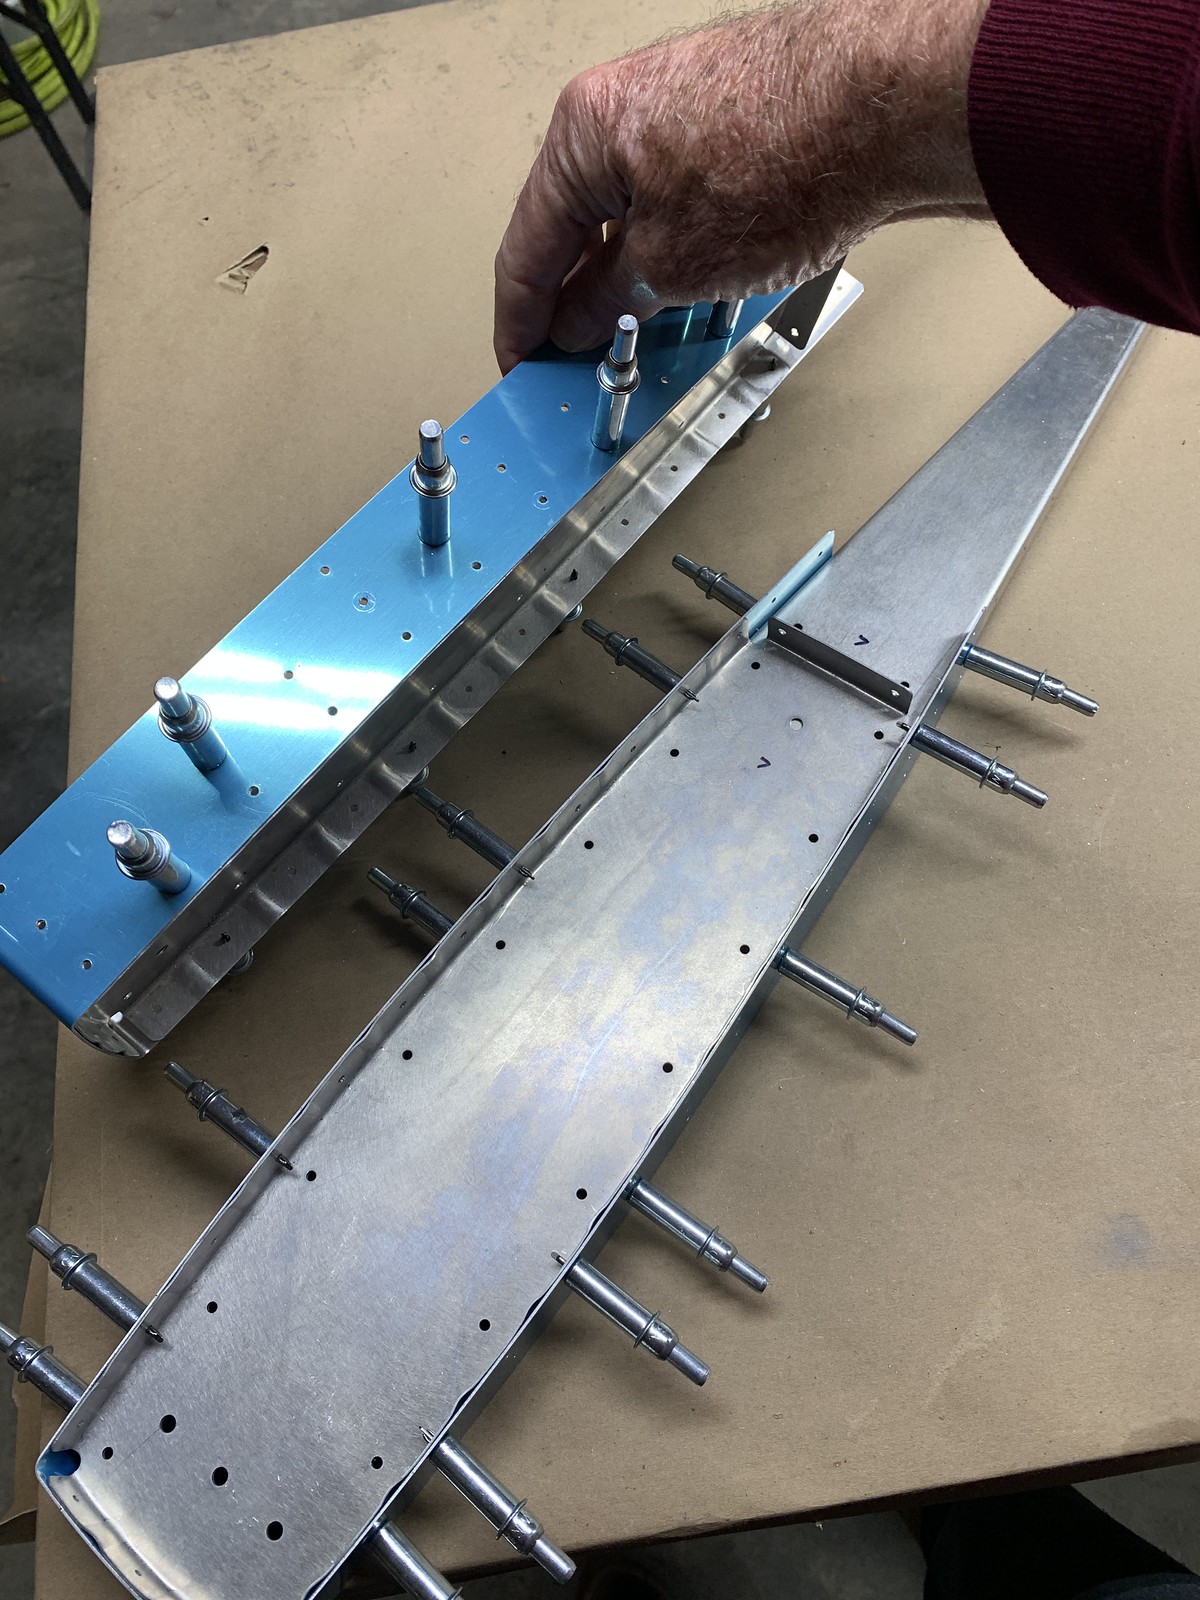
remove hatched areas and bend close-out tabs 09-03 steps 2-3 & 09-04 steps 1-2
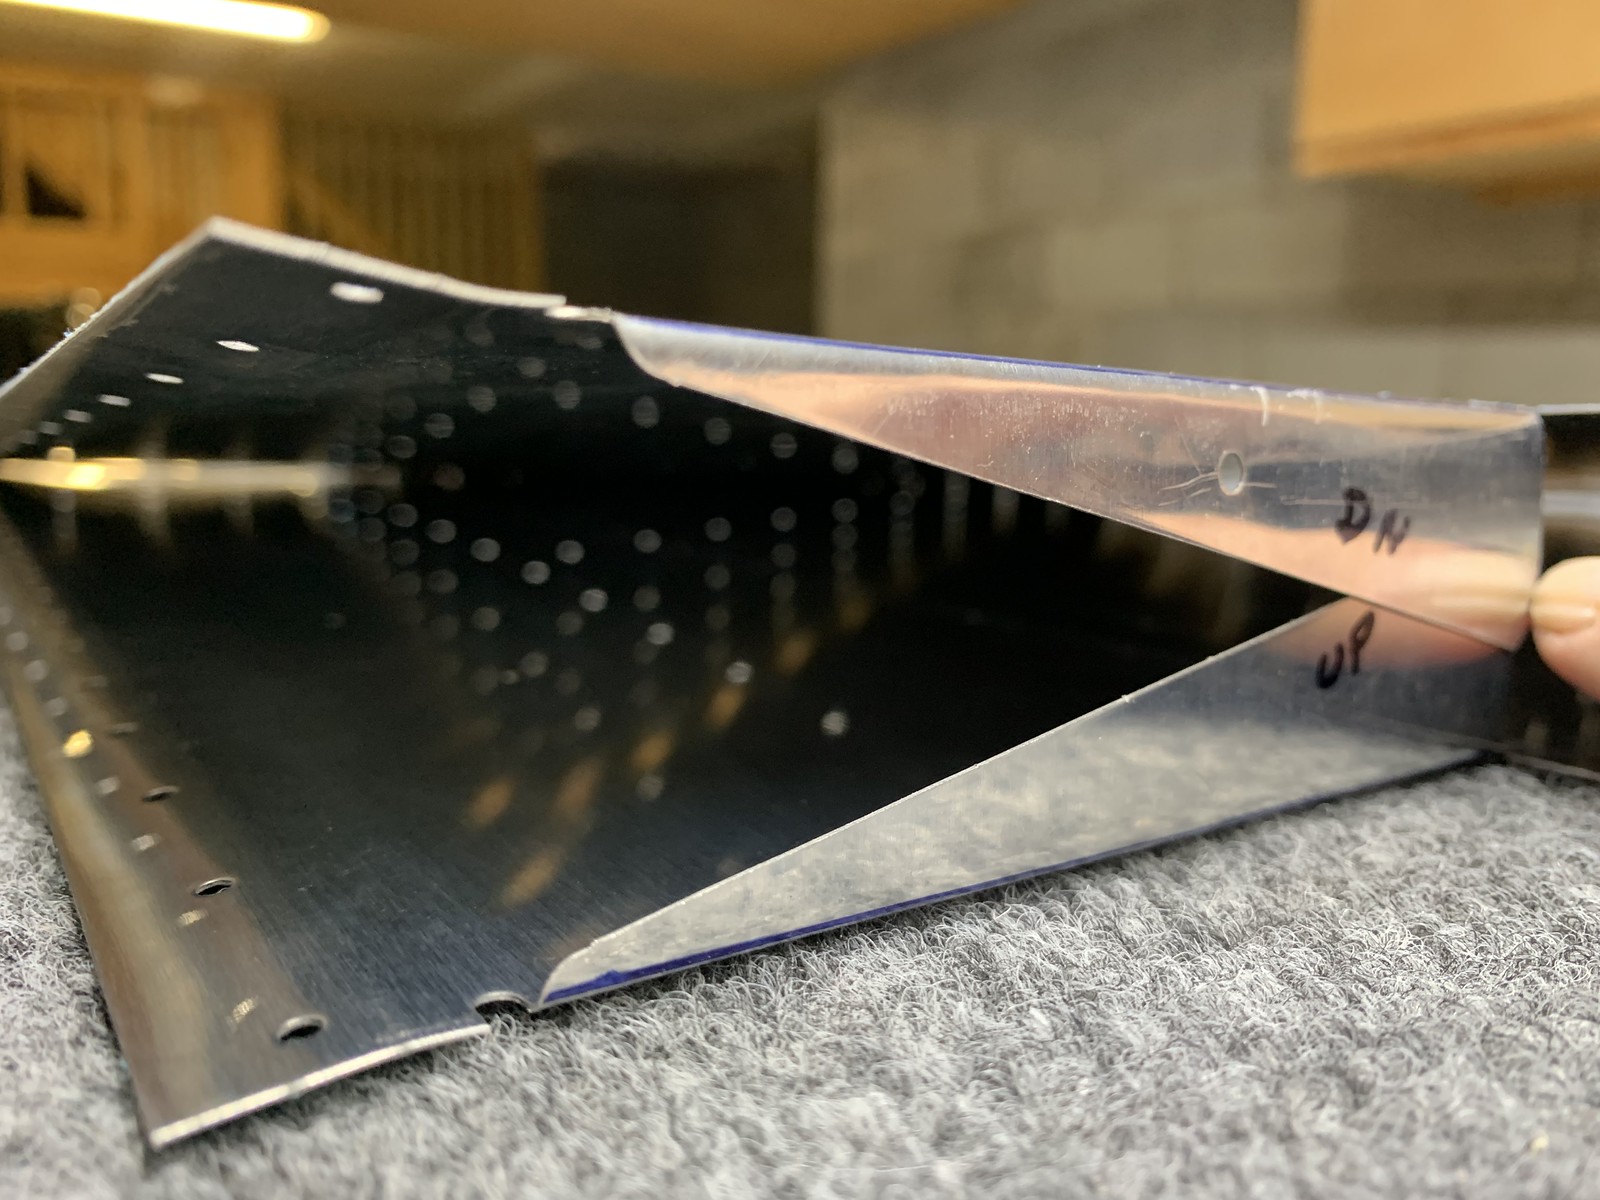
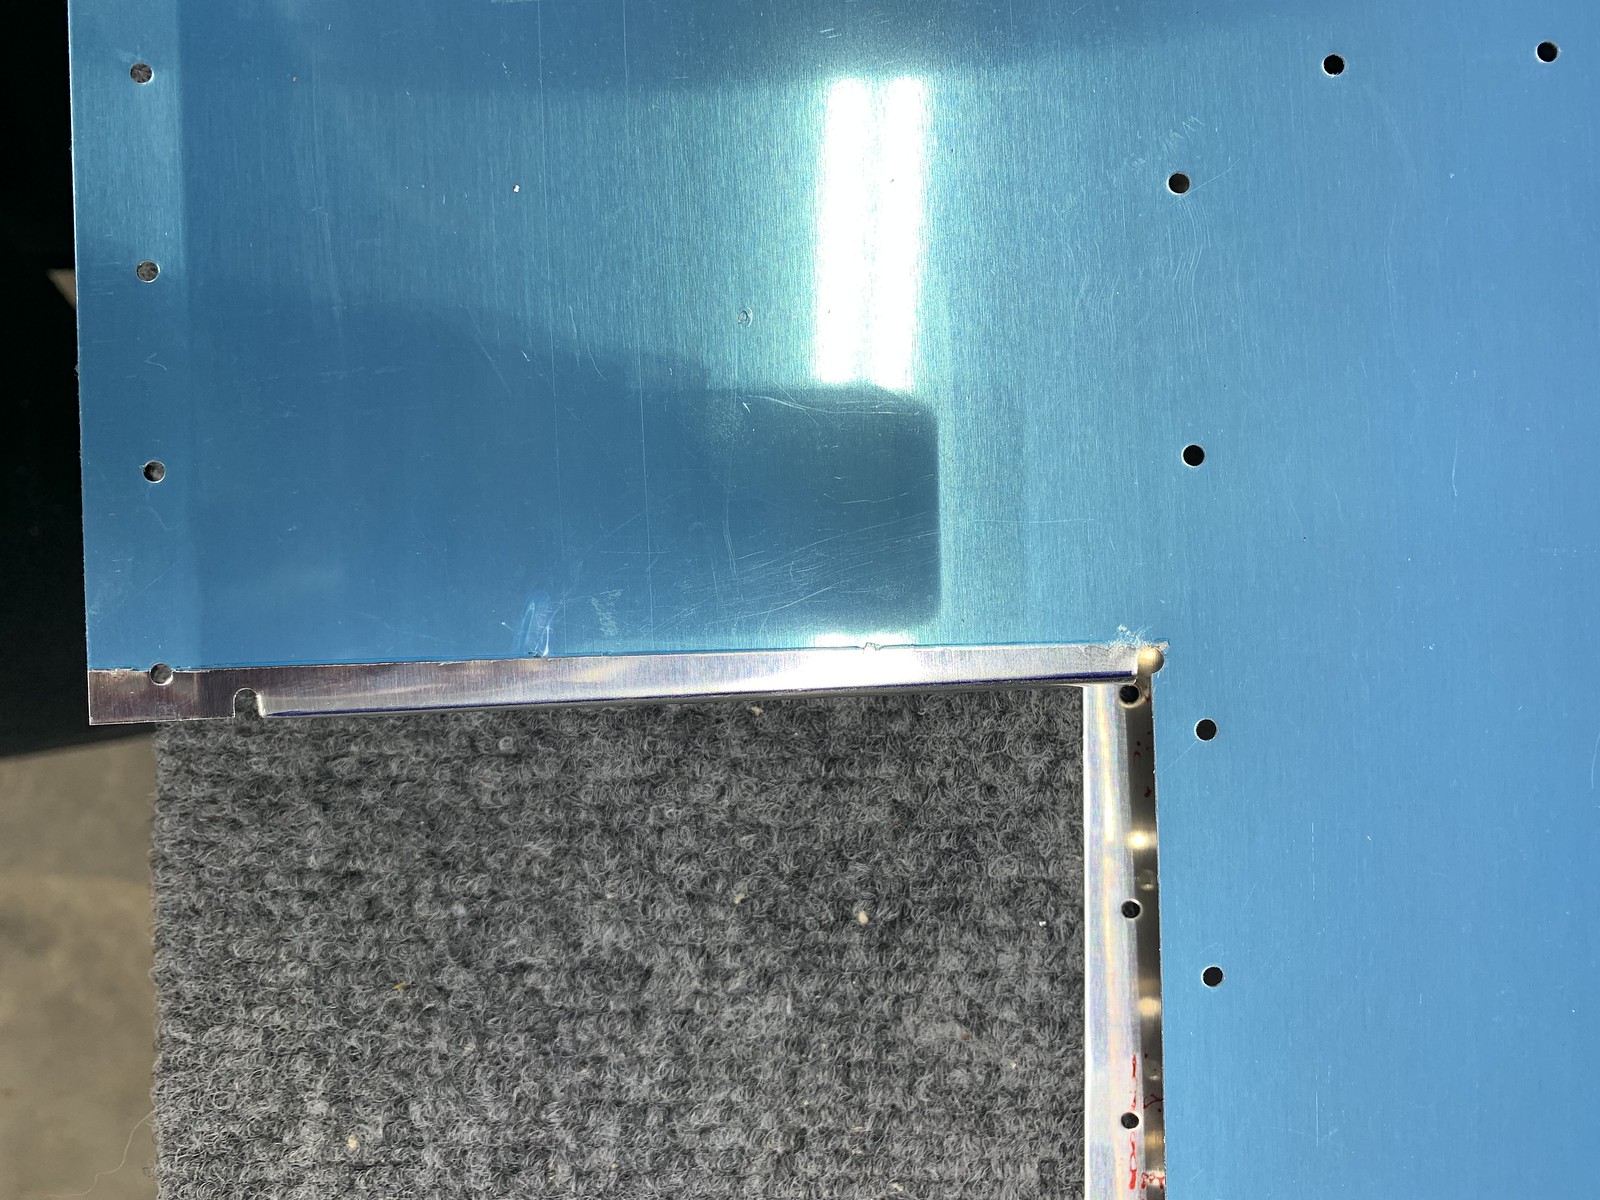
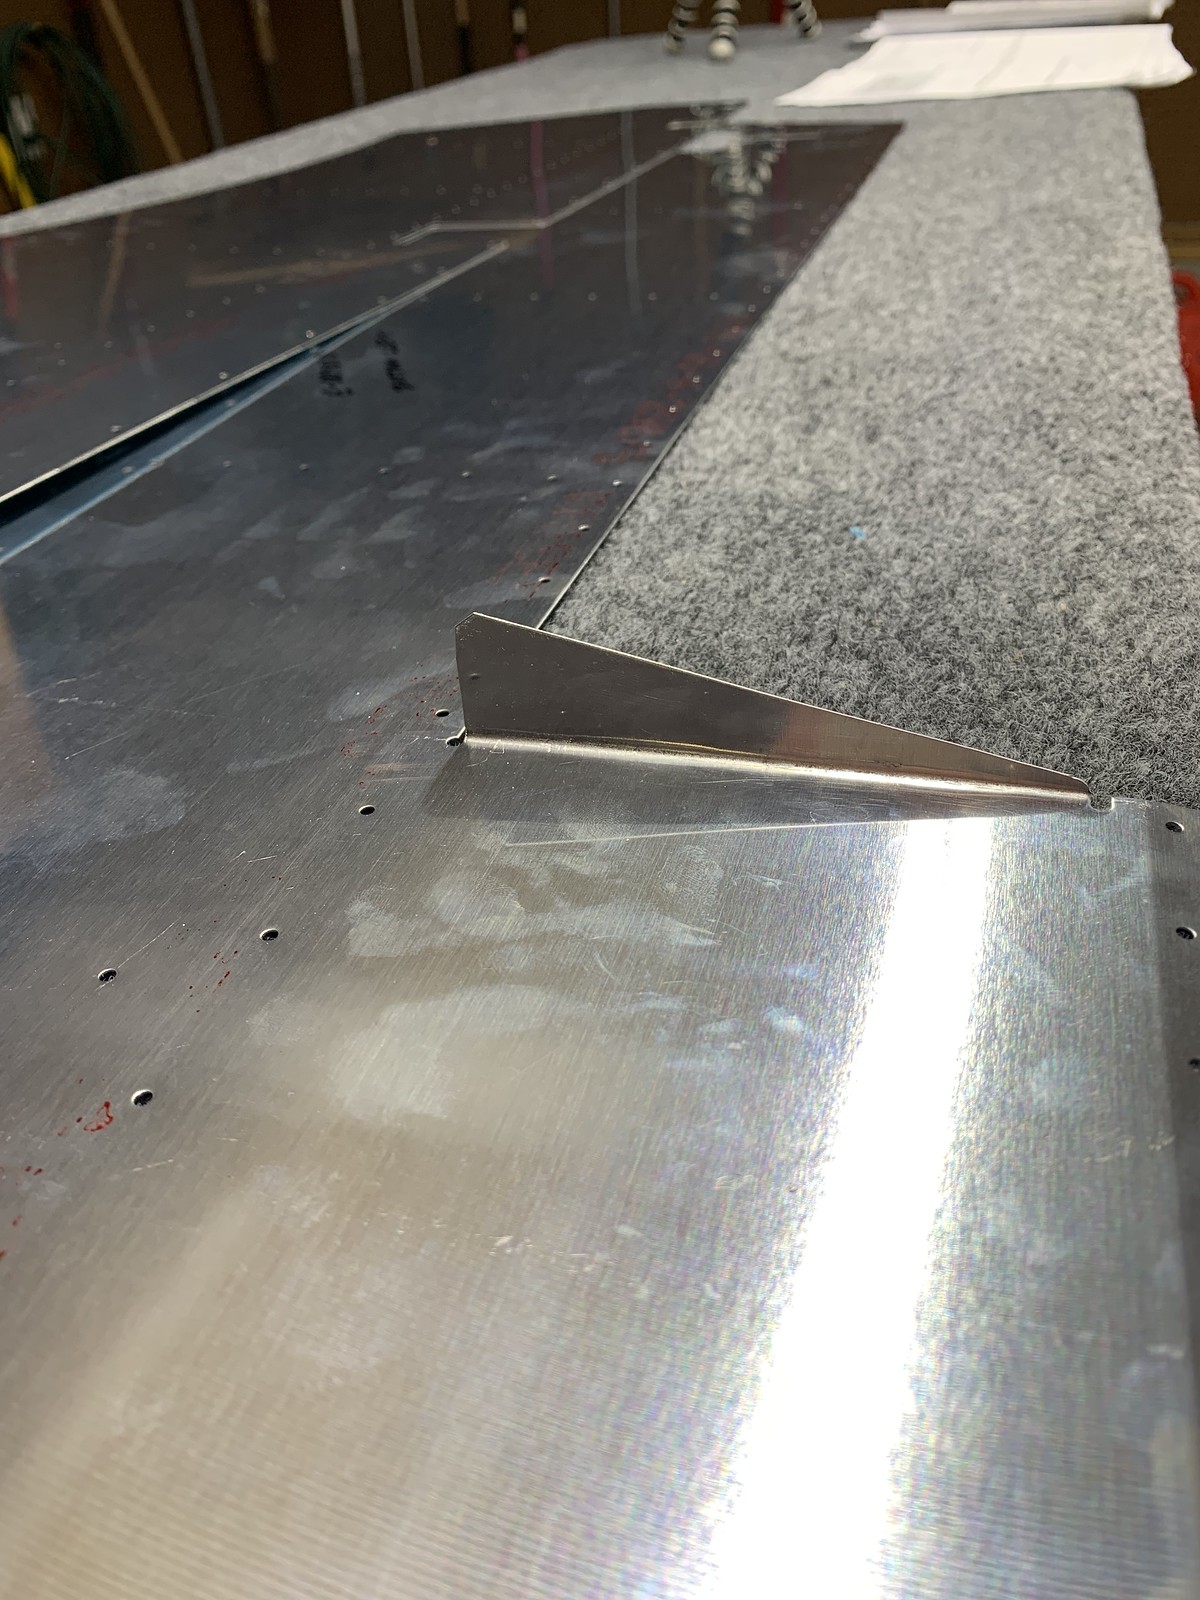
trim rear spar, drill pilot in hinge 09-04 steps 3-5 final drill L fwd spar 09-05 step 1
assemble left and right elevators 09-06 steps 1-4
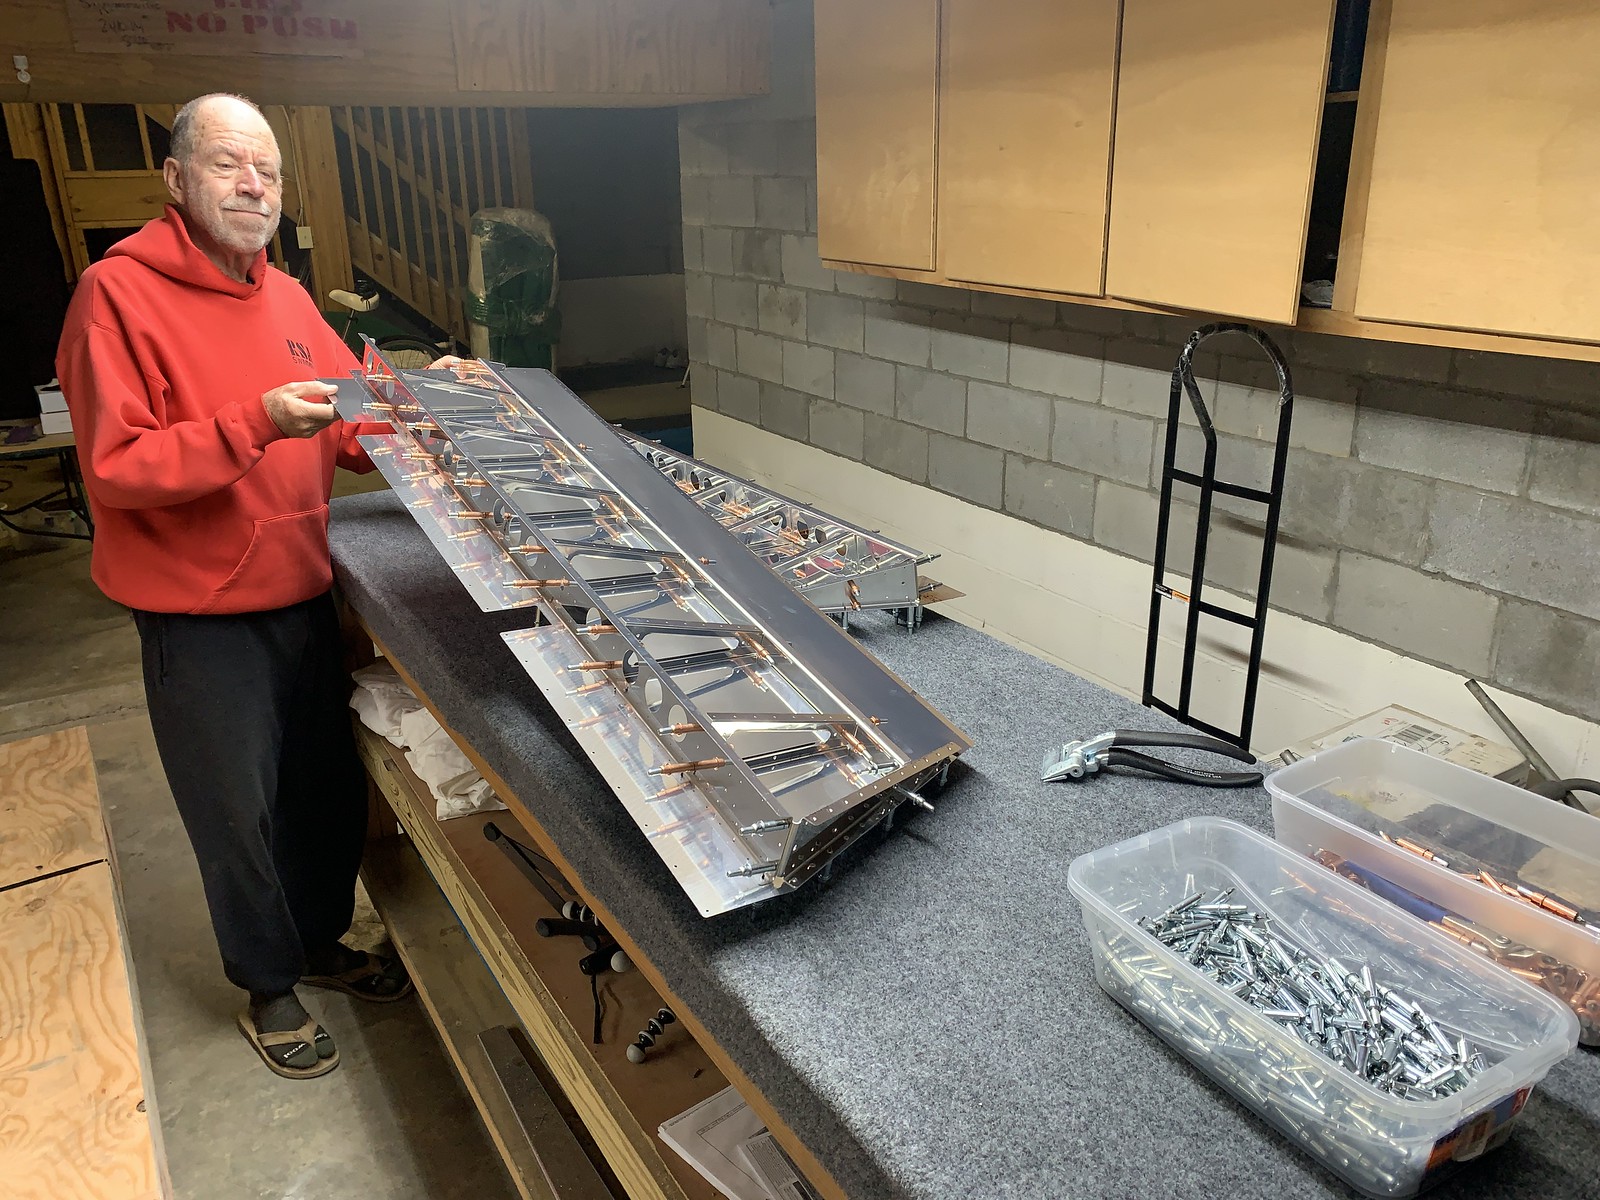
attach tip rip assembly for match drill and trim trailing edges 09-08 steps2-5
taper TE and match drill close-outs and sheer clip 09-08 step 6 and 09-09 step 1
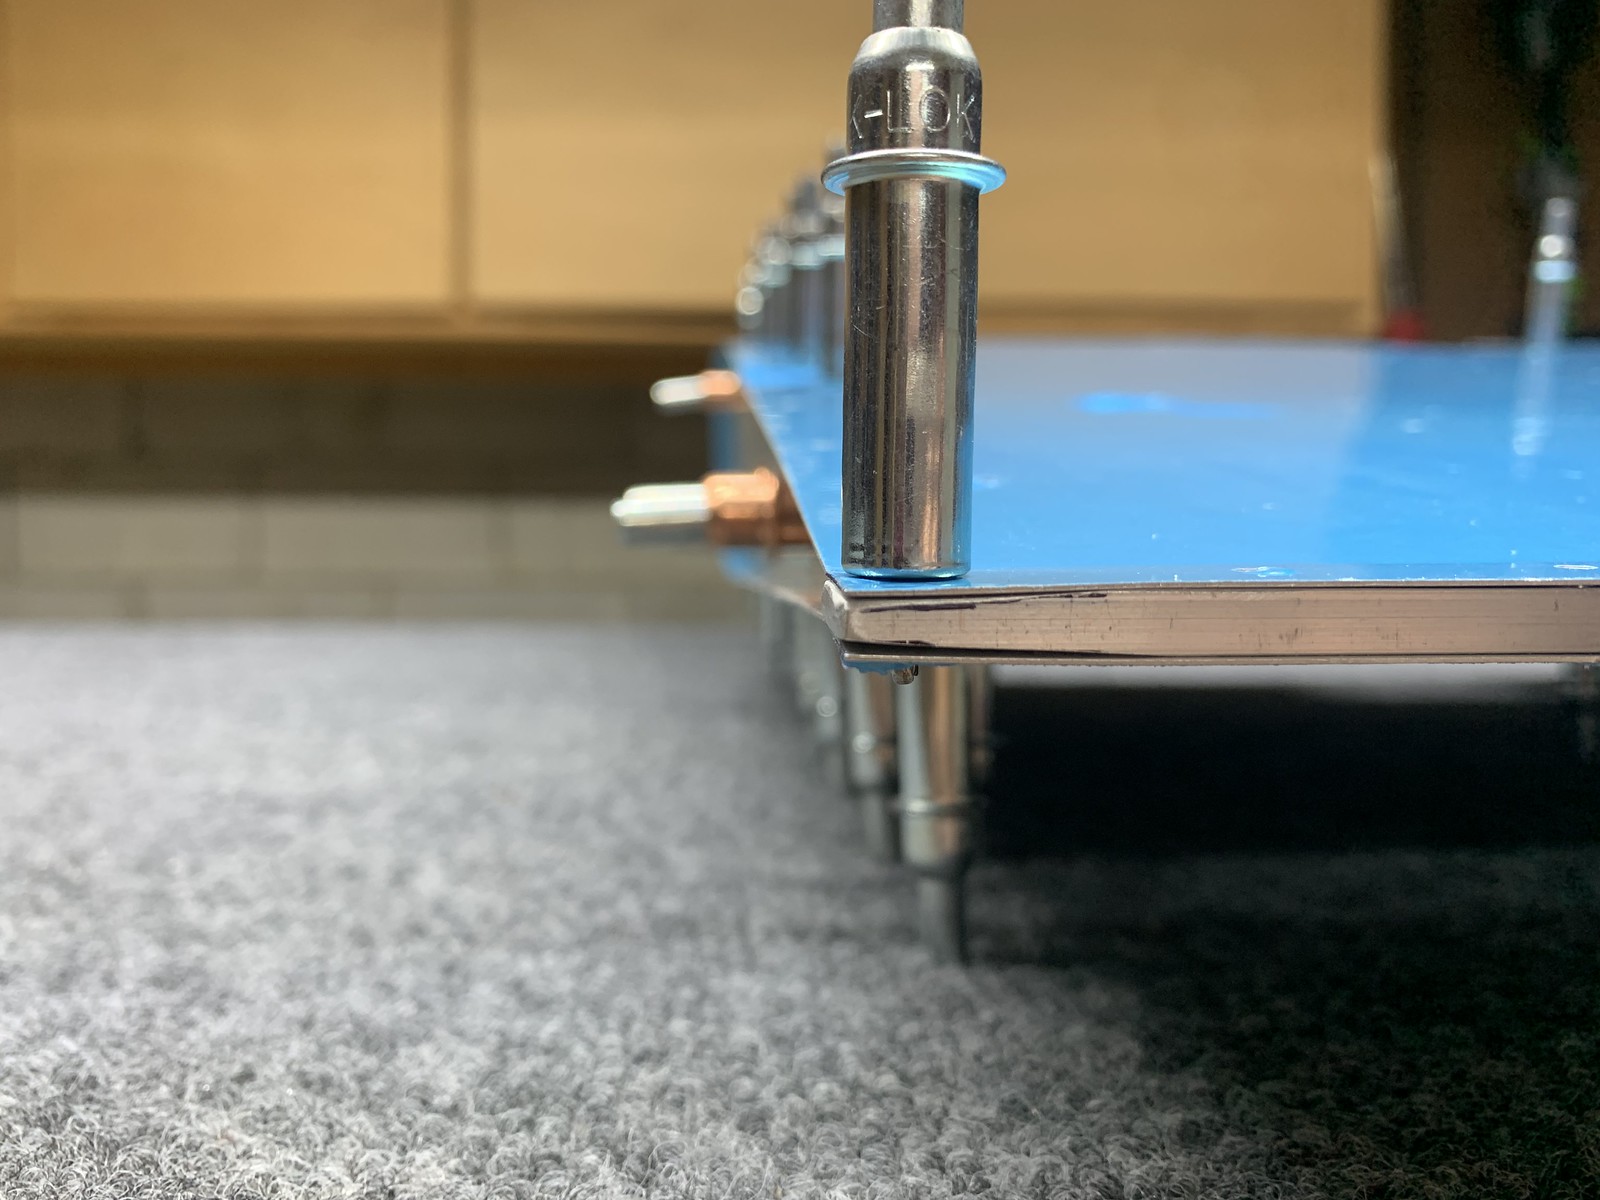
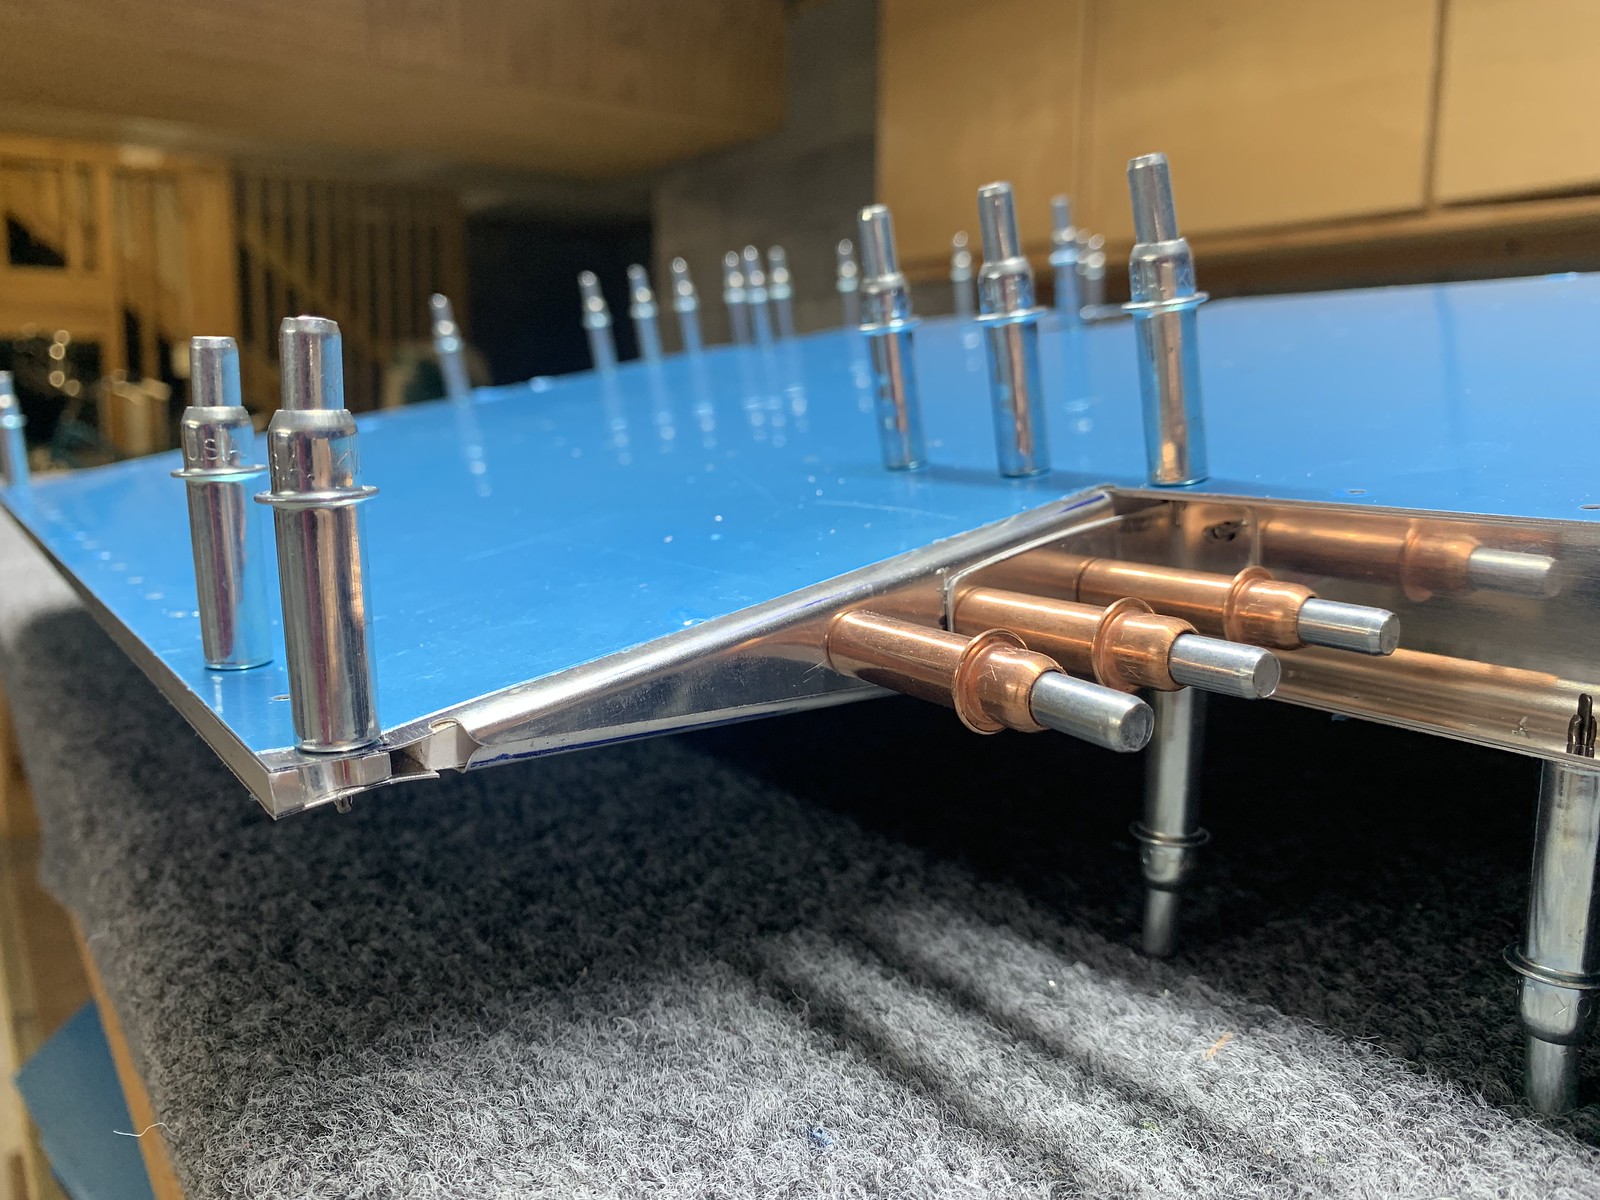
match drill horns, disassemble, mark part, and debur holes 08-09 steps 2-4
debur edges and scuff for priming RH
scuff skins, dimple counter balance skins 09-09 steps 5-6
dimple skins and inboard/outboard tip ribs 09-09 step 7 countersink TE wedge step 8
dimple spars, and ribs 09-10 steps 3-5
trim tab hinge re-do
debur edges and scuff for priming LH
timelapse
countersink rear spar for hinge, dimple skins, root rib and trim access 09-11 step 1-3
check spar flange angles, dimple nutplates, prep trim push rods 09-12 steps 1-4
fab and dimple trimtab skins, countersink TE, dimple spar 09-13 steps 1-7
skuff and mask skins, trimtab and TE for priming 09-13 steps 8-10
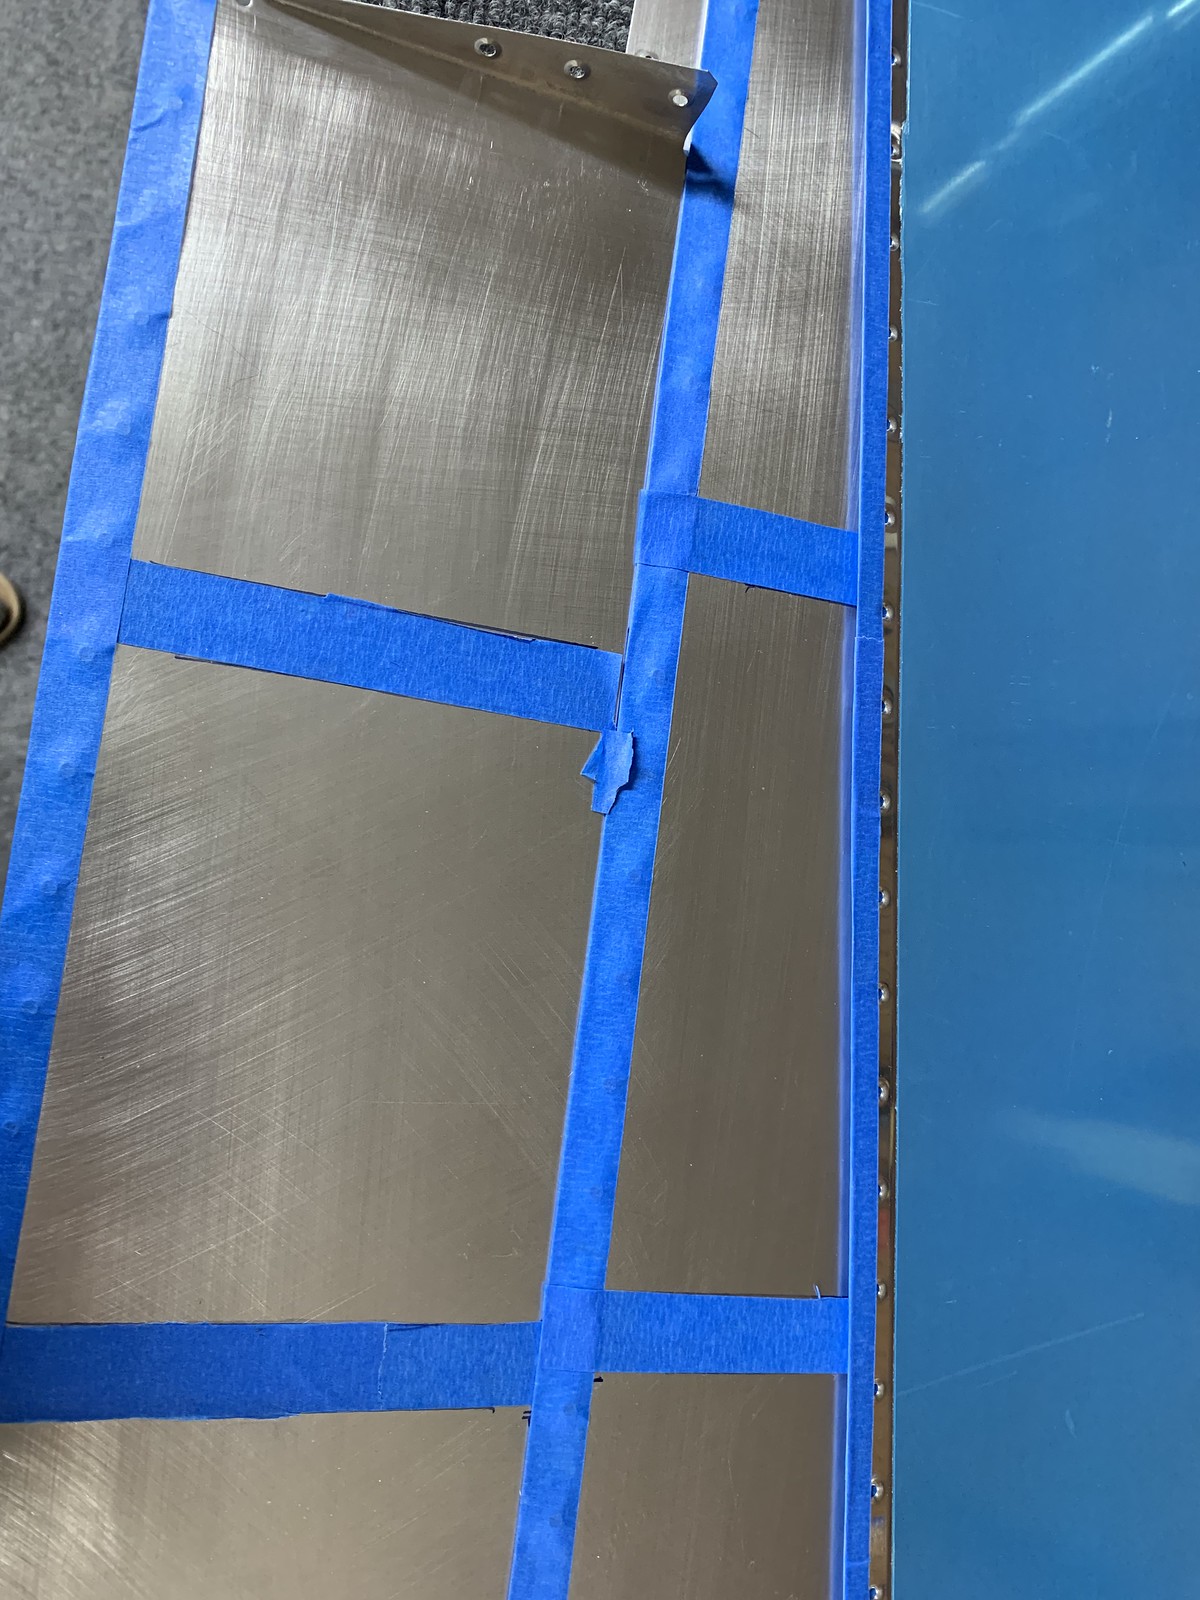
acetone wipe for priming
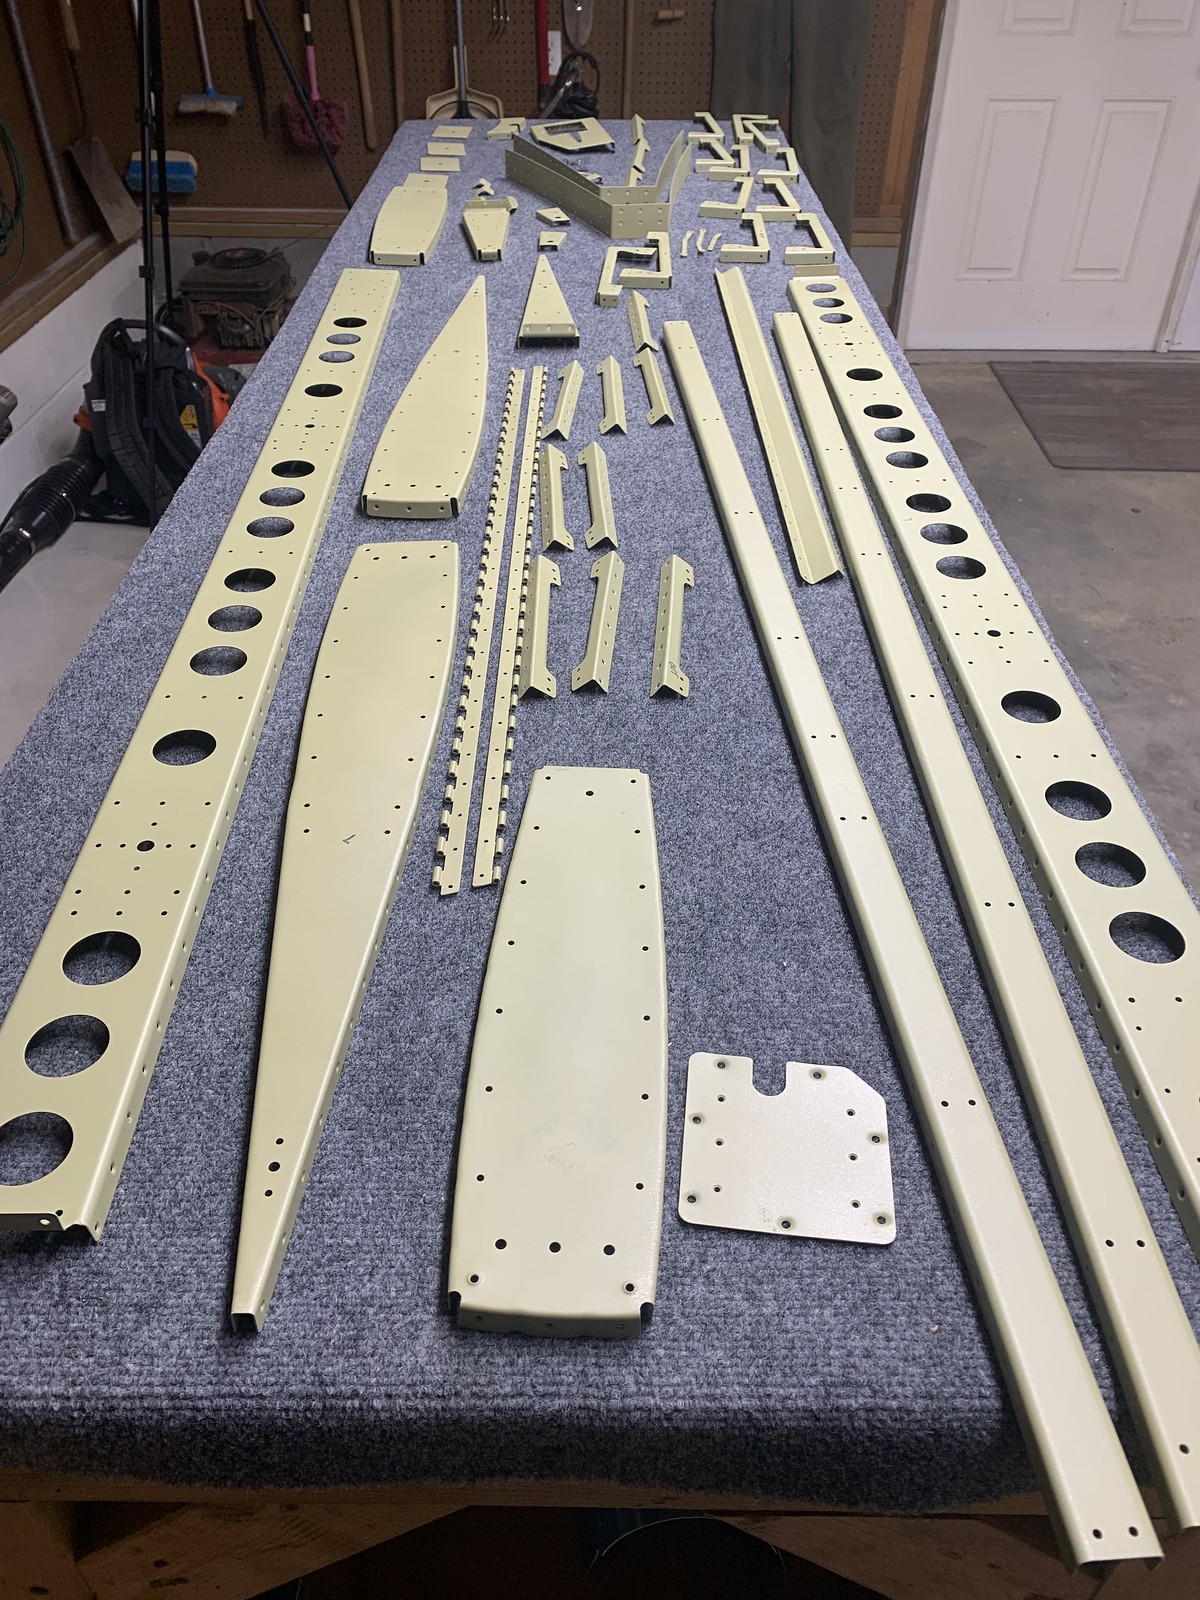
prime elevator parts
rivet trim tab spa and horns to lower skin 09-14 step 1
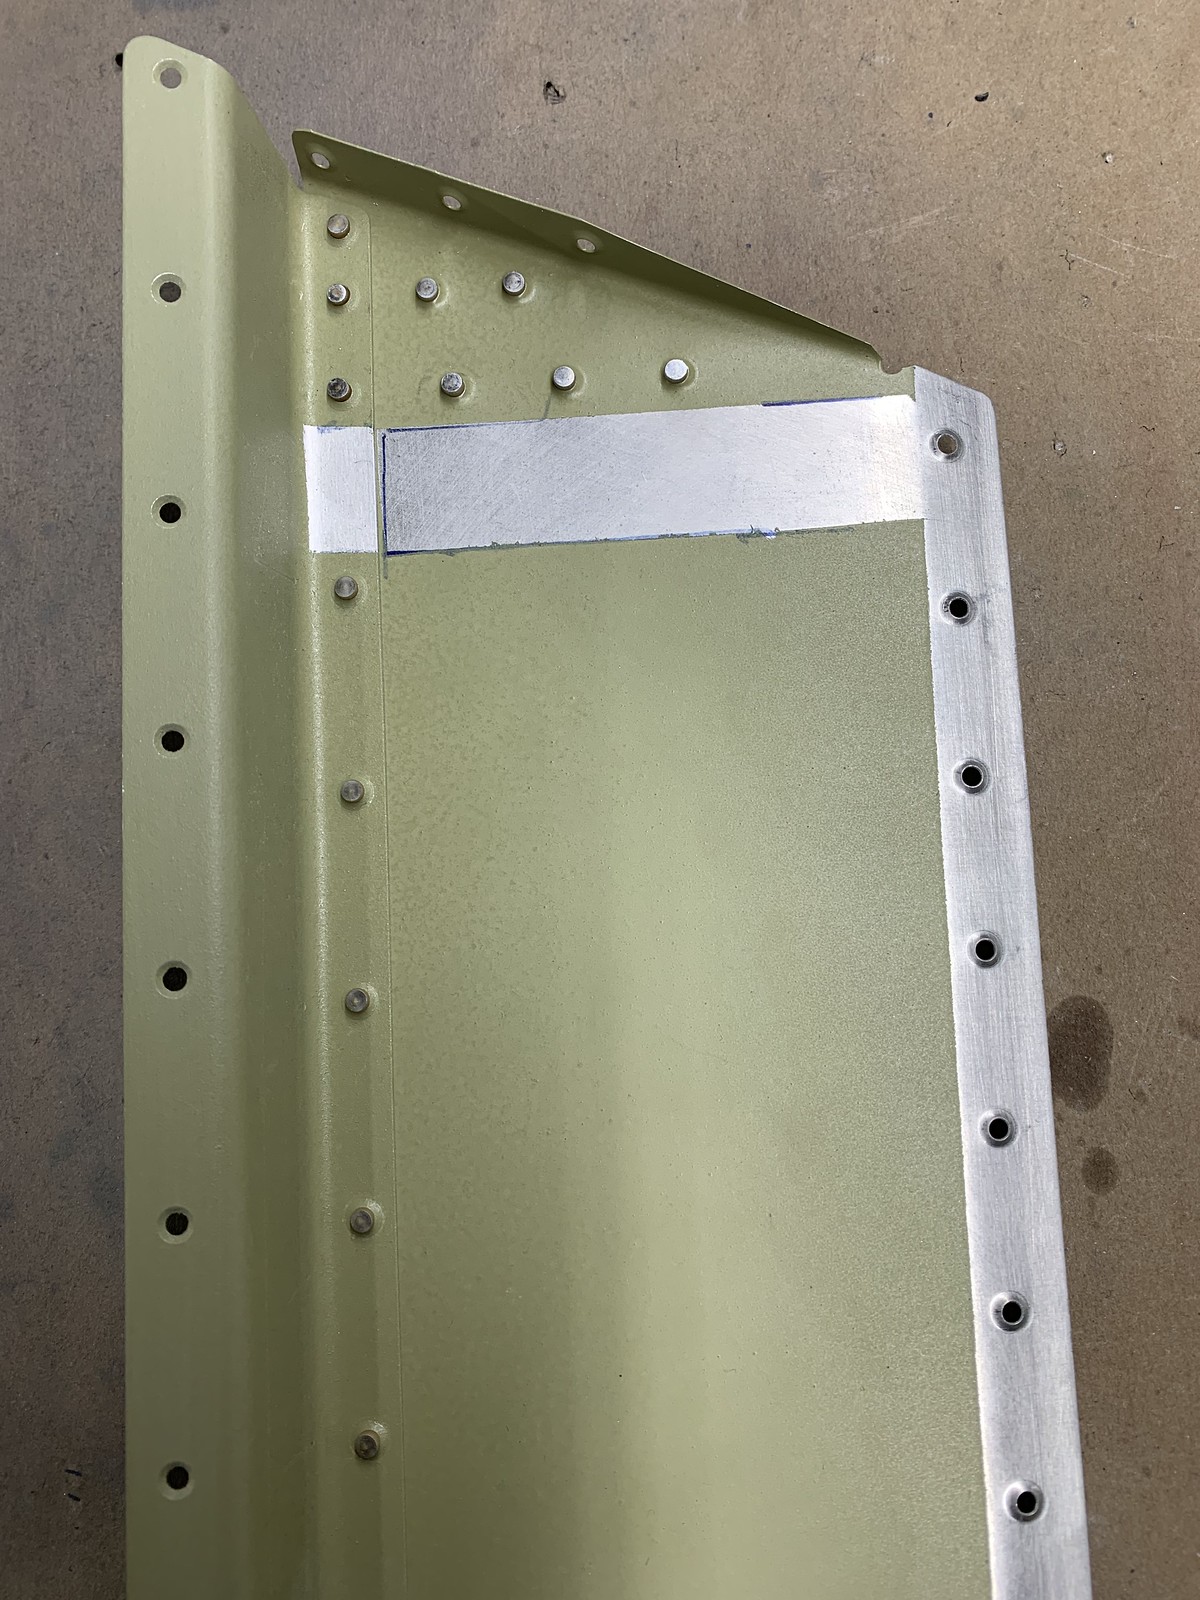
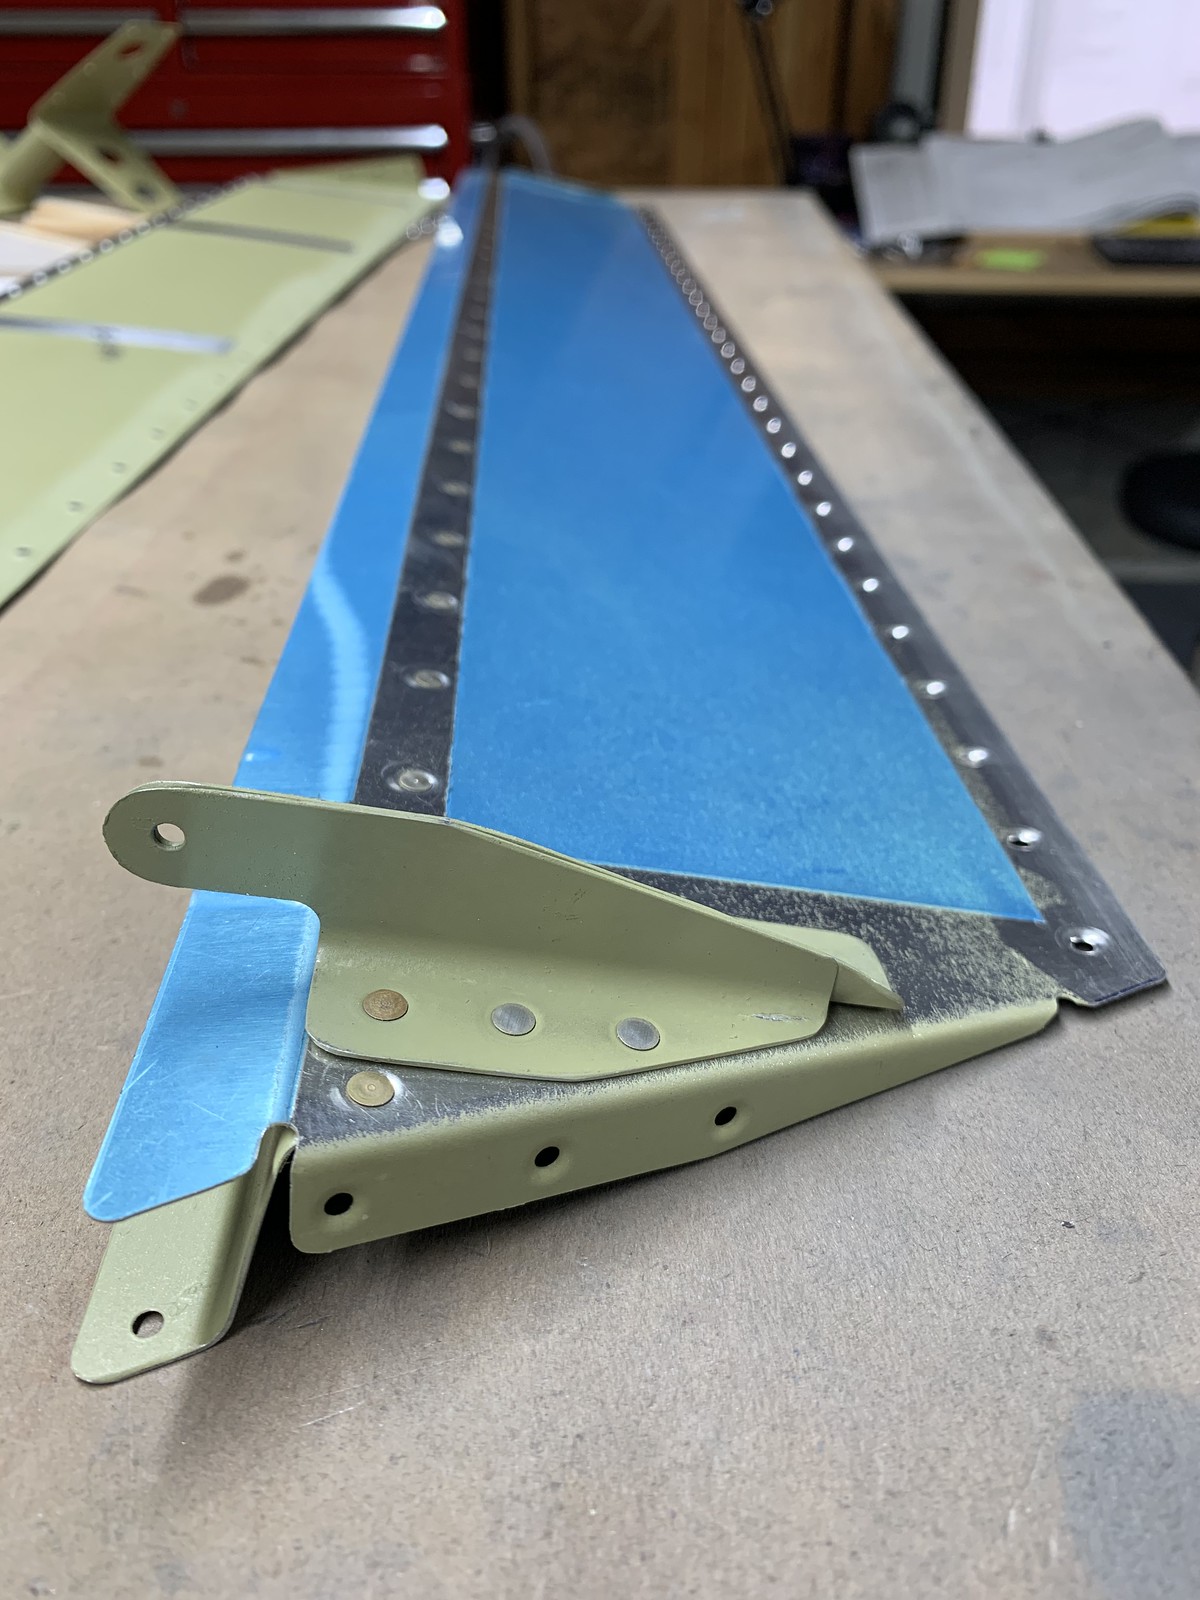
bond TE, rivet trimtab spar 09-14 steps 3-6 rivet gusset, root and tip ribs 09-16 step 1-2
rivet hinge plates, counter balance skins and horns to spar 09-16 steps 3-4 09-17 steps 1-2
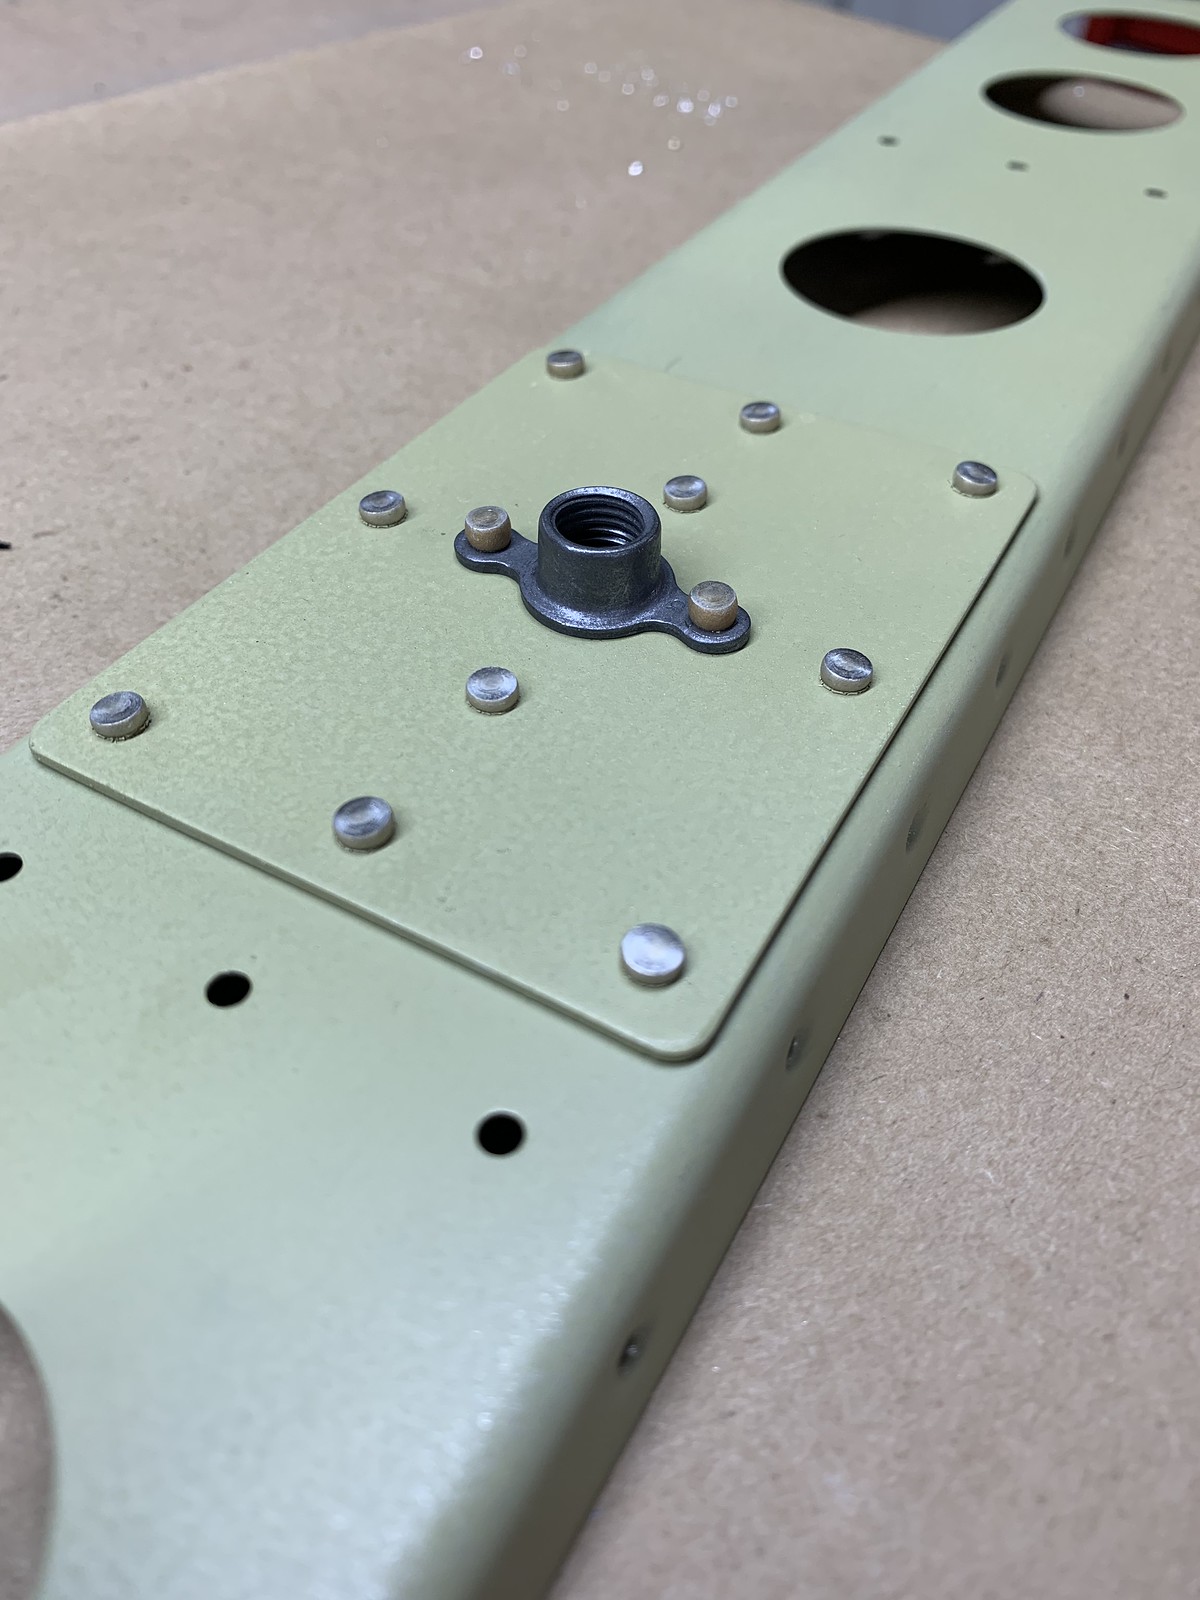
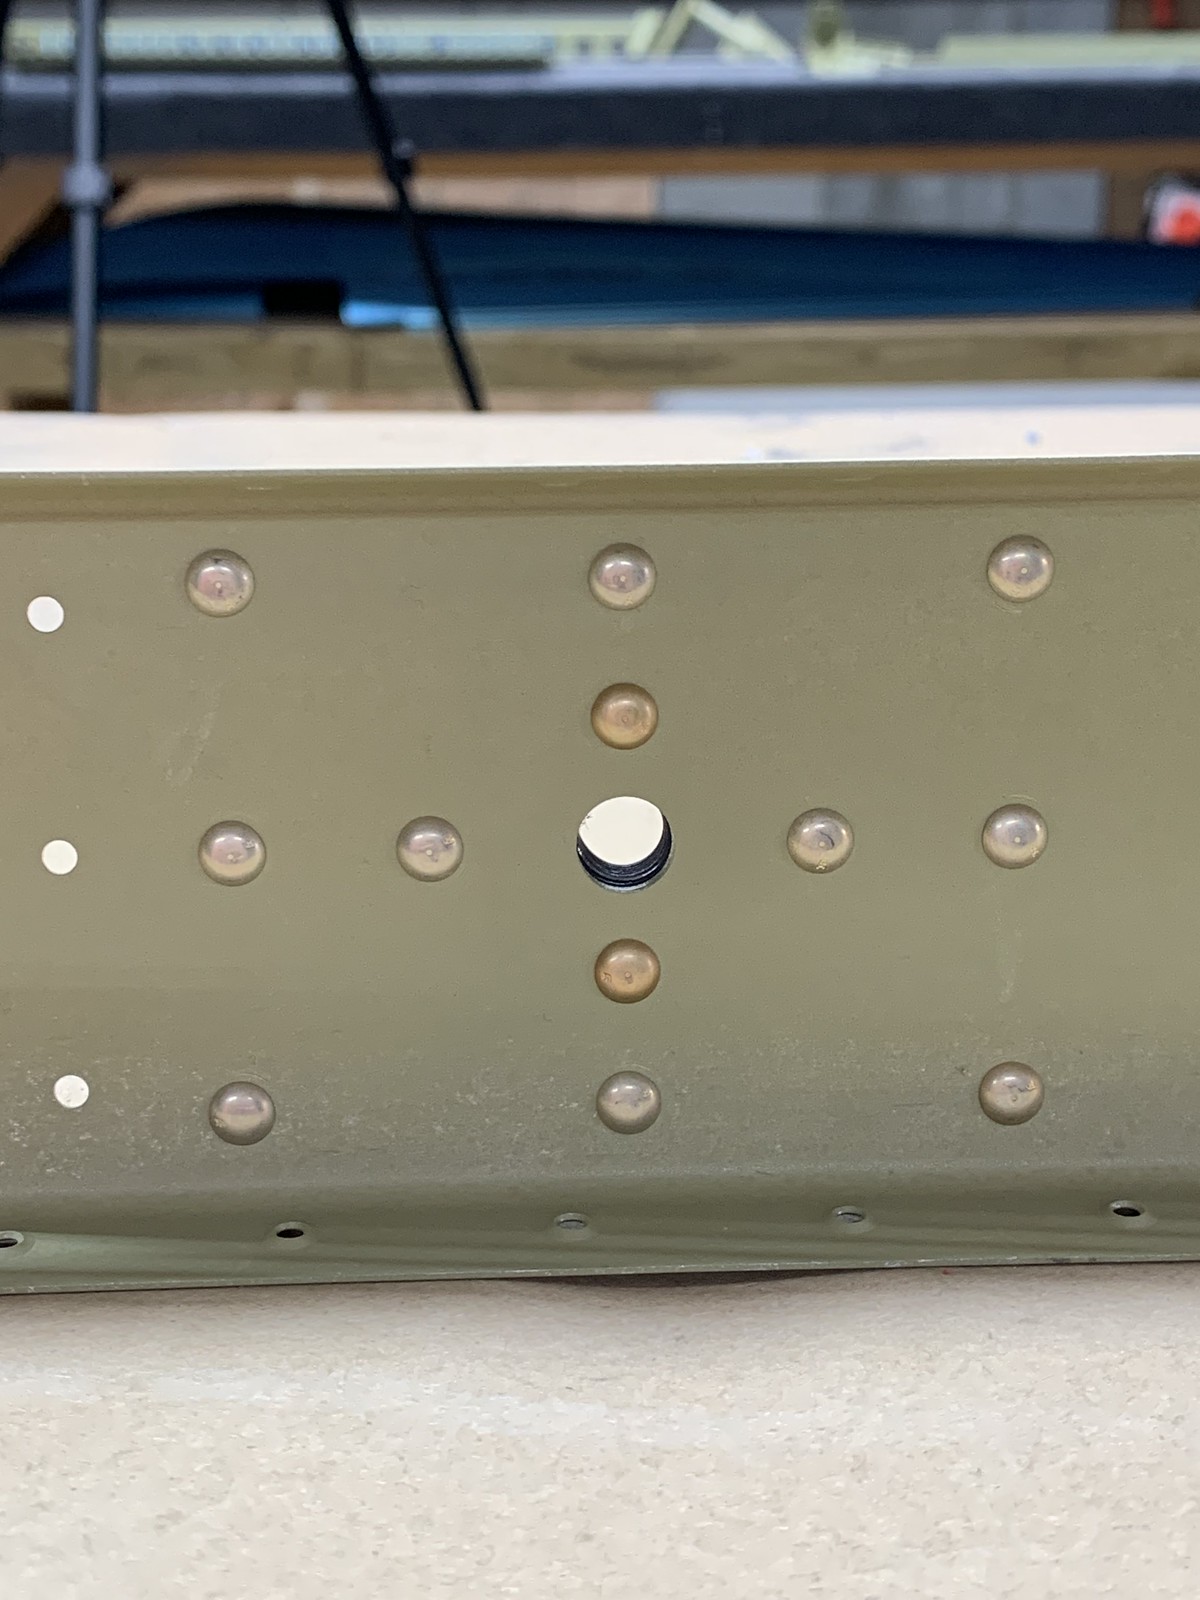
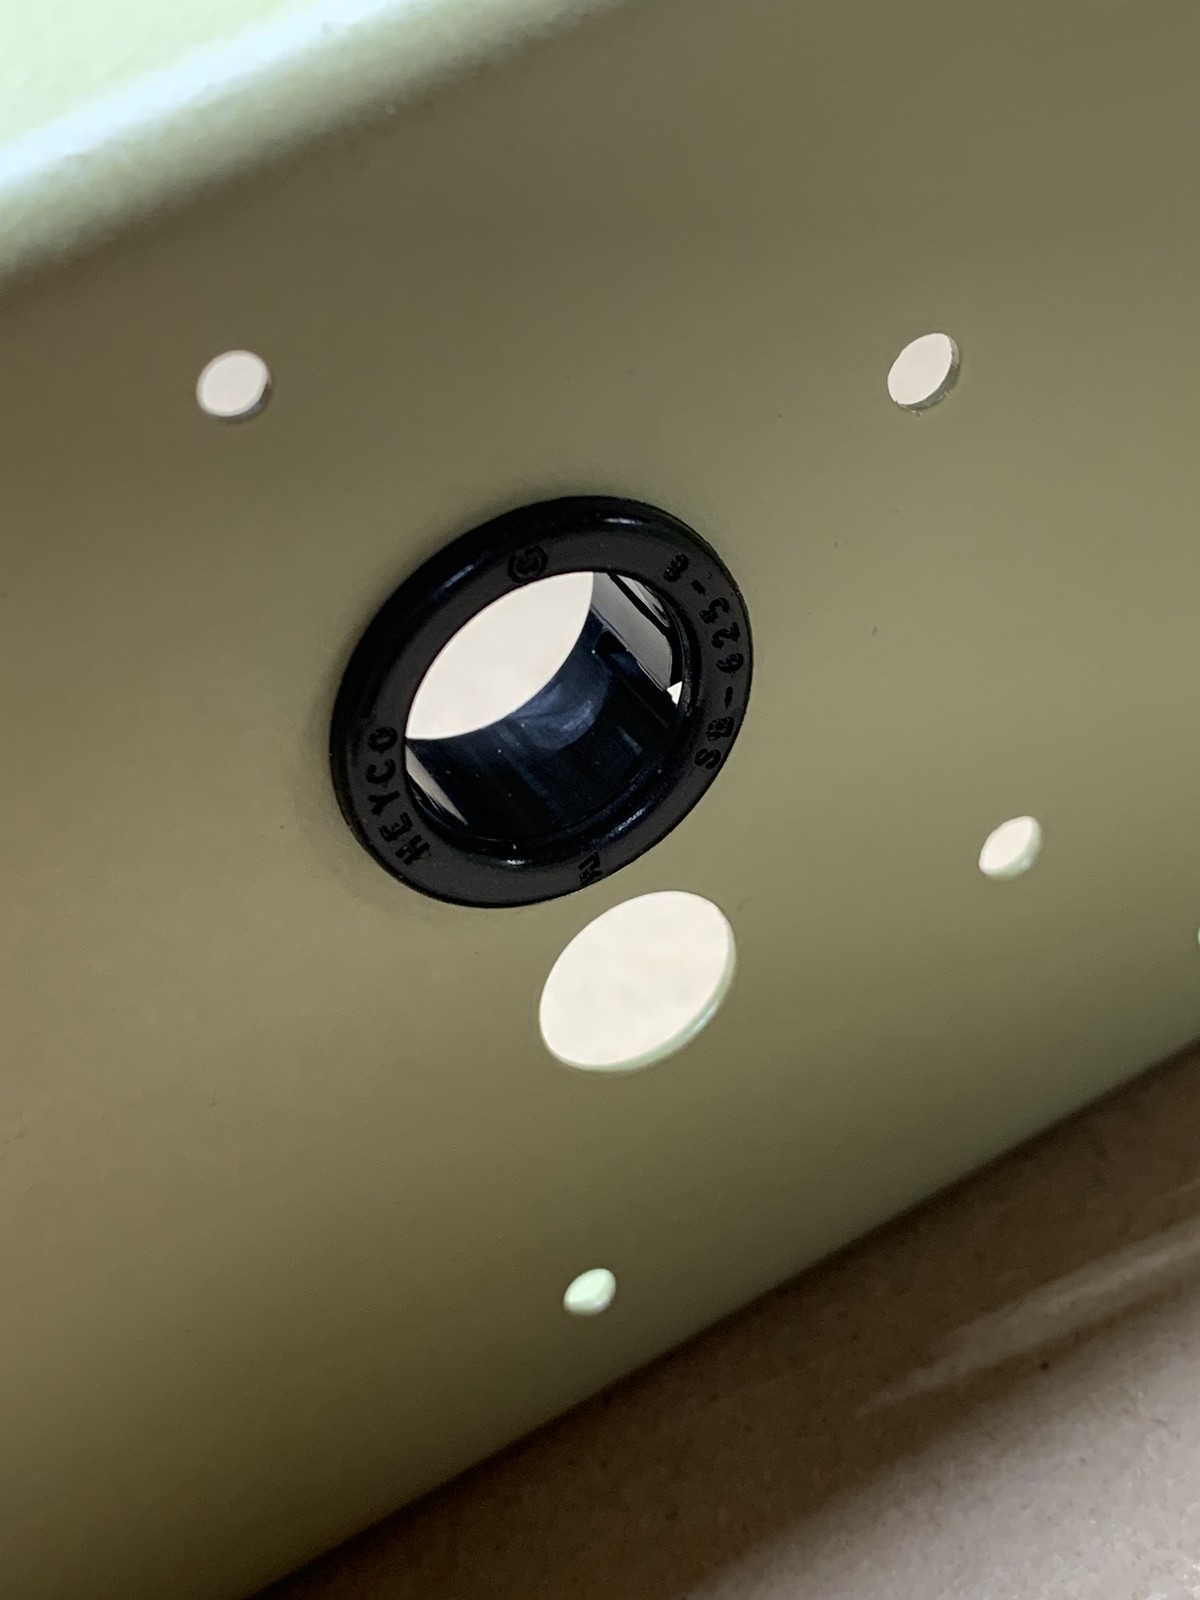
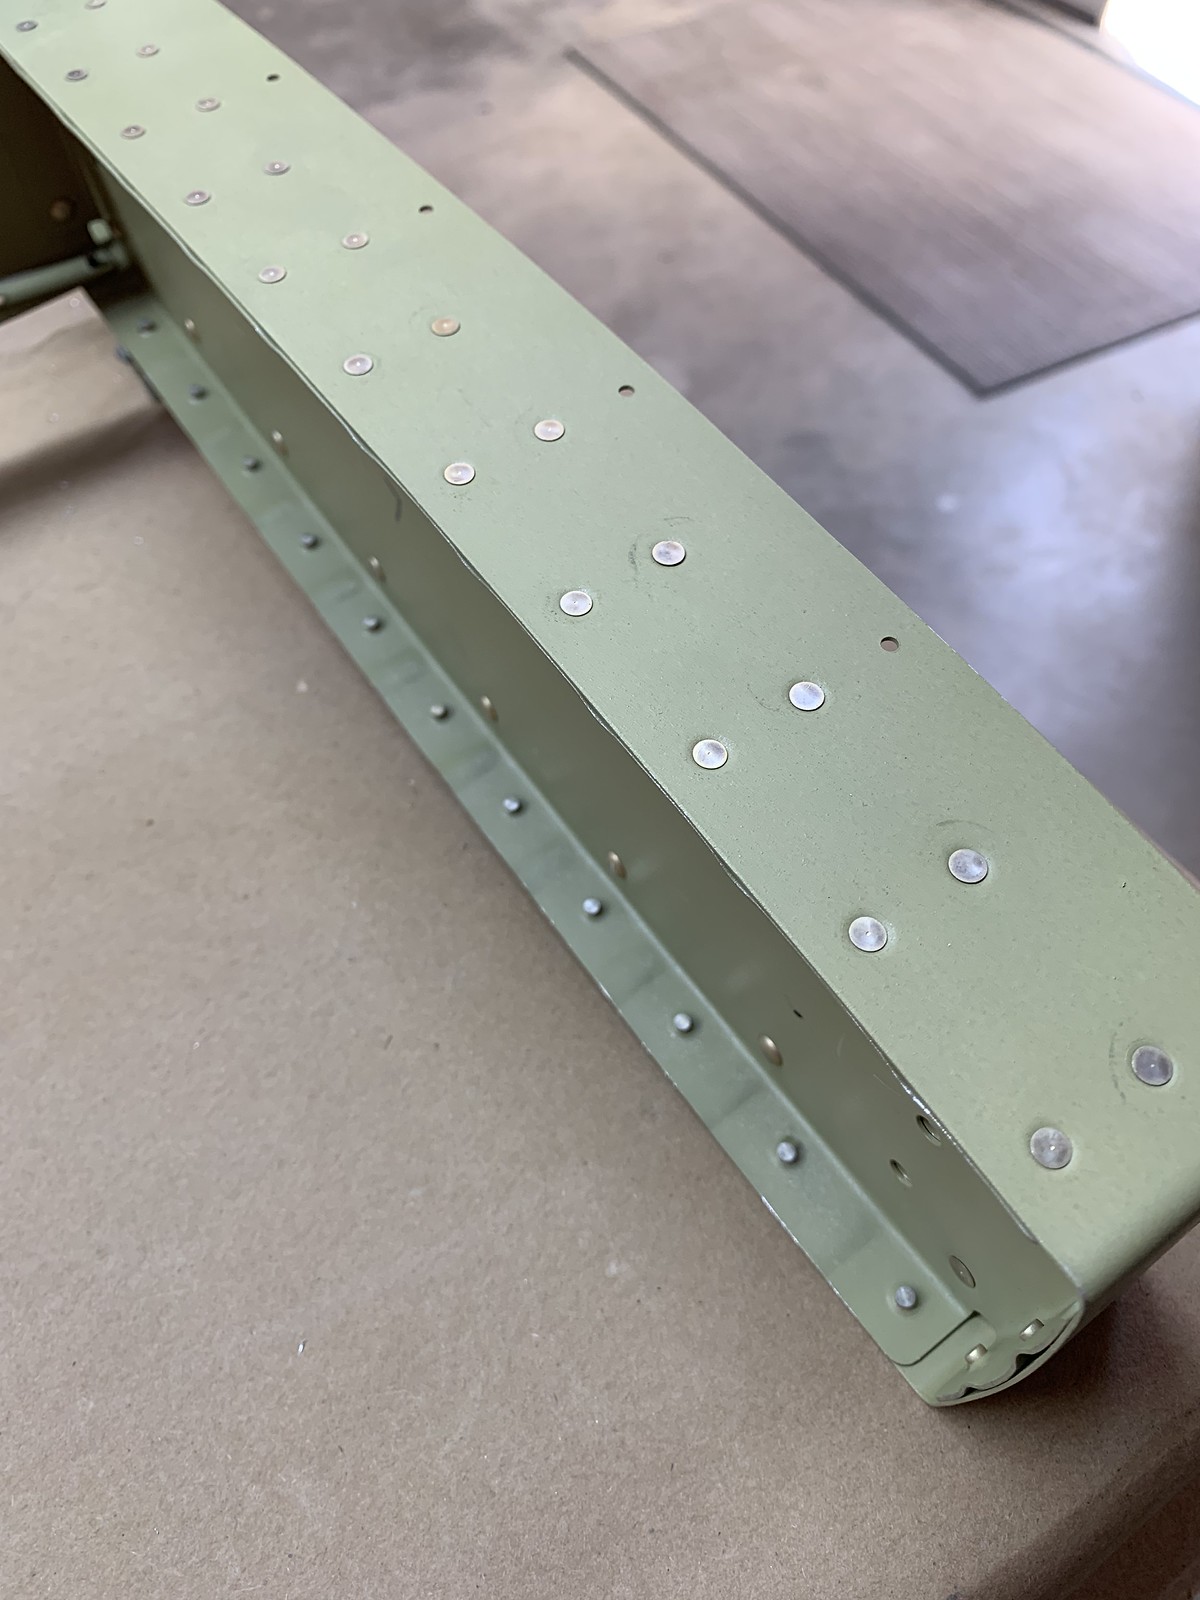
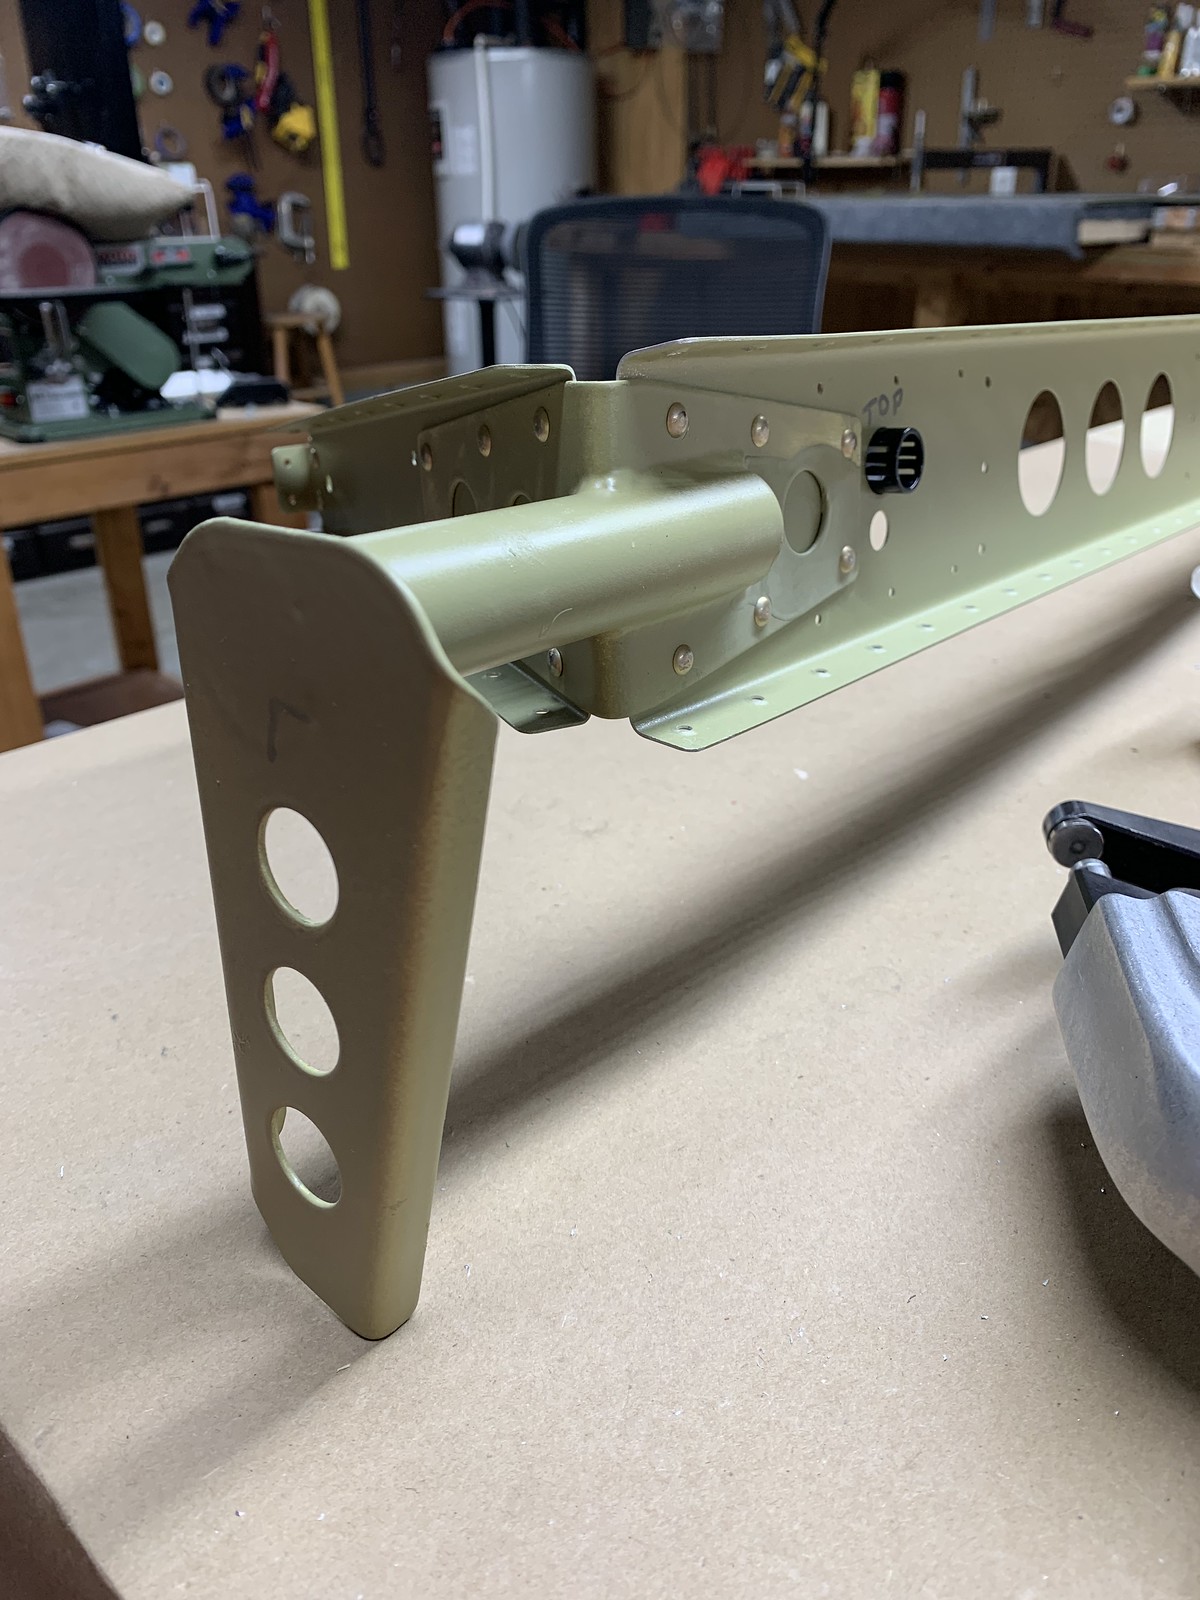
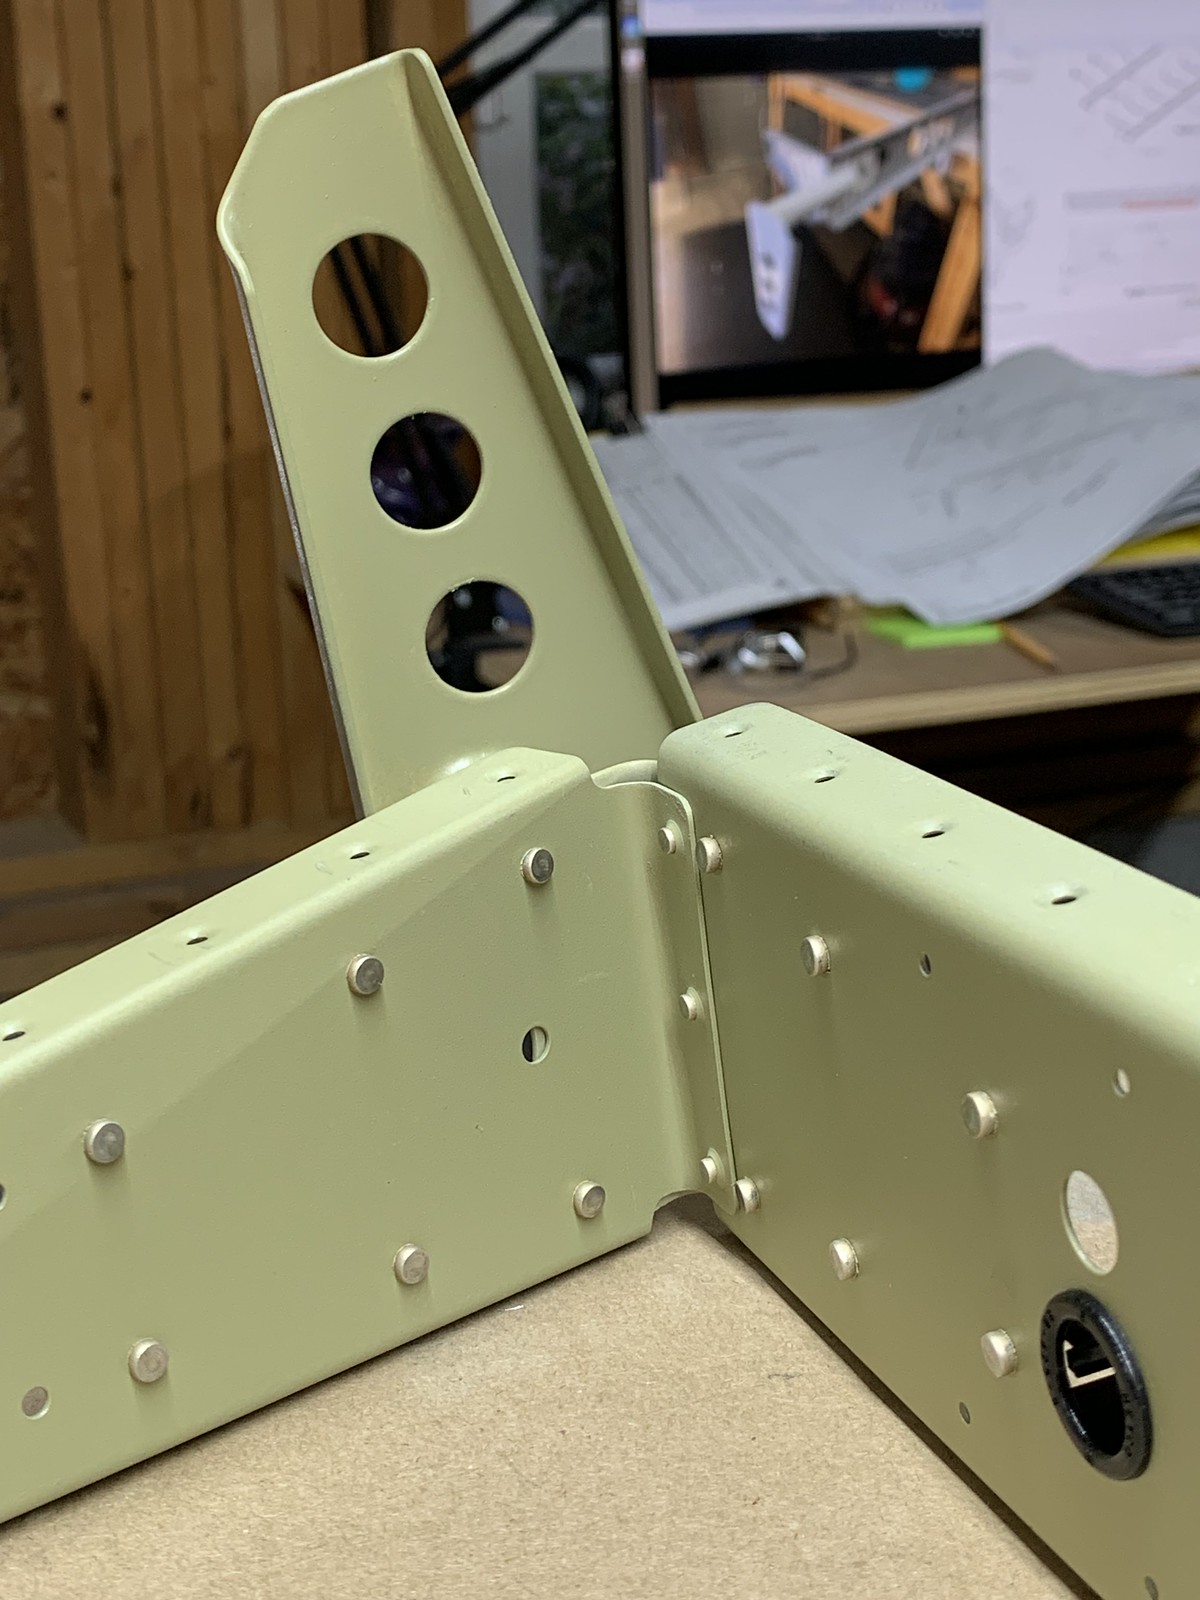
rivet tibs to and sheer clips, gusset to rear spars 09-17 step 3
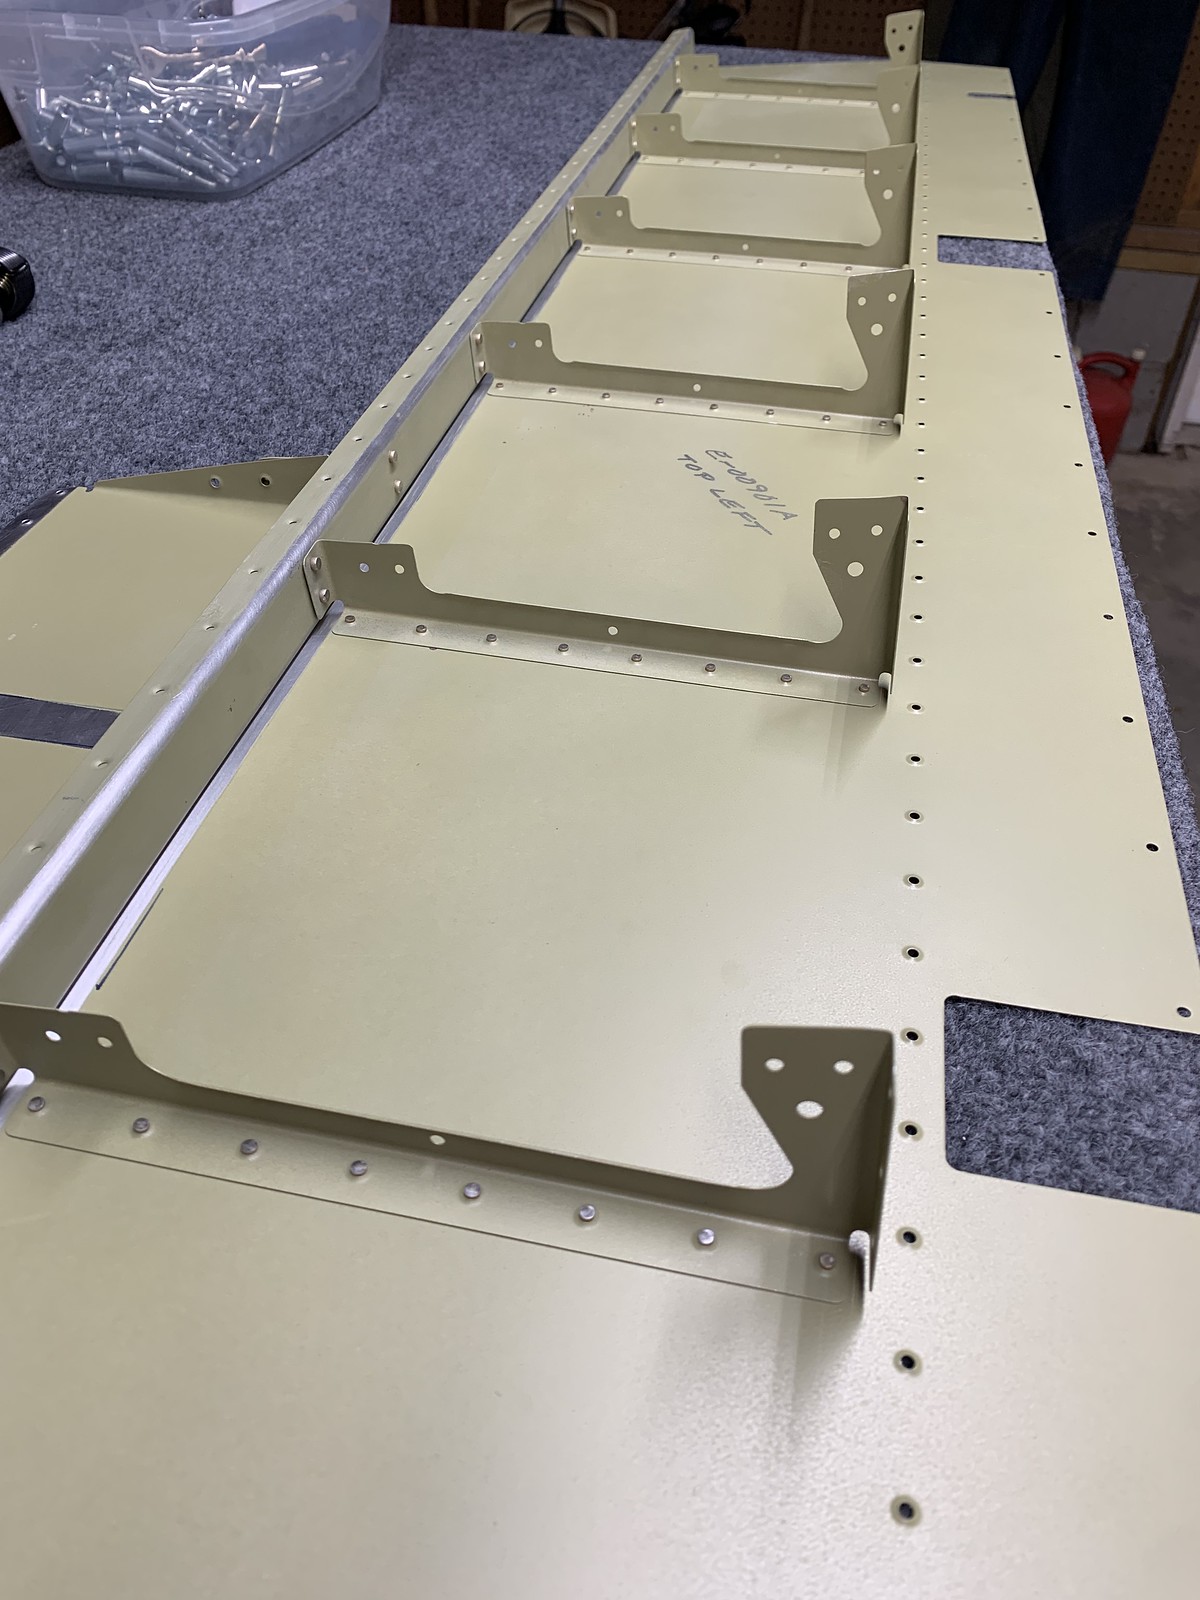
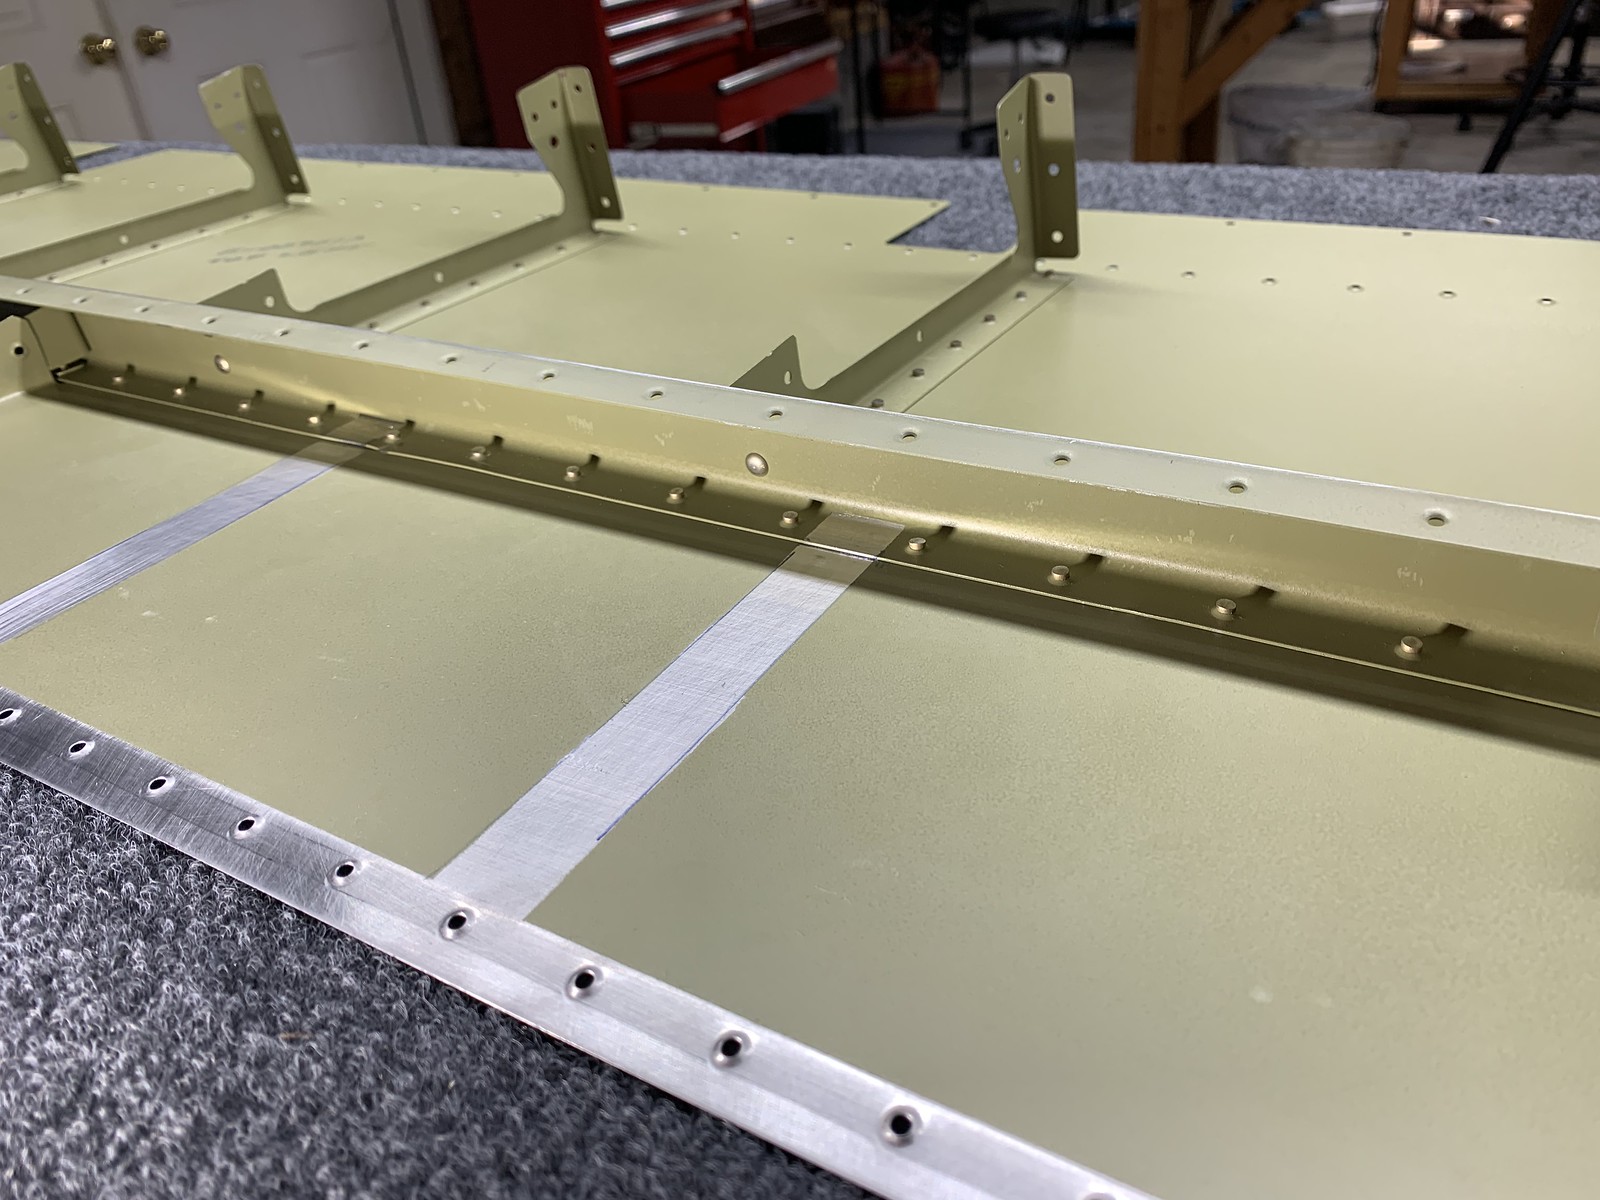
rivet rear spars and ribs to skins 09-18 steps 1-6
rivet ribs, trim access doubler and brace to skins 09-19 steps1-2
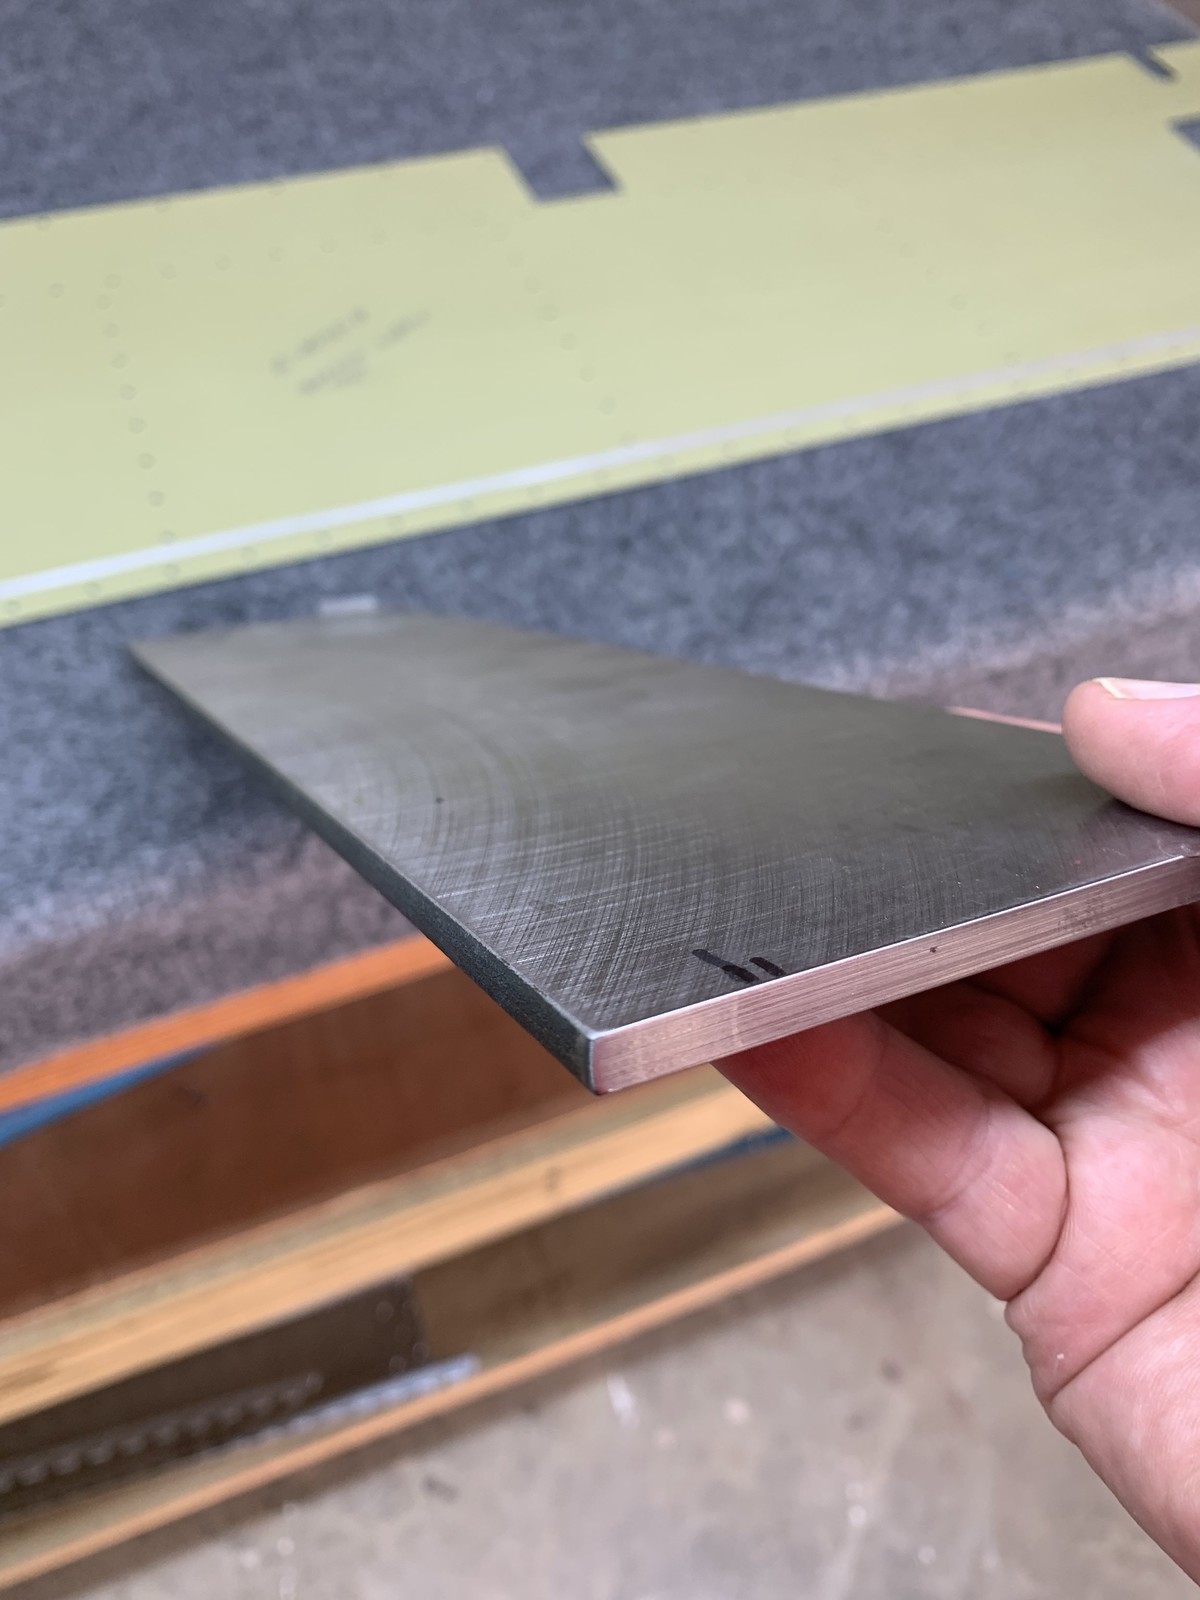
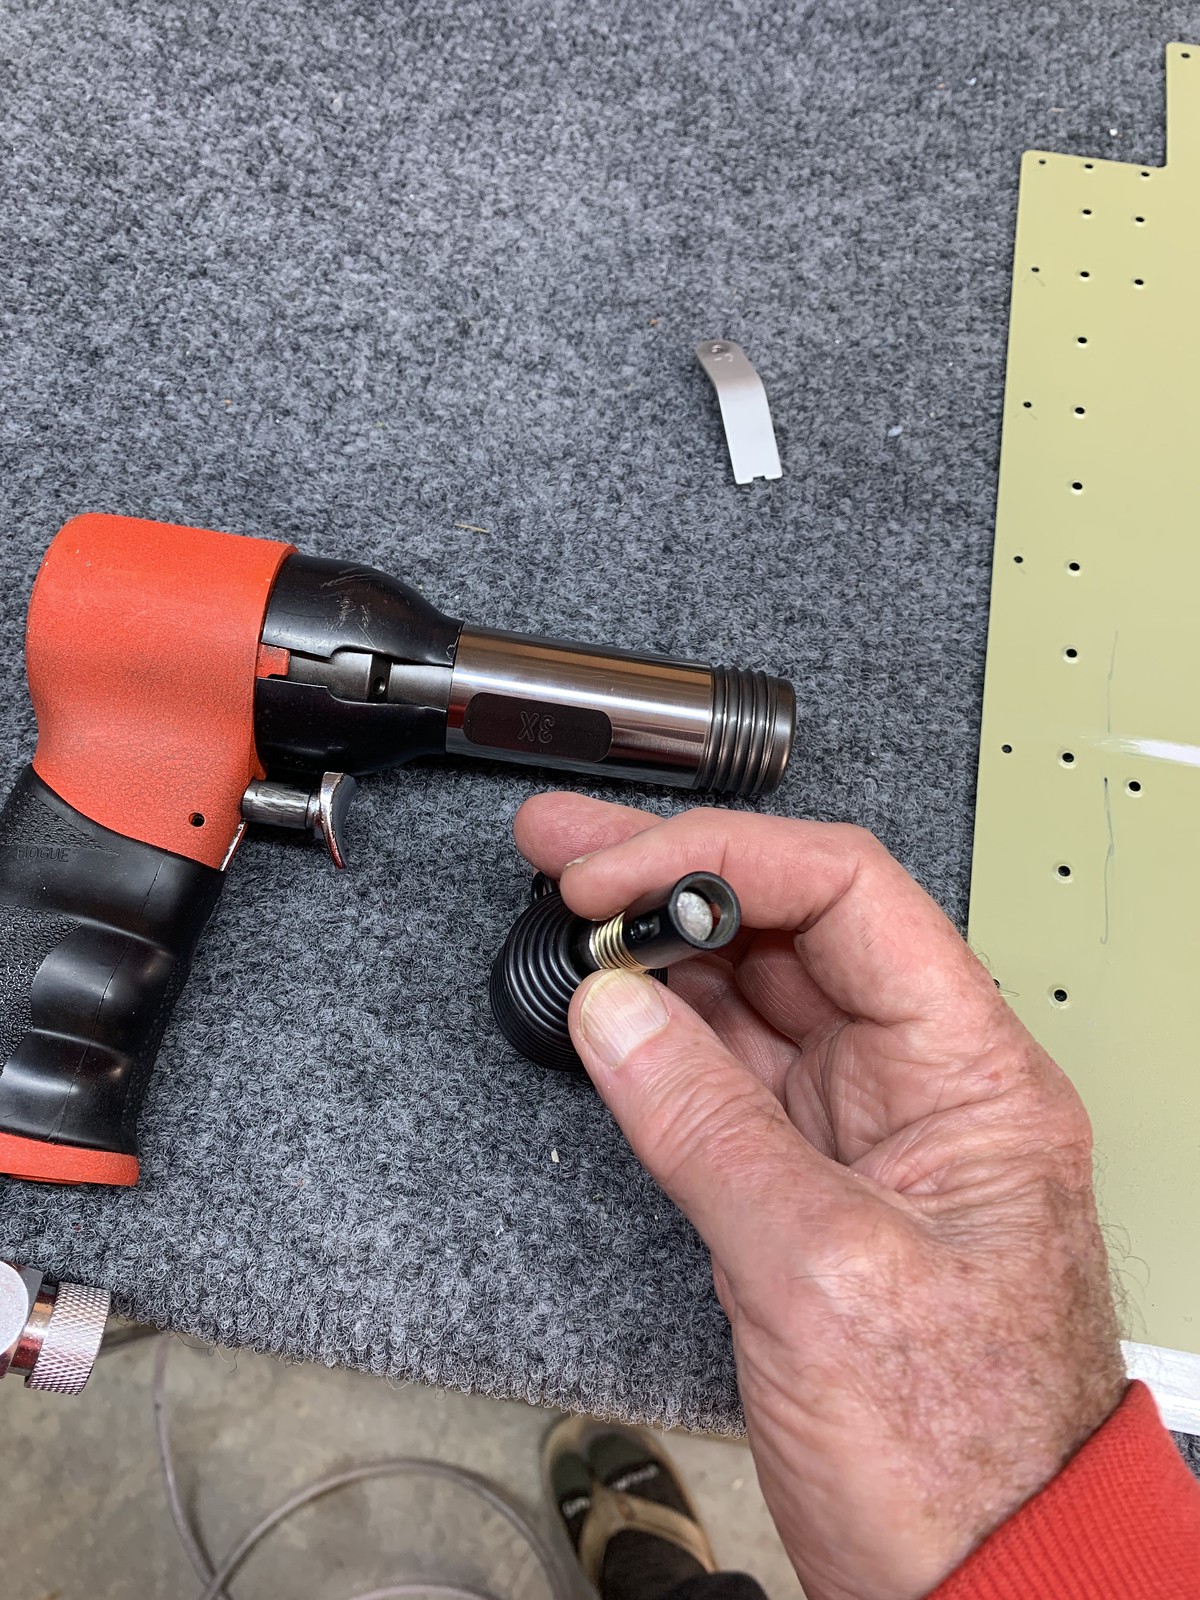
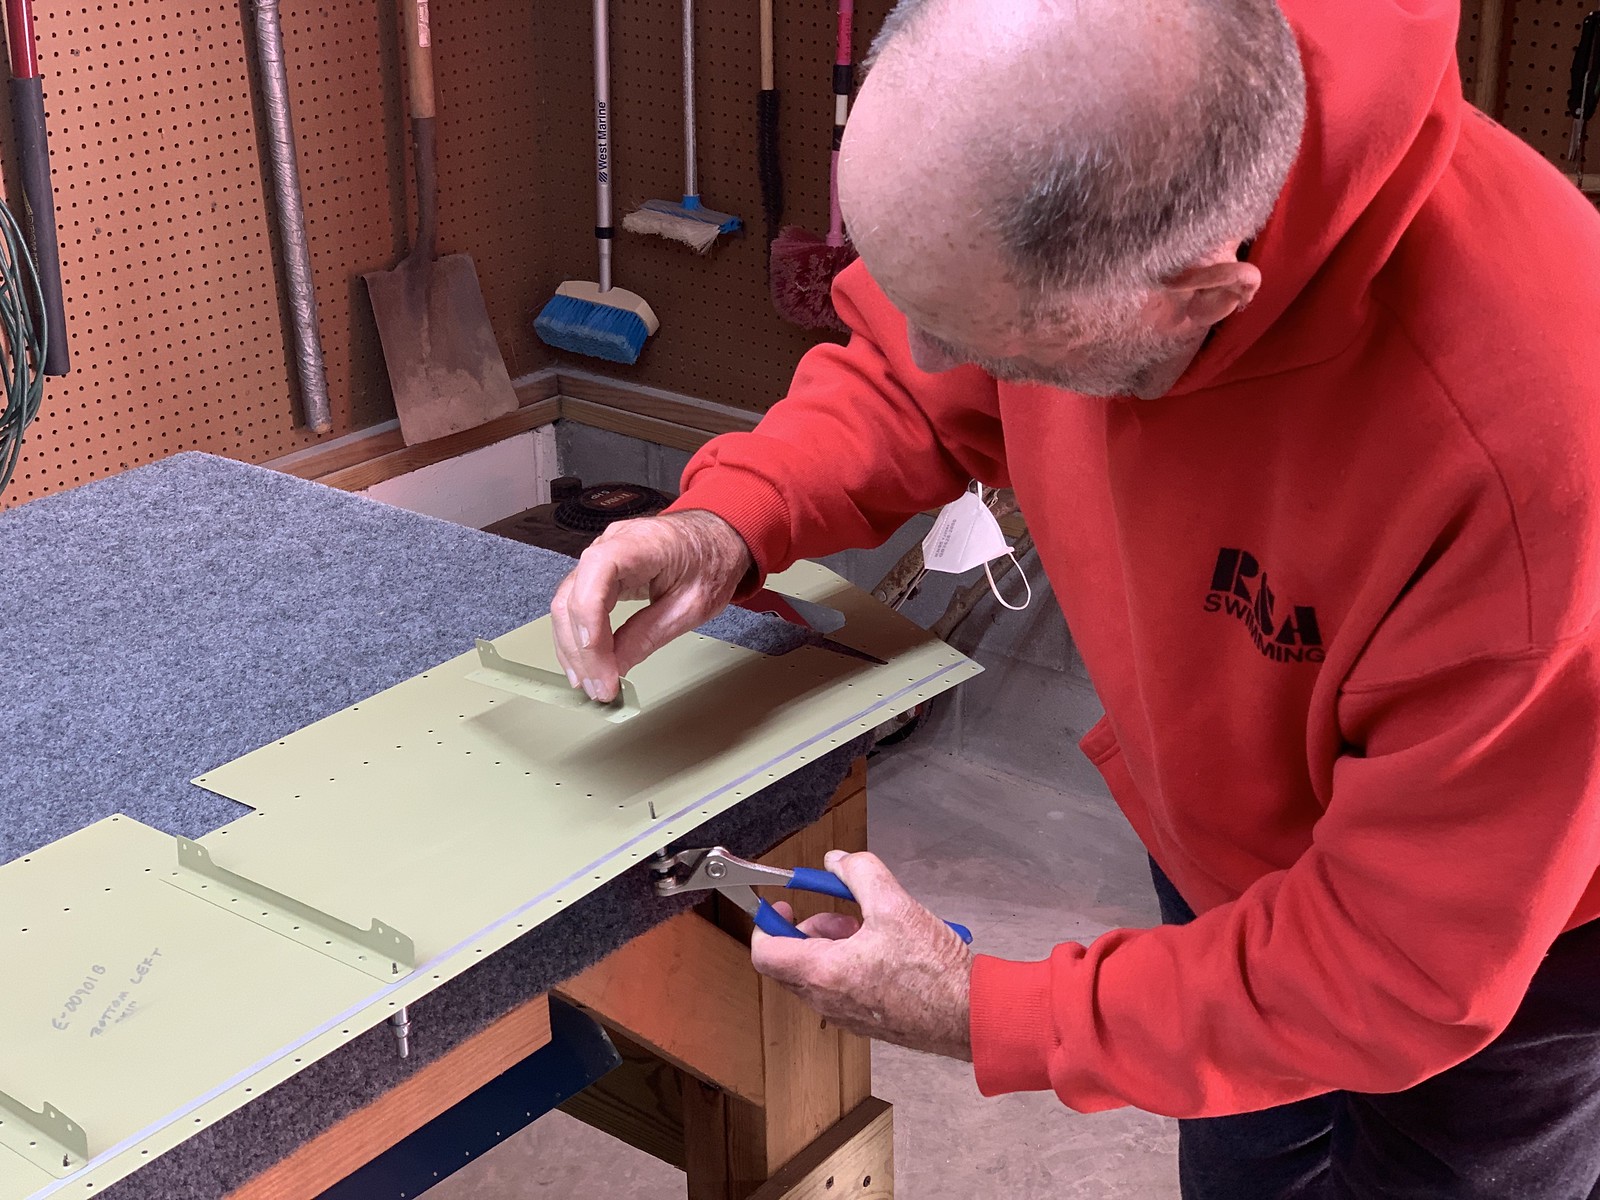
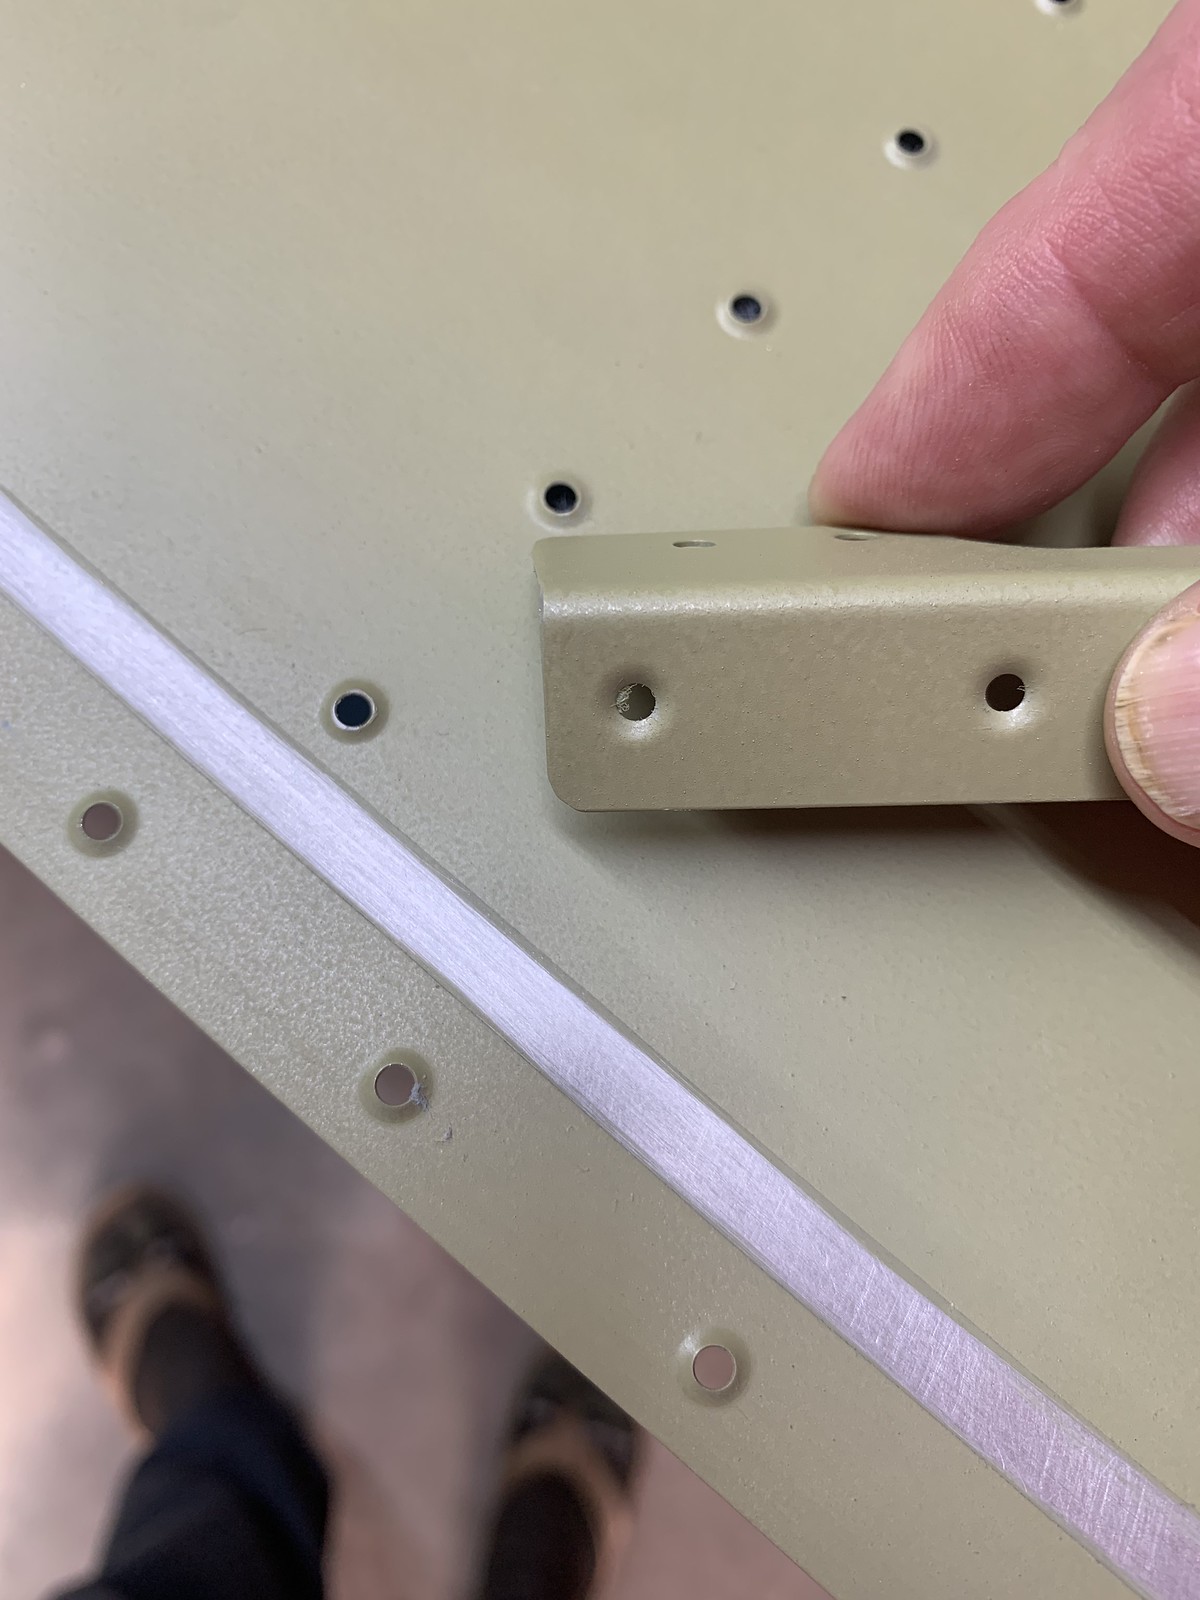
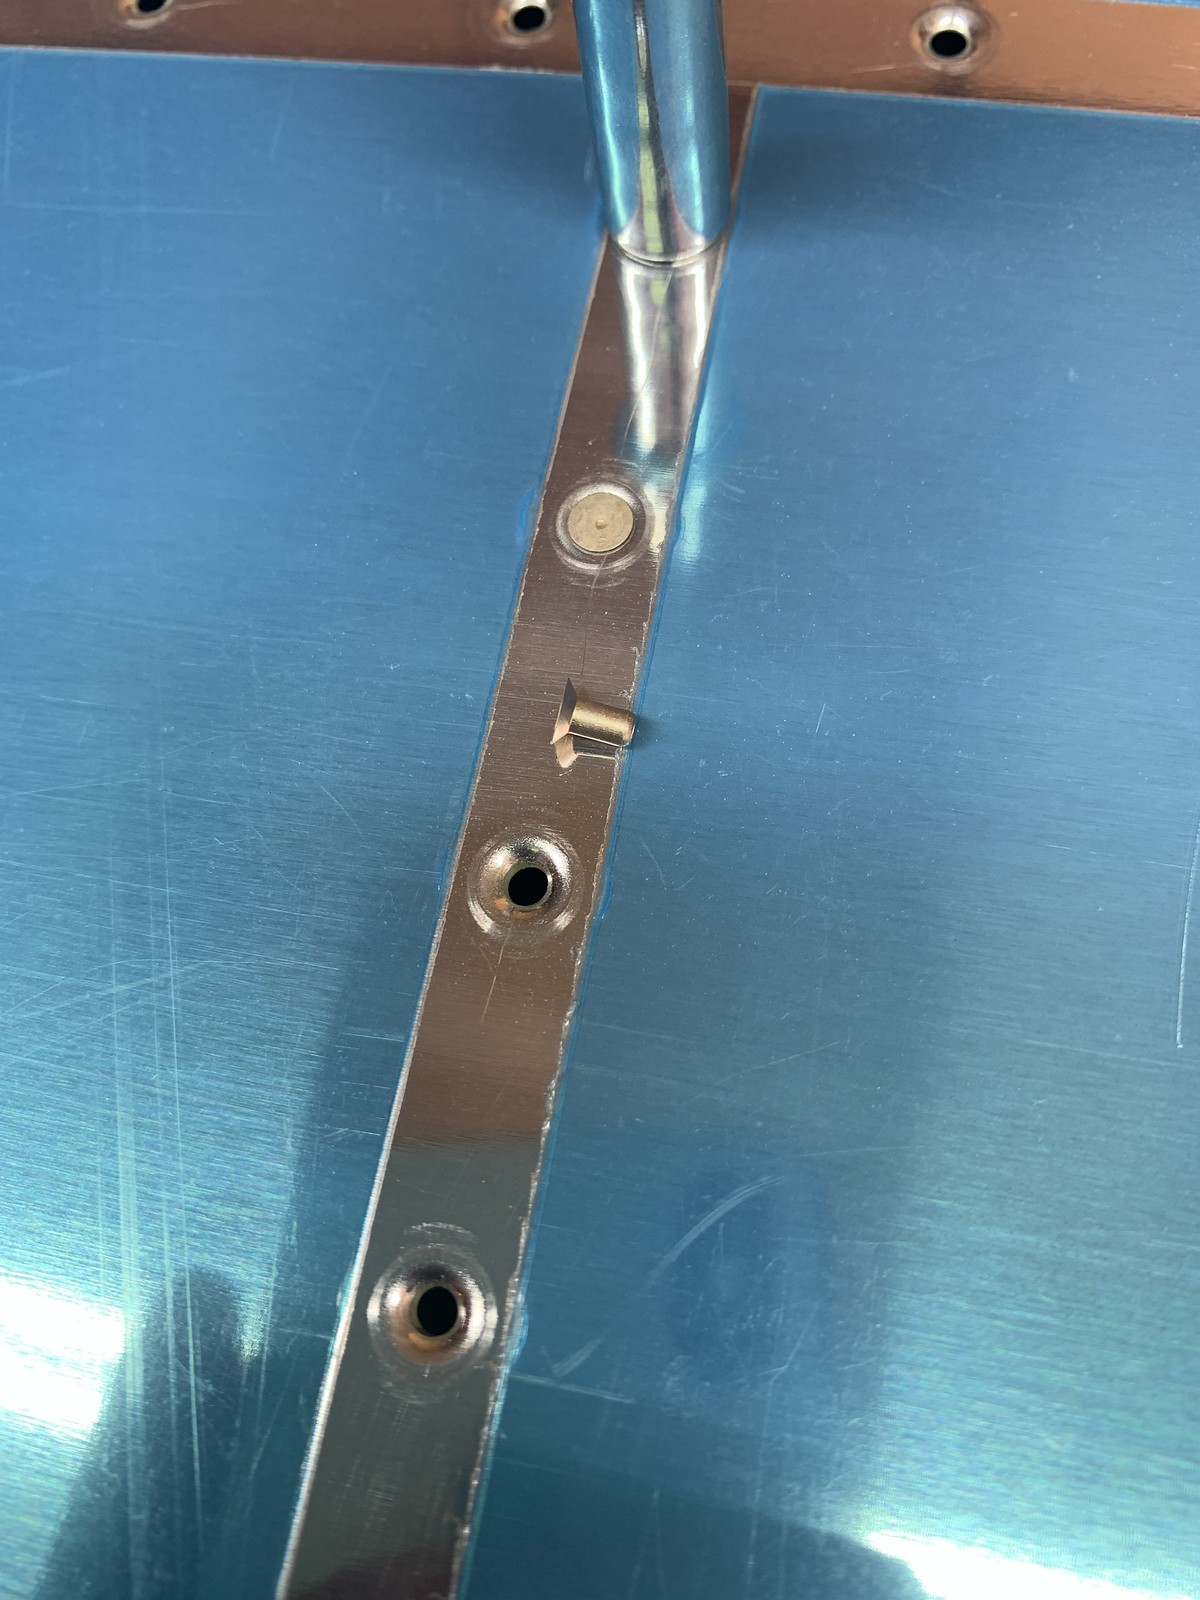
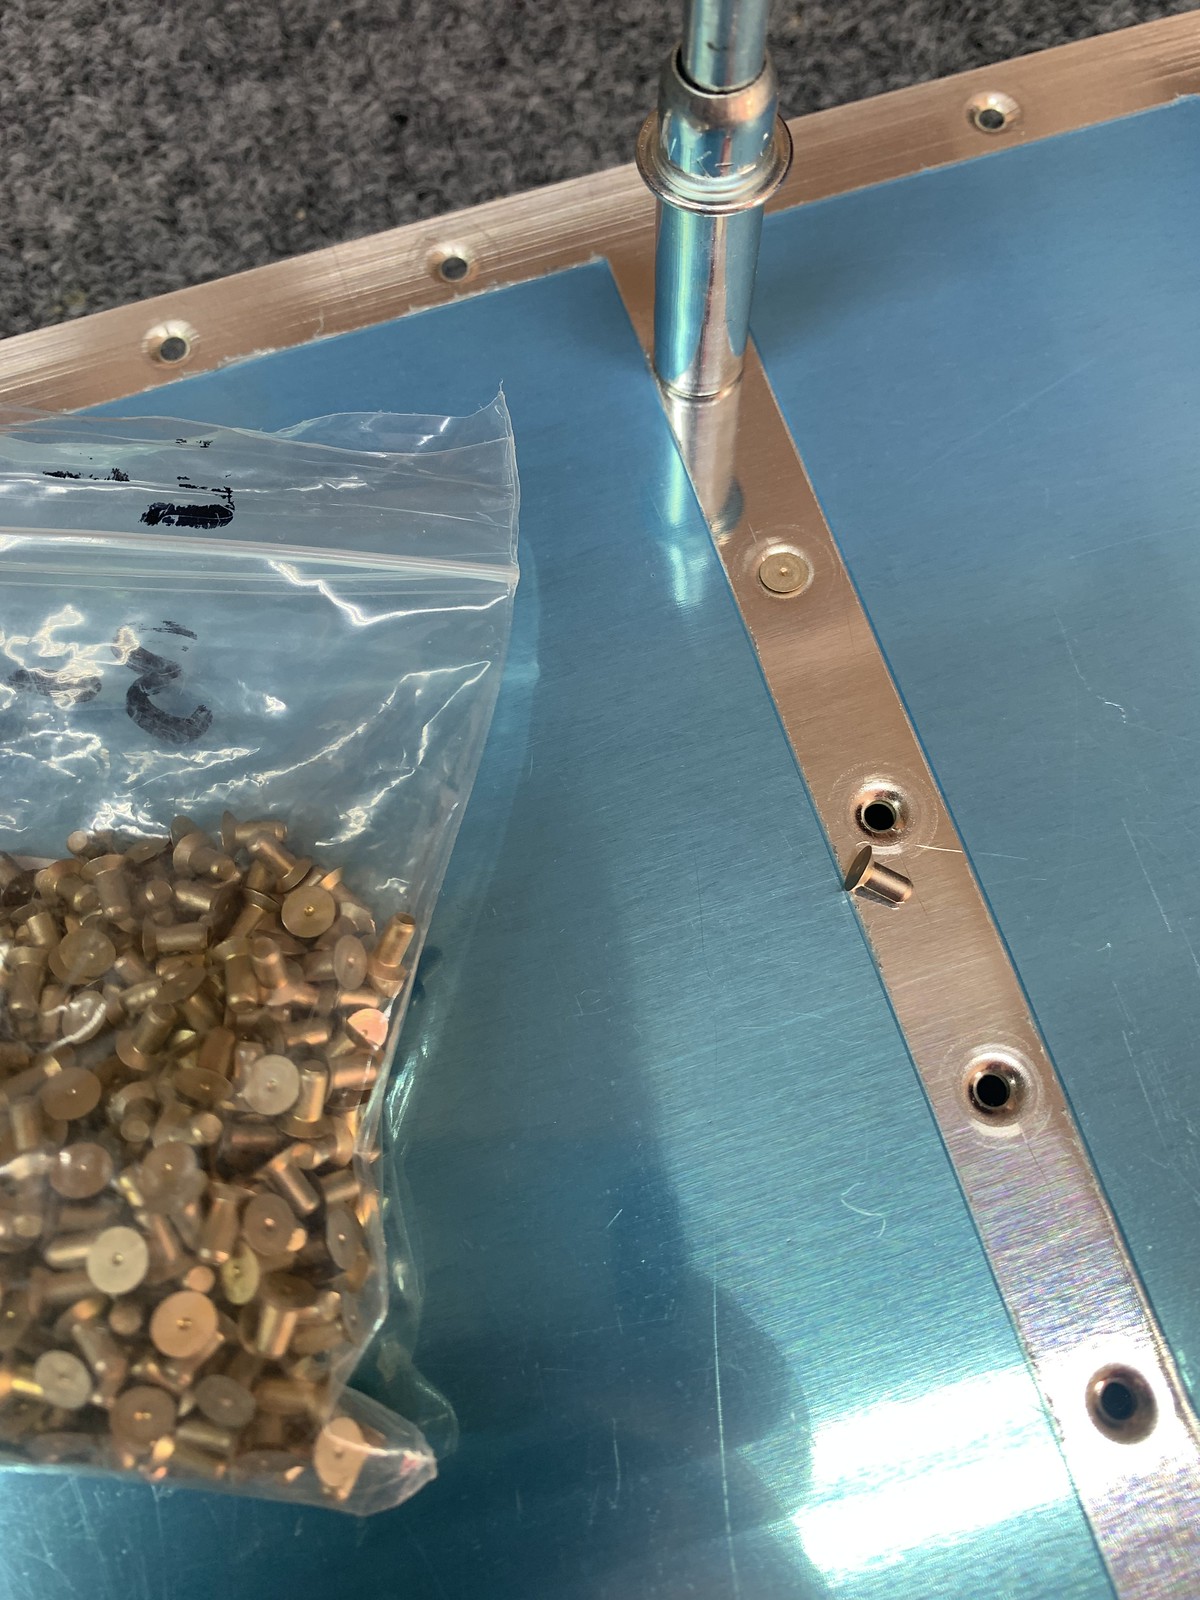
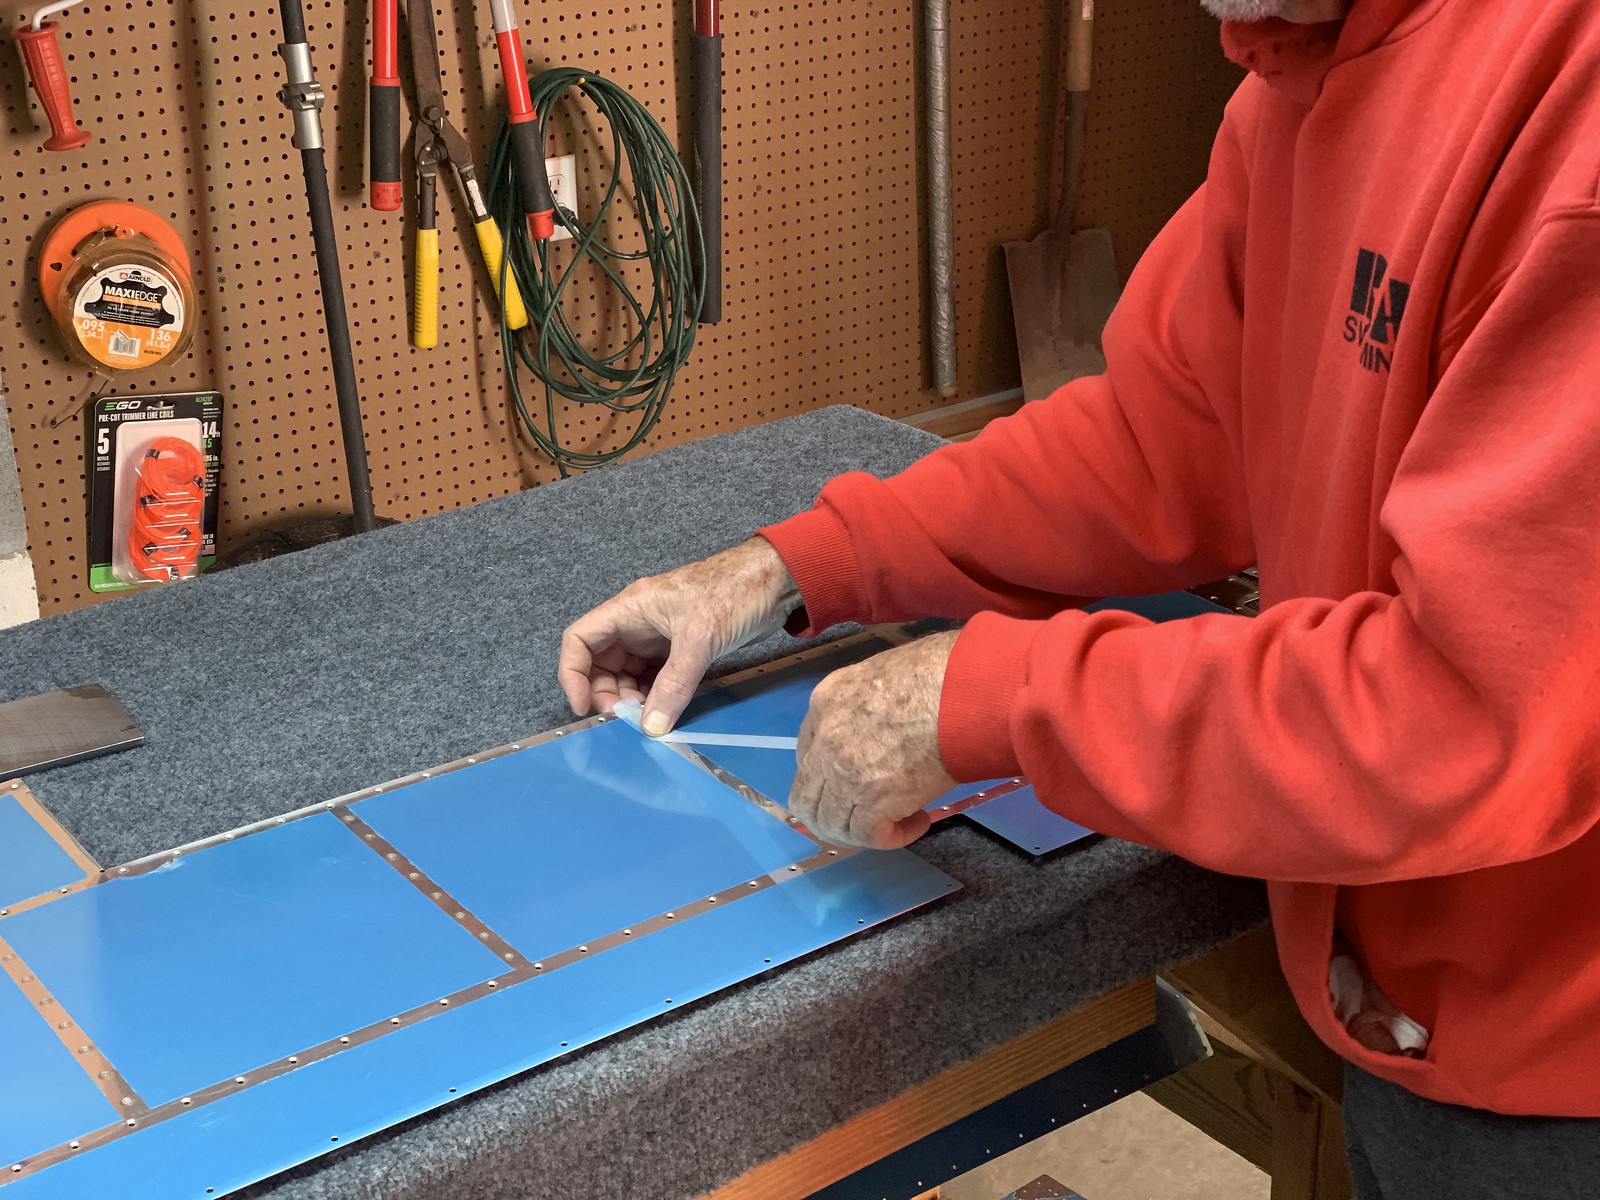
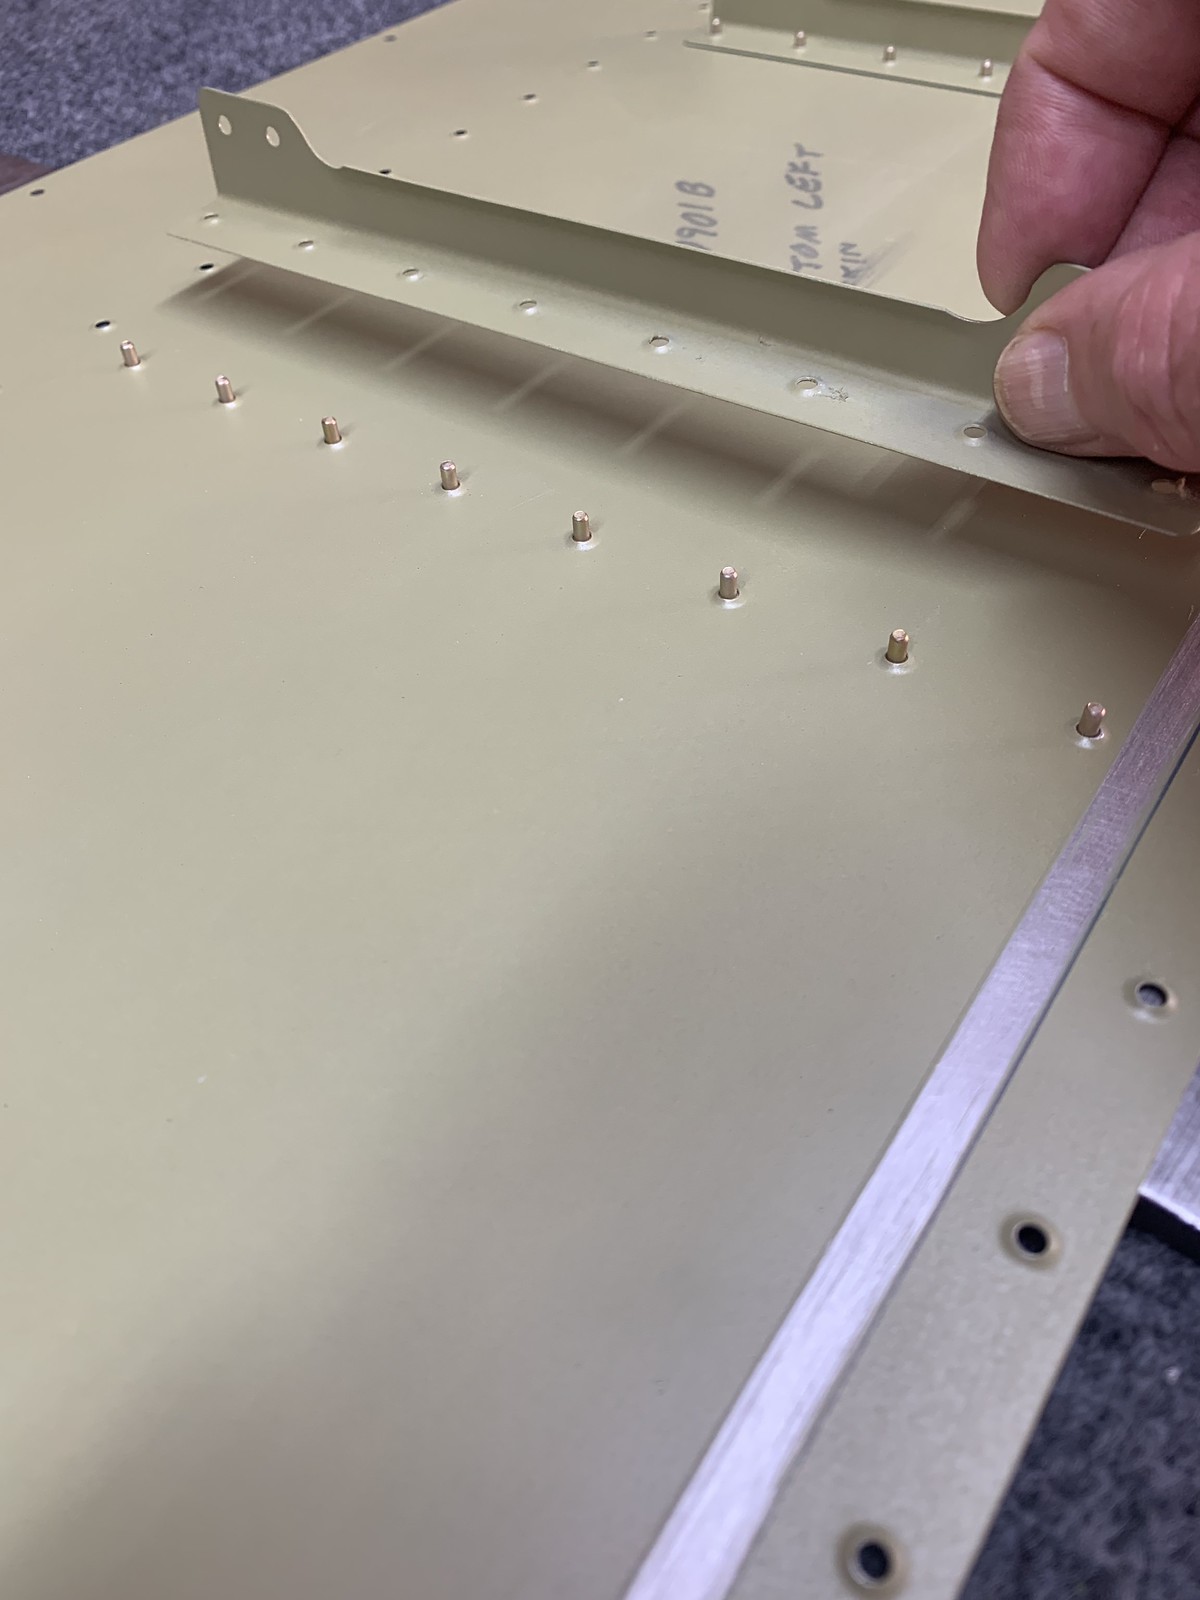
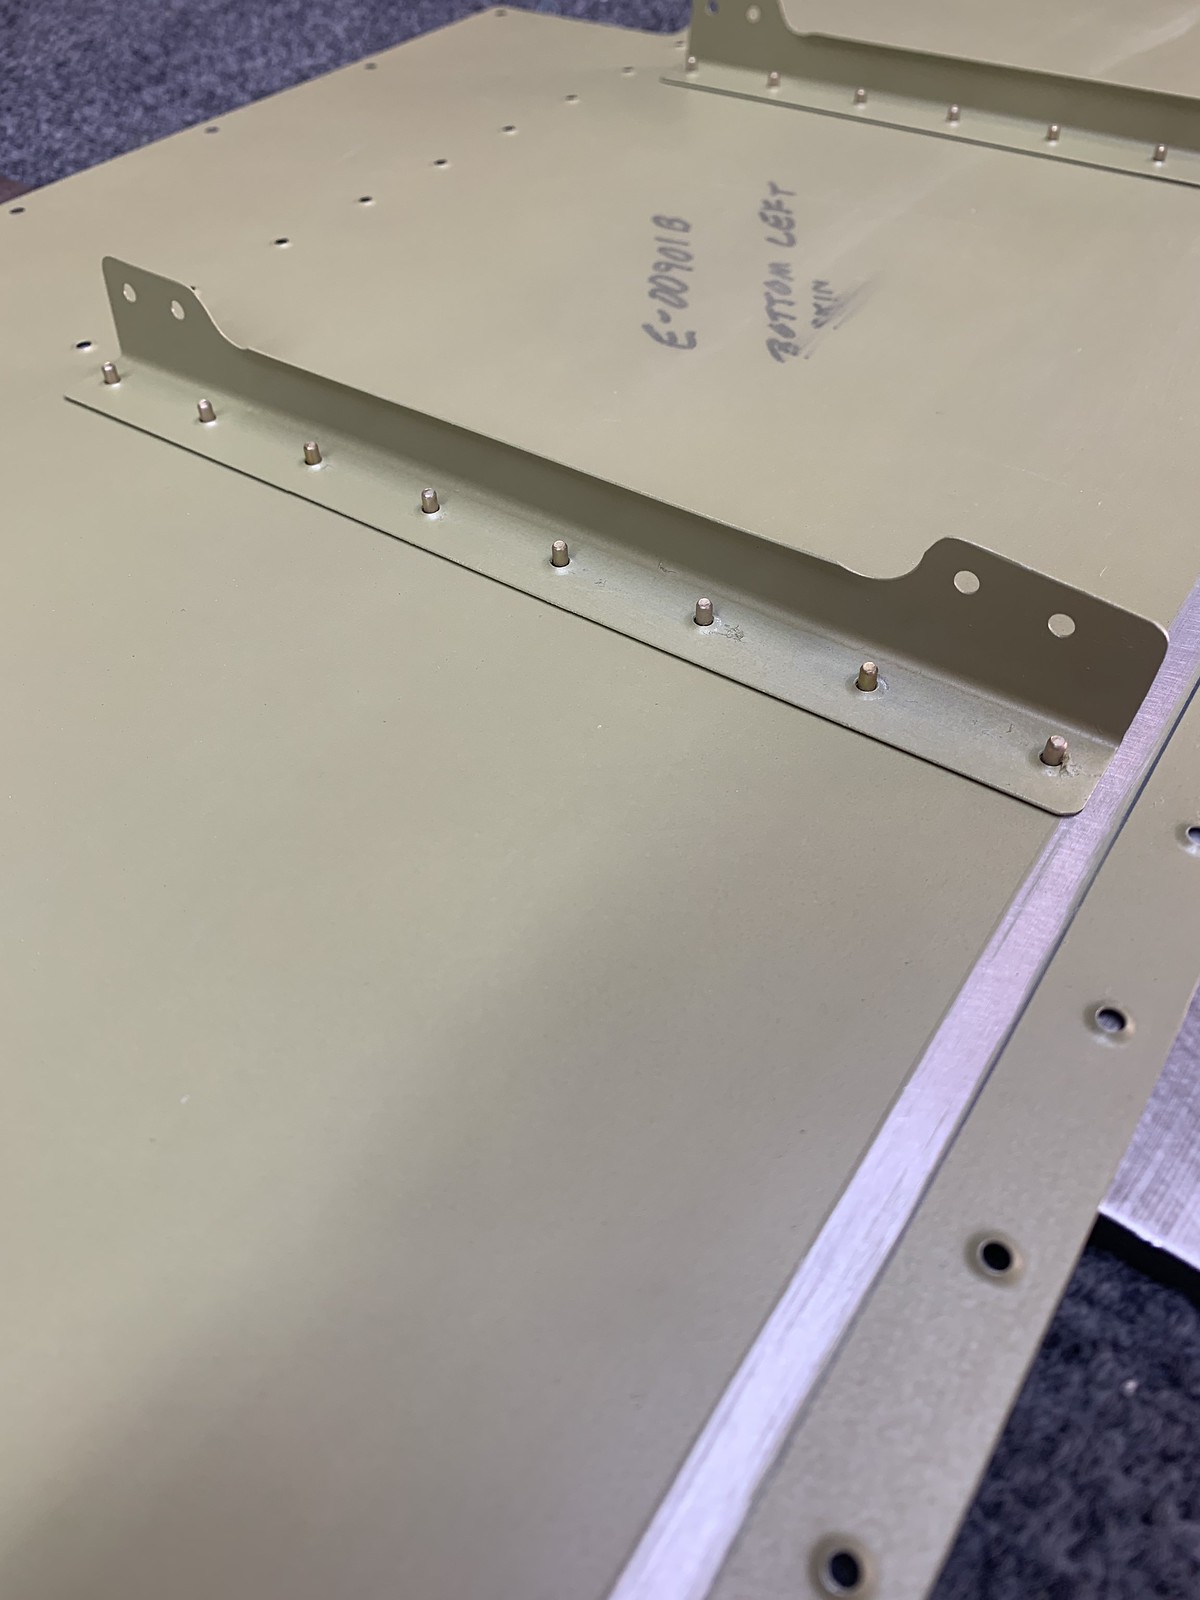
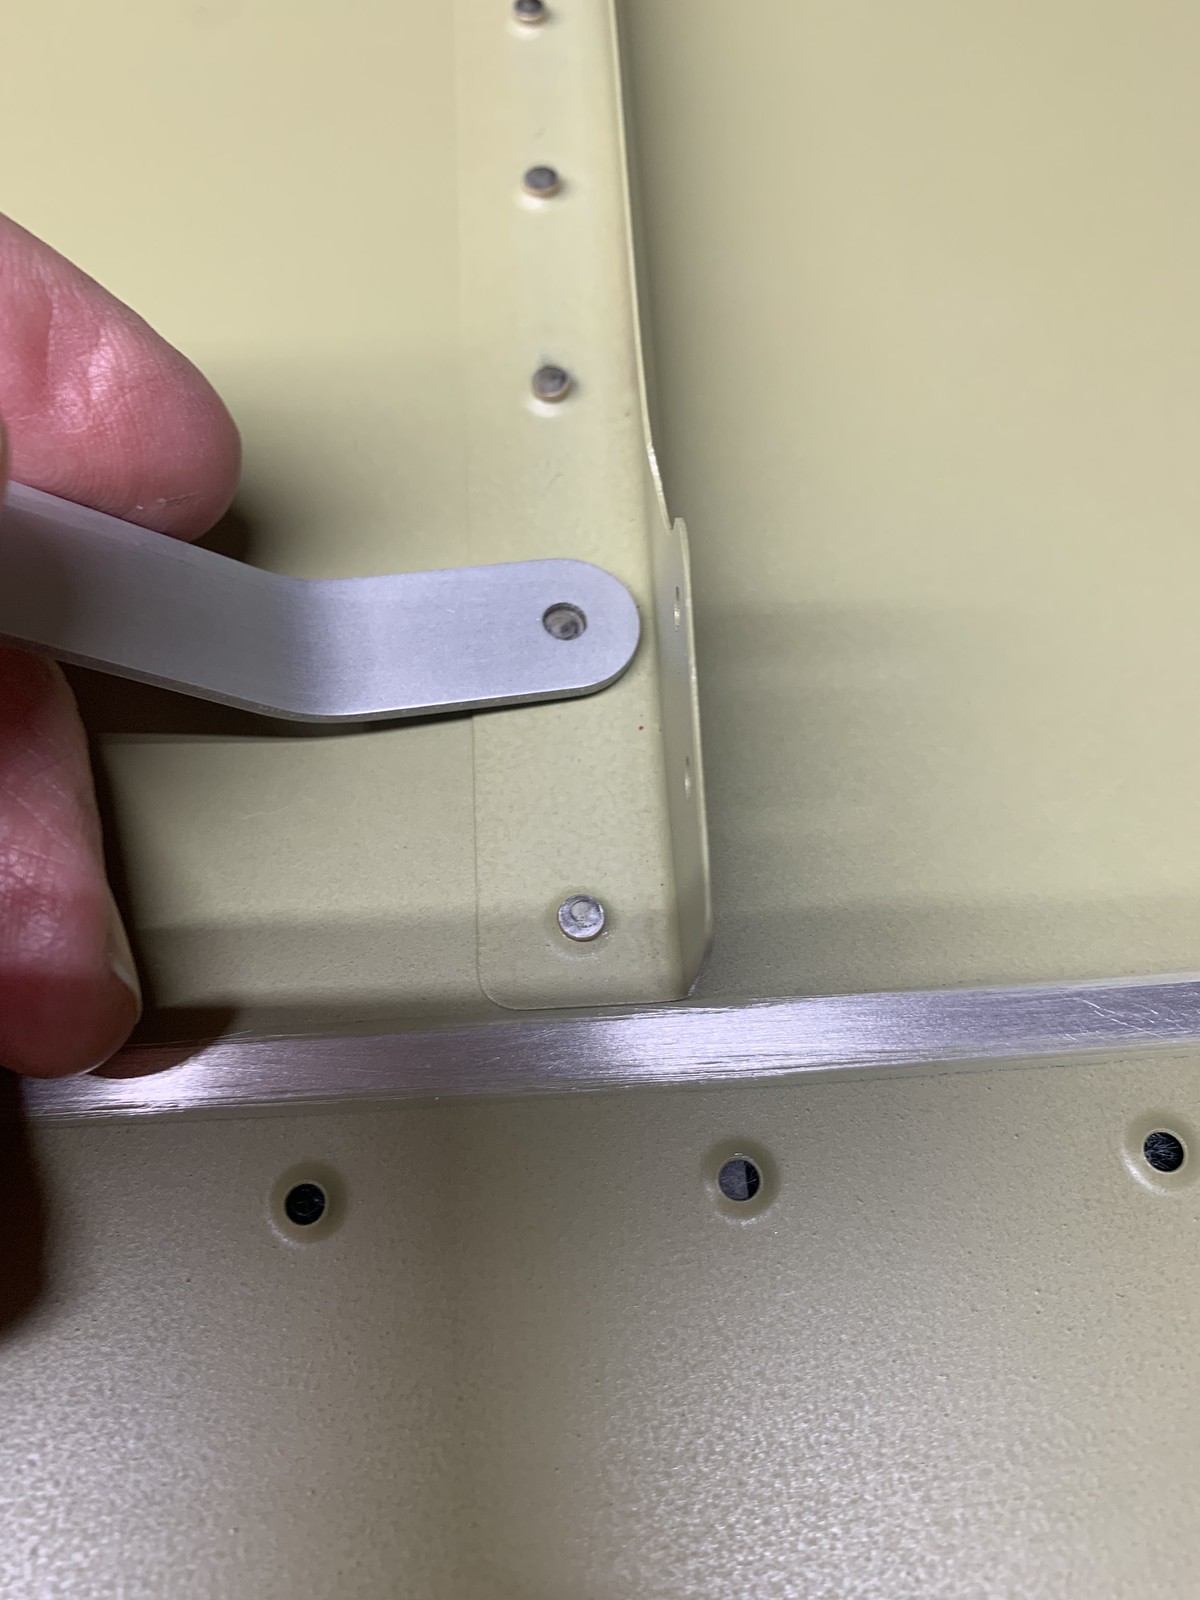
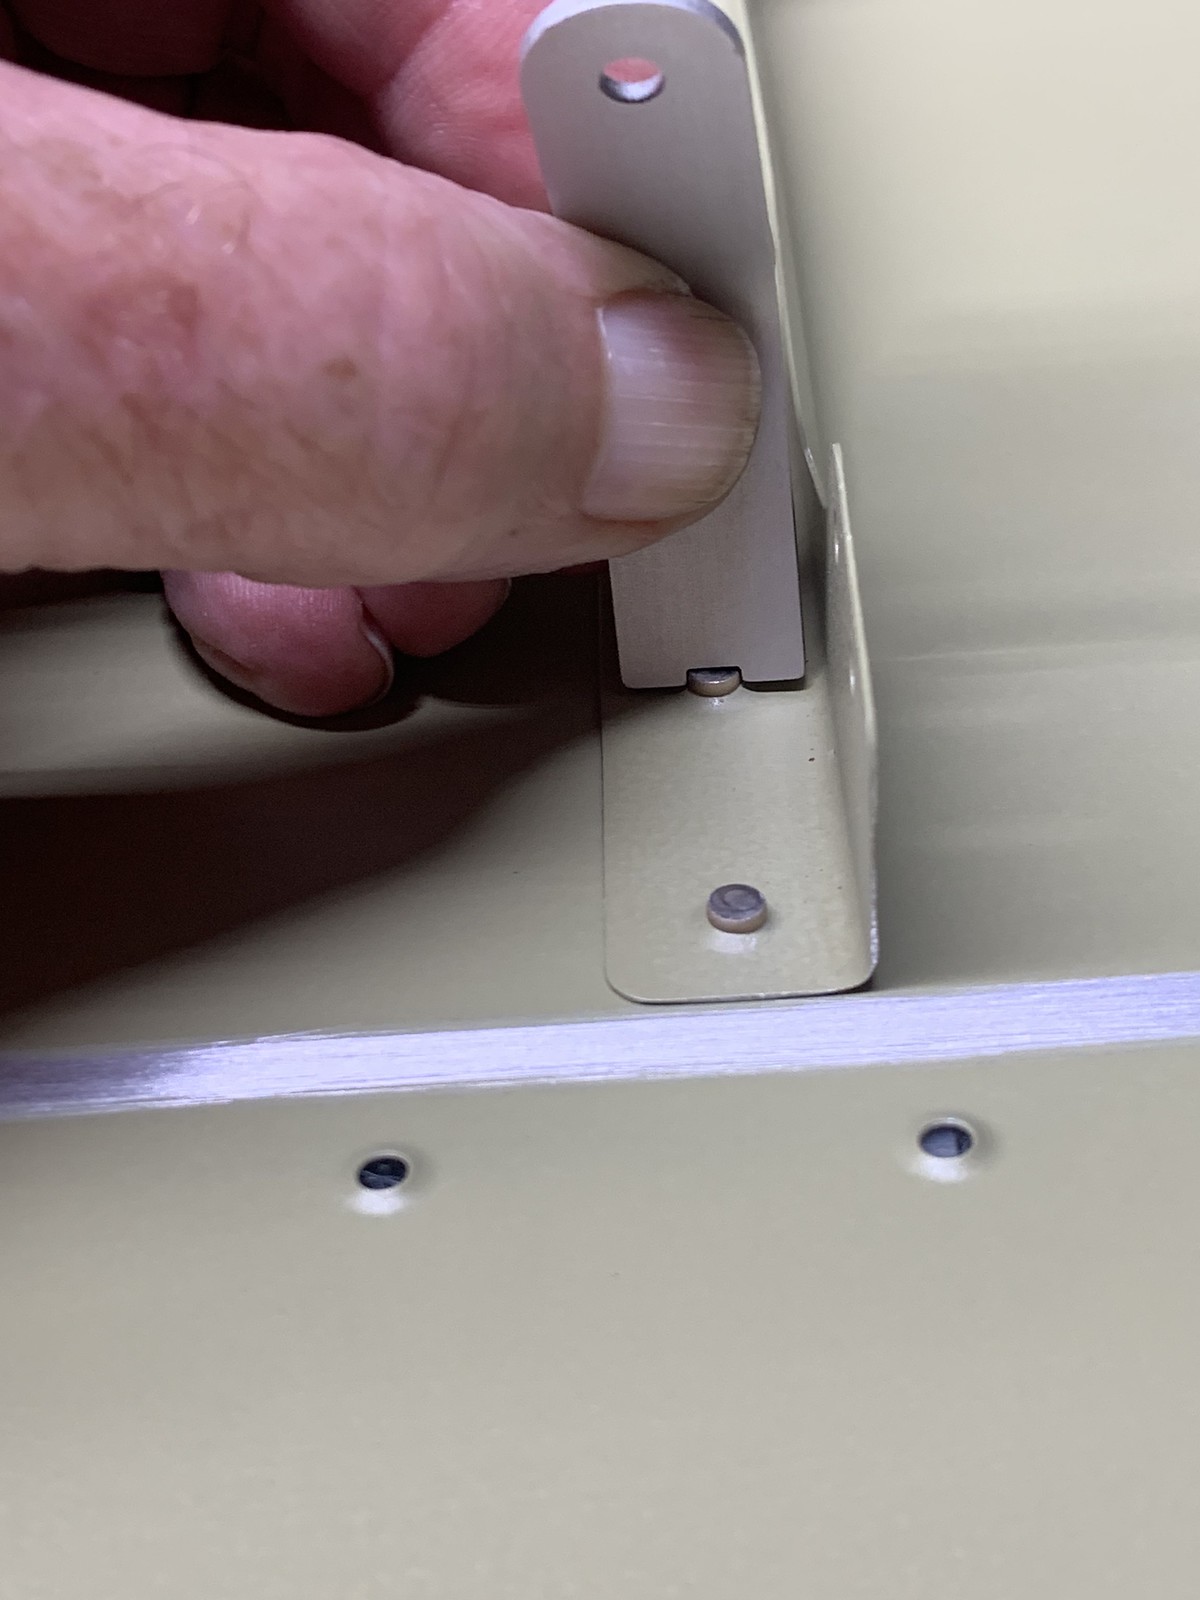
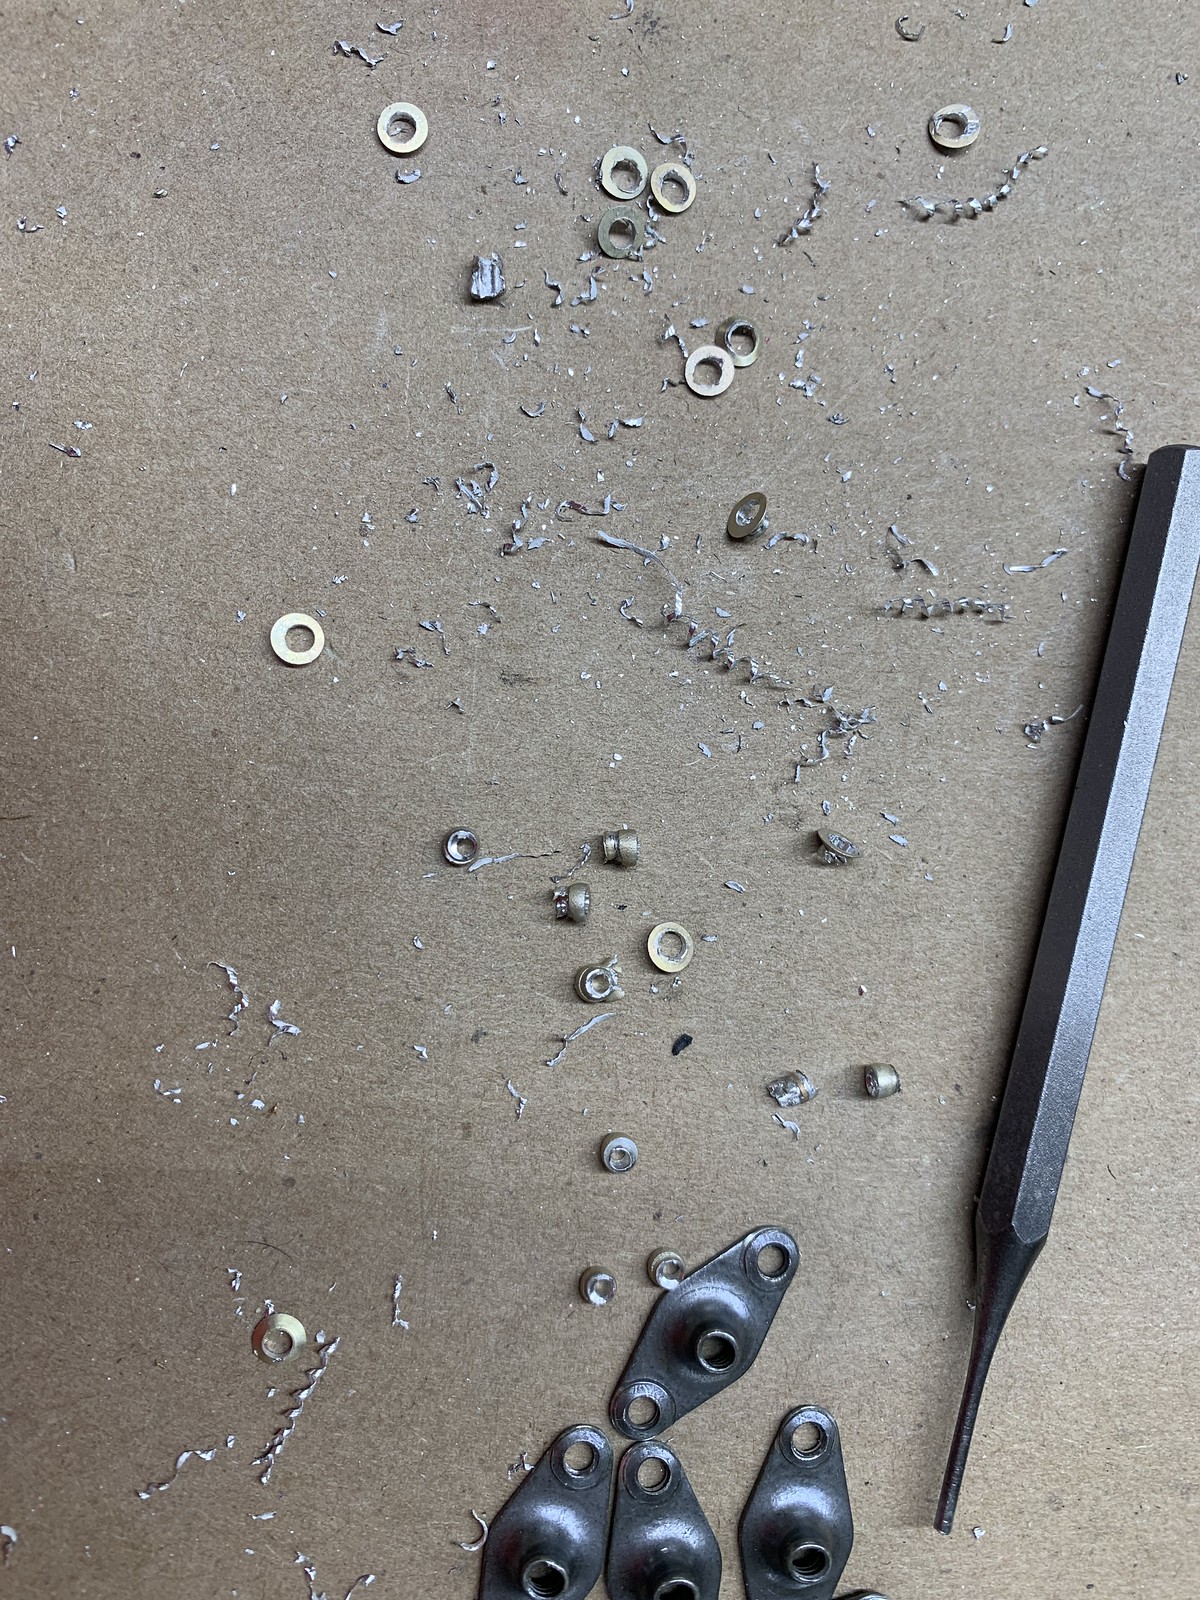
drill out nutplate and reset trim access doubler rivets (re-do)
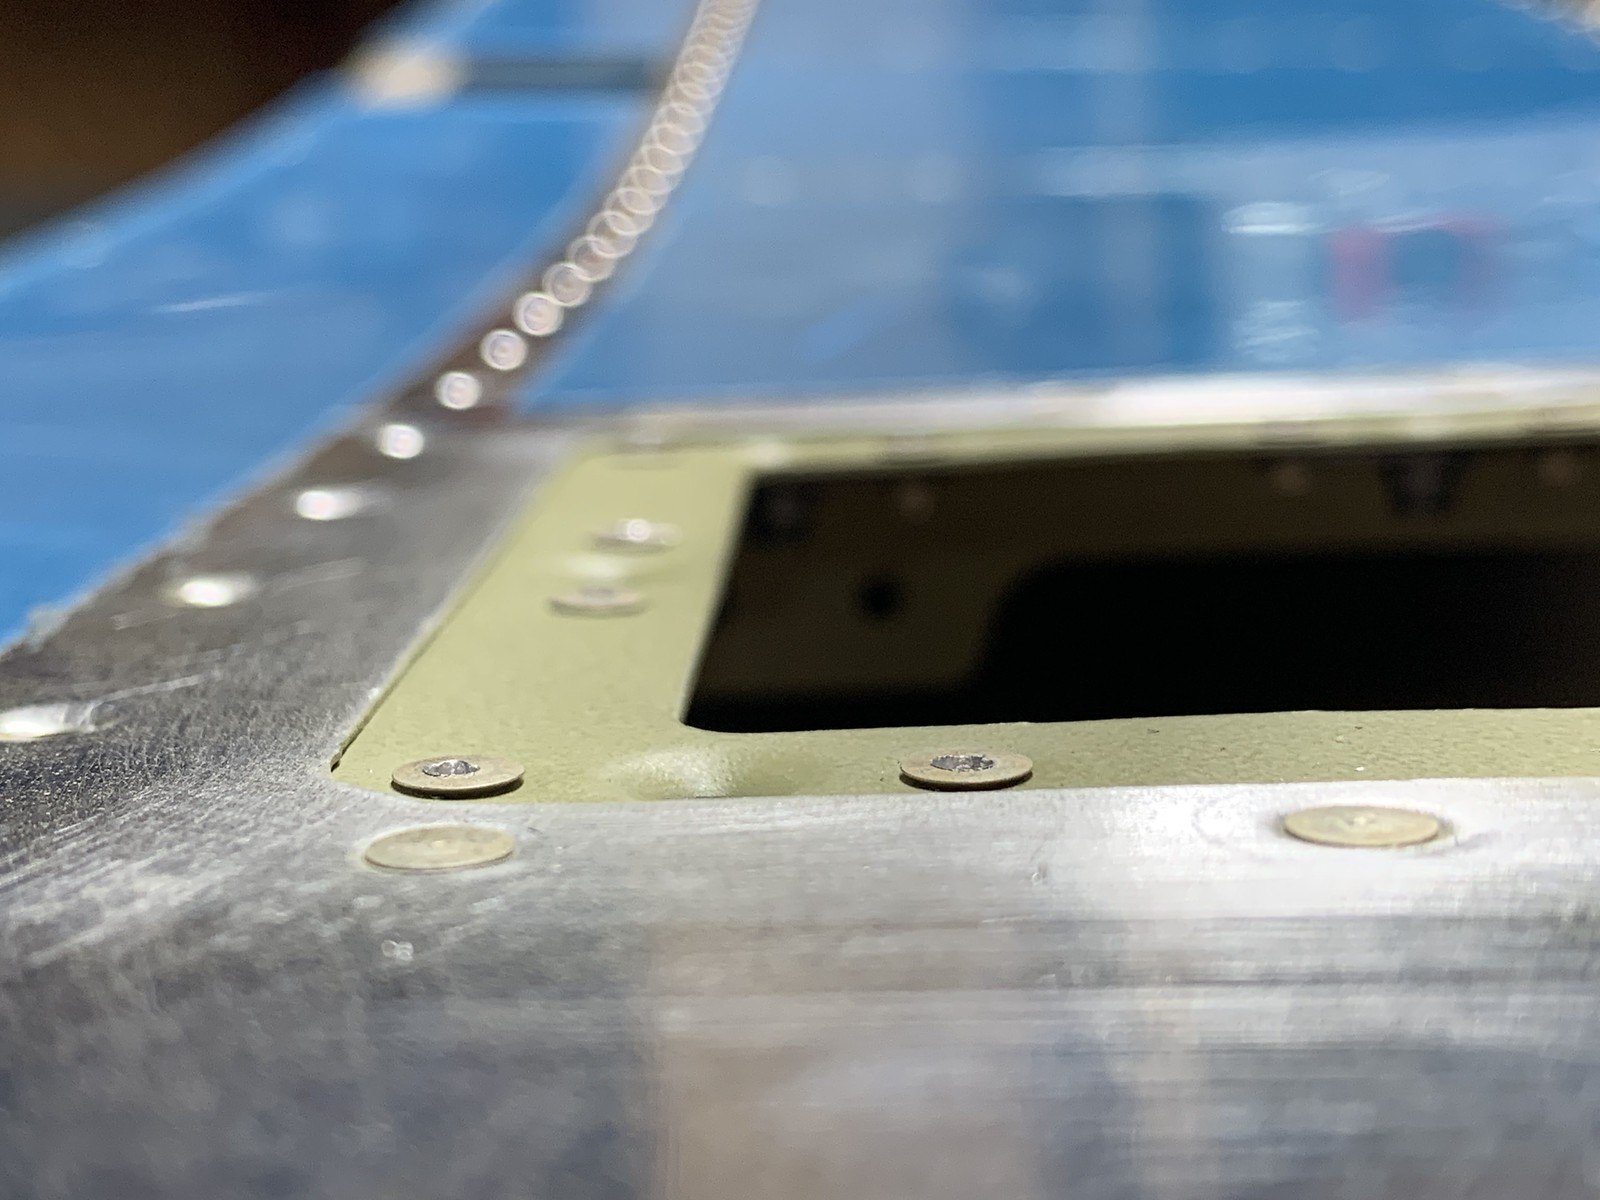
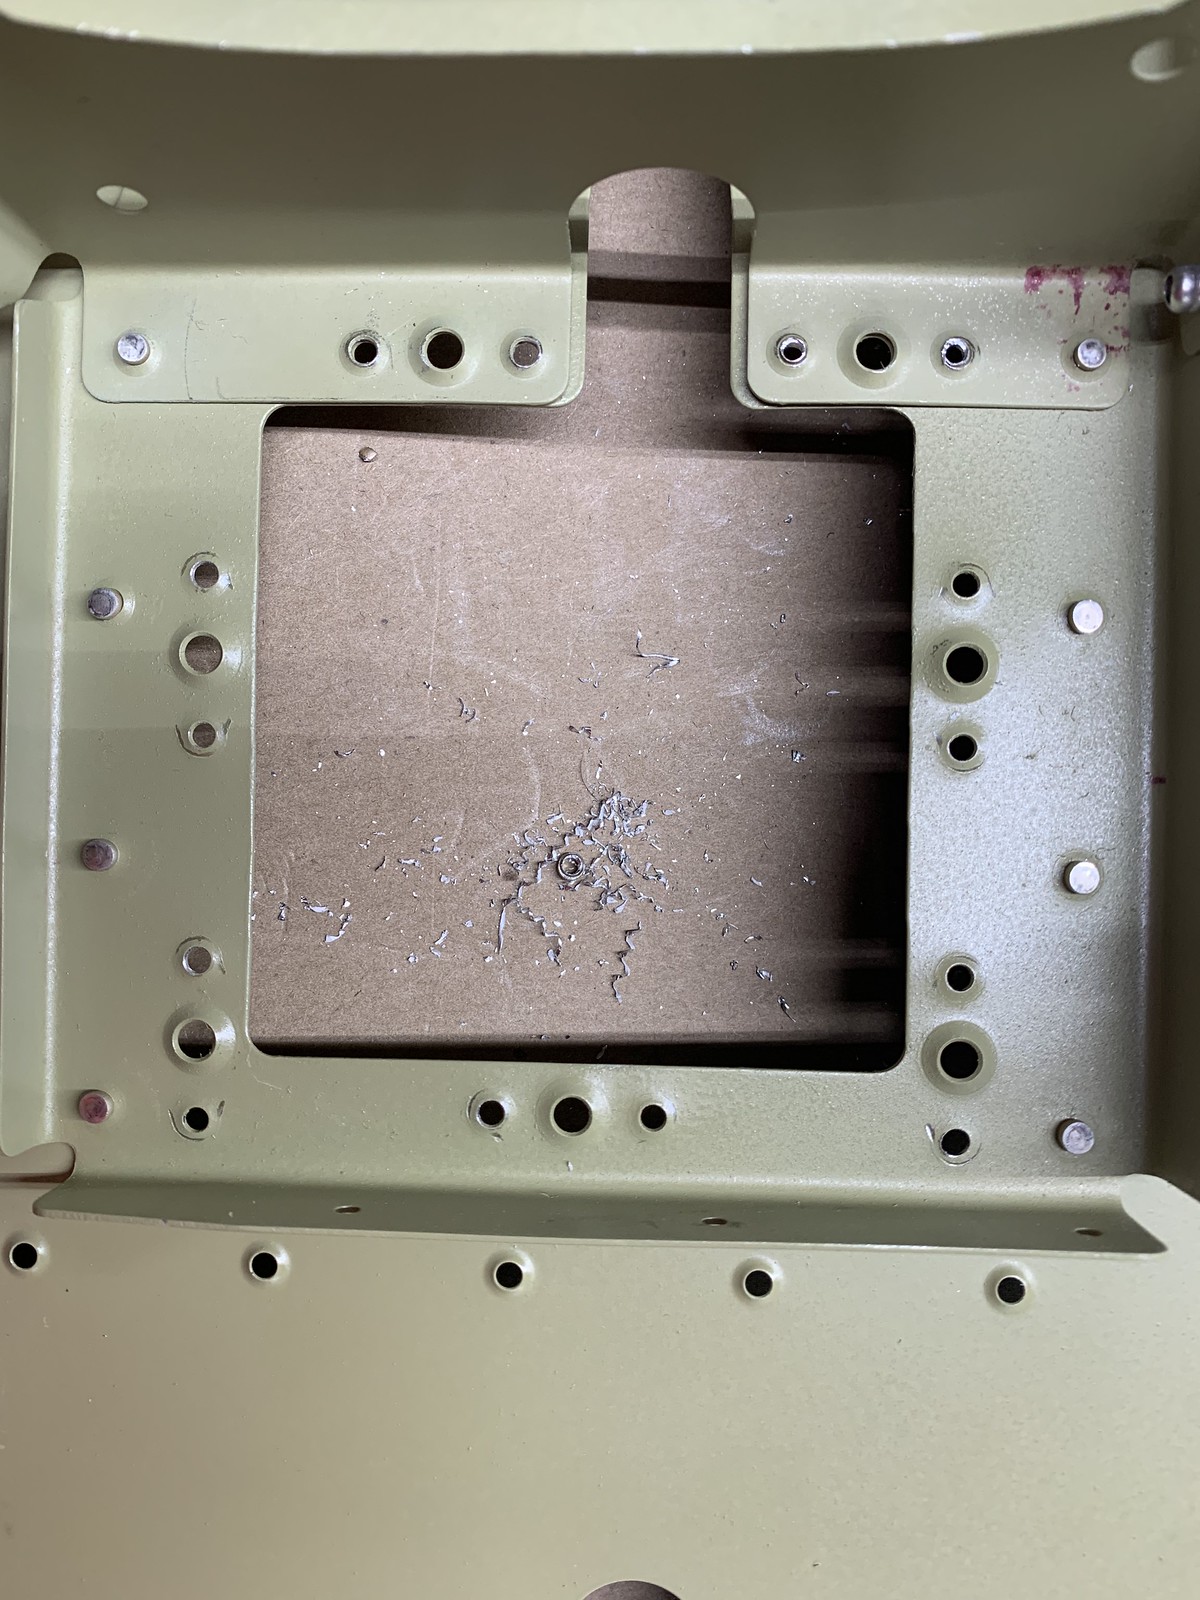
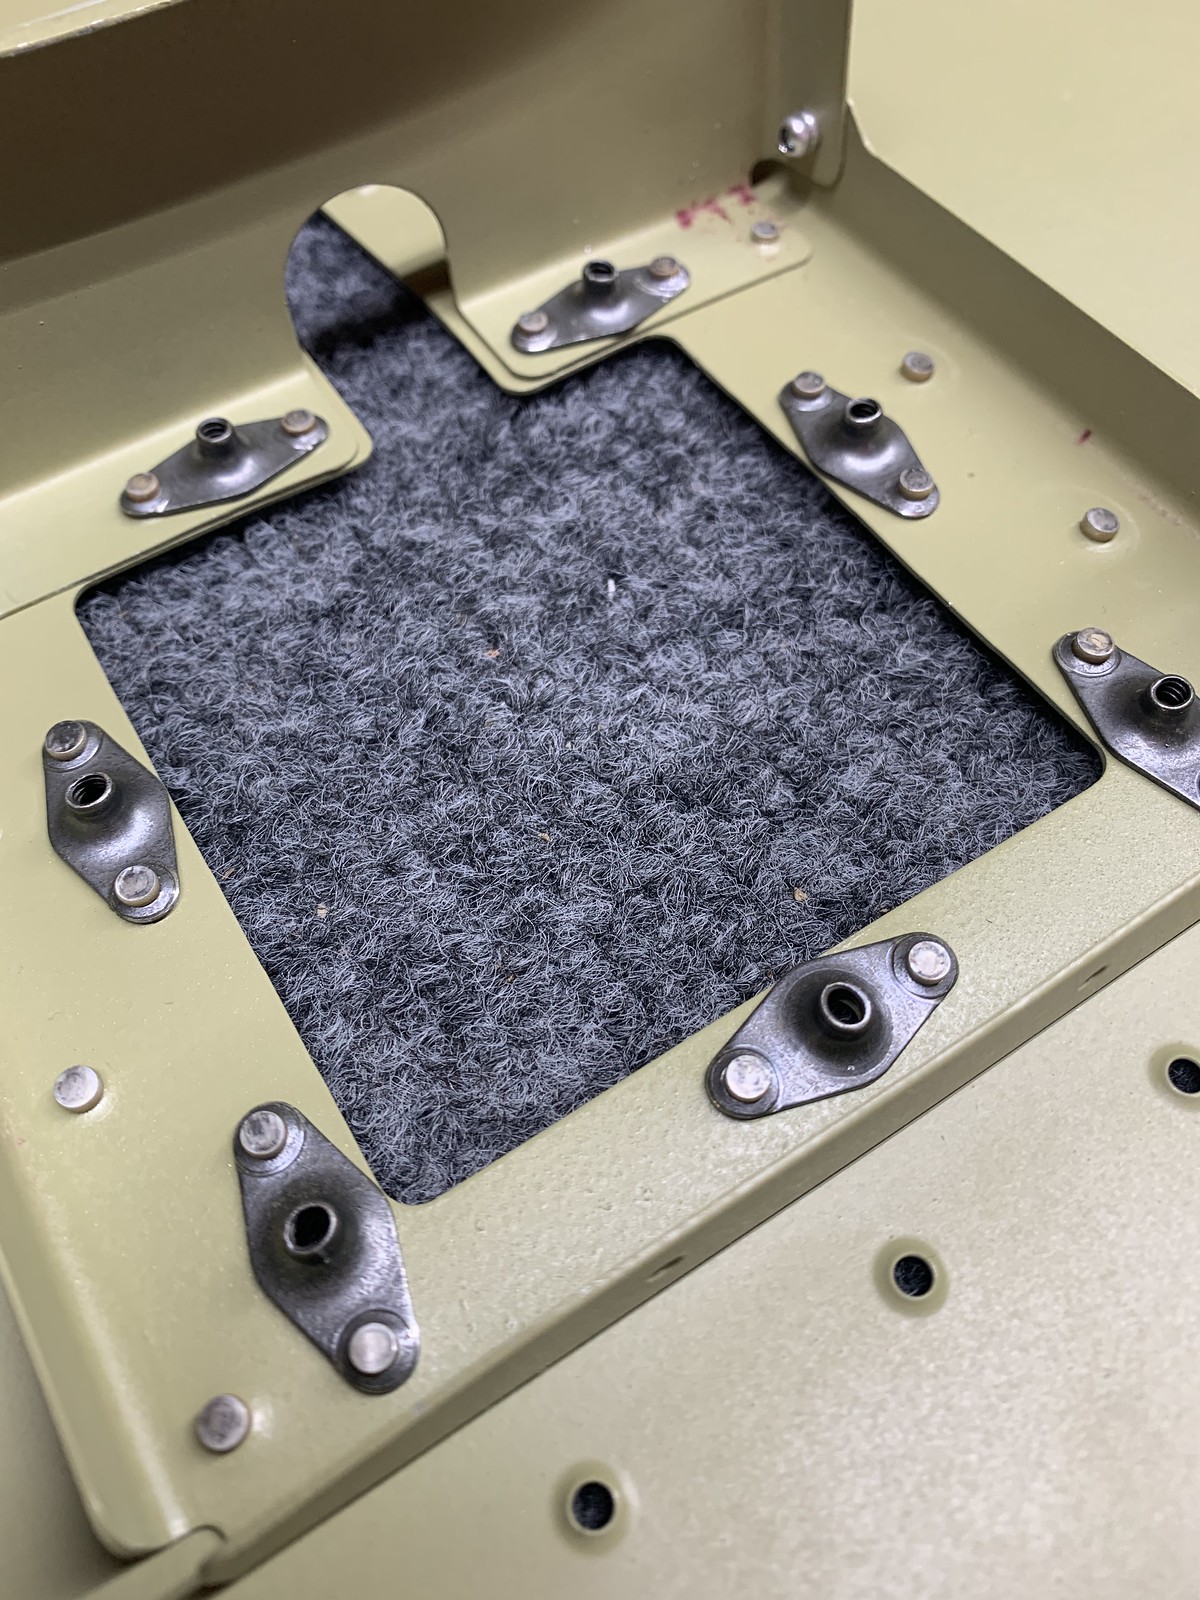
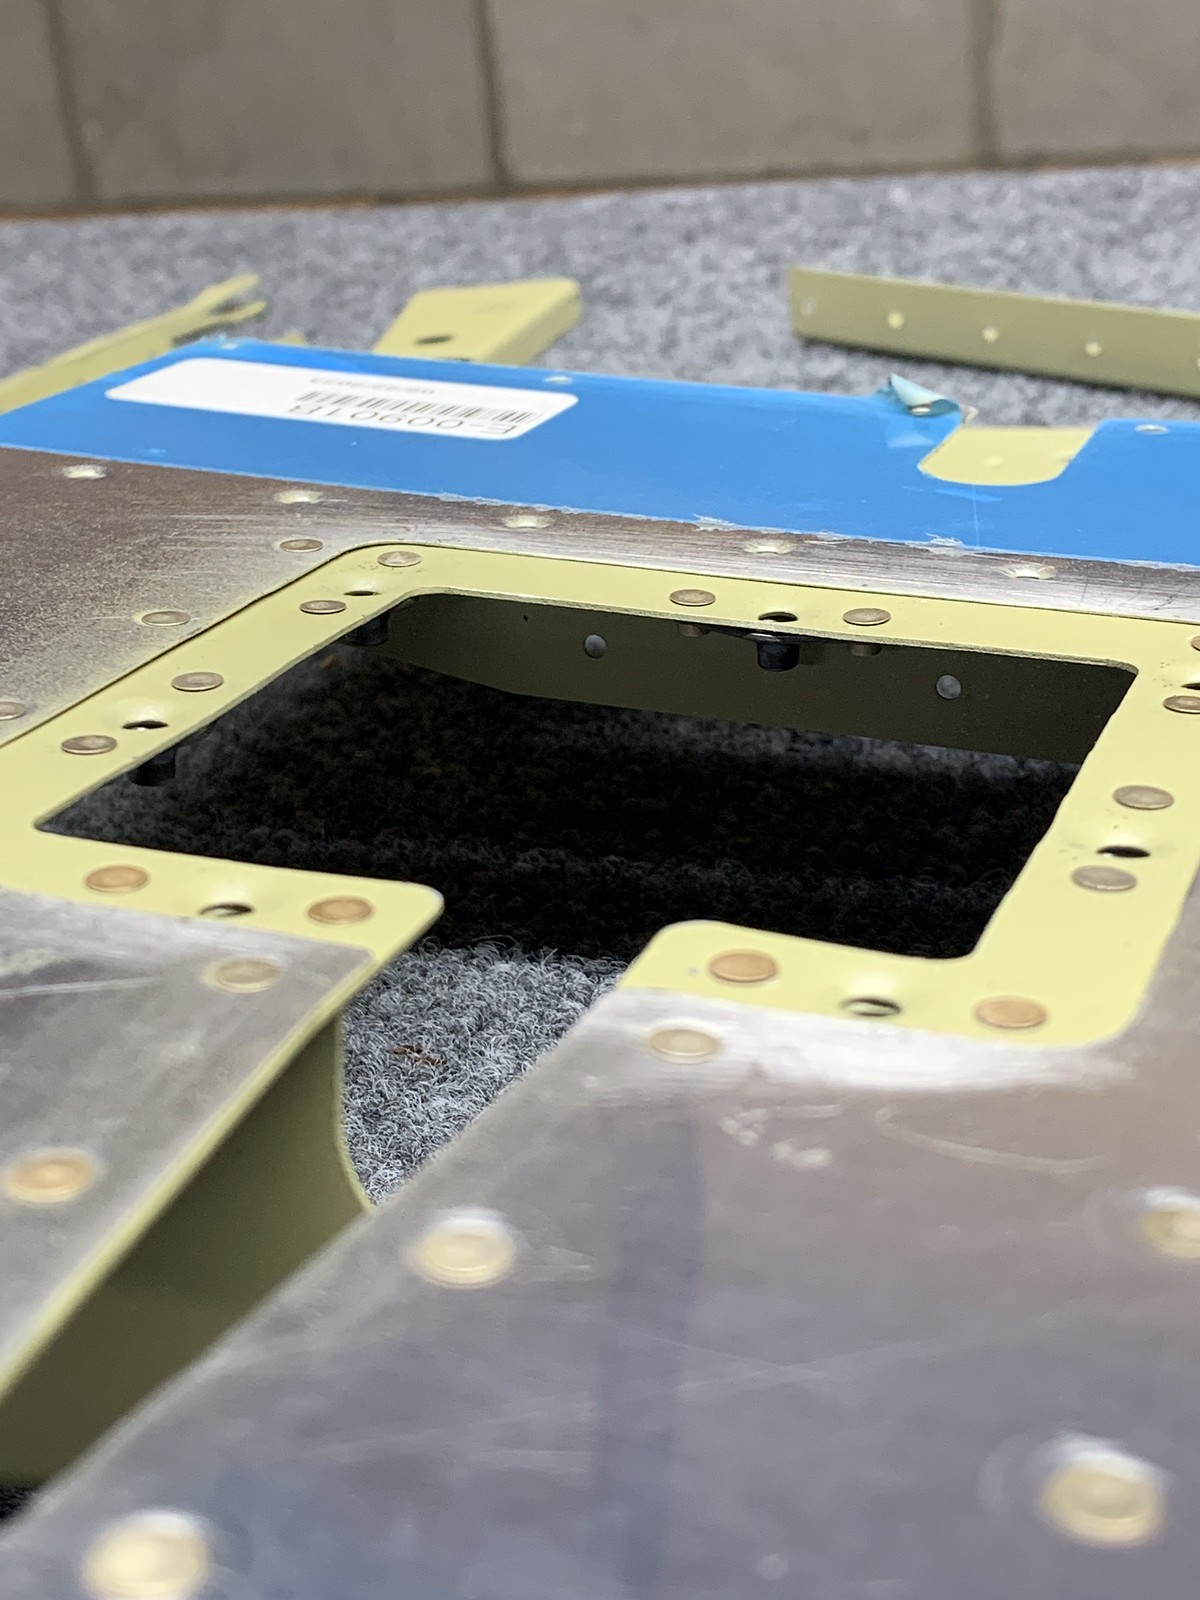
rivet skins to rear spar and closeout ribs 09-20 steps 1-6
complied with SB-00043 9-20 rev 2 steps 7-9
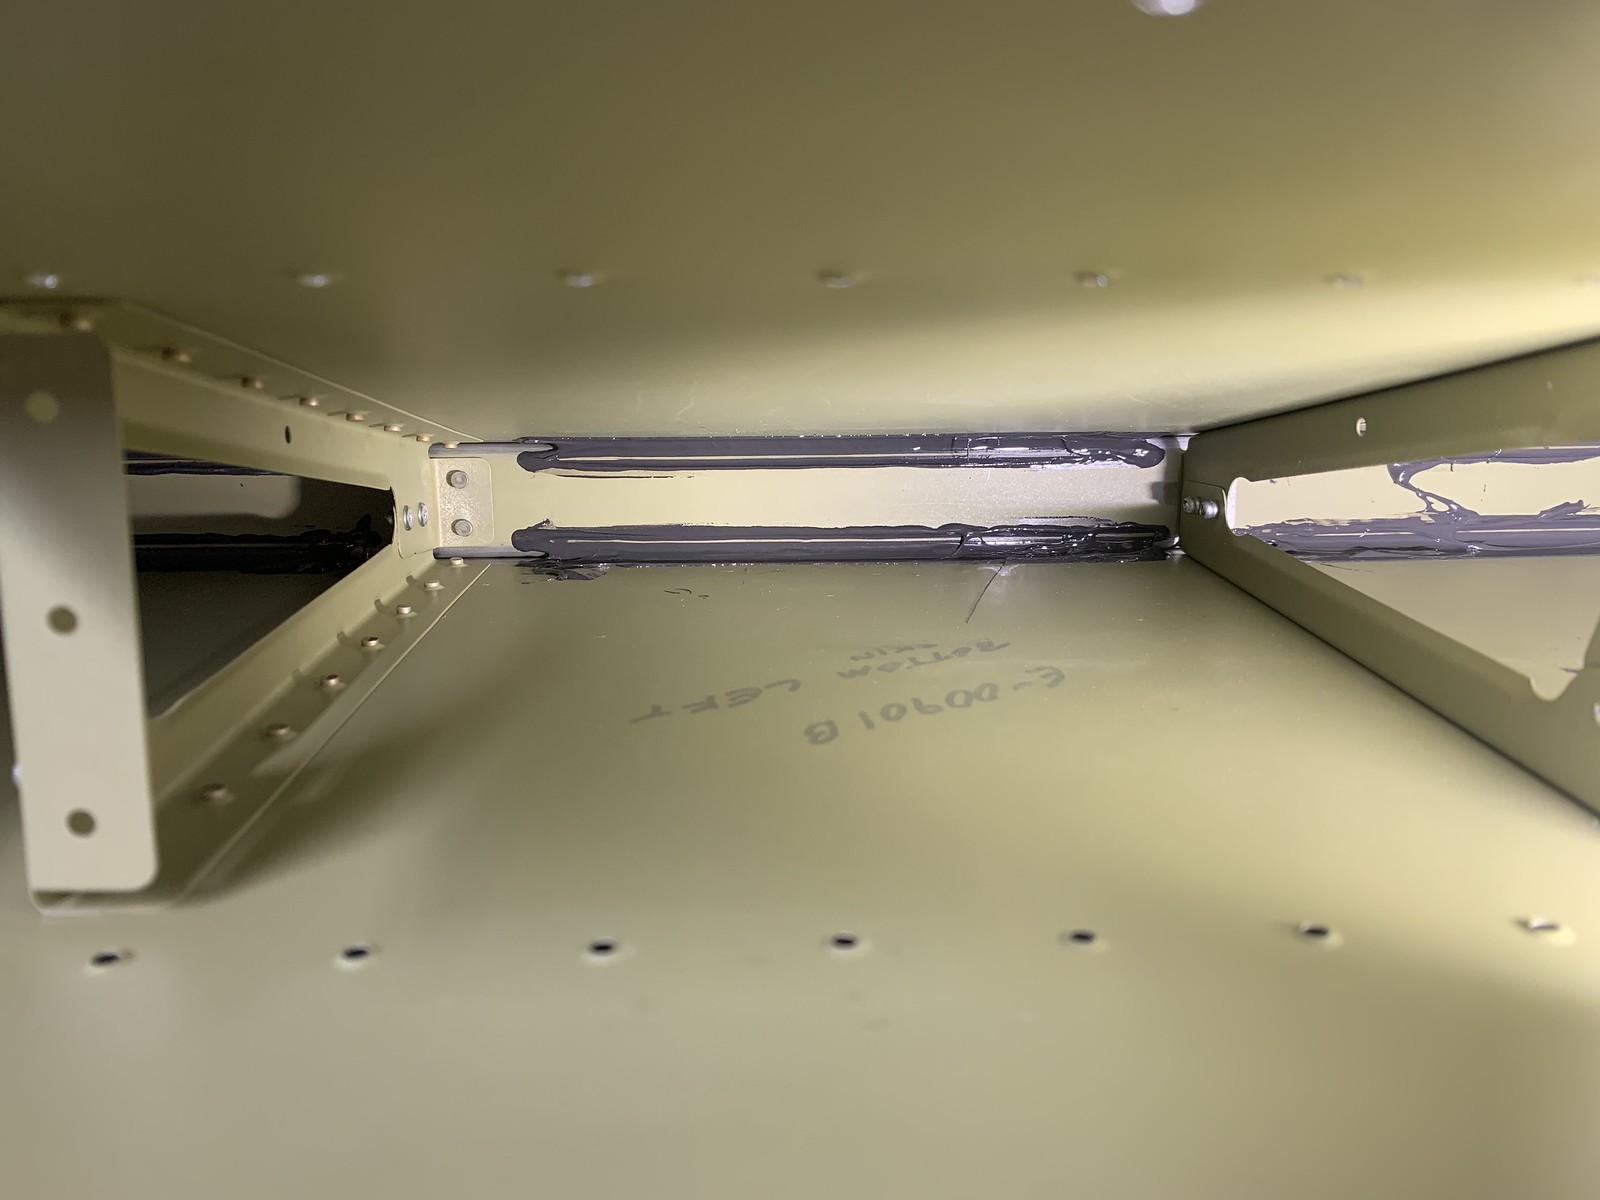
rivet trim tab TE and closeout tabs 09-14 steps 7-8
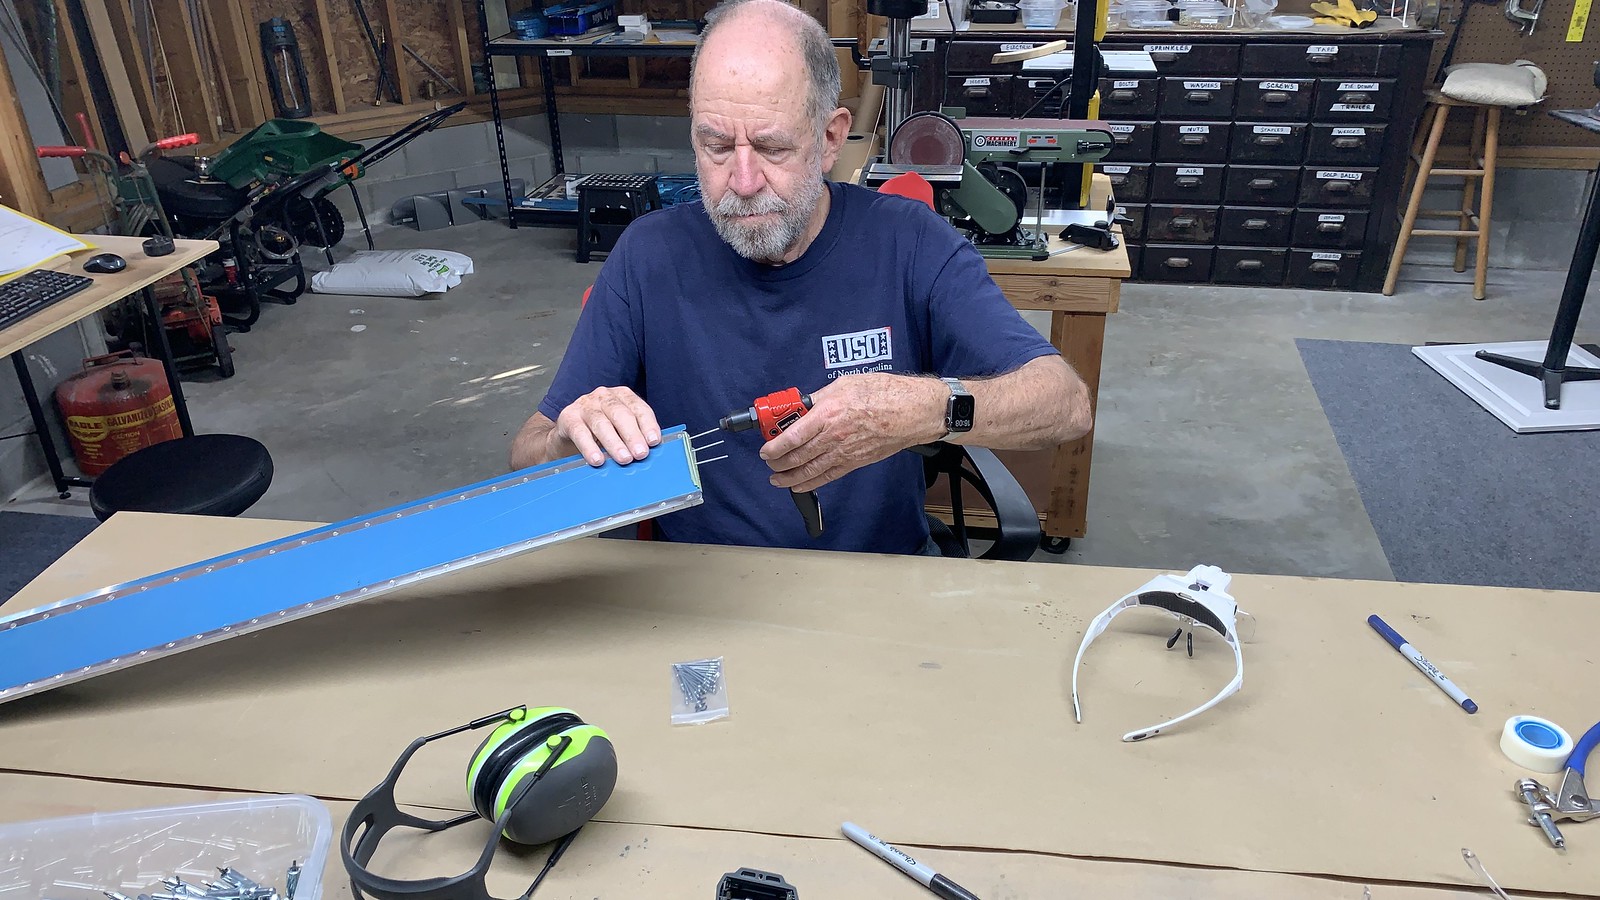
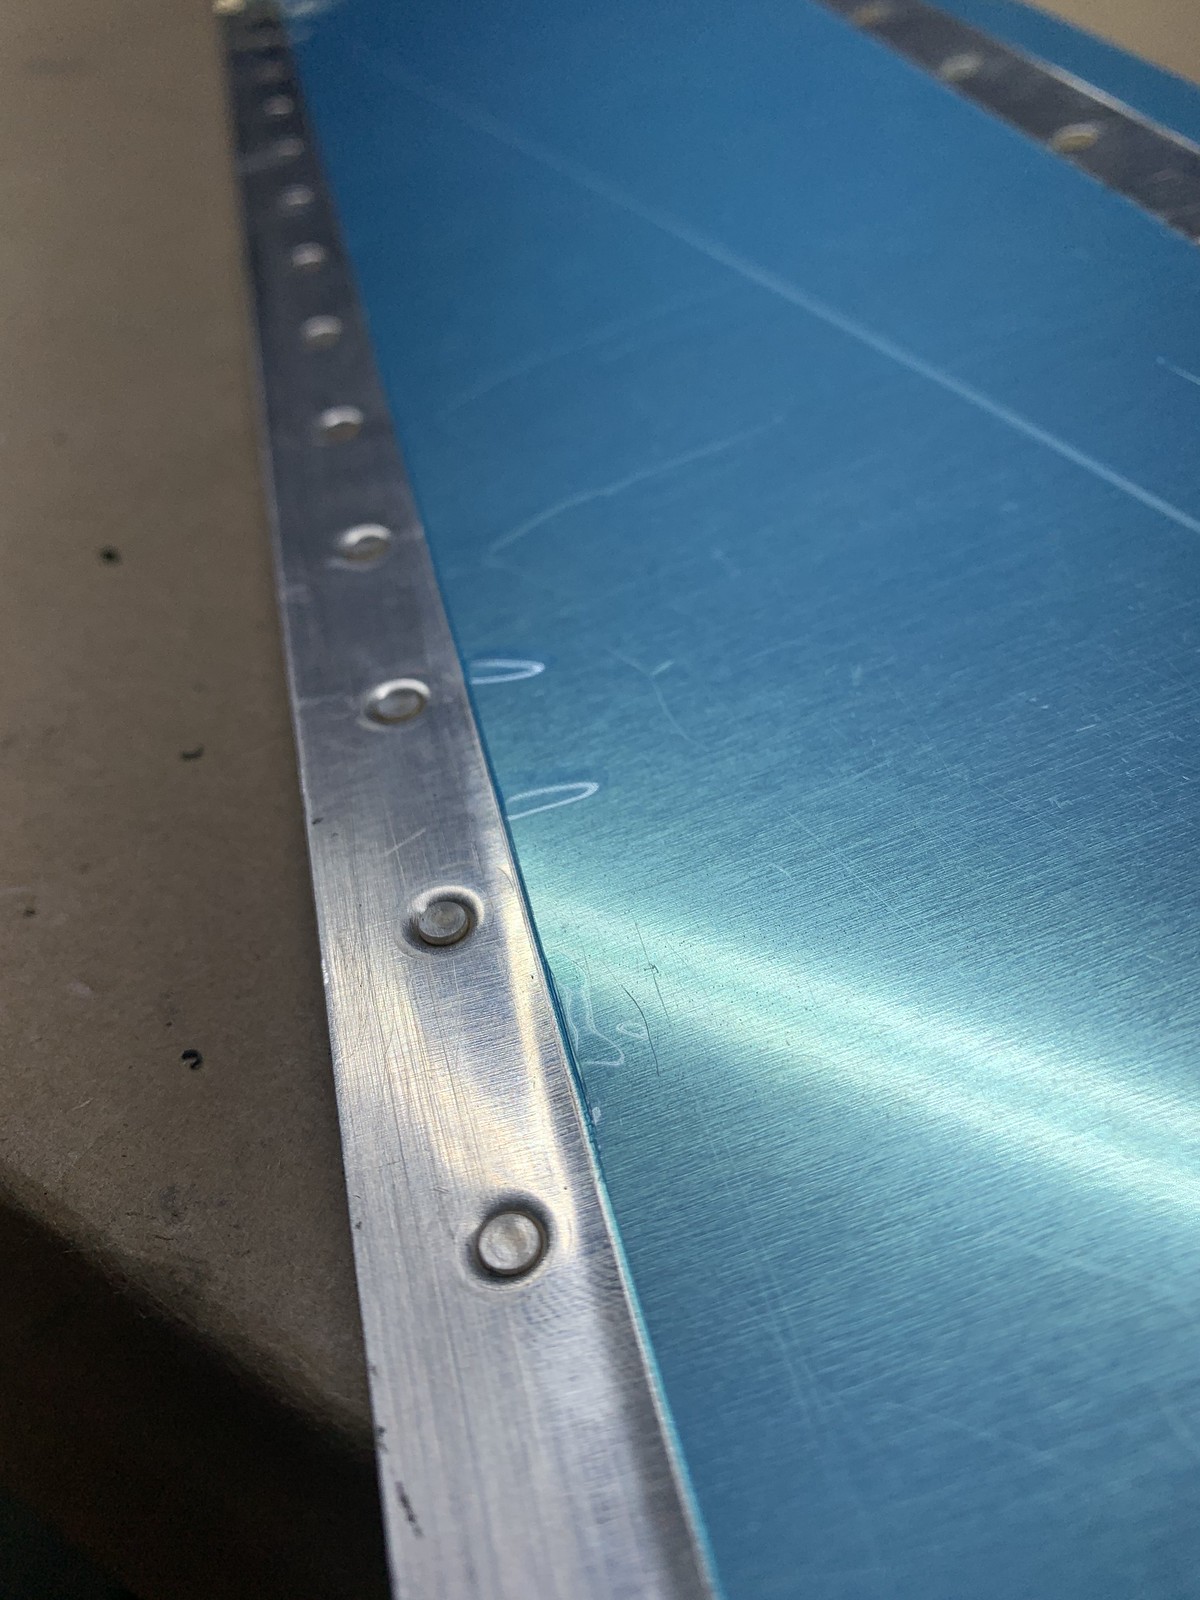
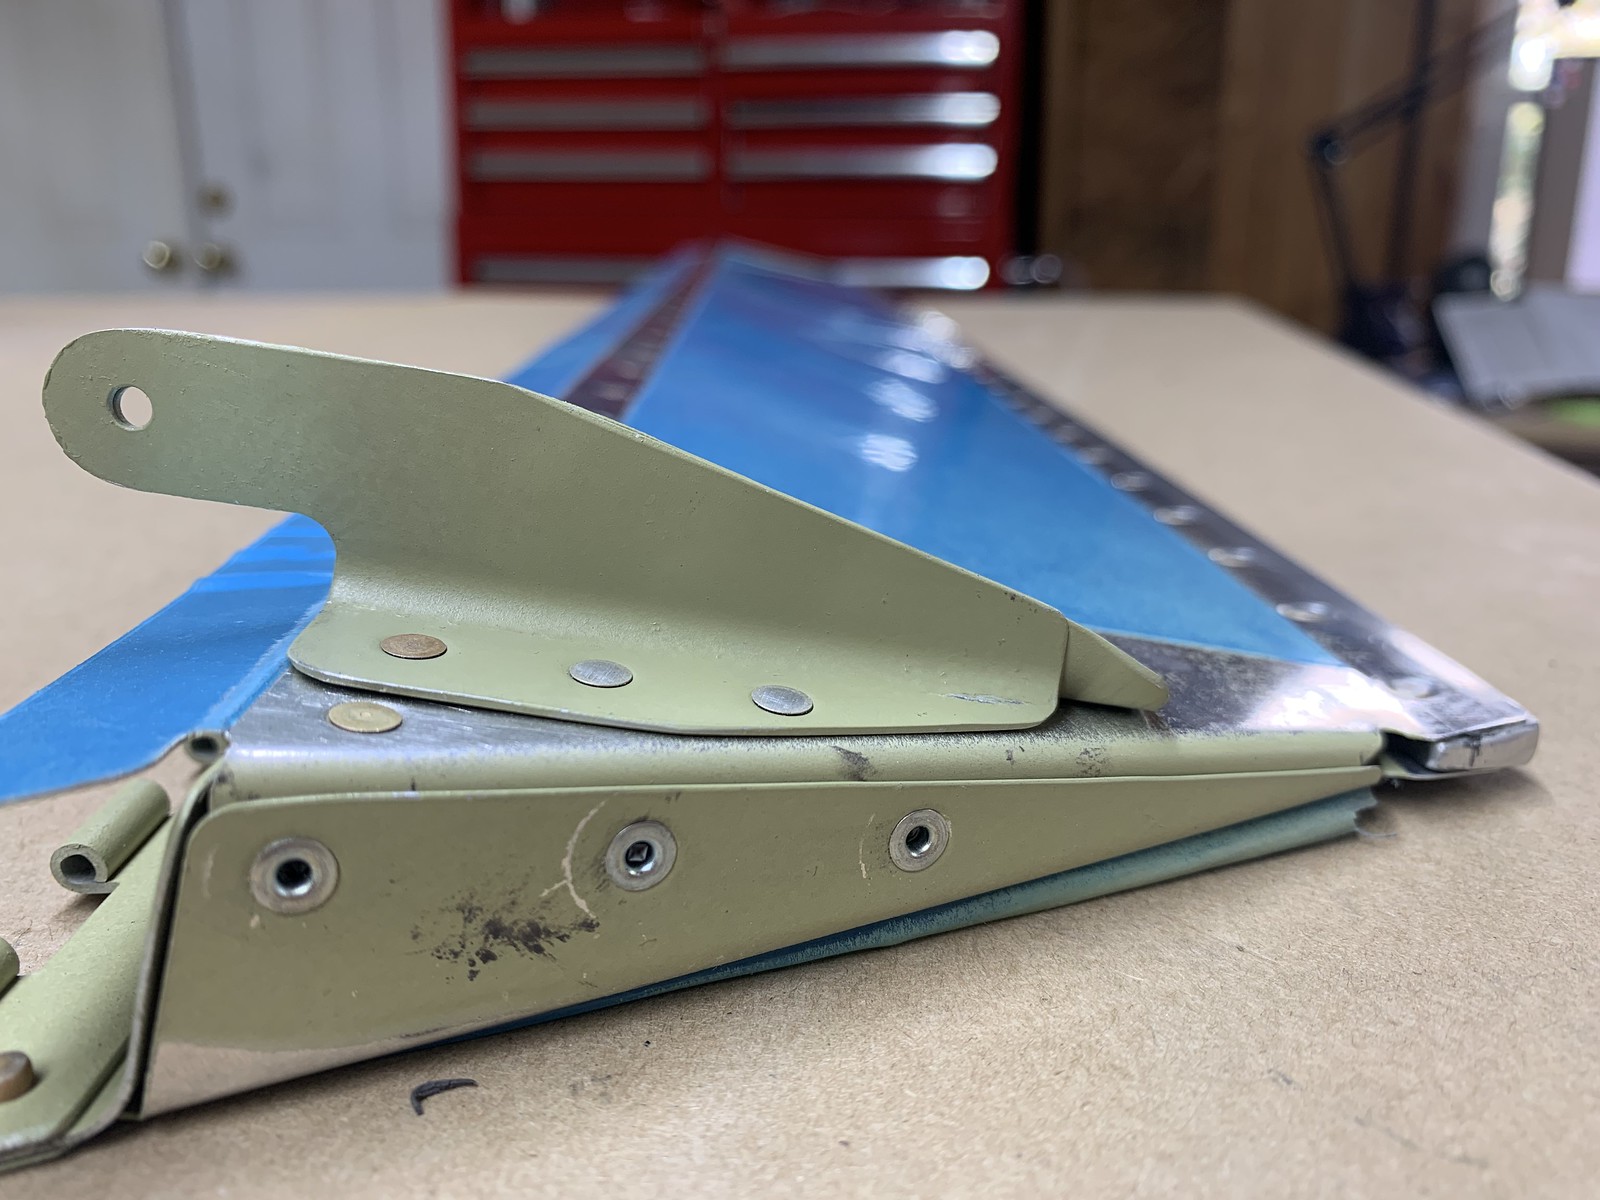
rivet front spars to ribs, gussets, skins to root rib 09-20 steps7-8 09-21 steps 1-8
close-out skins to spar and tip ribs 09-22 steps 1-6
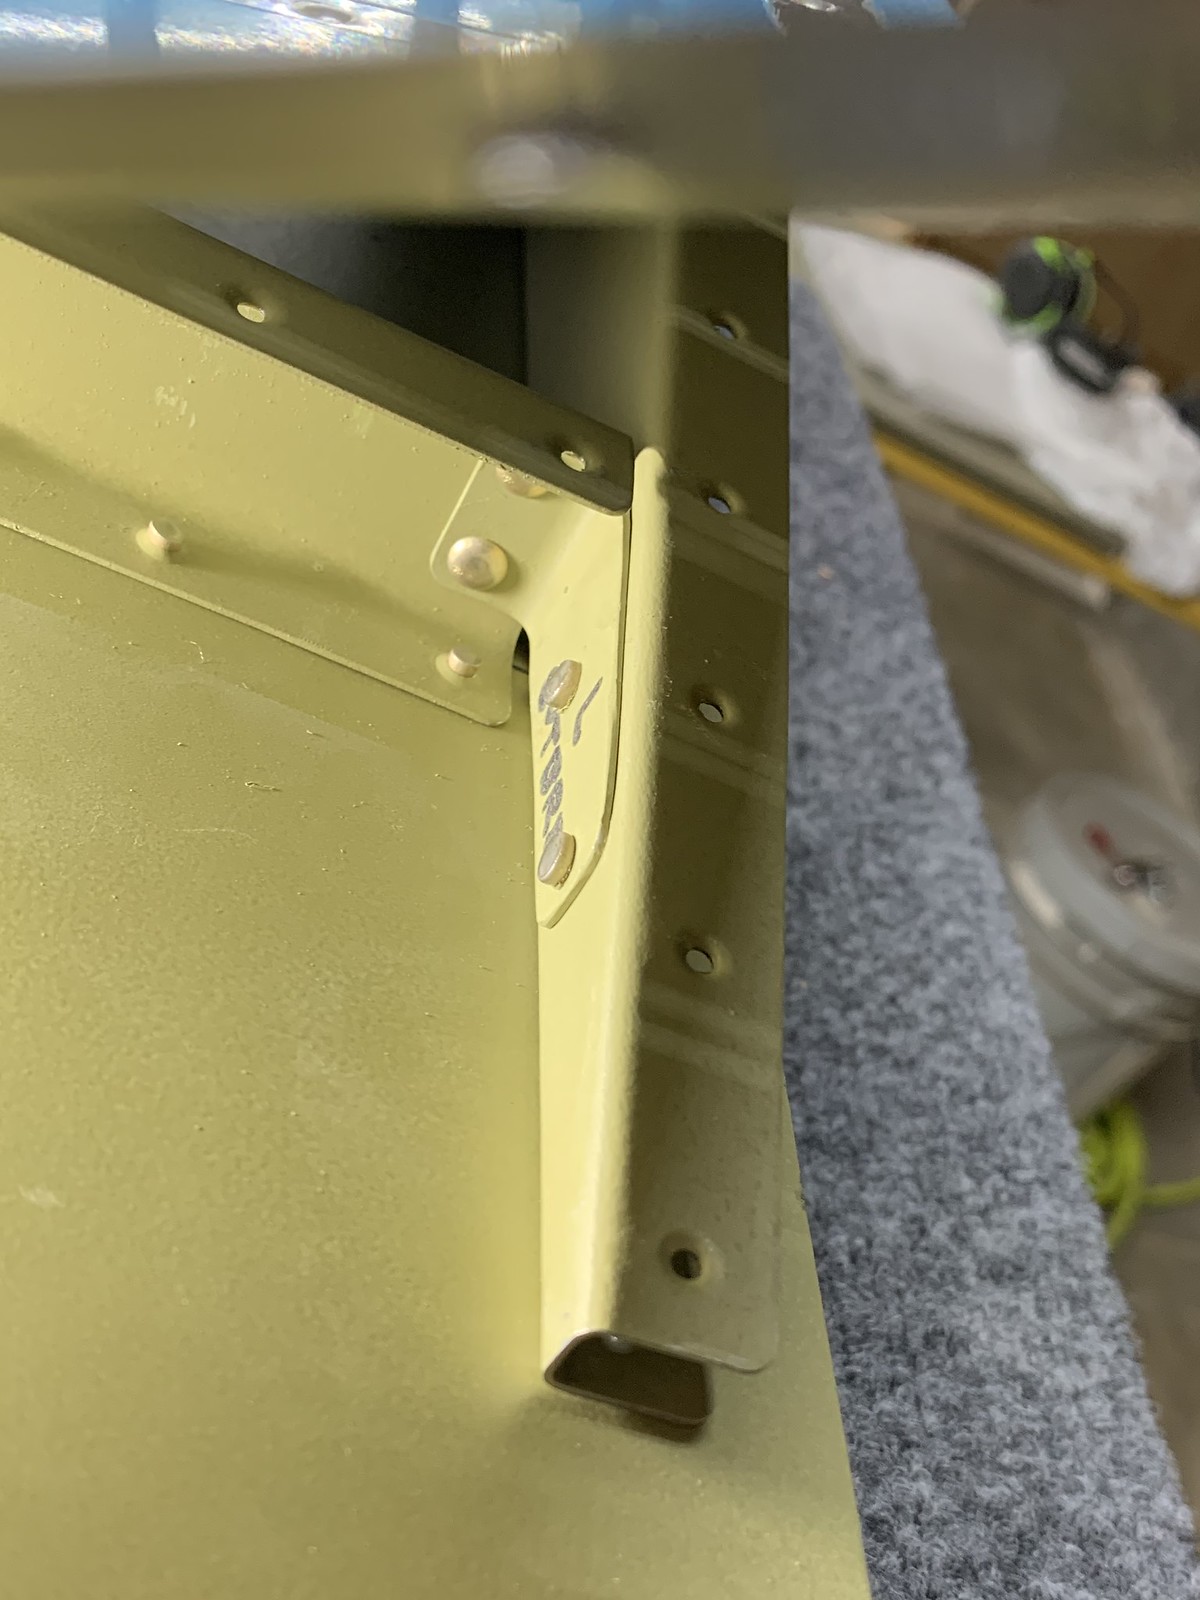
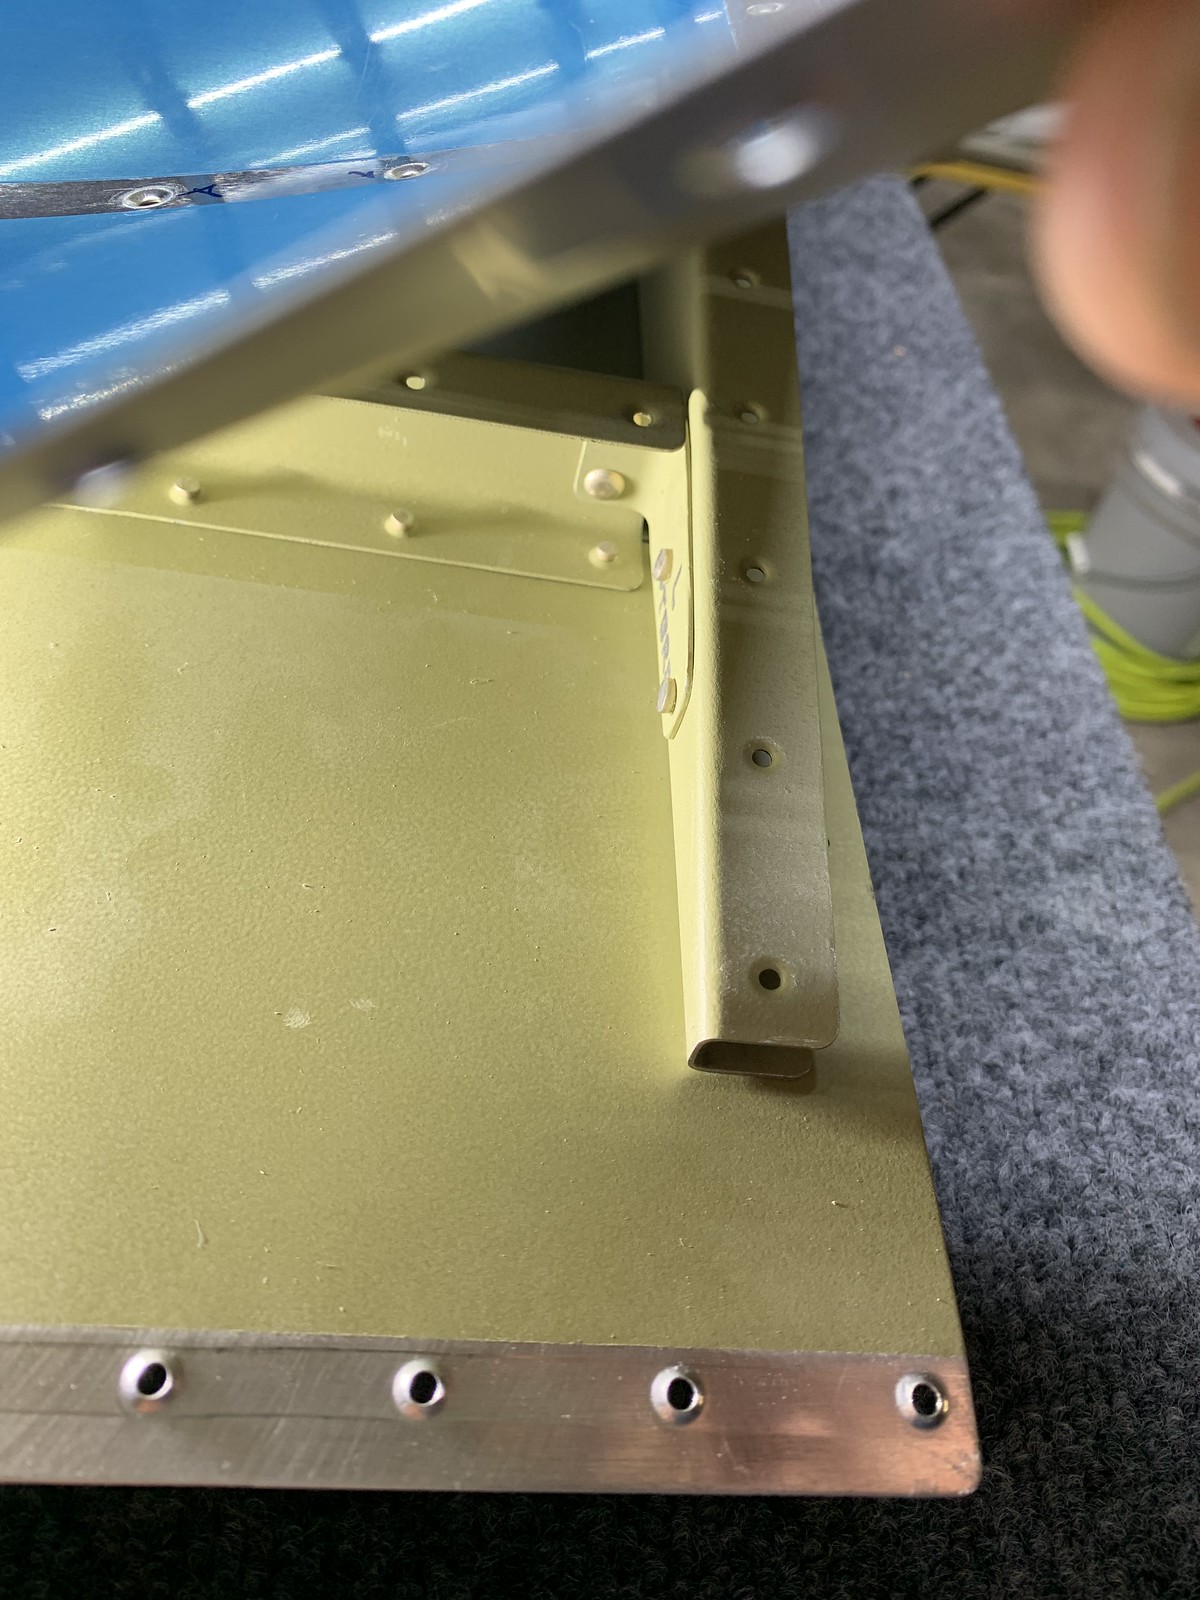
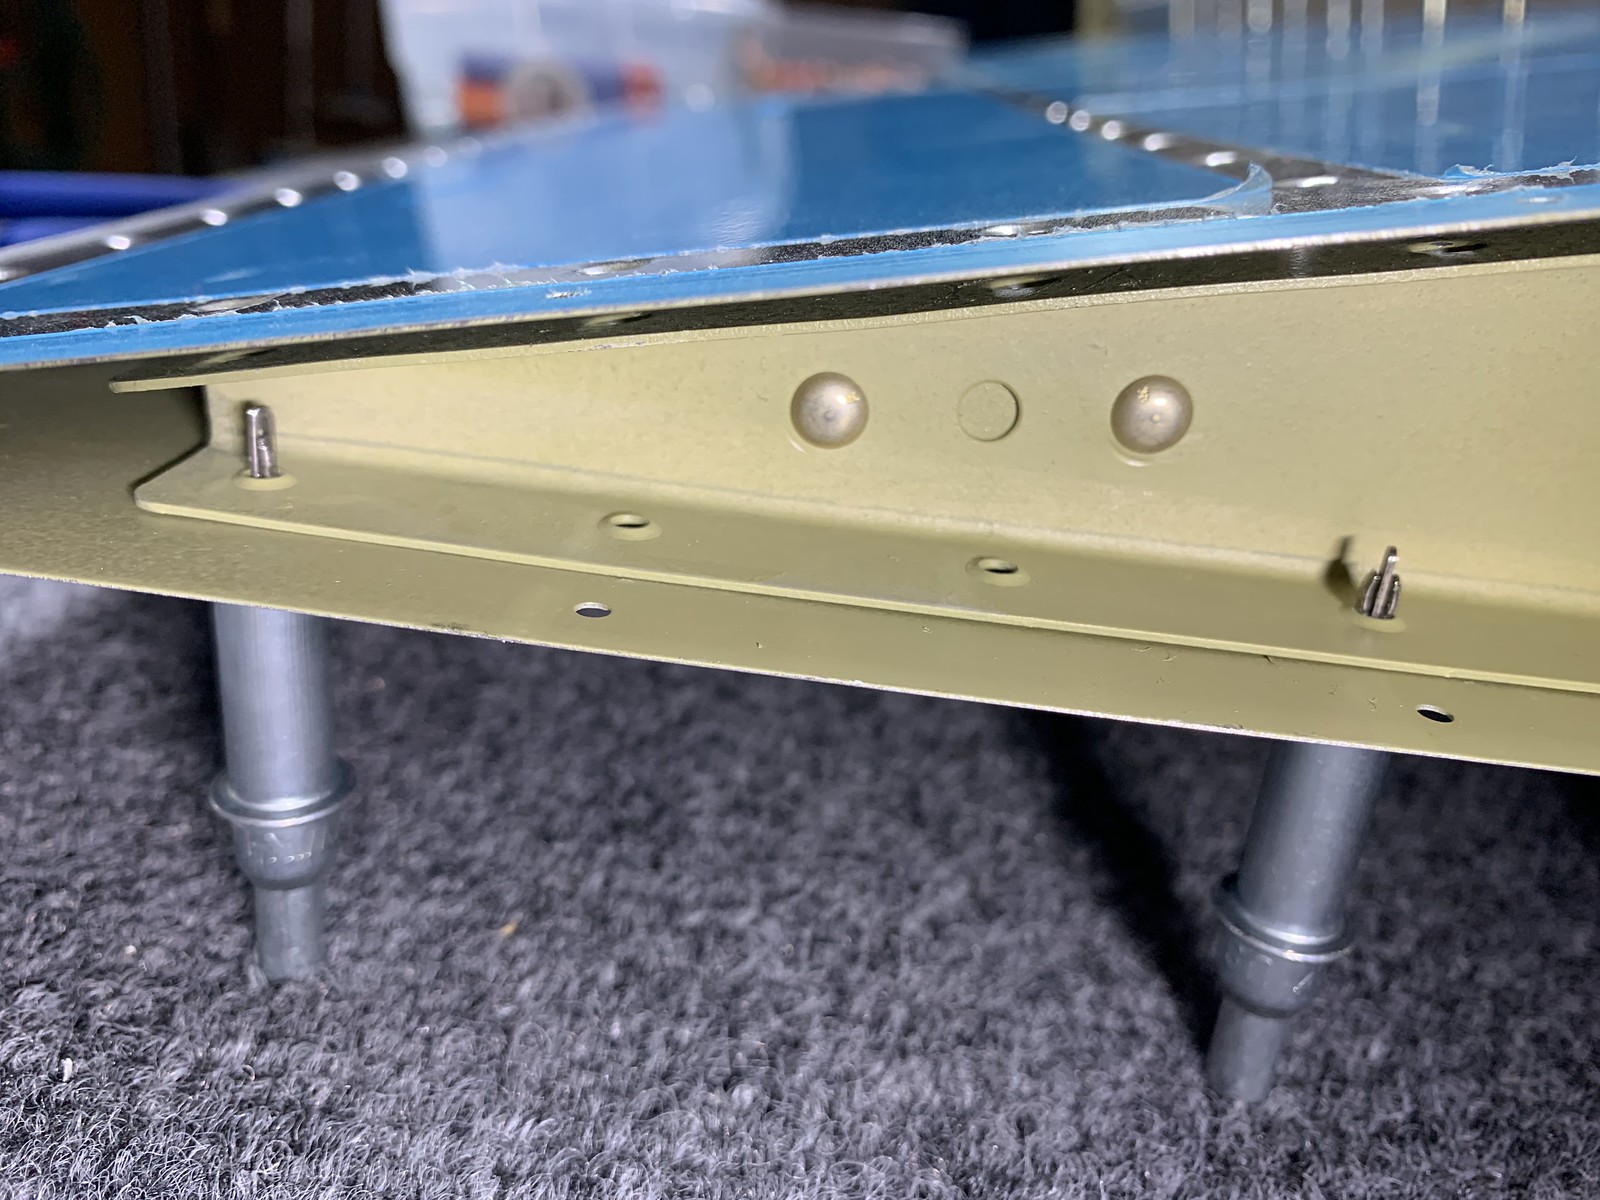
close-out skins to spar and tip ribs 09-22 steps 7-8
mount trim servo 09-24 steps 6-9
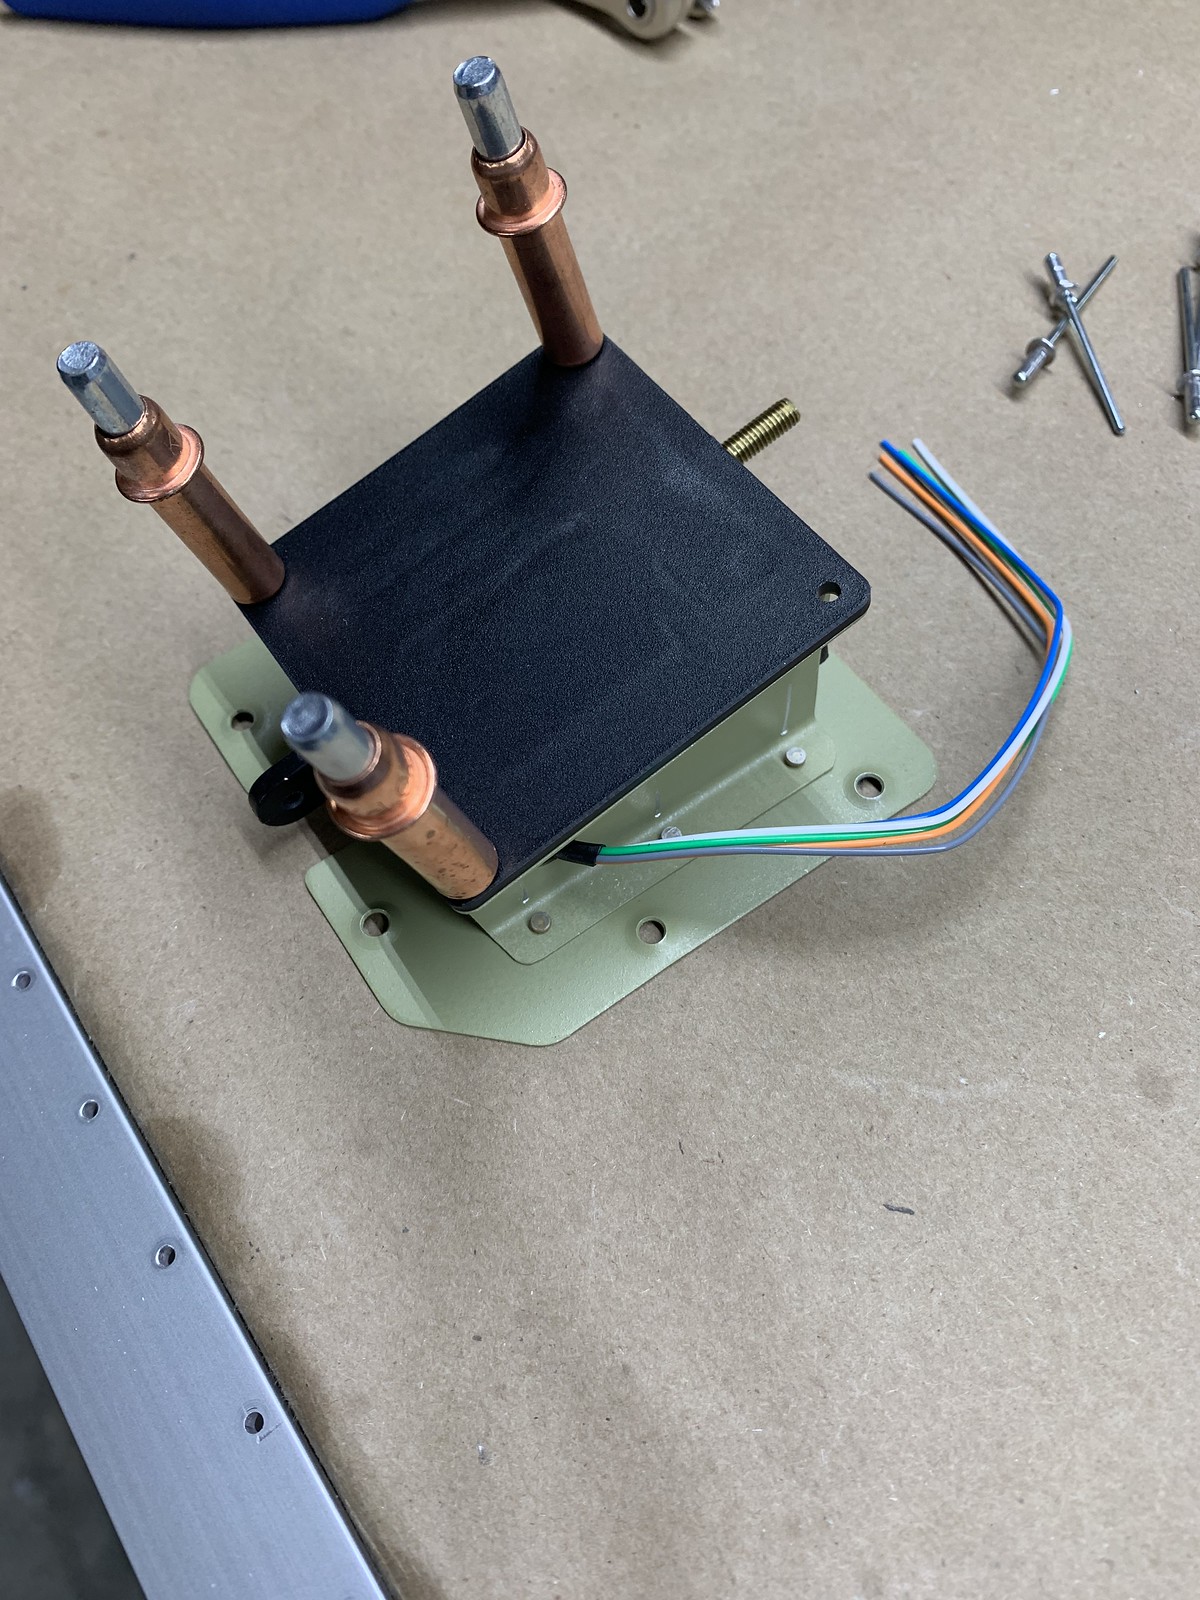
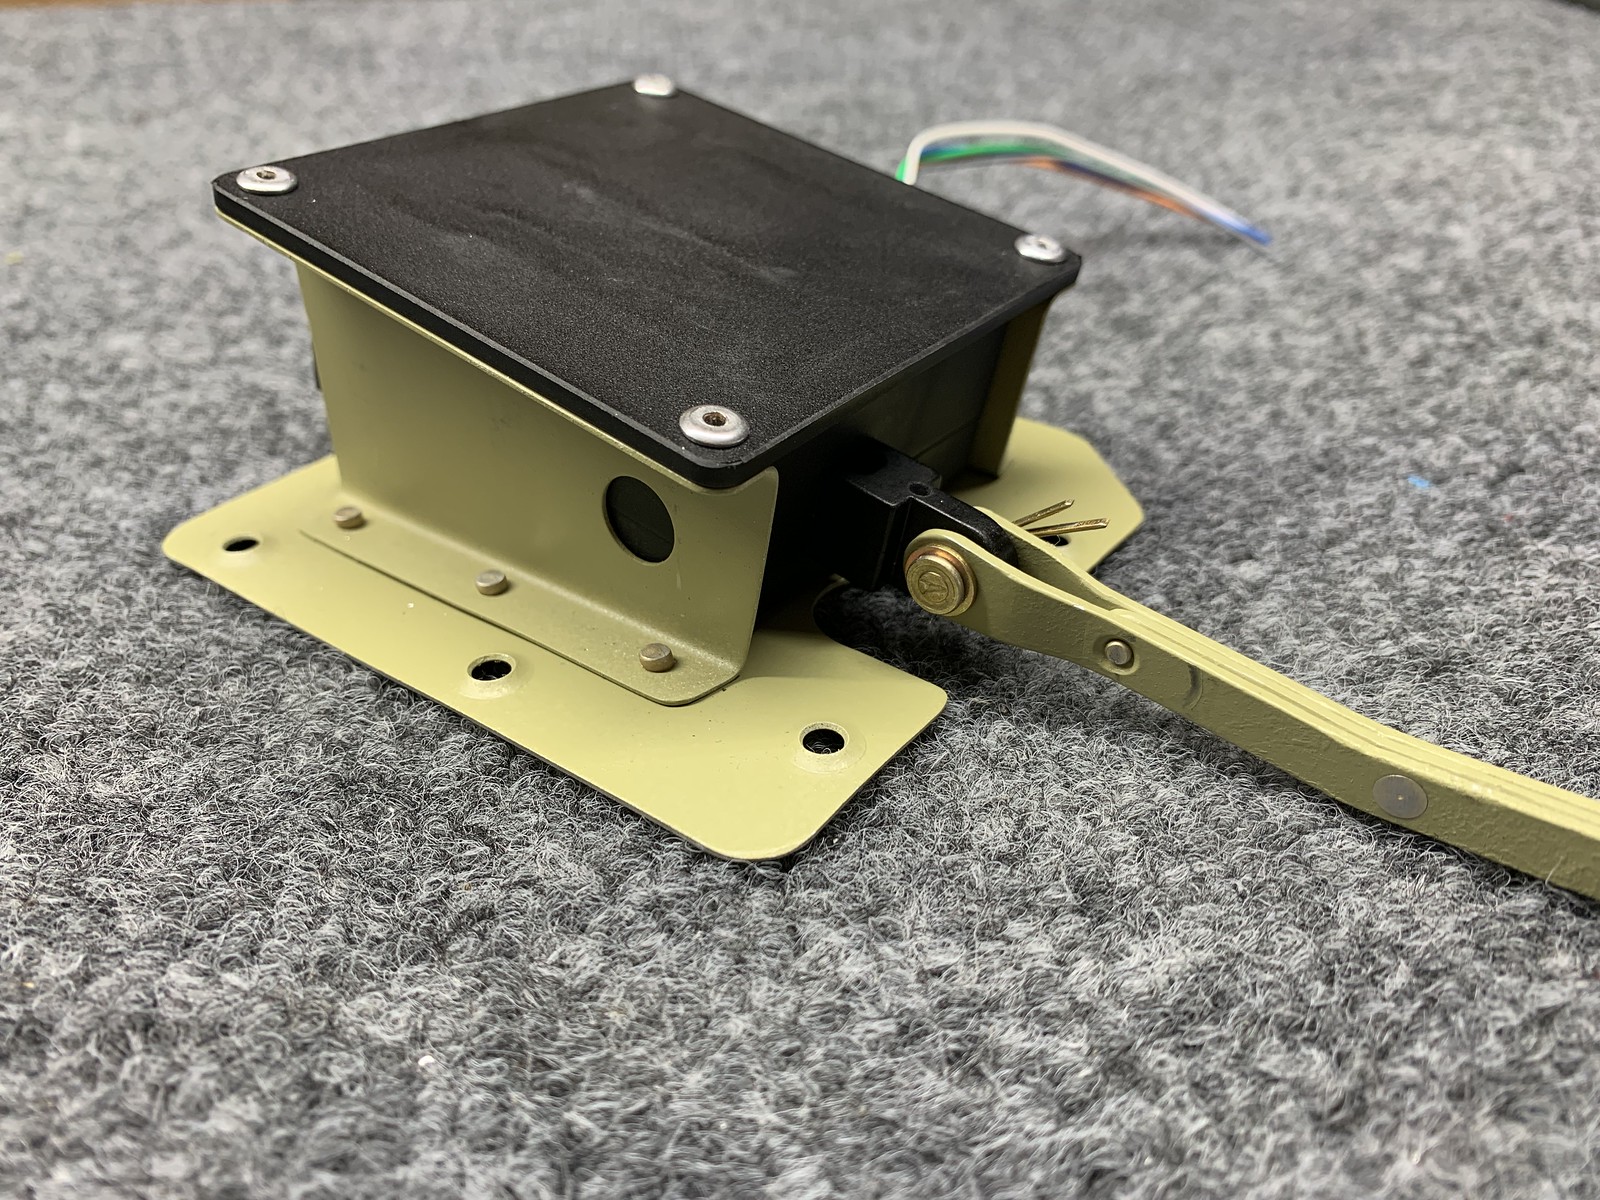
bond TE, ribs to skins RH 09-23 steps 8-10
roll leading edge of LH 09-25 step 6
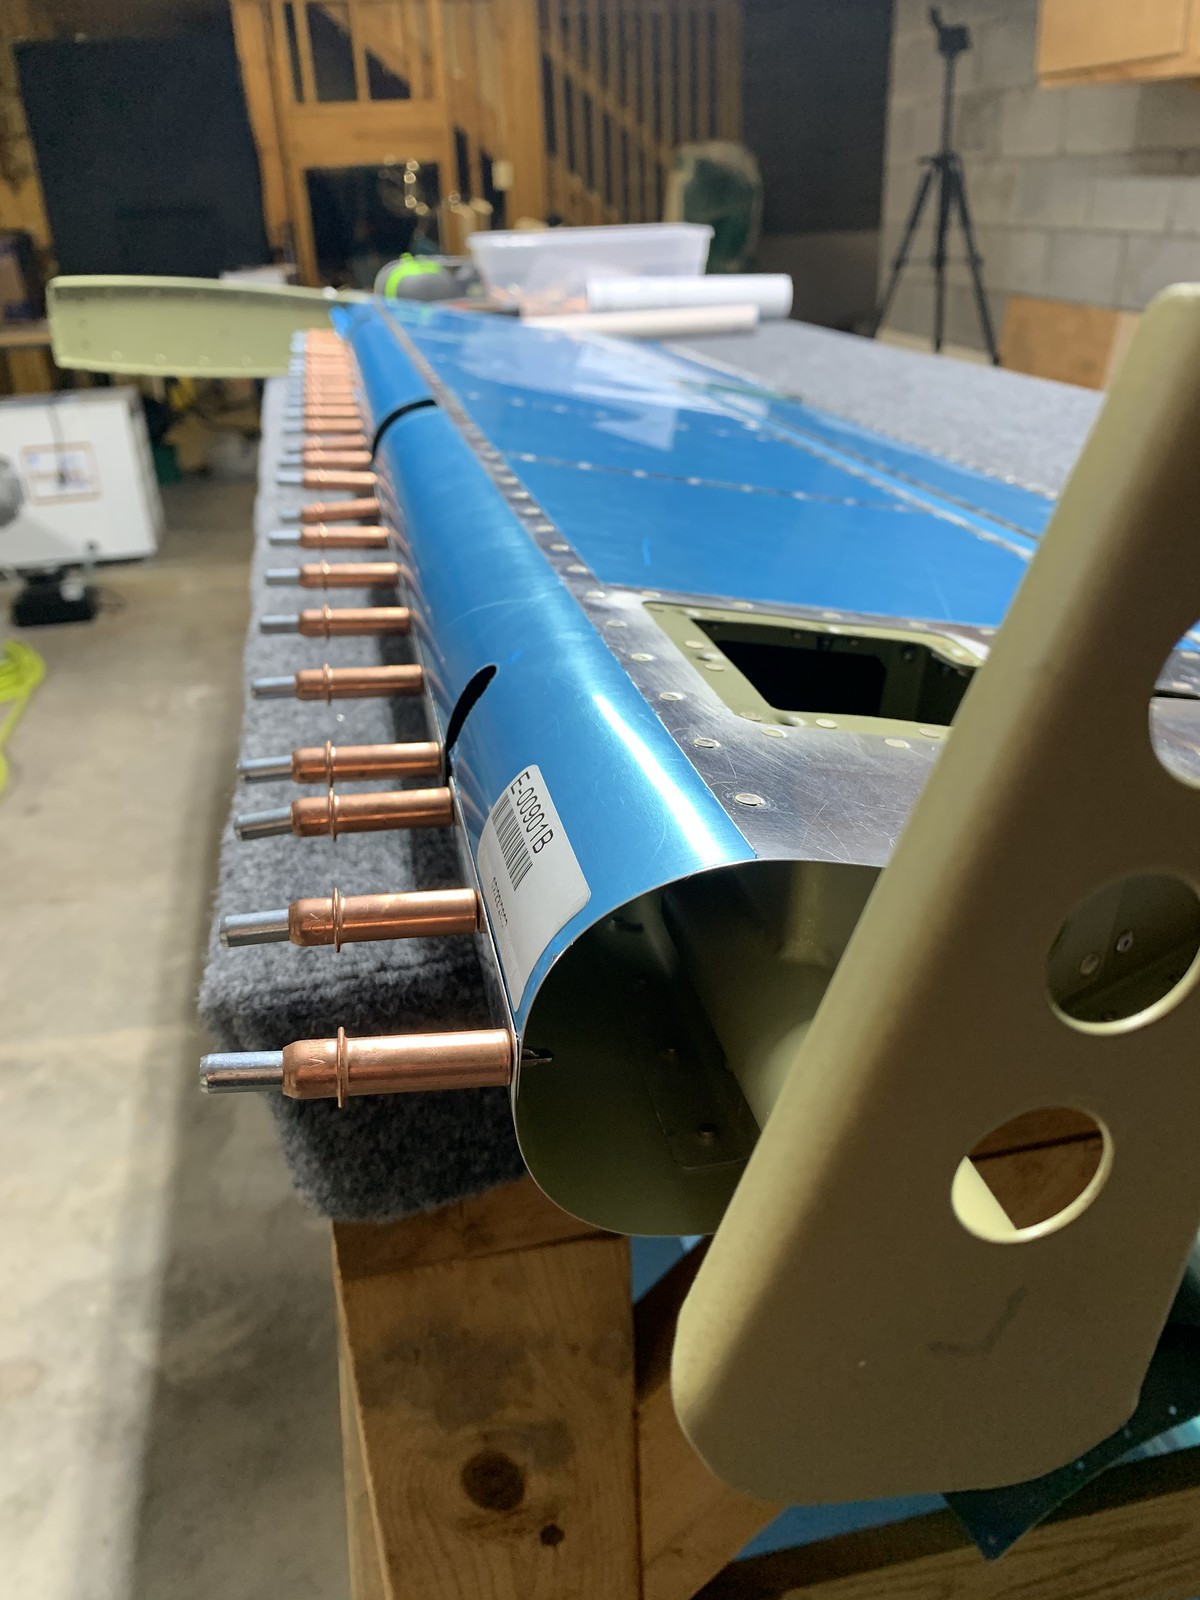
rivet TE, ribs LH 09-23 step 9 bend and safety wire hinge pin 09-24 step 1-3
roll leading edge of RH 09-25 step 6
trim hatched areas and install lead counterweights 09-26 steps1-4
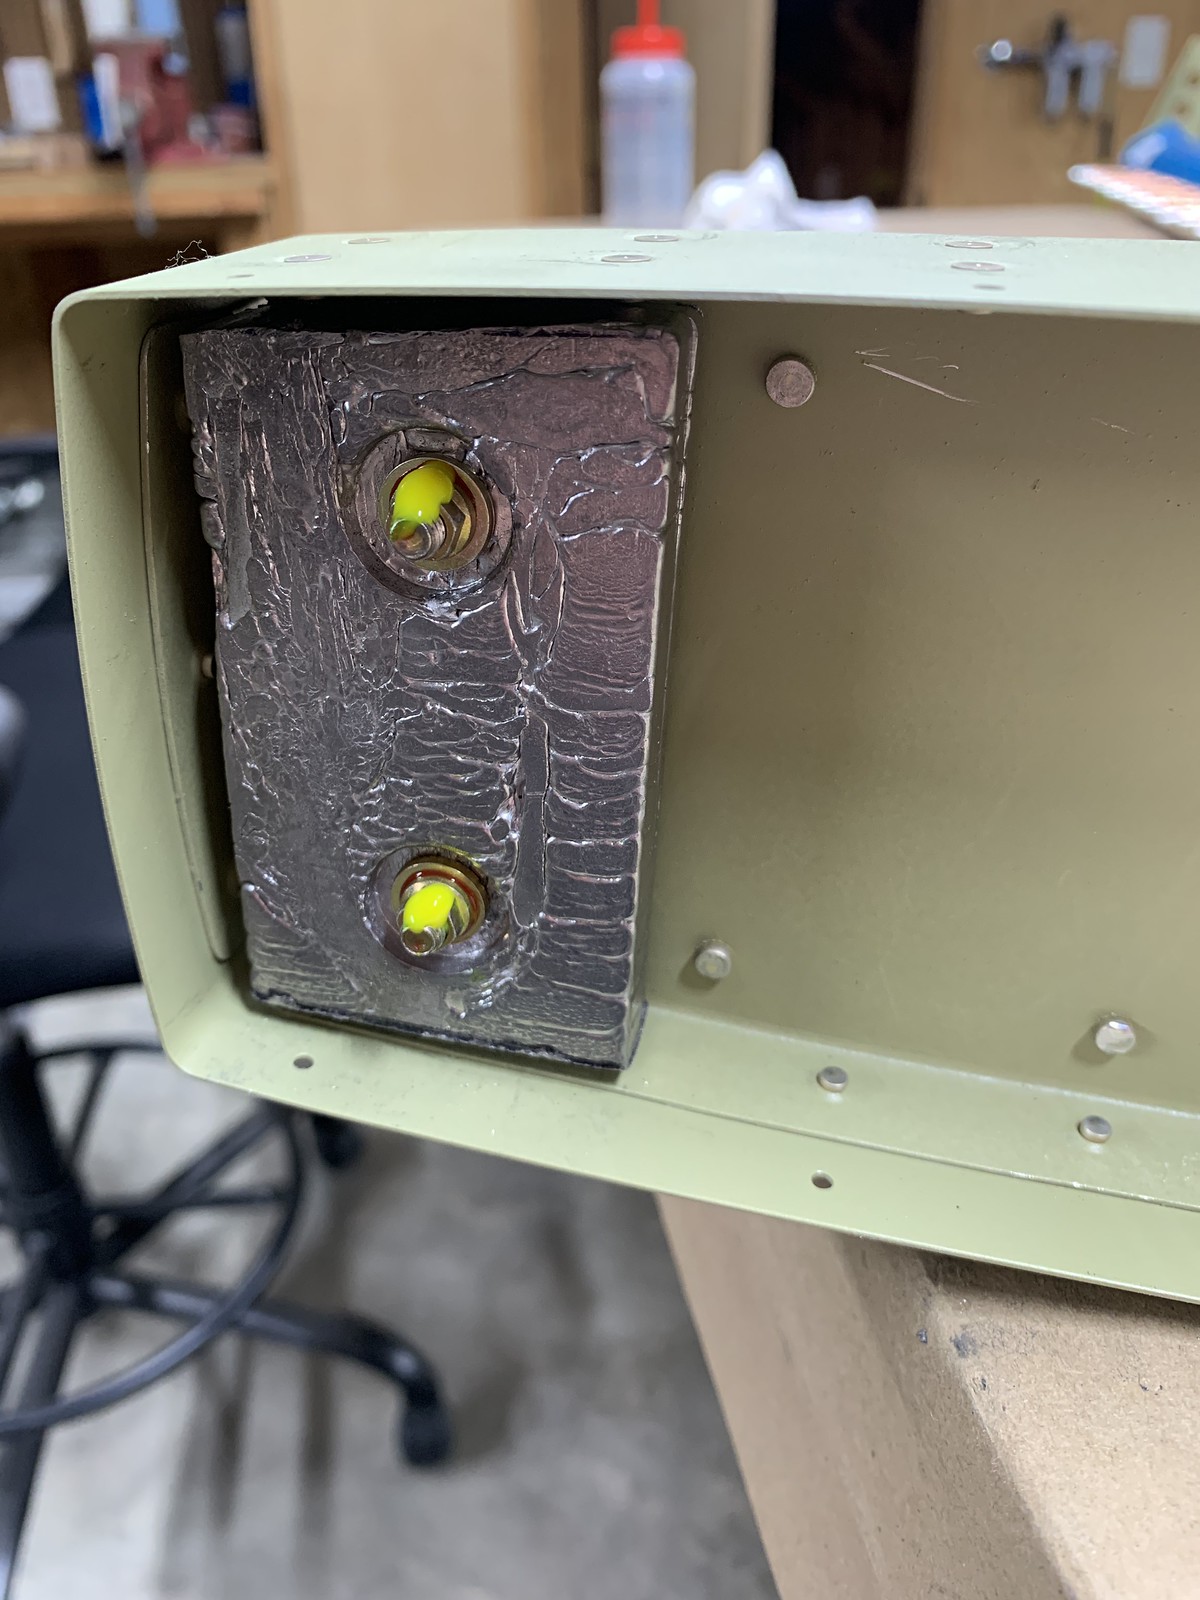
rivet leading edges 09-25 step 7
timelapse
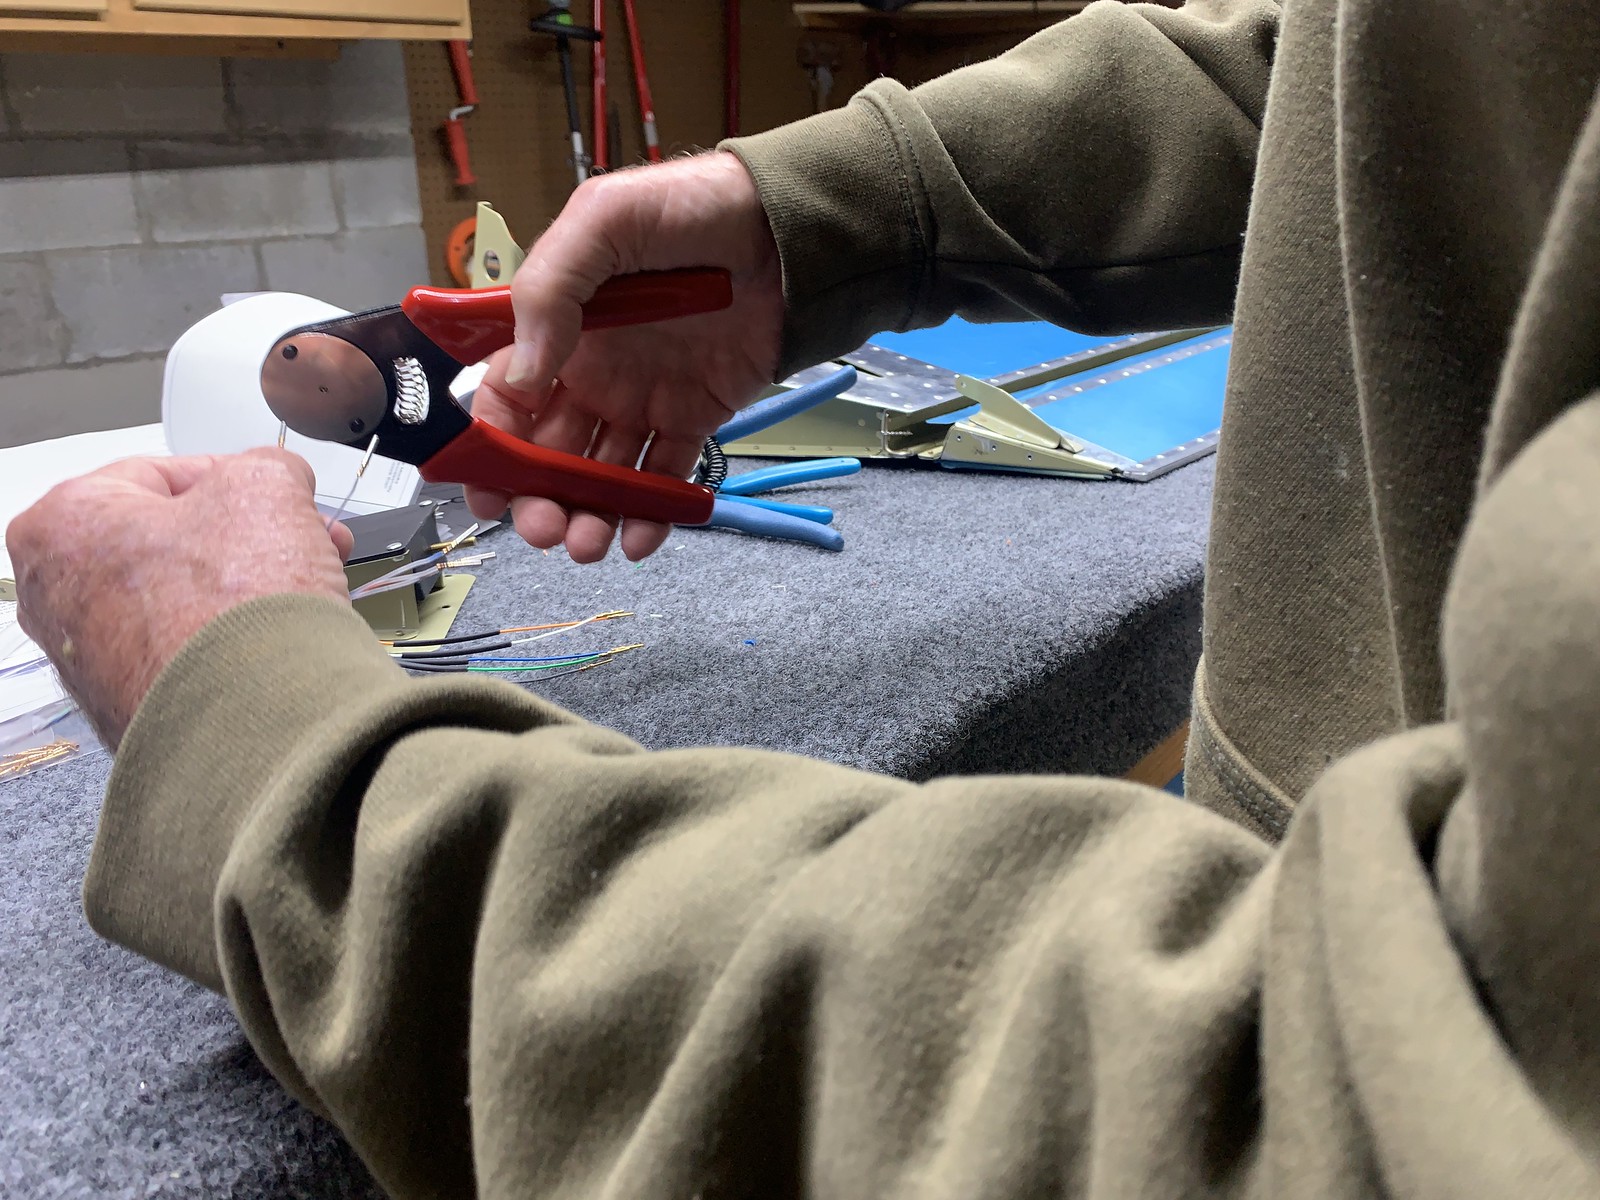
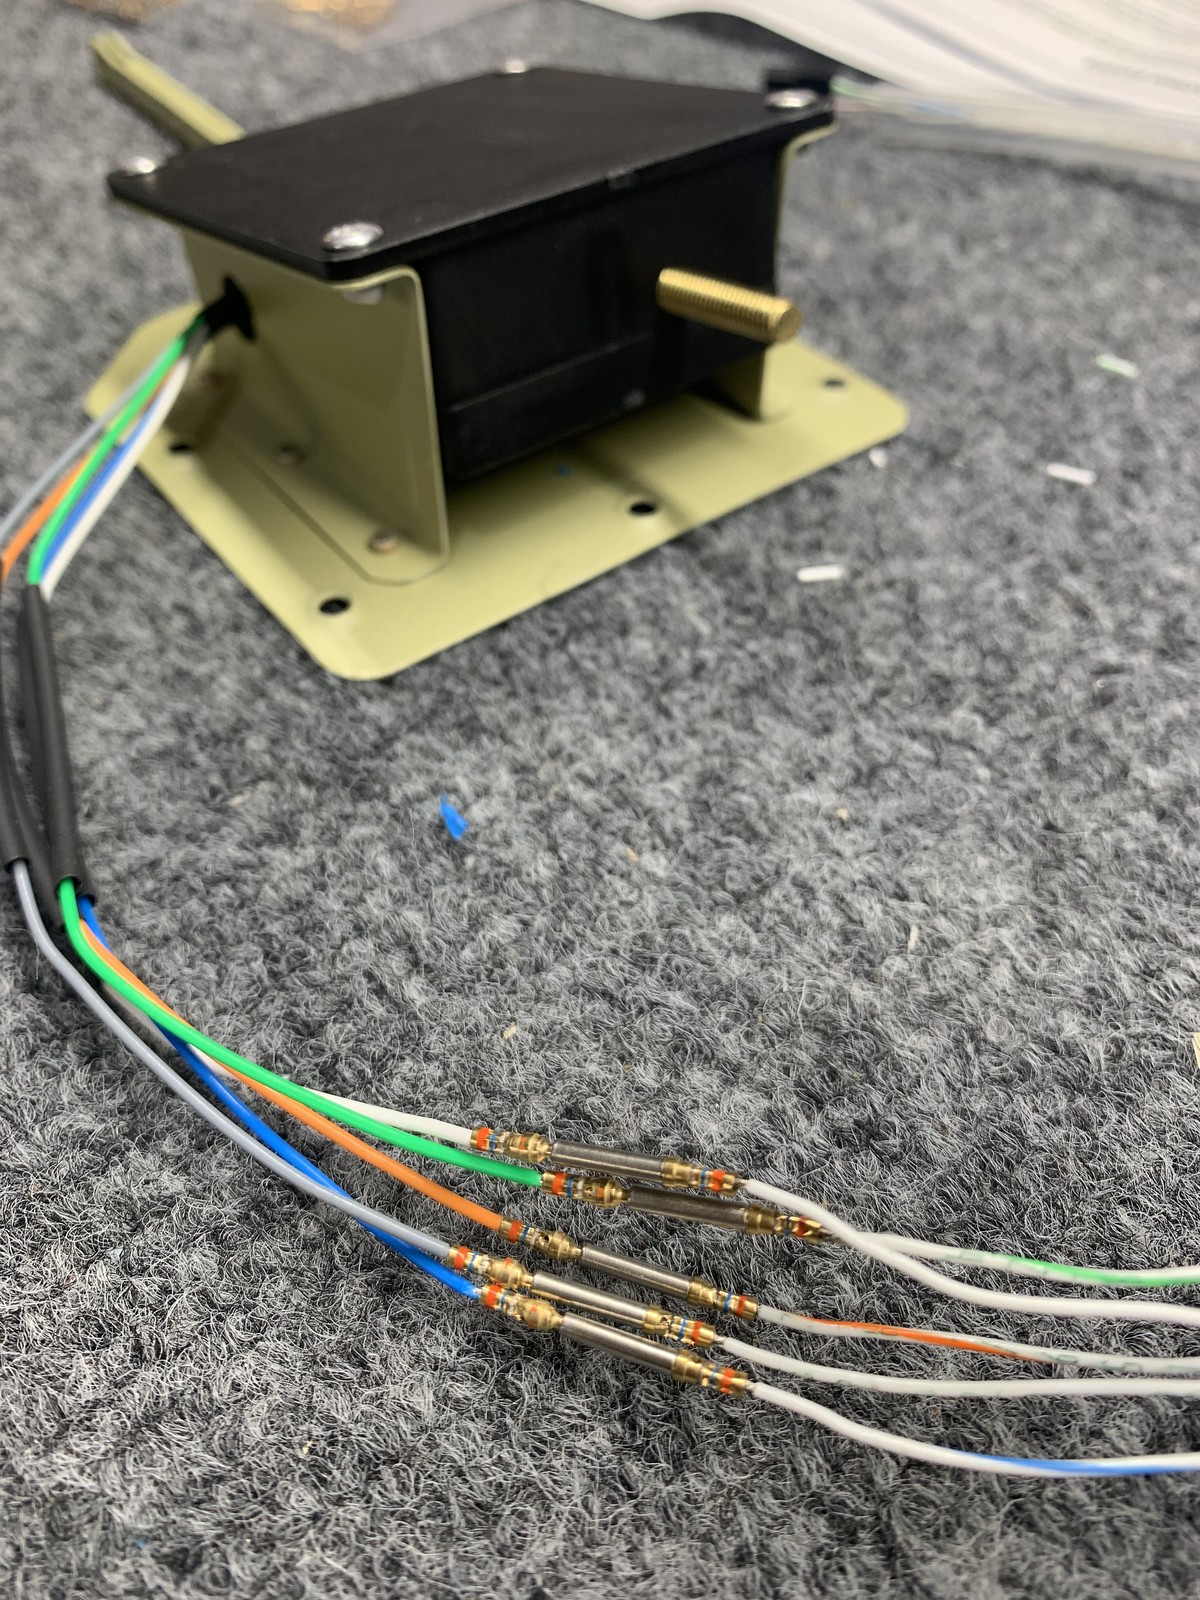
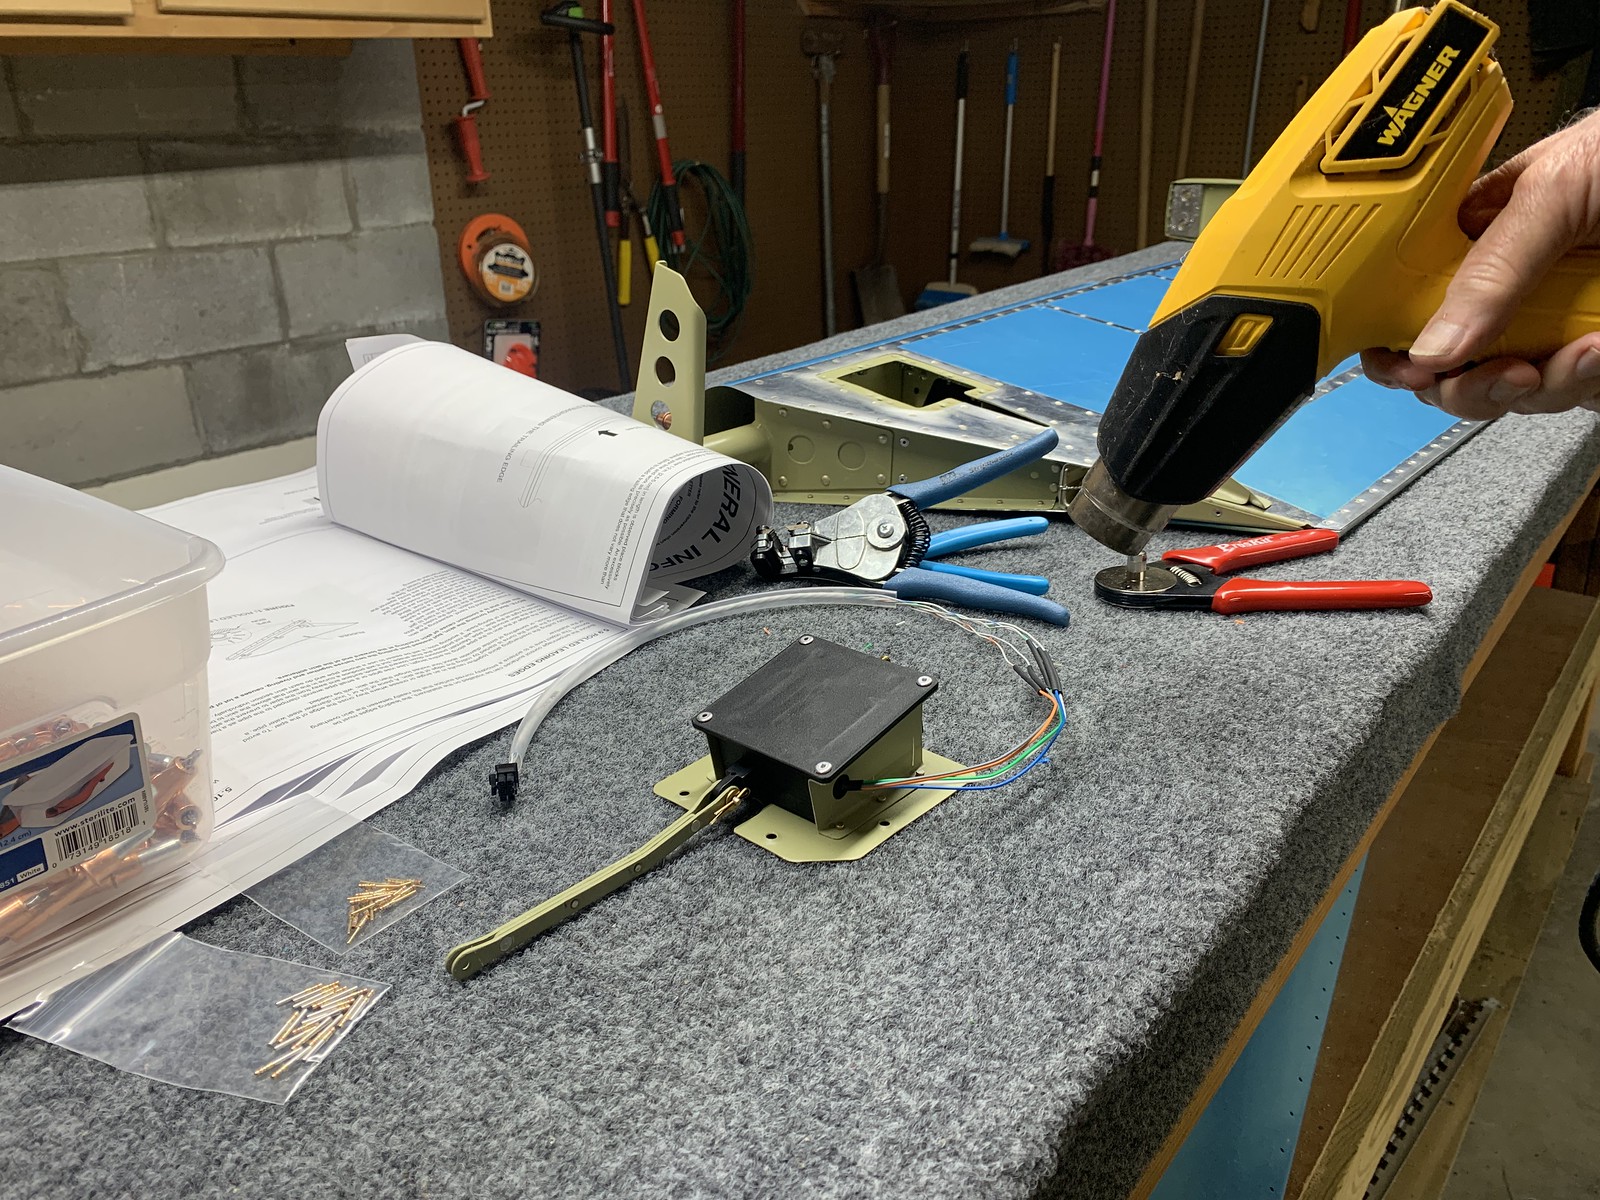
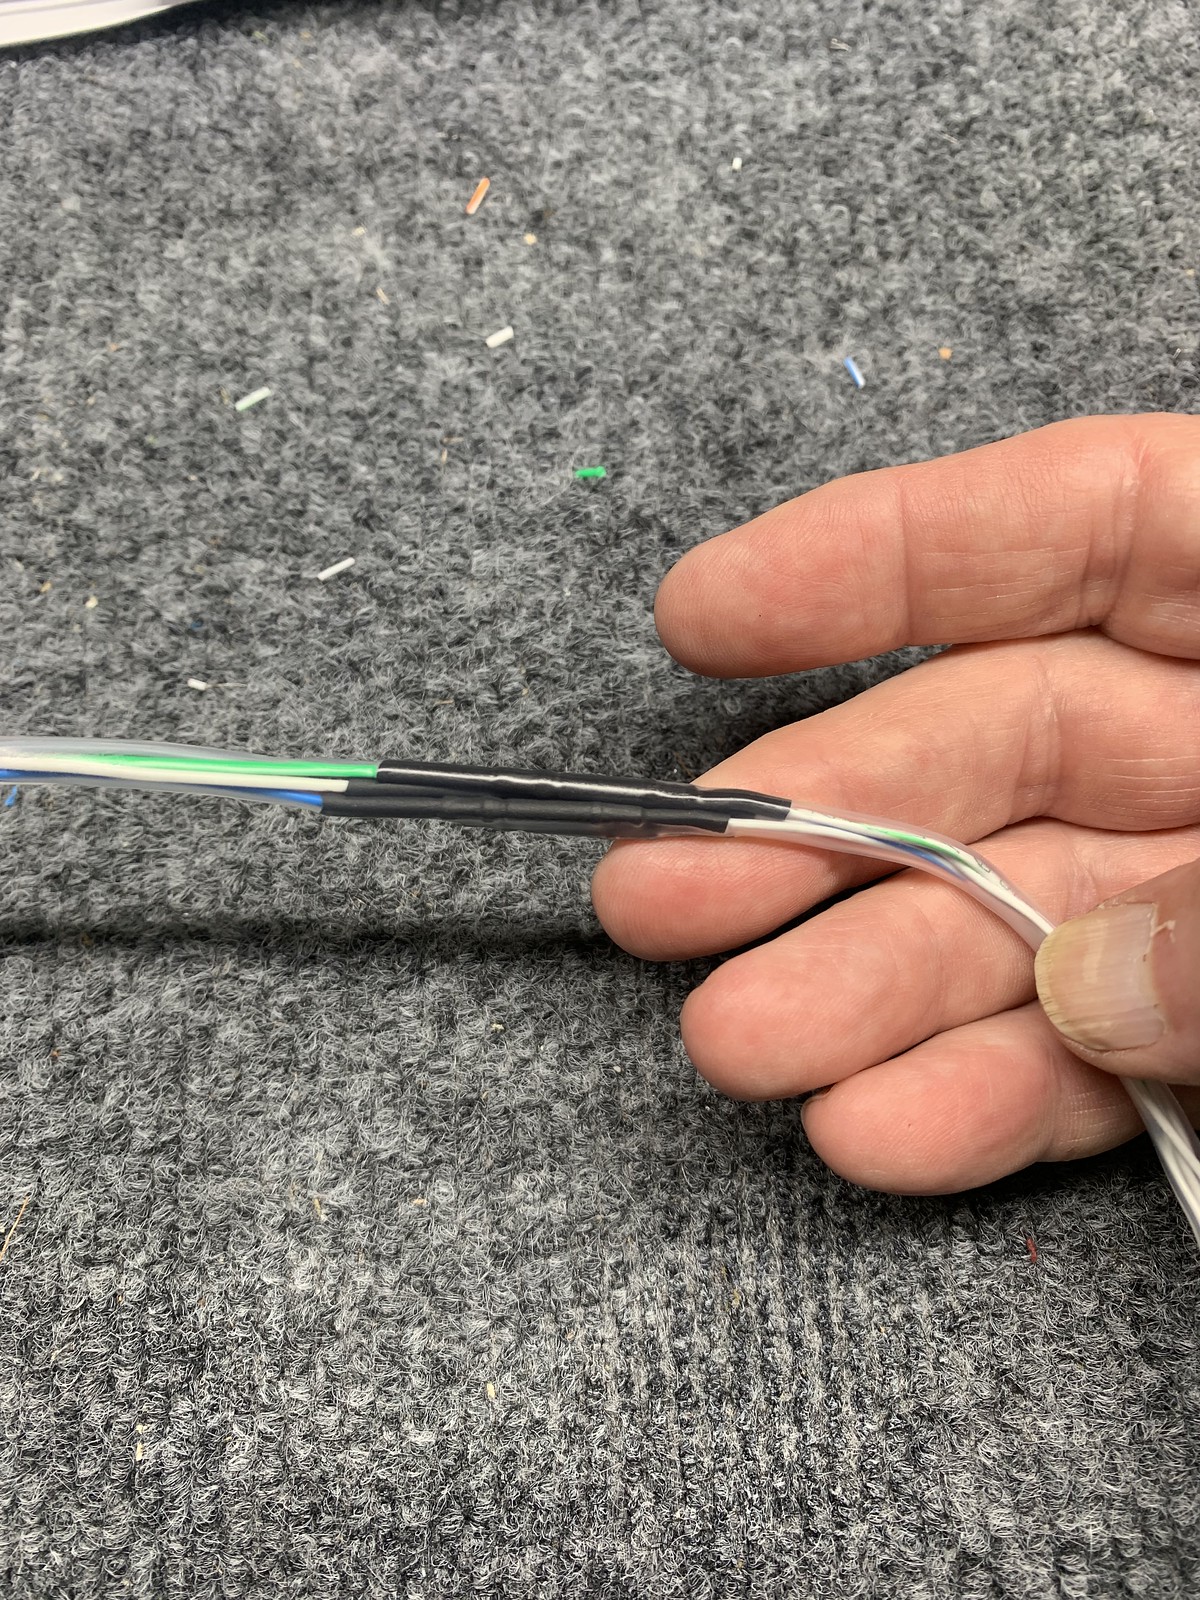
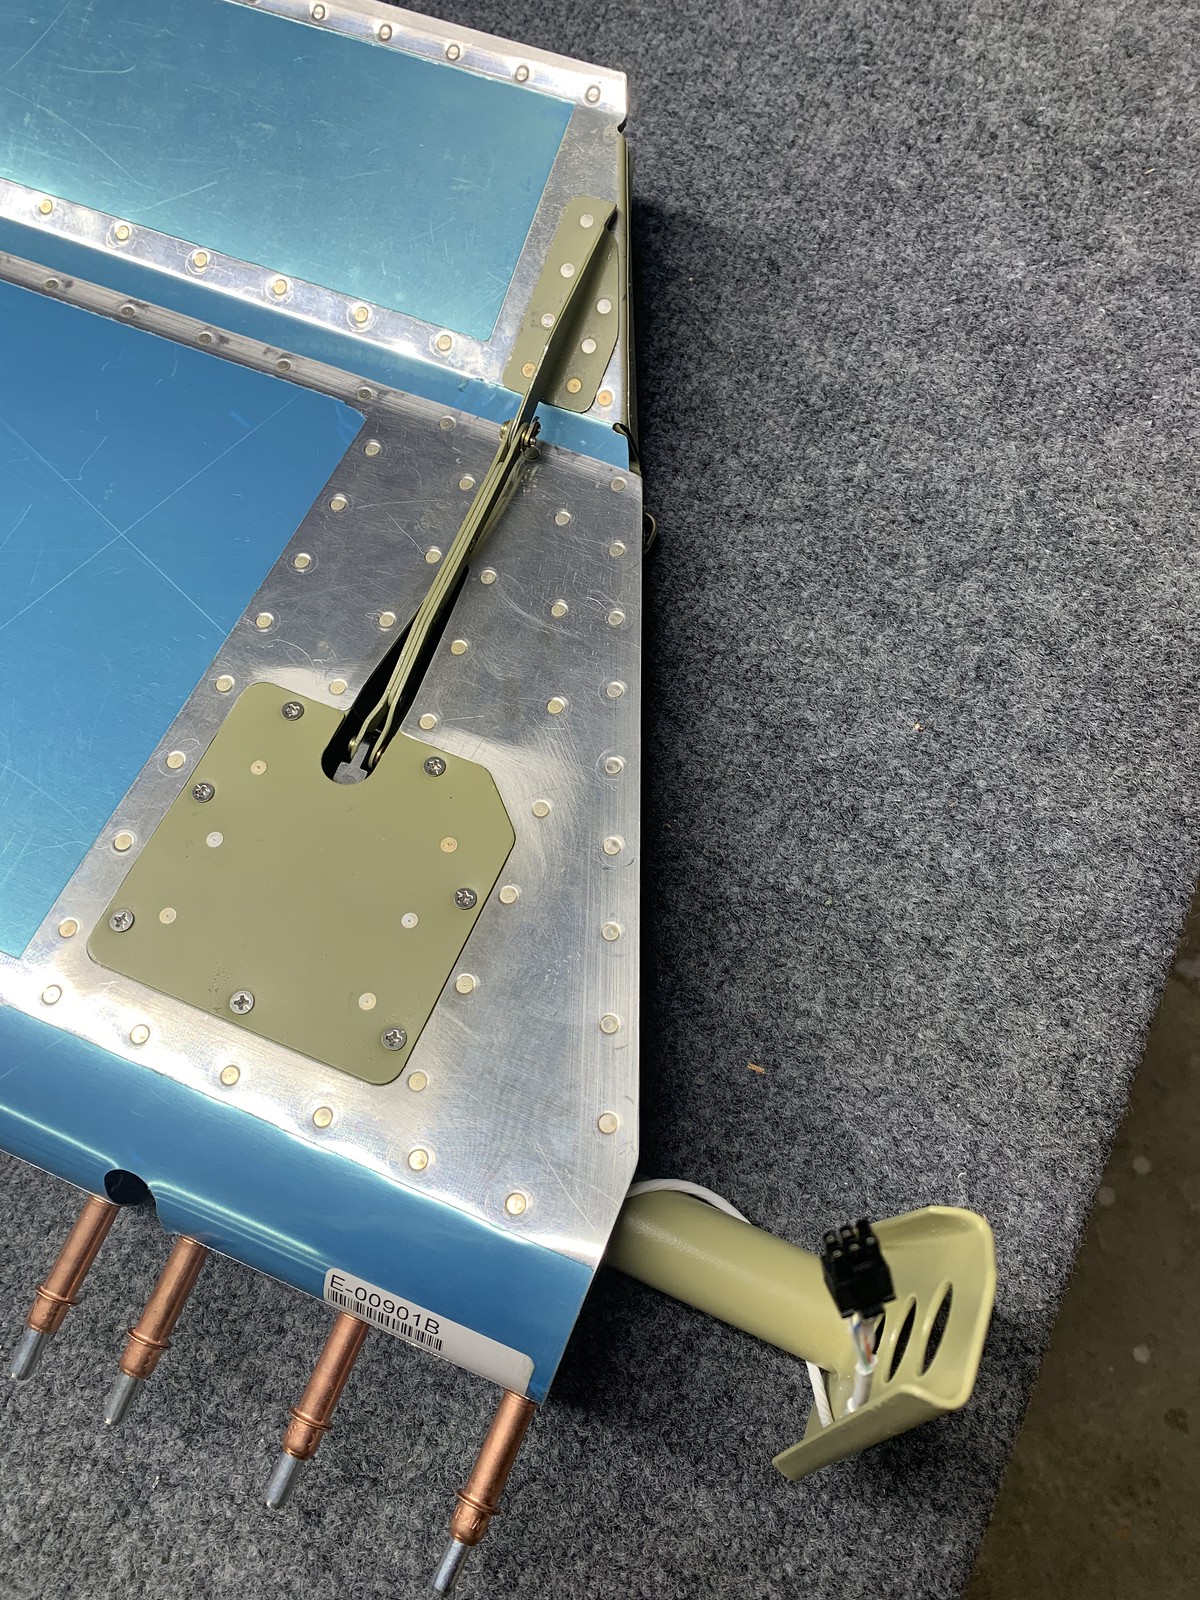
connect tirm servo harness and install 09-25 steps 1-5
Rudder
trim and match drill skins 07-04 steps 1-5
trim and deburr stiffeners 07-02 steps 1-4
timelapse
match drill and deburr spar and stifeners 07-03 steps 1-4
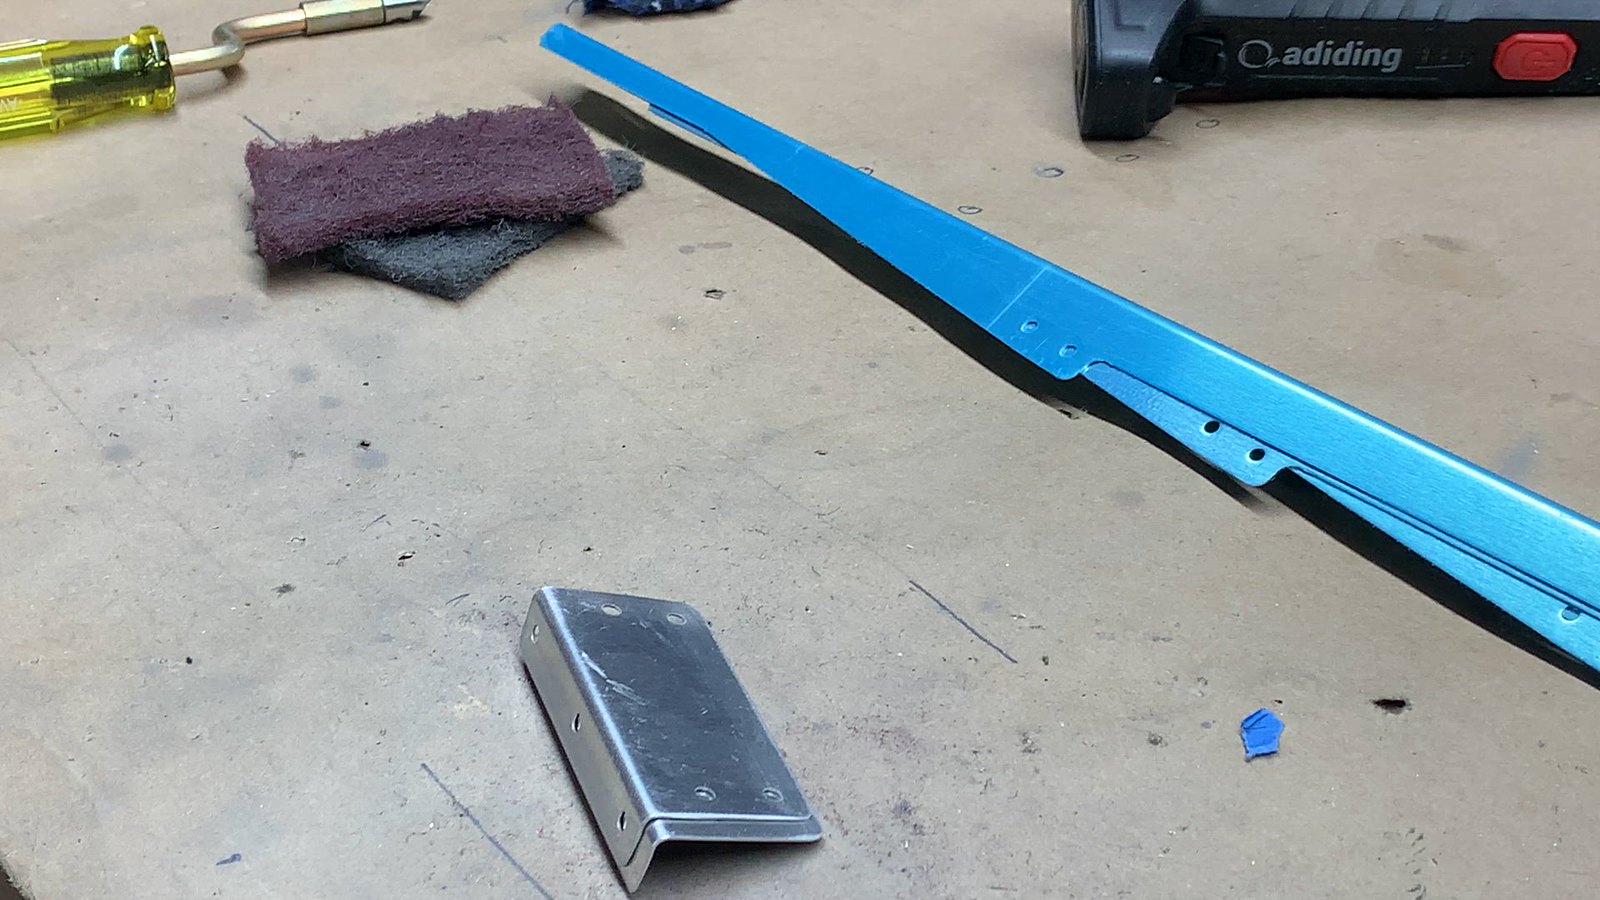
dimple spars, ribs, and skins
prime skins, ribs, stiffeners

rivet reinforcement plates, shim, horn, and bottom rib to spar 07-05 steps 1-2

cleco stiffiners to spar and mark trailing edge
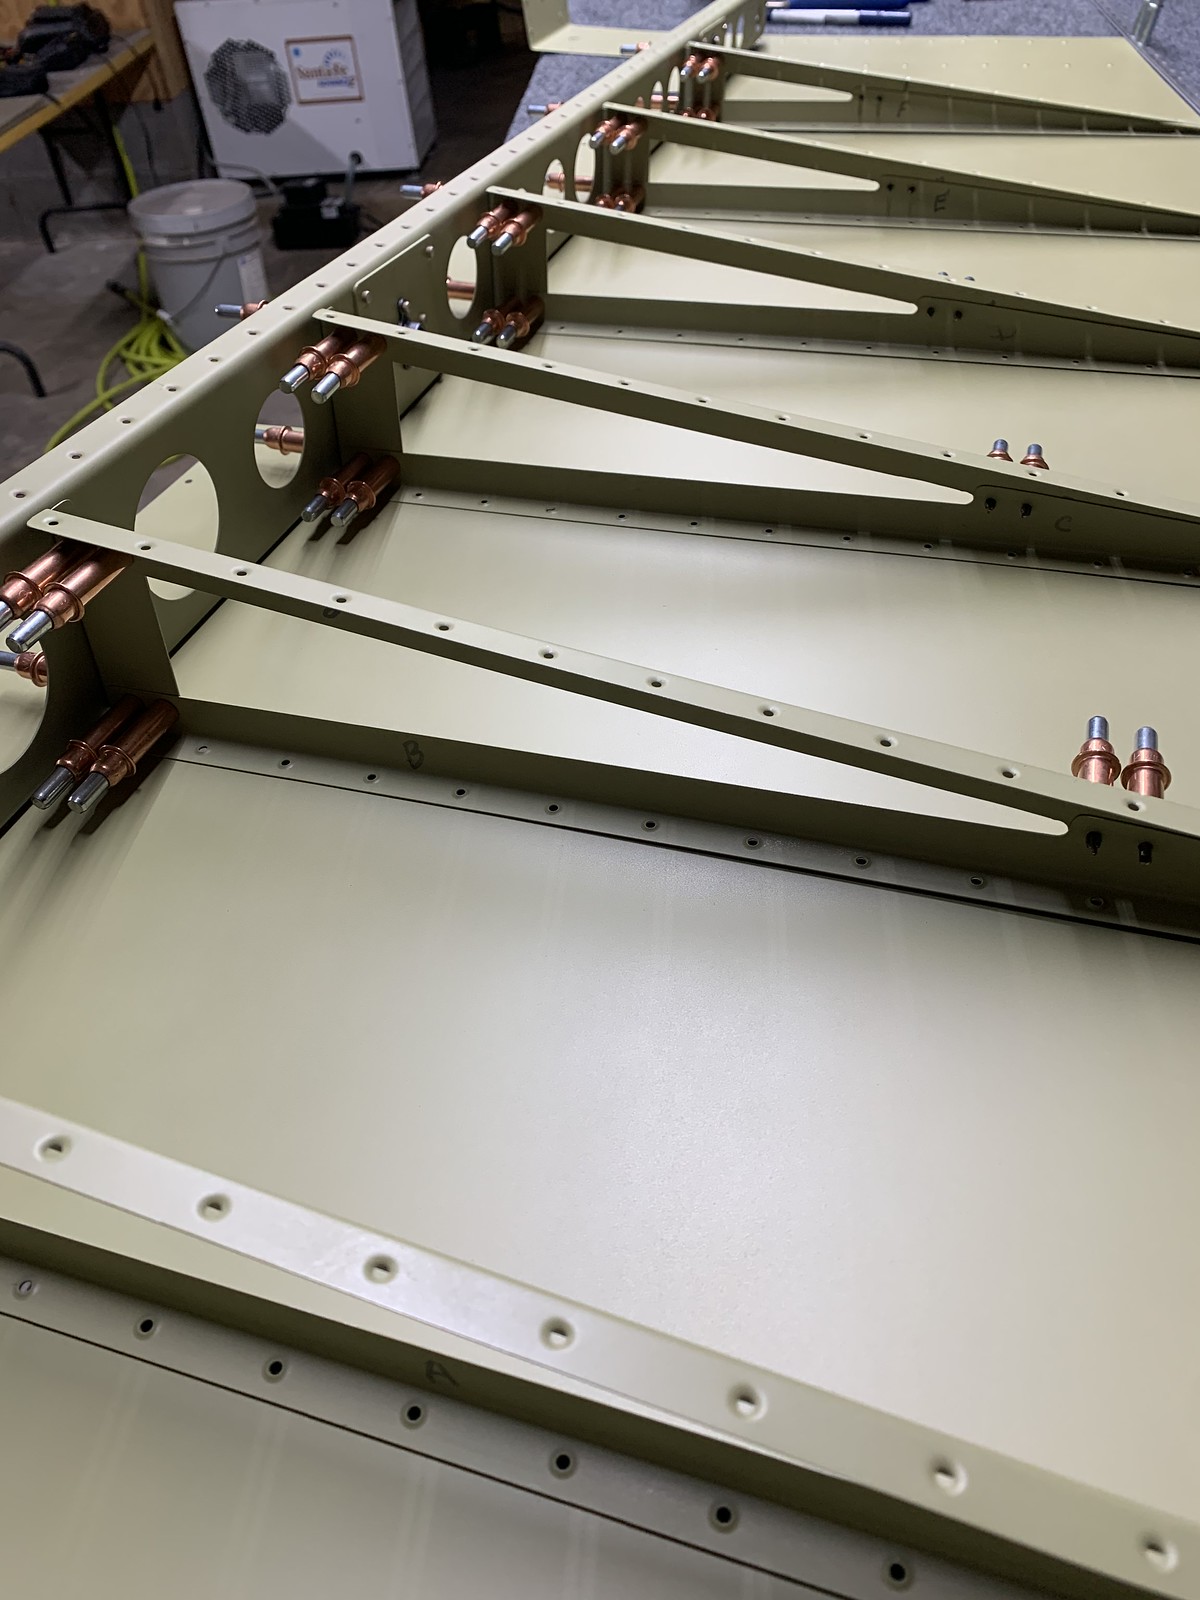
mark trailing edge 07-07 step 1
re-do R-912 counterblaance rib
counter sink the TE 07-07 step 8
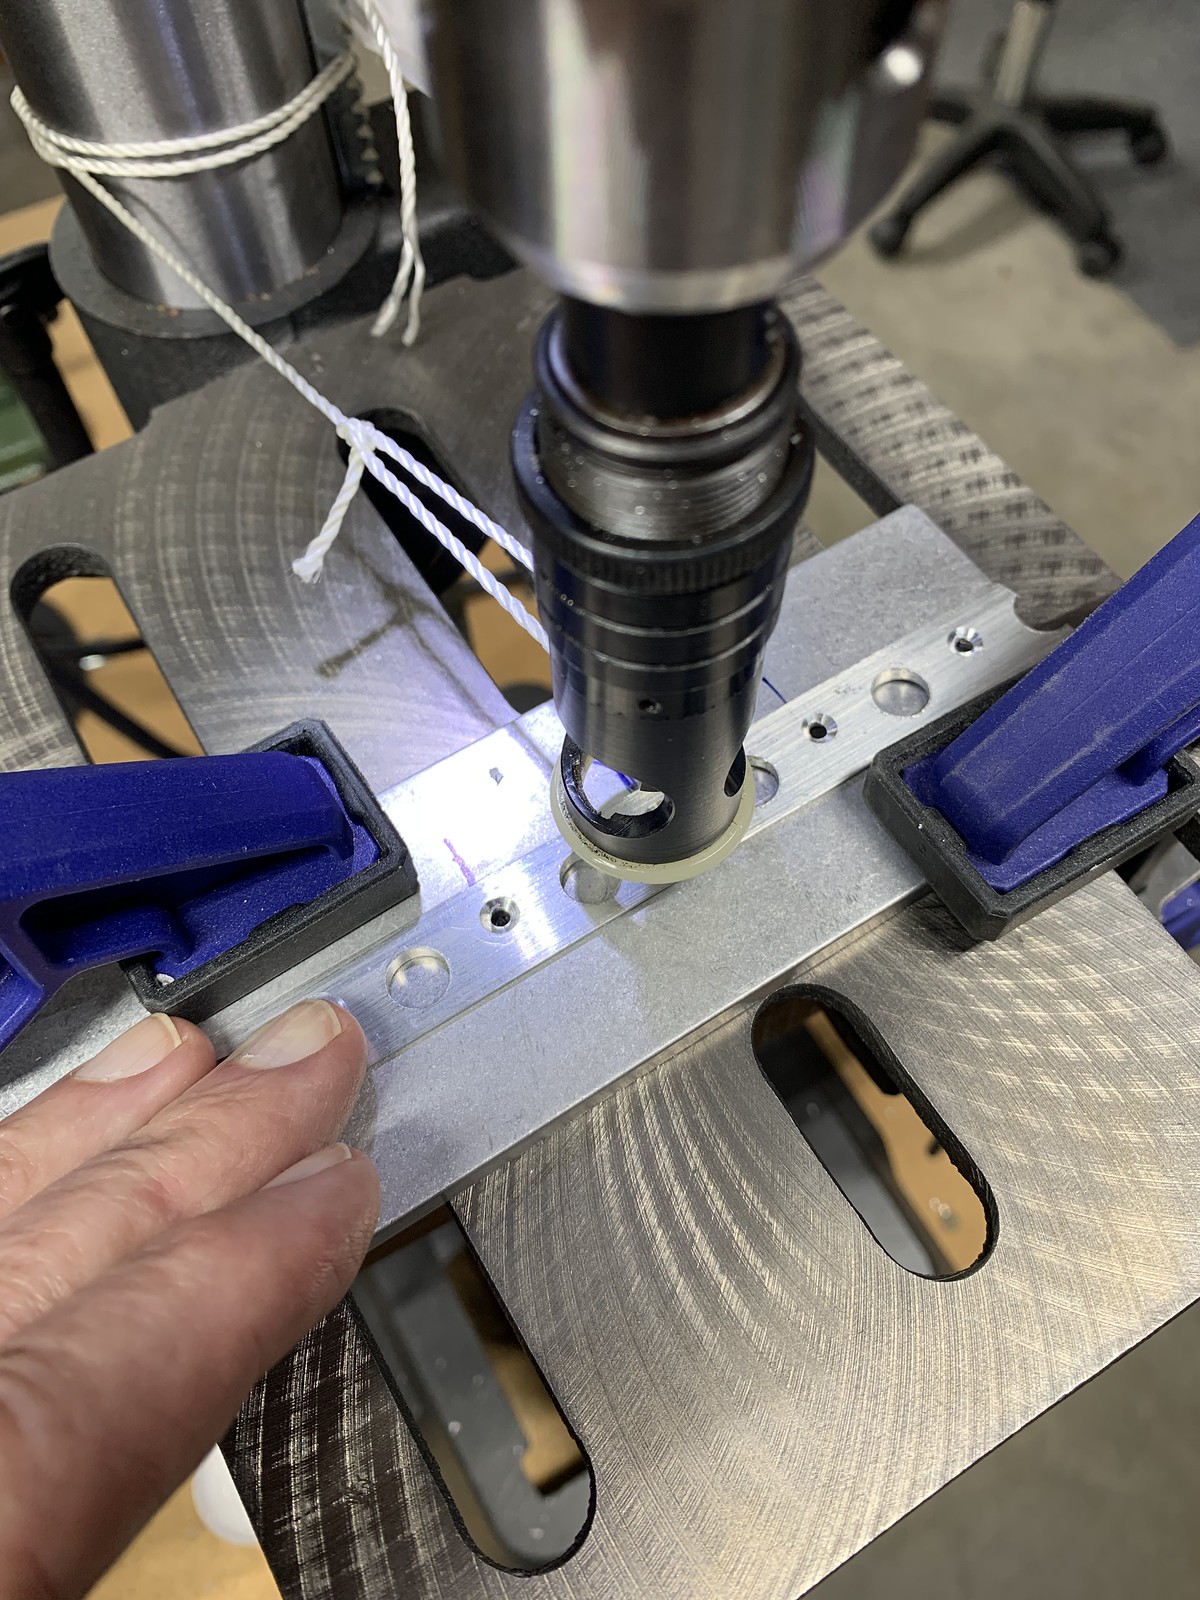
backrivet stiffeners to skin 07-08 steps1 and 2
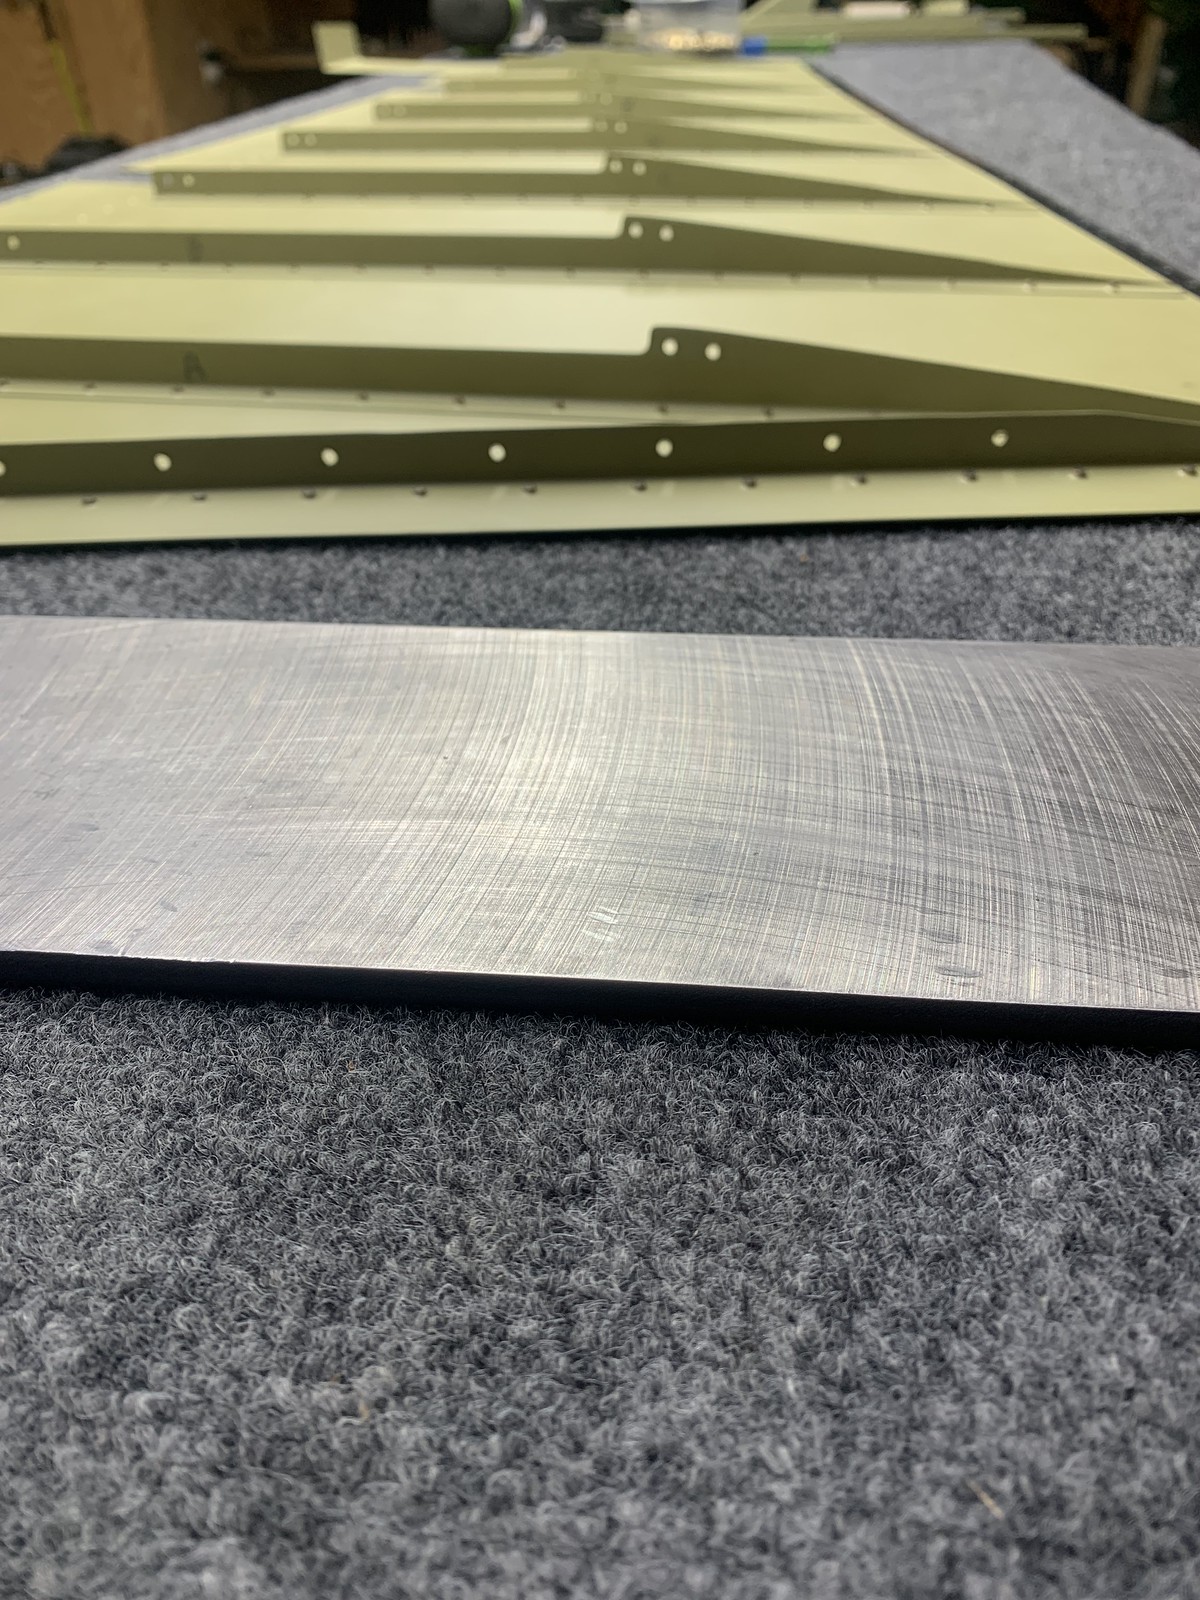
backrivet stiffeners to skin 07-08 step 1 - fab straight edge for TE assembling
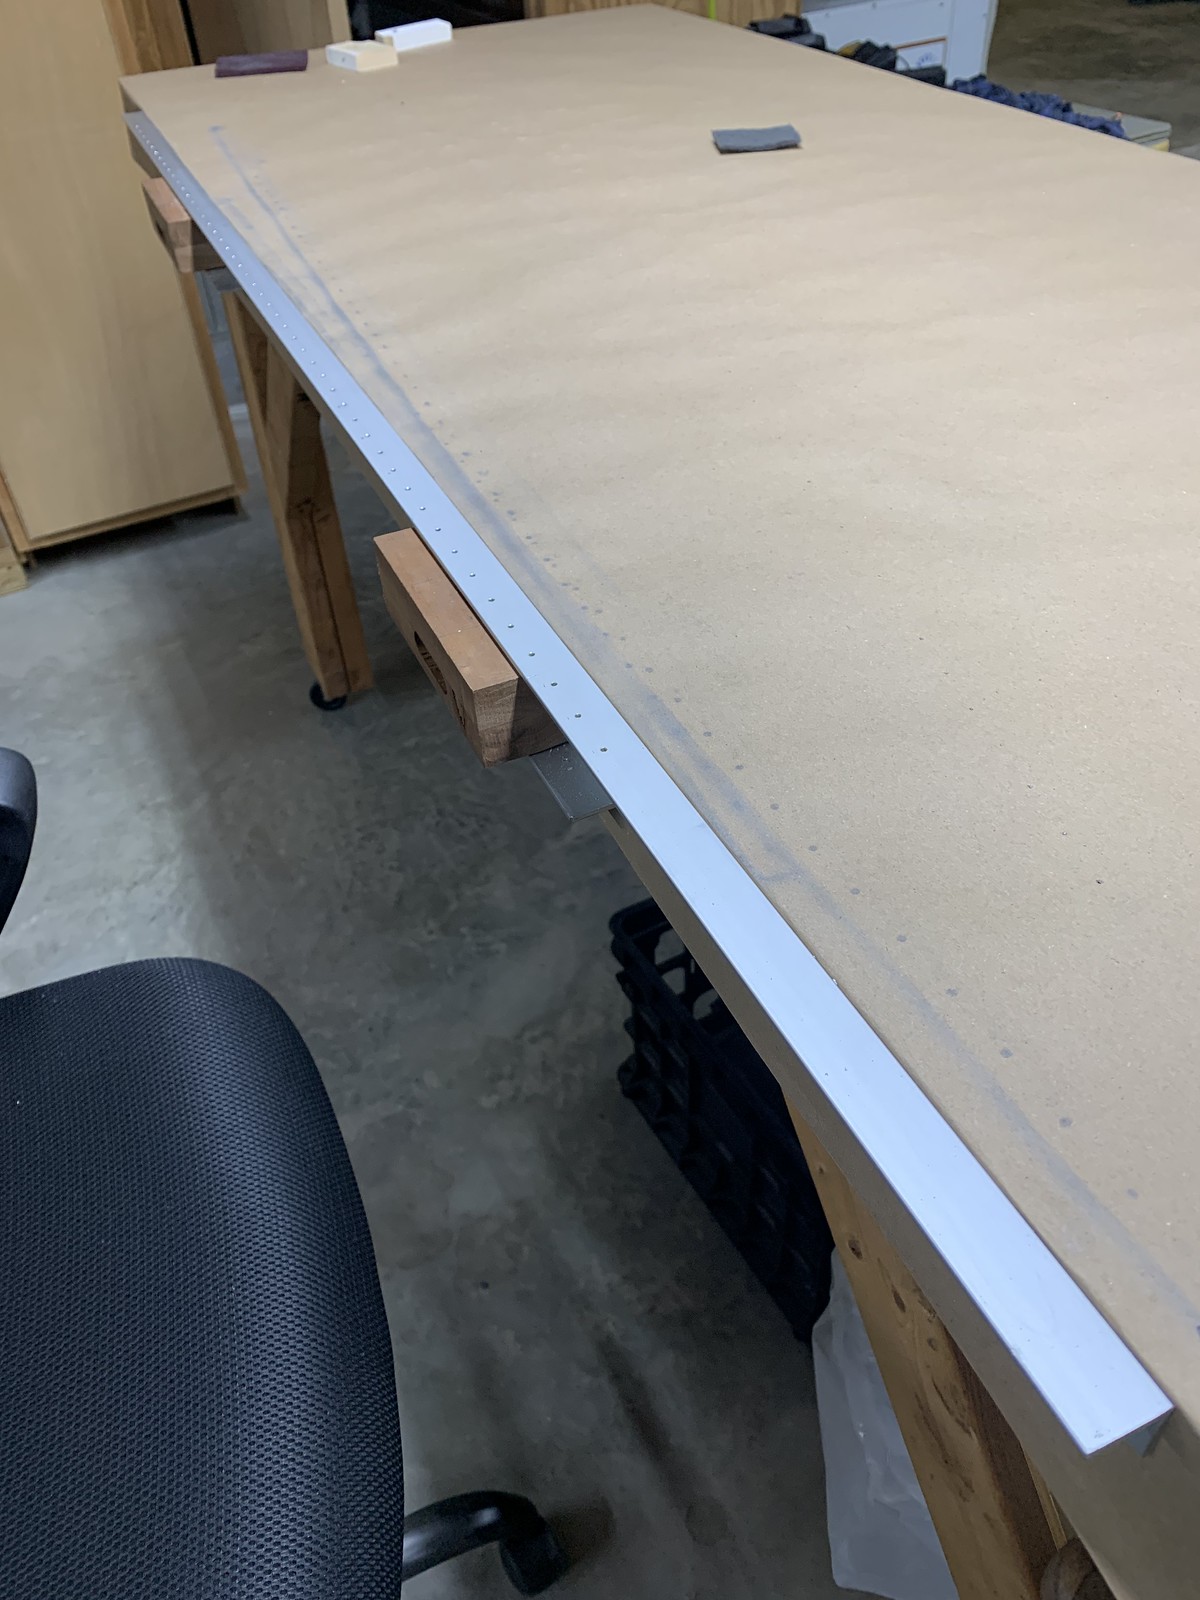
blind rivet shear clips to stiffeners 07-08 step 3
timelapse
apply ProSeal to TE and zipper skins / rivet 07-09 Steps 1 -5

rivet spar and bottom rib 04-10 steps 1-3
rivet counterweight rib to skin, shape lead weight 07-11 step 1
rivet nutplates attach counterweight and rivet skins to spar 07-11 steps 1-3
rivet top rib 07-11 steps 4-7 and backrivet TE 07-12 Step 1
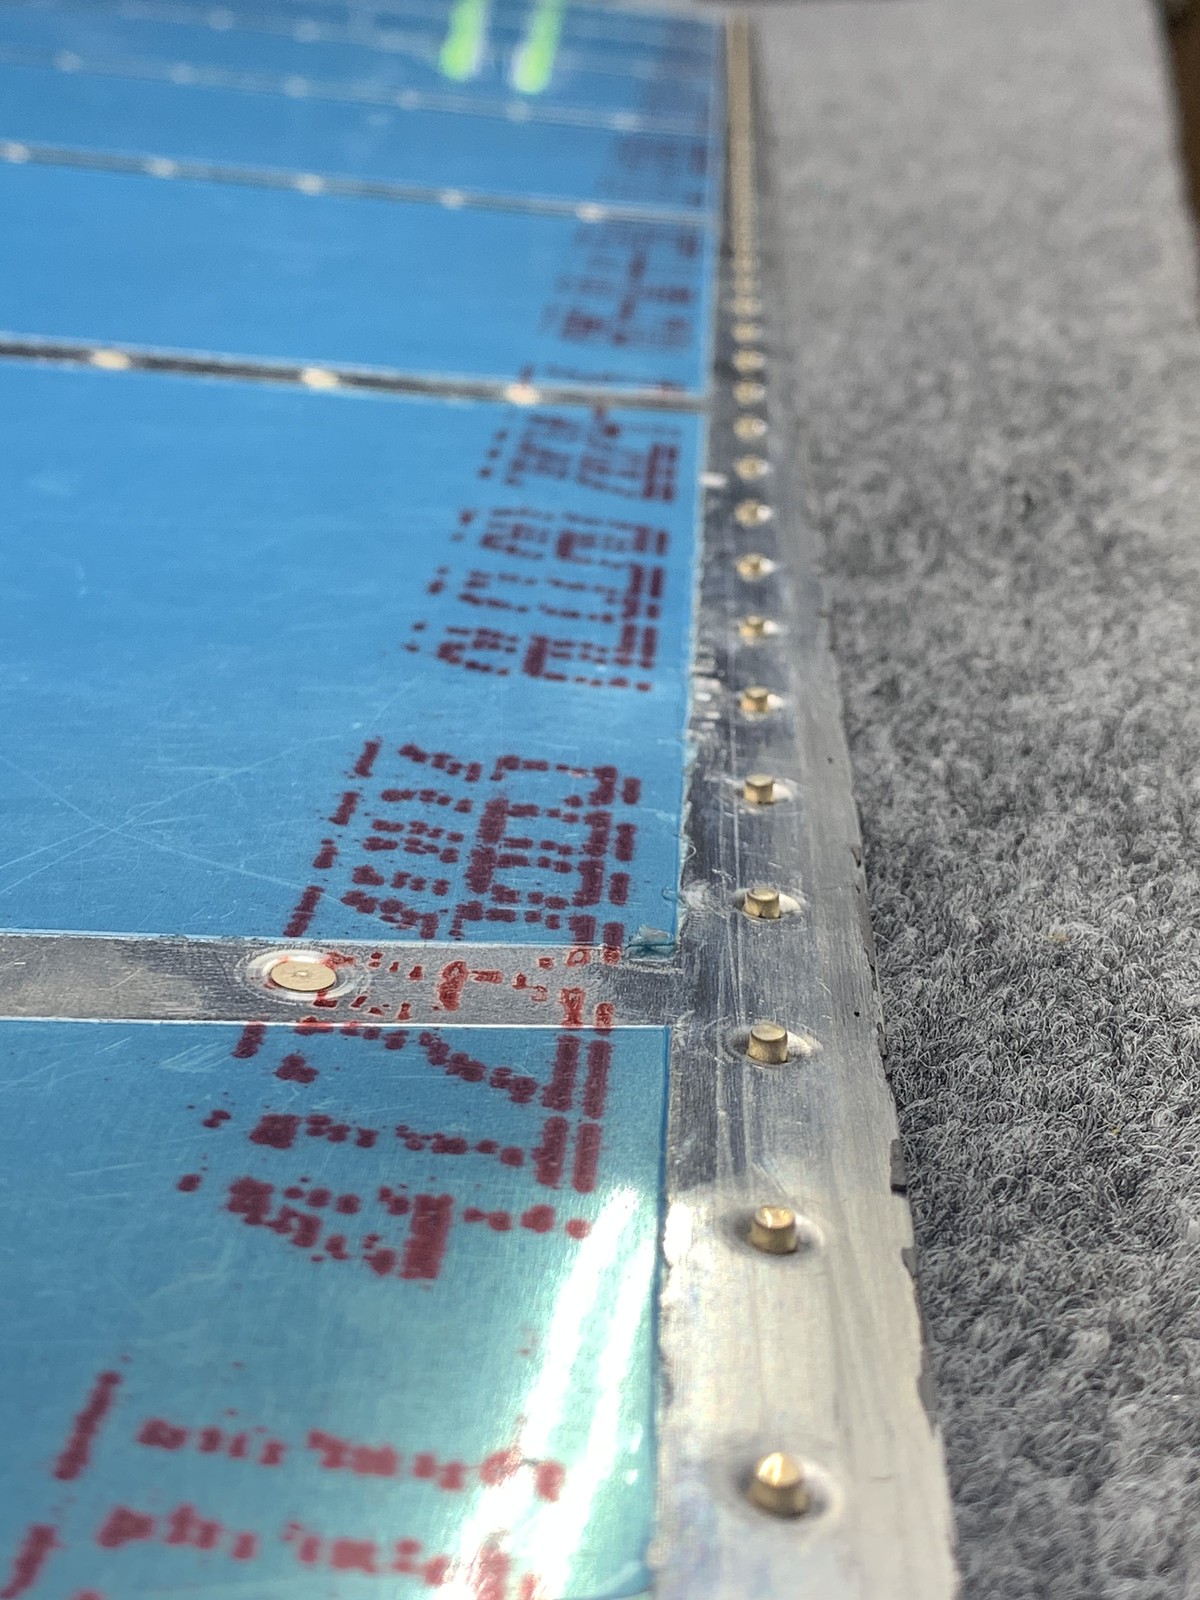
double fluxh rivet TE 07-12 Step 1
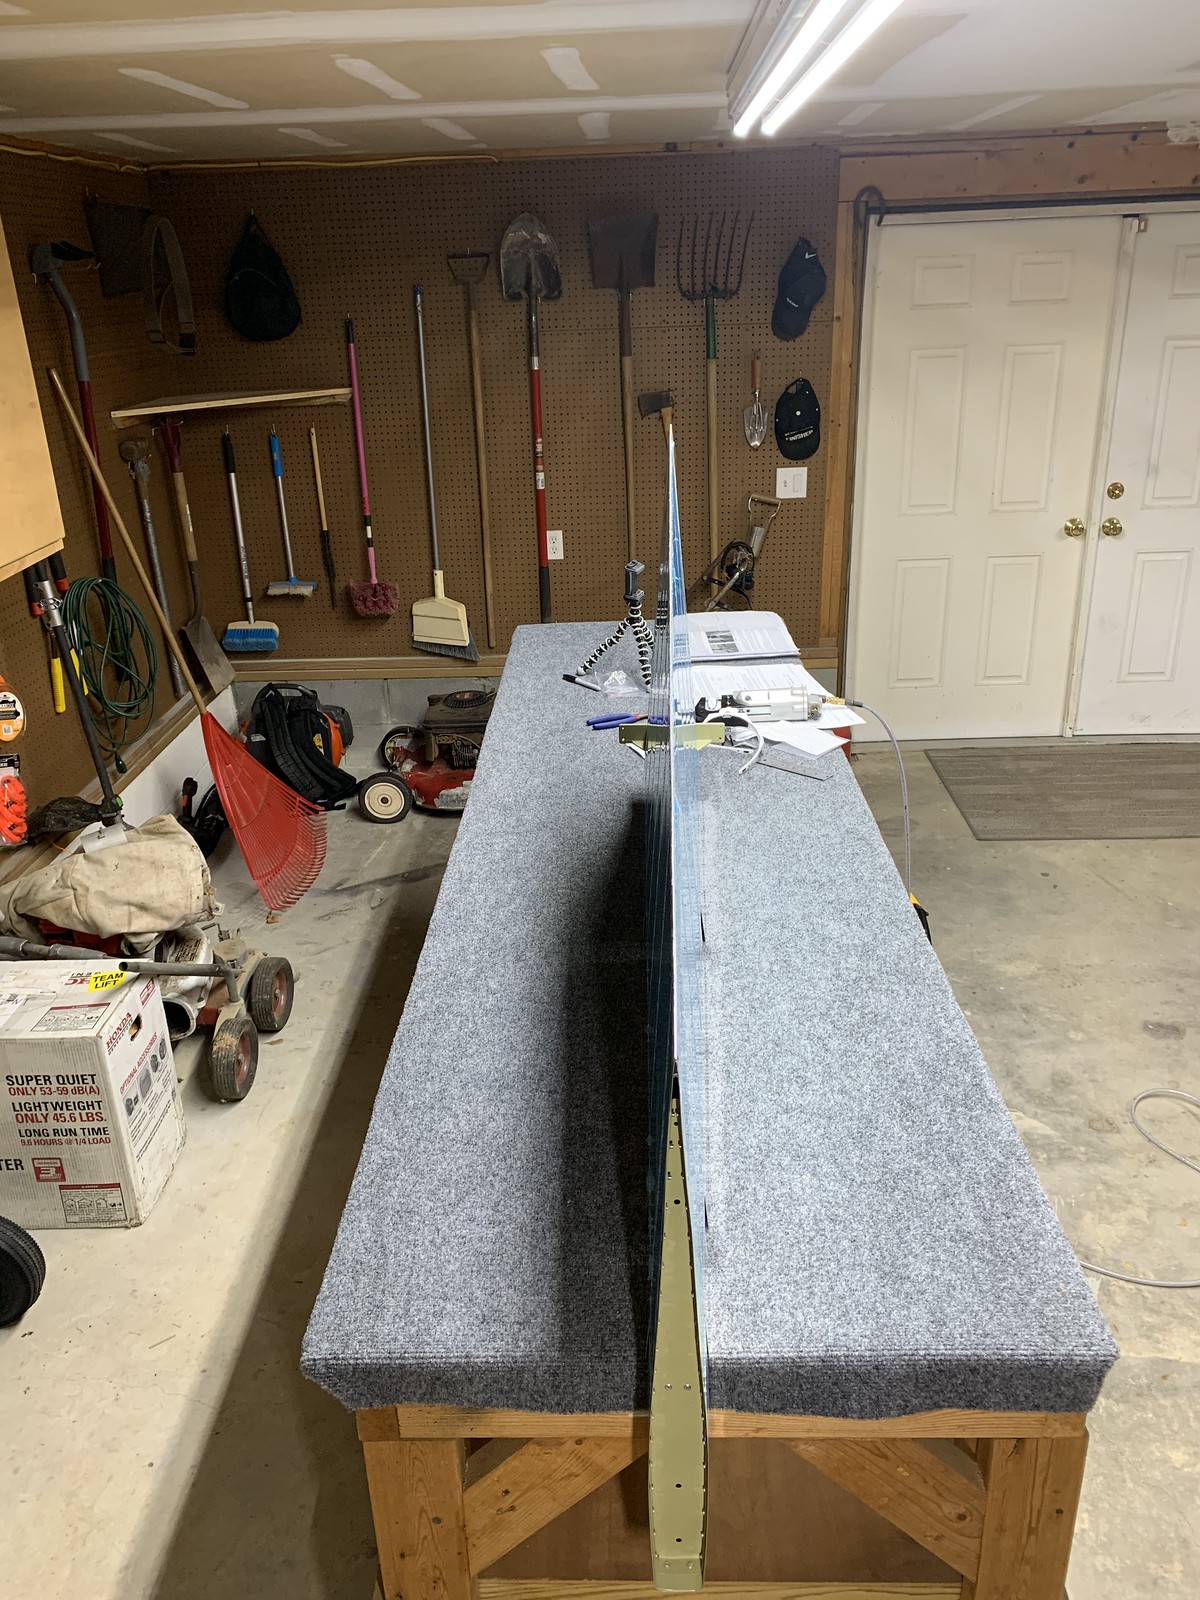
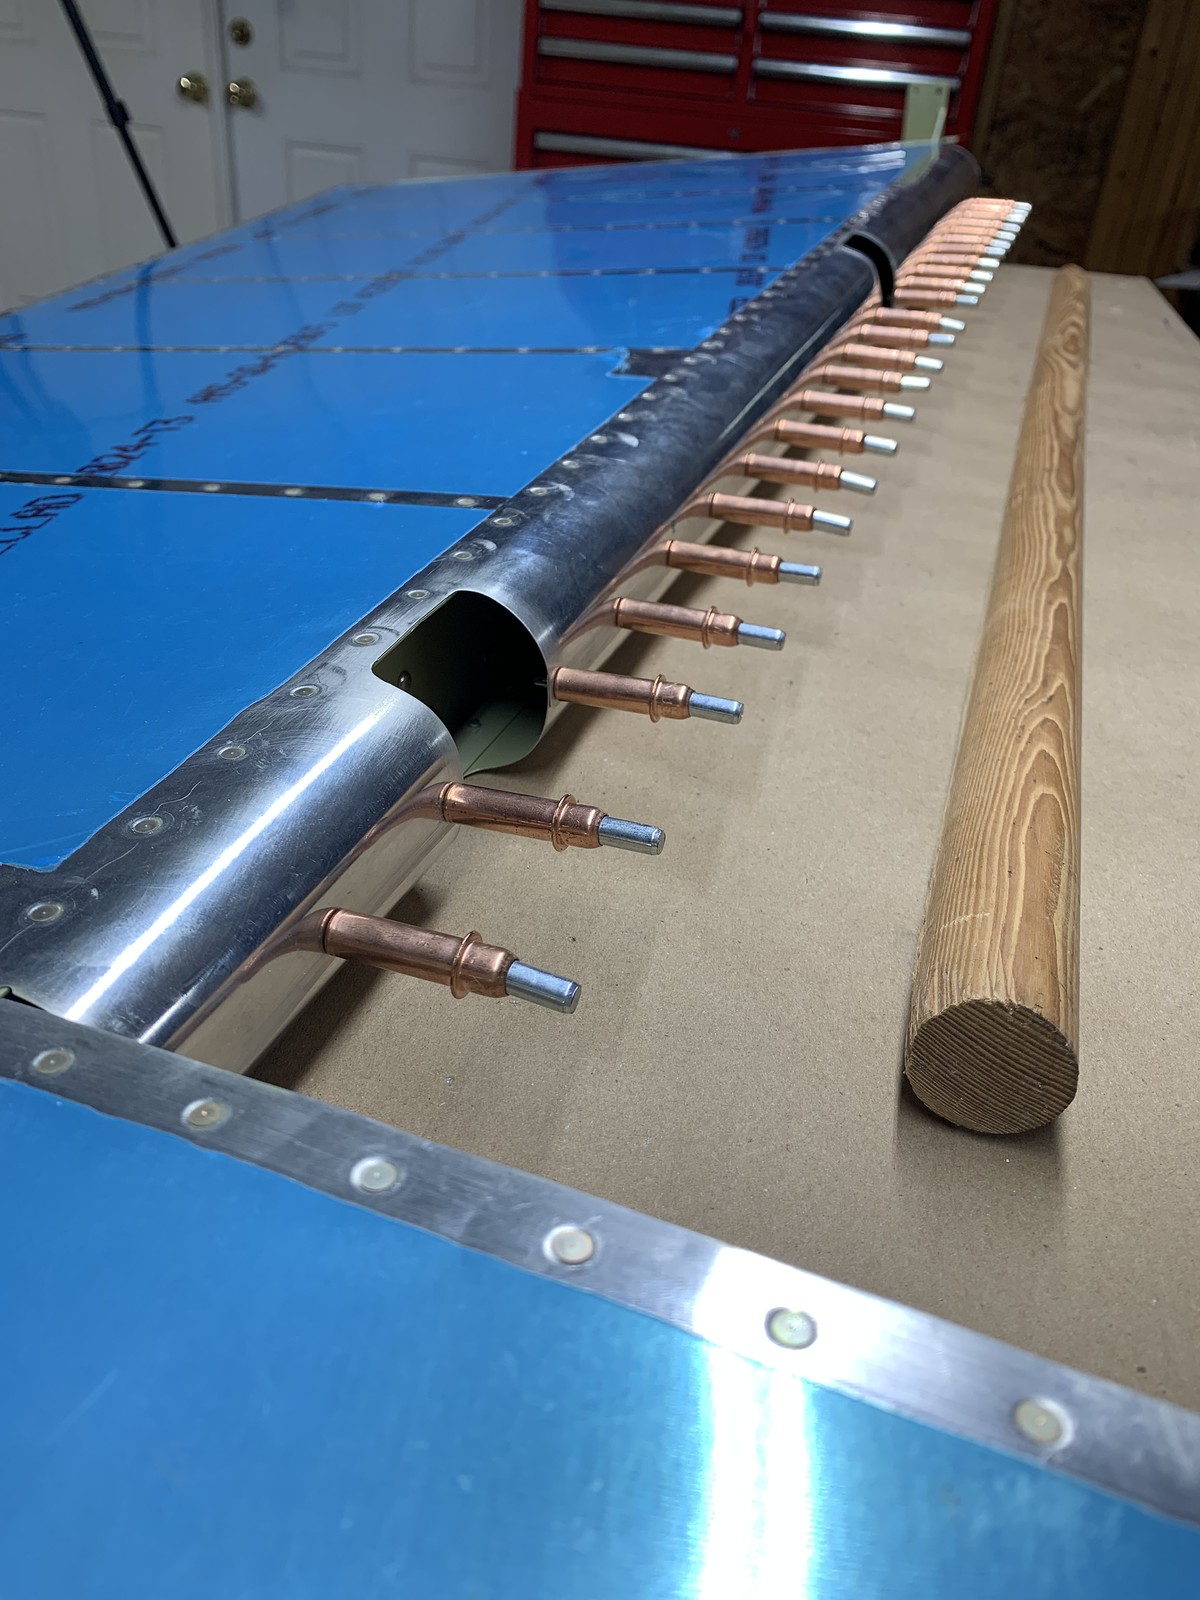
roll the leading edges 07-12 Step3 rivet step 4
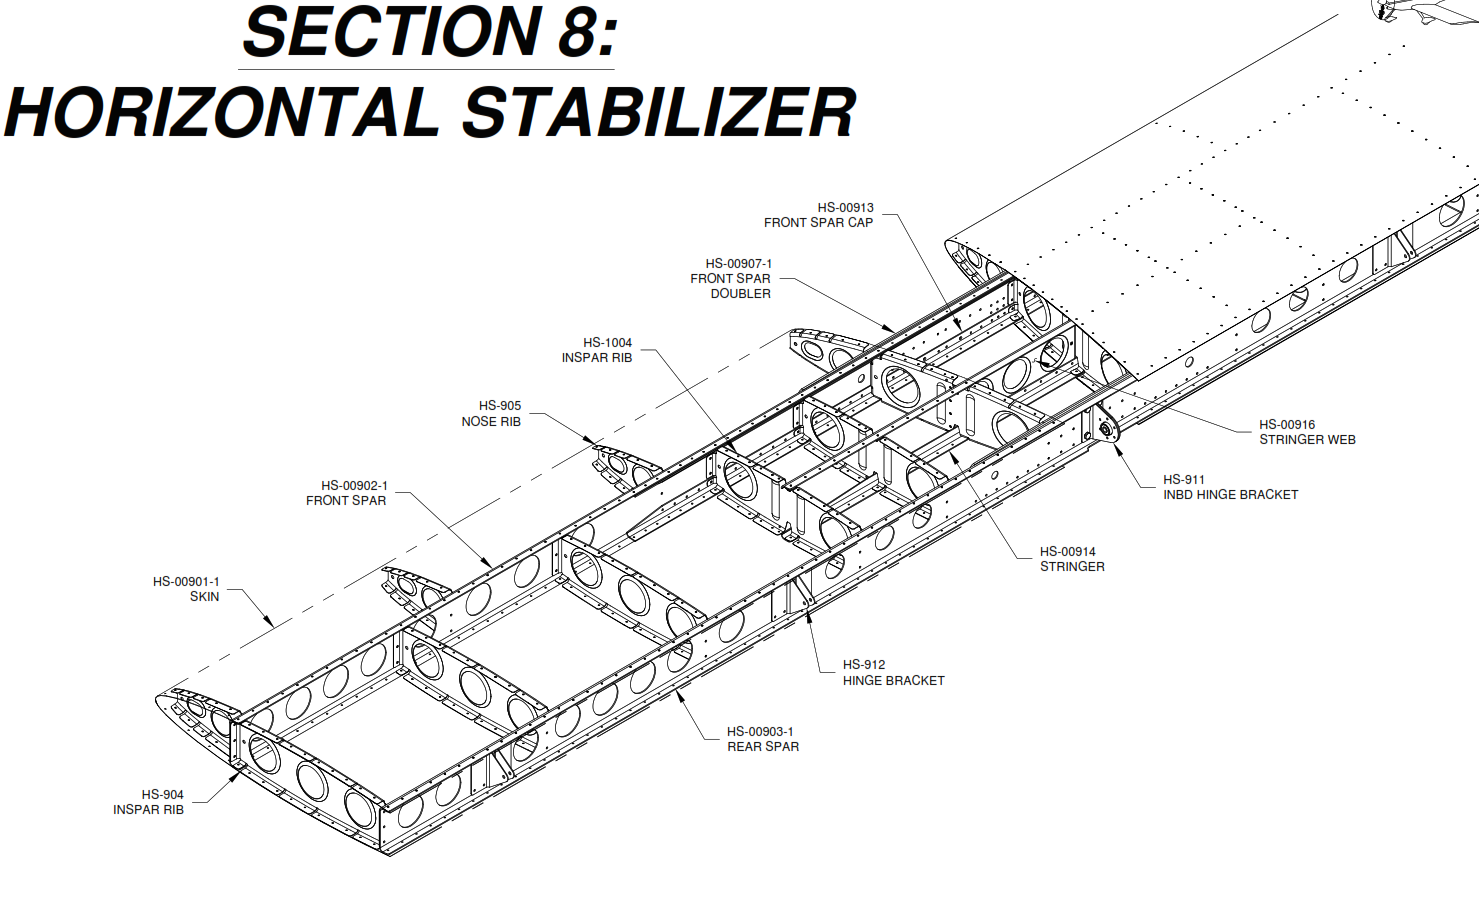
Horizontal Stabilizer
rear spar and doubler deburr 08-02 steps 1-2
rear spar and doubler csk, match and finish drill, skuff pc 8-02 steps 3-8
trim and deburr spar cap and stringer, scuff pc inboard hinges 08-03 steps 1 & 4
timelapse
match drill upper spar cap and deburr 08-04 steps 1 & 2
timelapse
complete spar cap, final drill spar doubler and counter sink 08-04 steps 3-7
nose rib deburr, modify, and flute 08-06 steps 1
finished step 1 and modify ribs in steps 2 & 3
match drill mod ribs and dimple 08-07 steps 1-8. deburr 1 skin 08-08 step 1
timelapse
fabricate wood cradles 08-06 step 4
dimple HS skin 1/2 08-08 steps 1-3
counter sink spars for dimples 08-08 step 4

counter sink spars for dimples 08-08 step 4
counter sink spars for dimples 08-08 step 4
with SMS

completed counter sink and mark skins 08-08 step 4 and 2
with SMS
completed edges deburr of skins 08-08 step 1
timelapse
completed dimple HS skins 08-08 step 3
rivet rear spar doubler 08-02 step9
rivet elevator hinge brackets 08-02 step 10
clecoe front spar for riveting 08-05
with NP
rivet doubler and spar caps to forward spar 08-05 step 1
rivet spar caps to forward spar flanges 08-05 step 2
rivet inboard spar ribs to stringer web 08-09 steps 1 and 2
prime skins and ribs
cleco and rivet ribs to forward spar 08-10 steps 1-4
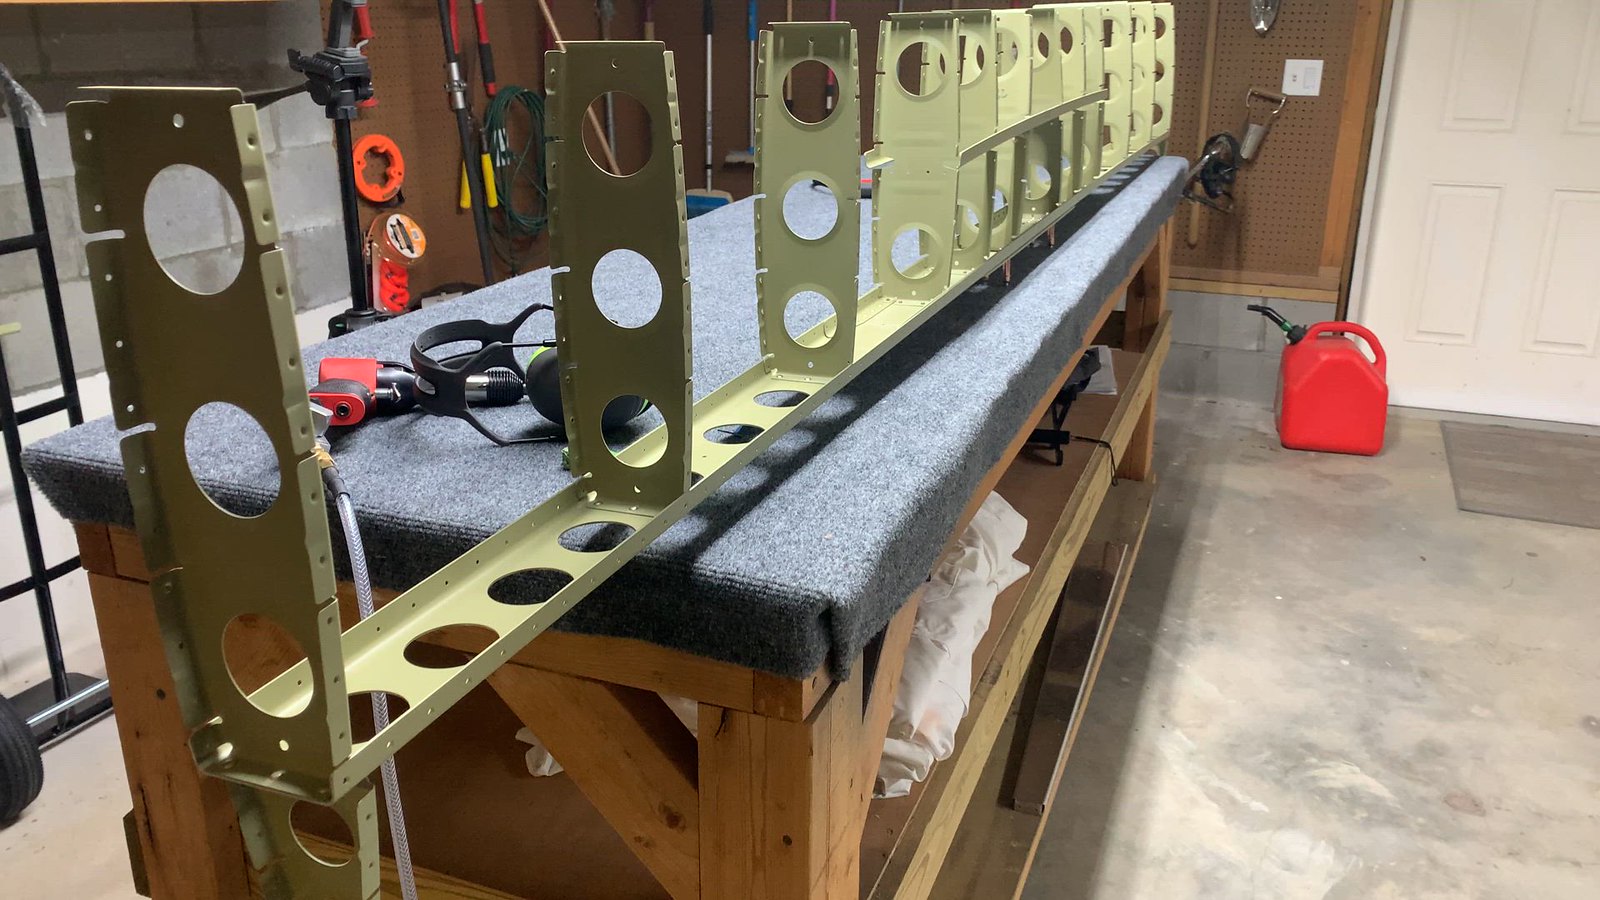
rivet nose ribs to skins 08-11 step 1-3
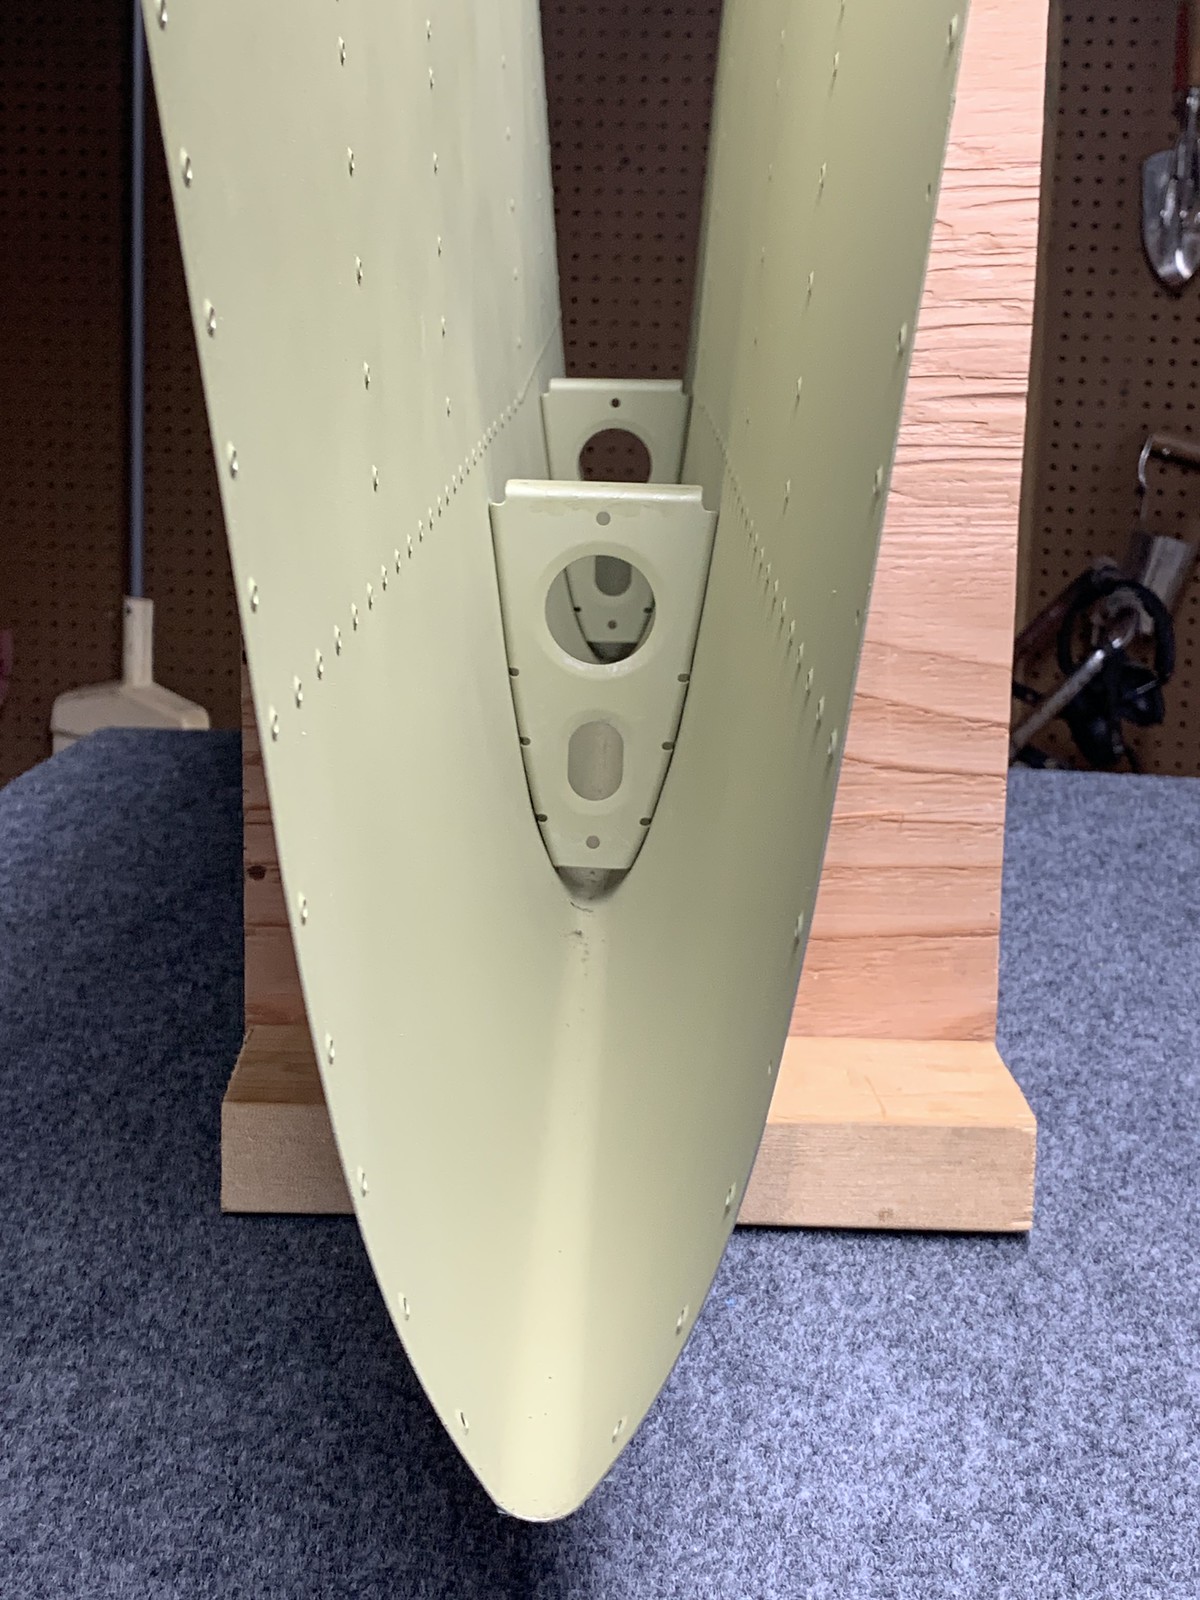
rivet skins to spars 05-12 step 2
rivet slins to spars and aft spar 08-12 step 3 and 4
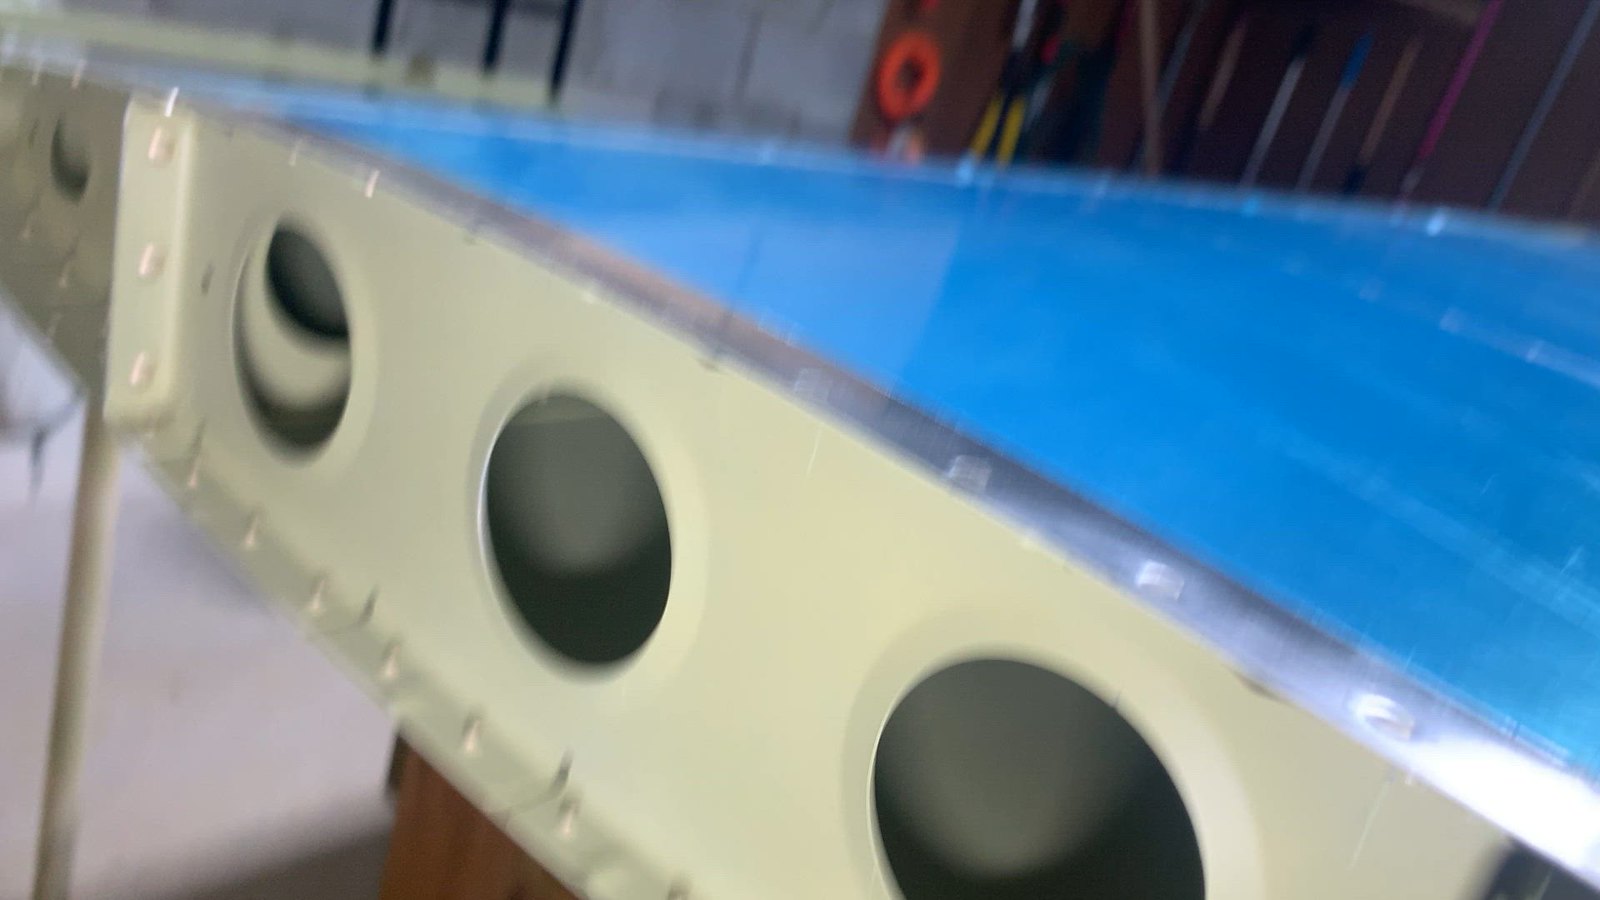
complete rivet skins to spars 08-12 step 4
Misc
receive shipment, inspect contents, empty and dispose of crate
inventory empennage kit and orgainize

finished inventory
scuff and clean prep for primer
apply primer to VS and HS
timelapse
unbox and inventory wing sub-kit
unbox and inventory wing sub-kit
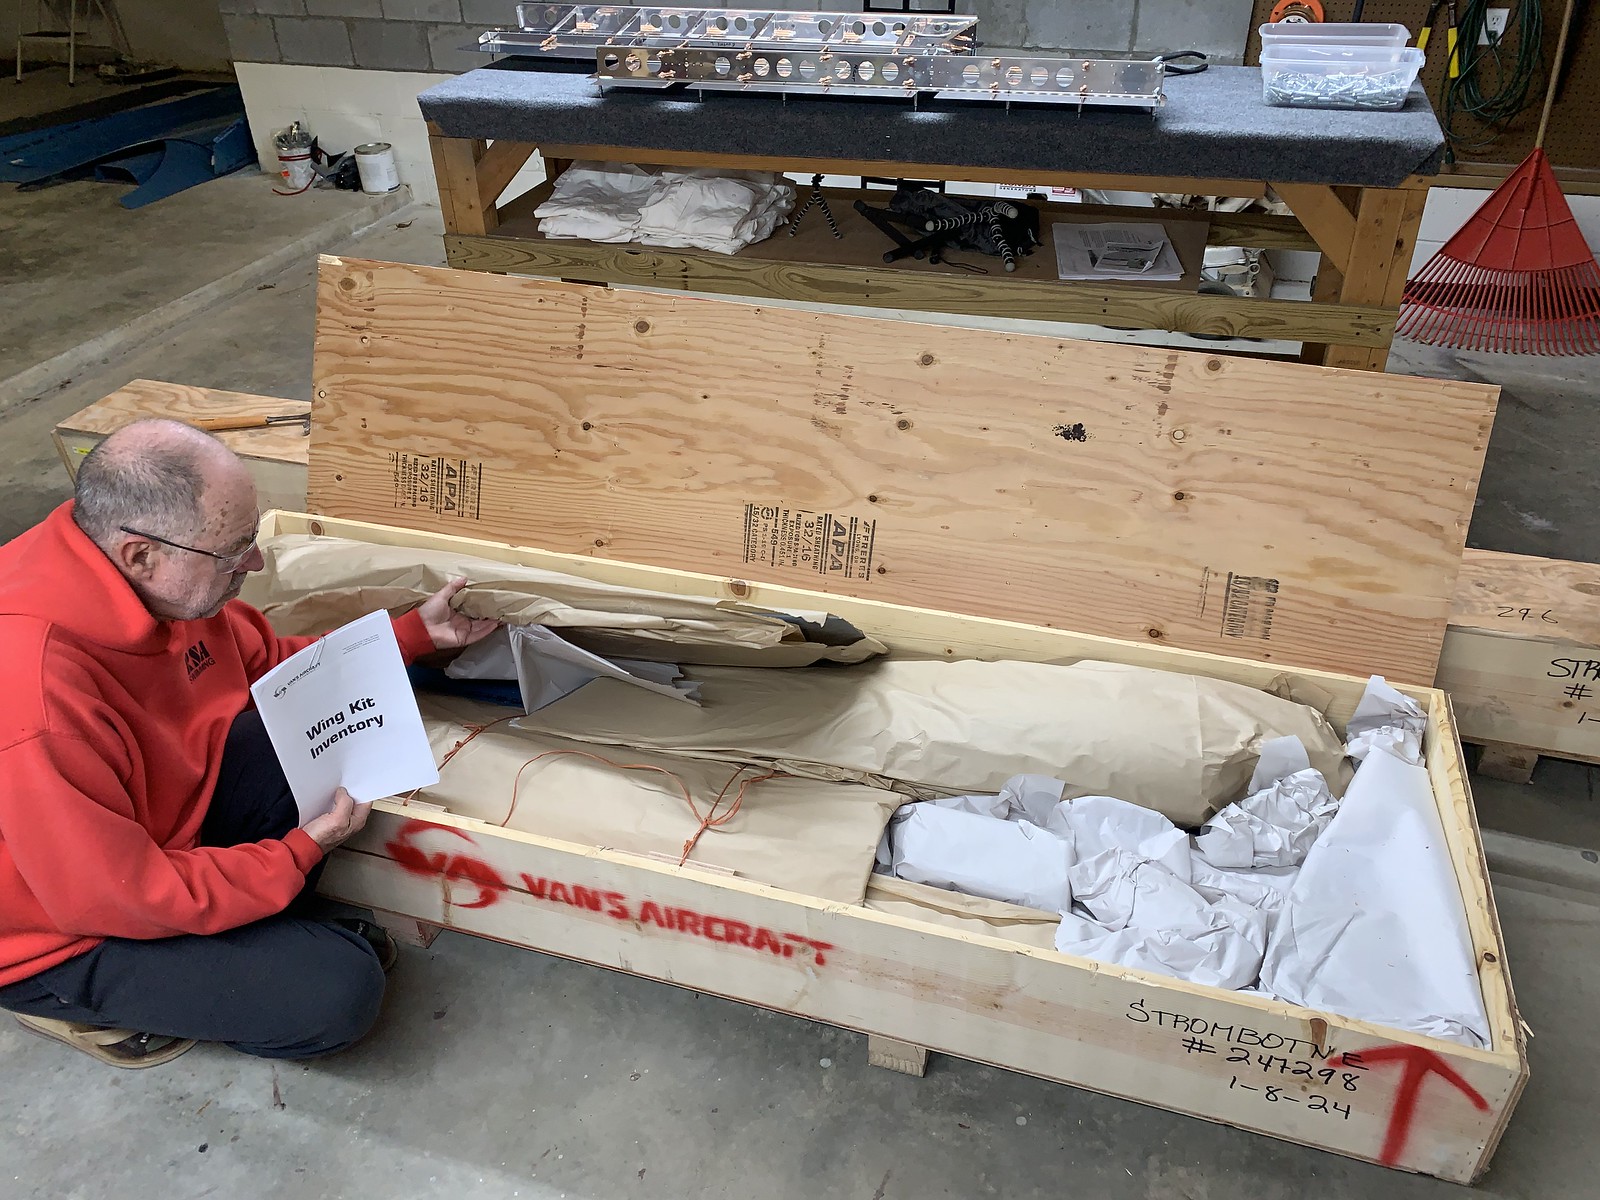
finish inventory and foam blocks 09-03
Research
pro-seal
WH and ELT
pitot static and yaw damper
float wire bending